Share your craft projects
Make new craft buddies
Ask craft questions
Blog your craft journey
Karson
42 posts
and
5 followers
in almost 12 years
in almost 12 years
More from Karson
SawStop Job Site Saw Zero Clearance Insert
SawStop Job Site saw Zero Clearance Insert
When I purchased my SawStop Job Site saw, I did it because of a small workshop in my basement and the ability to move it outdoors thru a basement walkout if needed.
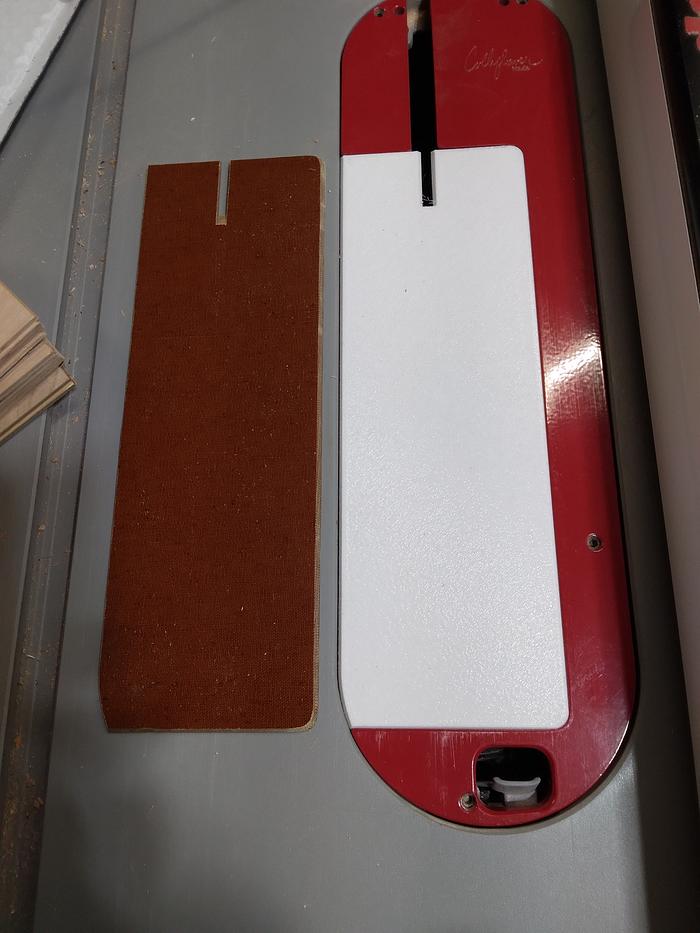
When I bought the Infinity ZCI (Zero Clearance Insert) it came with one insert that looks like it was made out of Bakelite a product of 60 years ago but very firm at 1/8" thick. It was beveled at 60 degrees so that it would lock itself into the metal portion of he plate. It was beveled on 4 sides but only really needed on 3 sides The portion matching the table saw could be a 90 degree edge.
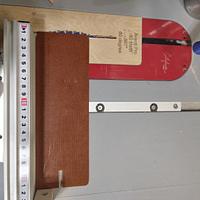
When I purchased the ZCI insert plate I also purchased 4 blank plated to use with different saw cuts ie dado, 45 degree etc. These inserts were made by a 3D printer. so I'm guessing that they make them locally as needed. The price $14.00 for a package of 2 (I bought 2 packages) Once I got them home I checked the insert against my printer and they were too big to made on my 3D printer. You'd need a 300 X 300mm size bed to make them at home. (If you could design one.) The insert is 10 3/8" long and 3 1/2" wide and 1/8" thick with a 60 degree angle around the edges and a rounded corner on the inside portion of the insert with a slight cut on one of the other corner to match the plate and table saw edge.
Once I got figured out the size of the insert I realized that I had some 2.75mm plywood I purchased from Home Depot, Lowes didn't seem to carry that product. A 4X8 sheet costs $16.00 or so when I bought mine. This 2.75mm plywood is about 1/64" thinner than the manufactured version. (I figured that wouldn't make much if any impact on my version of an insert. Practice has shown that to be true.) I ripped the plywood sheet 19" rip at the store. When I got it home I cut a 22" piece off the 19" cut. That would give me 5 inserts at the needed size. I rough cut them at 10 3/4 X 3 1/2 and got 10 pieces out of my 22 X 19 inch piece of plywood.
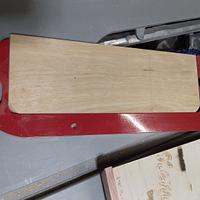
I cut 2 of them to my needed size. 1 for the straight cut needed and 1 for the 60 degree angle cut. My fist cut ended up being a little small for the plate but it fit in and stayed stable as I slid it into the plate.
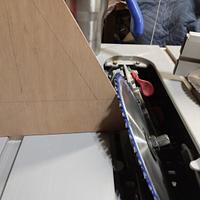
I had a 30/60/90 degree triangle so I set the blade to the required angle and cut up into my insert. Then using the saw fence and the angle gauge I was able to cut the 60 degree angle on the edge. I used the sander to modify the corners as needed..
Once I got my insert working I cut up the 10 pieces and cut them to size using my miter gauge and my saw fence.
I got the correct measurements from the insert that came with the ZCI.
I'll round over the corners as needed or when I take the time to do them all.
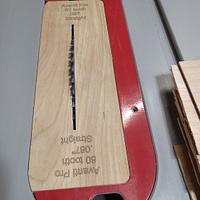
I decided to use the Laser Engraver to put the item name or type on the insert instead of using a marking pen. The first time was putting it on the bottom :>(. So Next I put it on the top, But at the bottom so it's upside down :>(. Third try putting it on the top surface and at the top in the correct orientation. :>).
Wood is good


