I've had my eye on the Wegner JH510 'Dolphin' chair for a while (the side assemblies look like two diving dolphins). I worked out some vectors for the components a while back, but that was as far as I got. I've been getting the itch to build another chair, but unfortunately, I can't allocate time to work on one right now. But a couple days to knock out a scale model of the chair? That I can do. And it will help me to verify proportions and get a jump-start on how to go about building the full-sized version.
The original is a folding chair, but to simplify the project, I built the model with no moving parts - everything is tacked together with CA glue. The frame is made from ayous - a wood I frequently use for table tennis paddles. It's fairly lightweight and easy to sand.
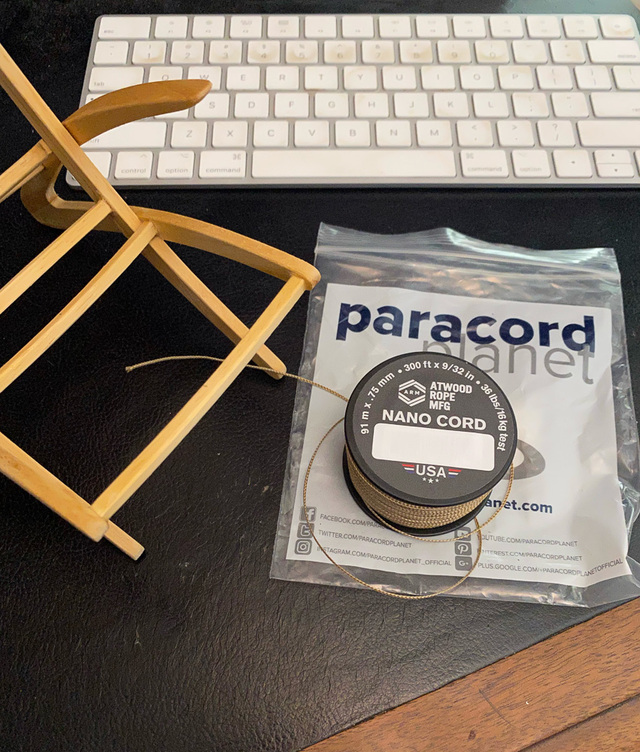
The original chair used caning for the back and seat, while I used 0.75mm diameter nano-paracord as a substitute for Danish cord for weaving the seat and back.
Here are photos of the build process.
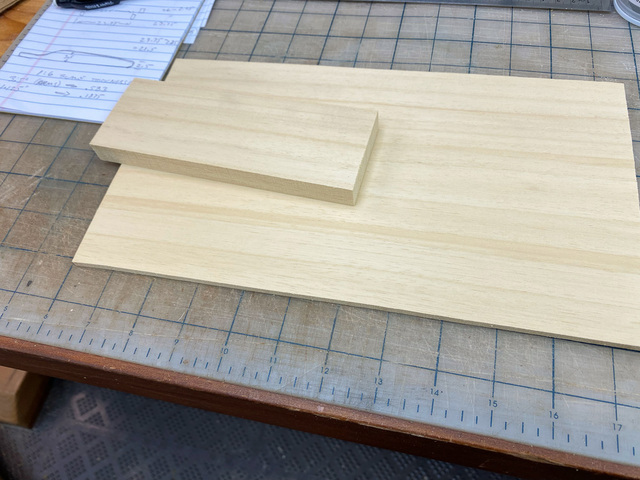
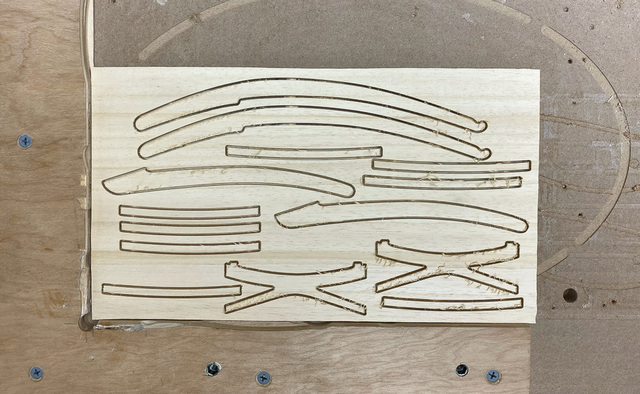
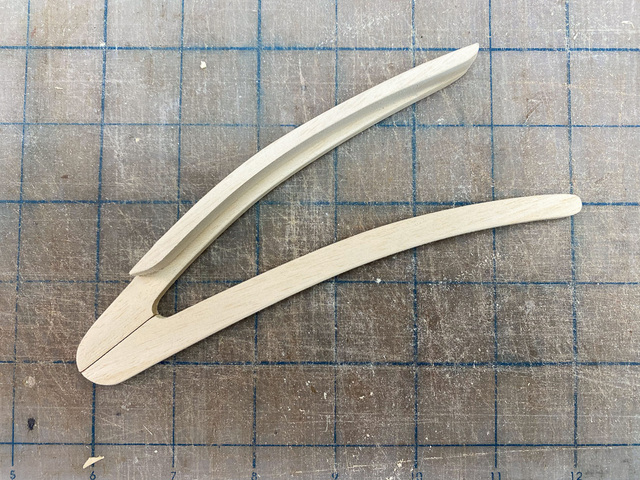
Blanks for the parts that will be cut out on the cnc.
I cut out some extras where I could squeeze them in, just in case.
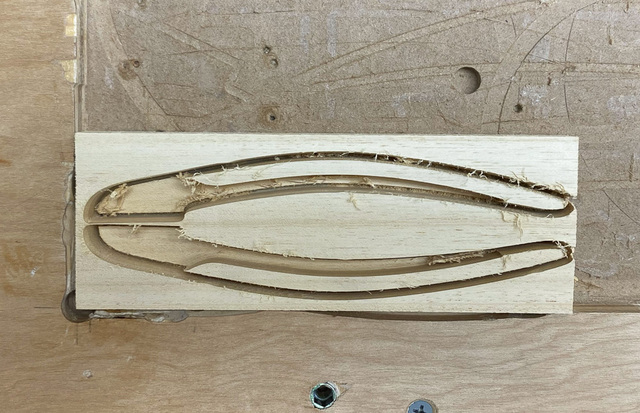
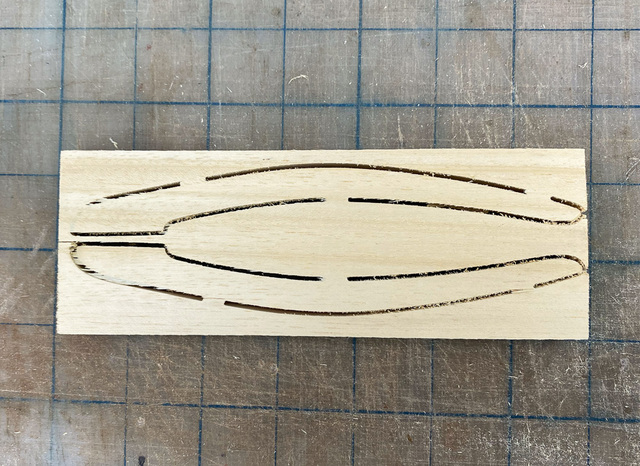
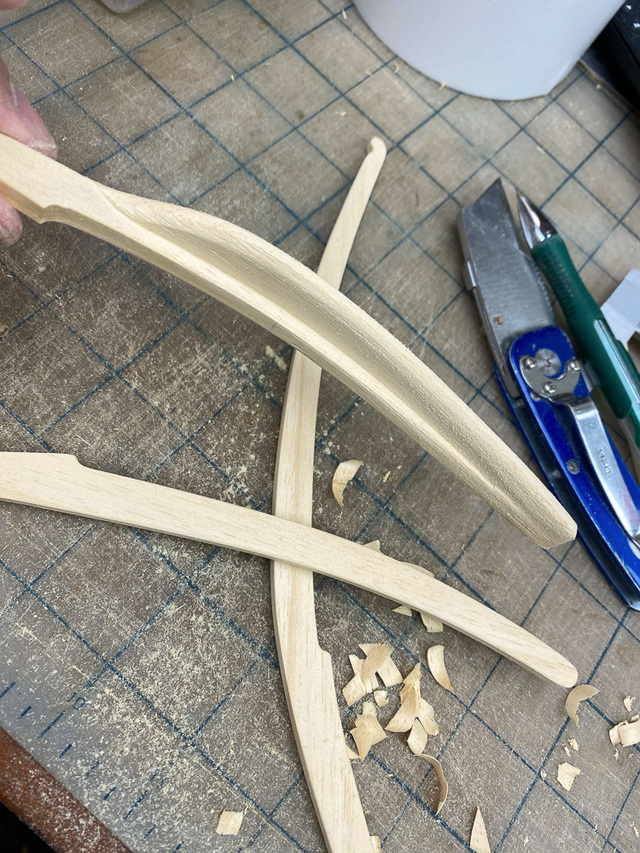
The arm pieces were a bit too thick, so I kept sanding them down until they were closer to target. I'll be sure to adjust the design to account for this. Score 1 for scale modeling.
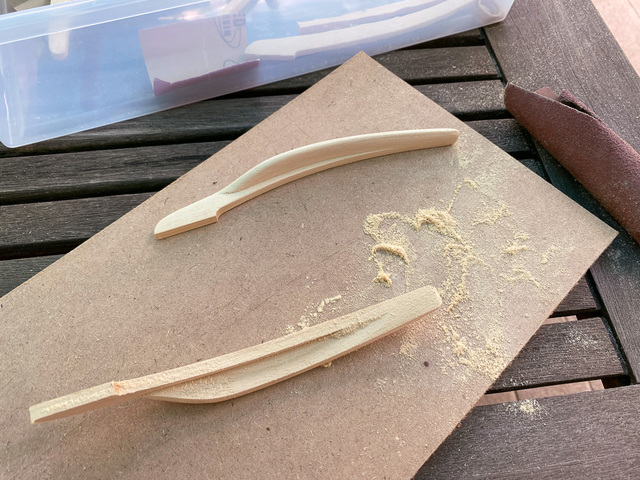
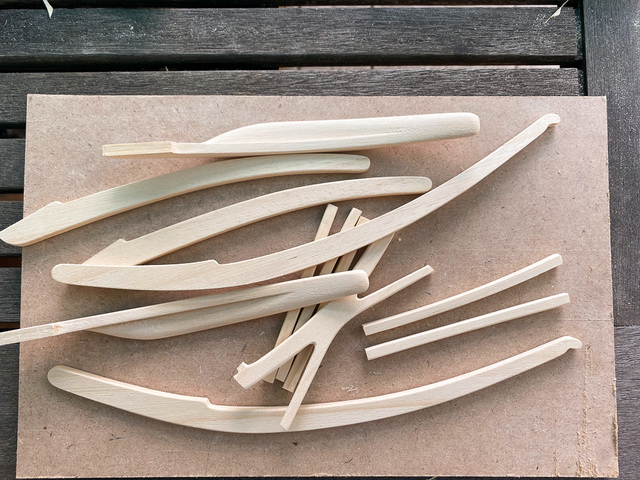
The next day, I moved the project outside. Sanding isn't so bad if you're not cooped-up indoors.
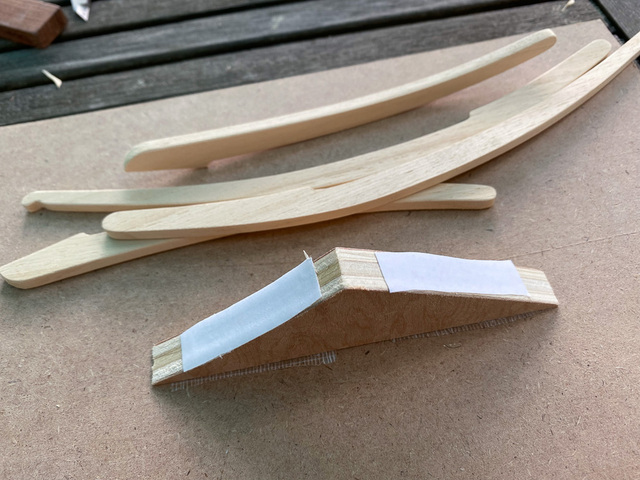
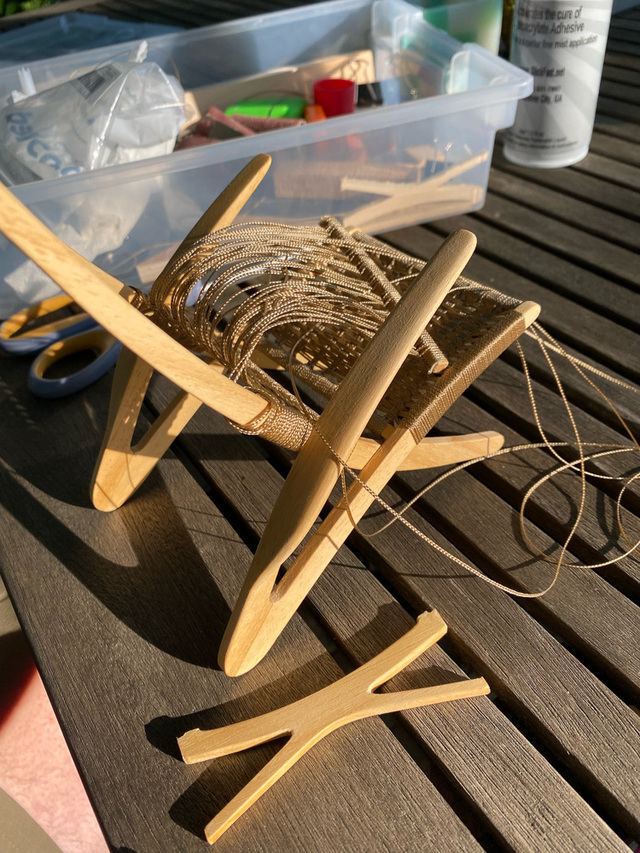
I made this little triangle wedge to exactly set the legs in the correct position with some double-sided tape to hold them in place.
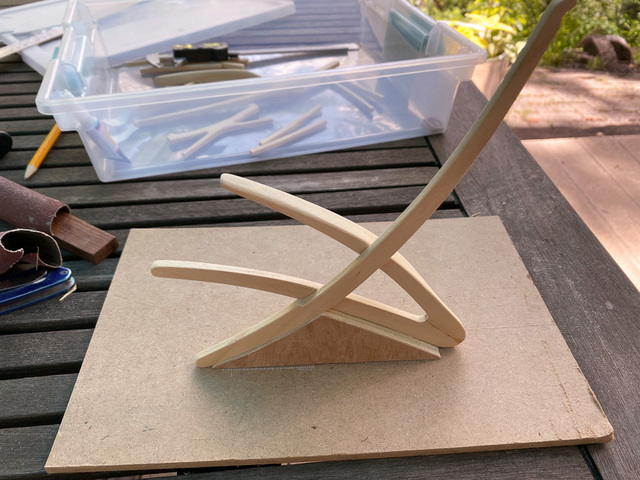
A dot of CA glue where the parts meet holds everything together. After both sides assemblies were done, I glued-in the various stretchers. This was a bit stressful trying to hold things together while fiddling with CA glue and accelerator, and I forgot to take any more photos until it was all together.
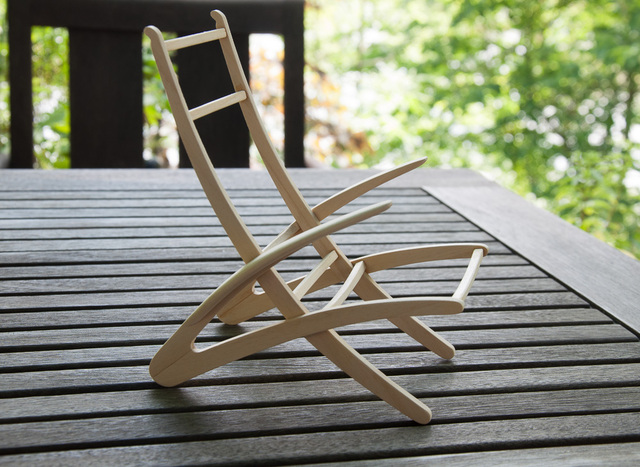
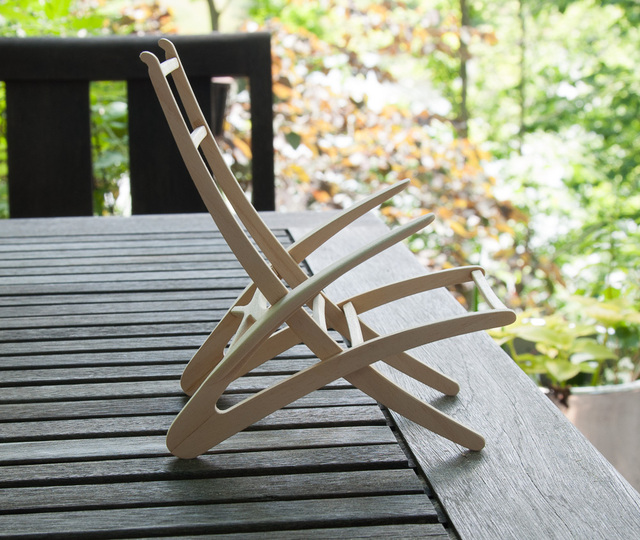
The frame is complete and ready for a little finish (very little finish).
With the stretcher joints reinforced with more CA glue in preparation for weaving, I sprayed the whole thing with some satin varnish to make it look more uniform (the wood had darkened where the glue was applied). "Tan" nano paracord was the closest I could find to a color like Danish cord.
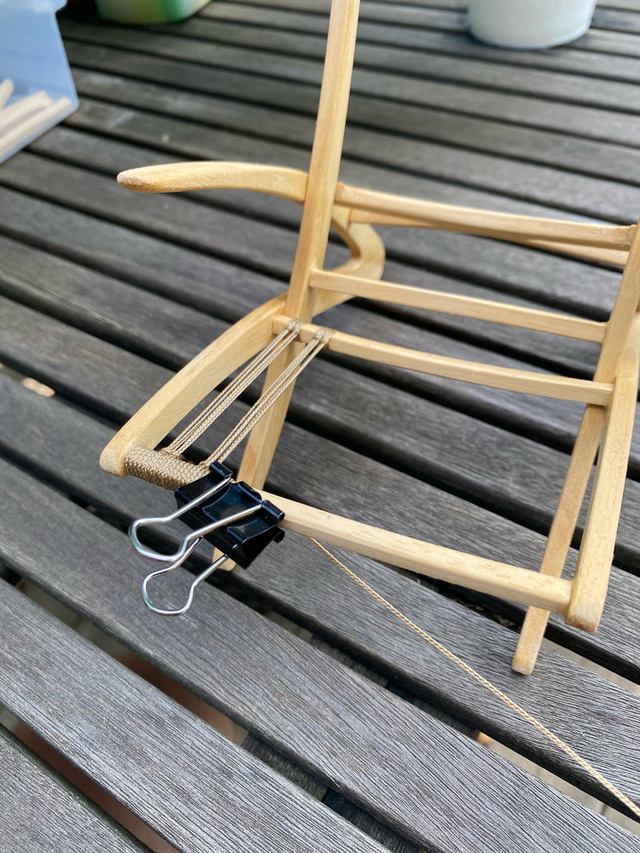
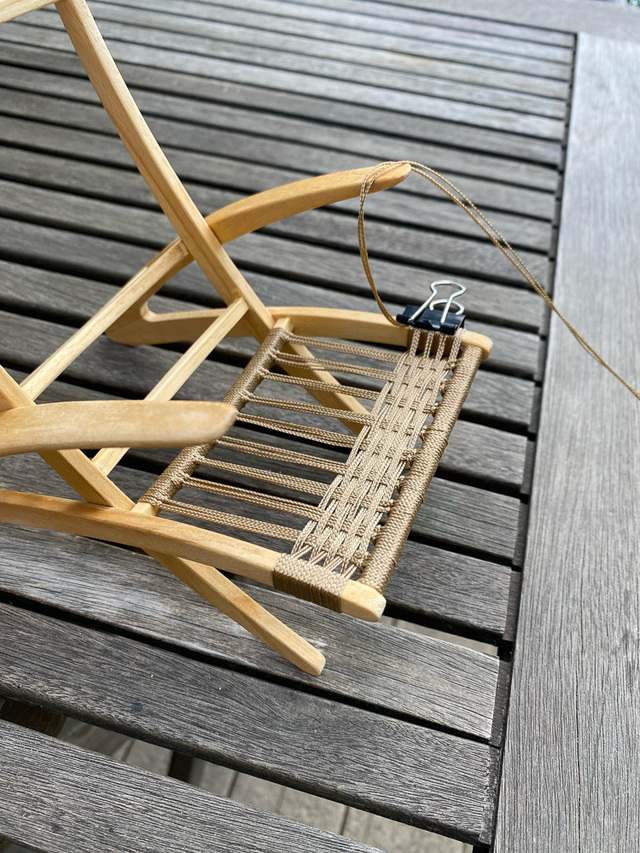
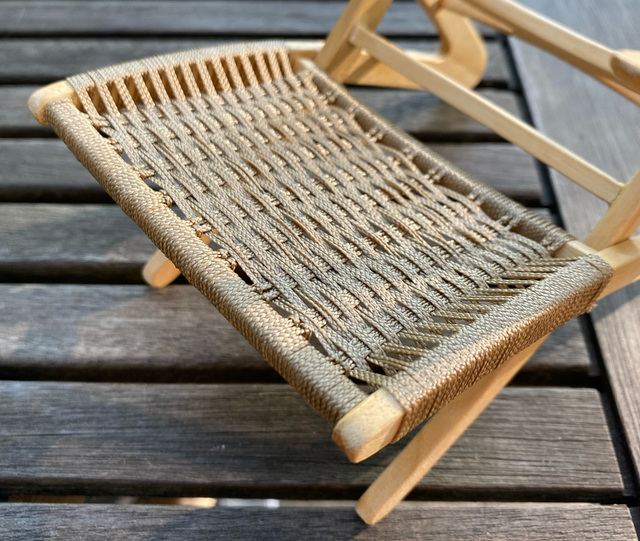
I went with a weave pattern that didn't require any fasteners on the frame. I've only seen this pattern referred-to as Yugoslavian rope chair weave. If anyone knows the actual name, let me know.
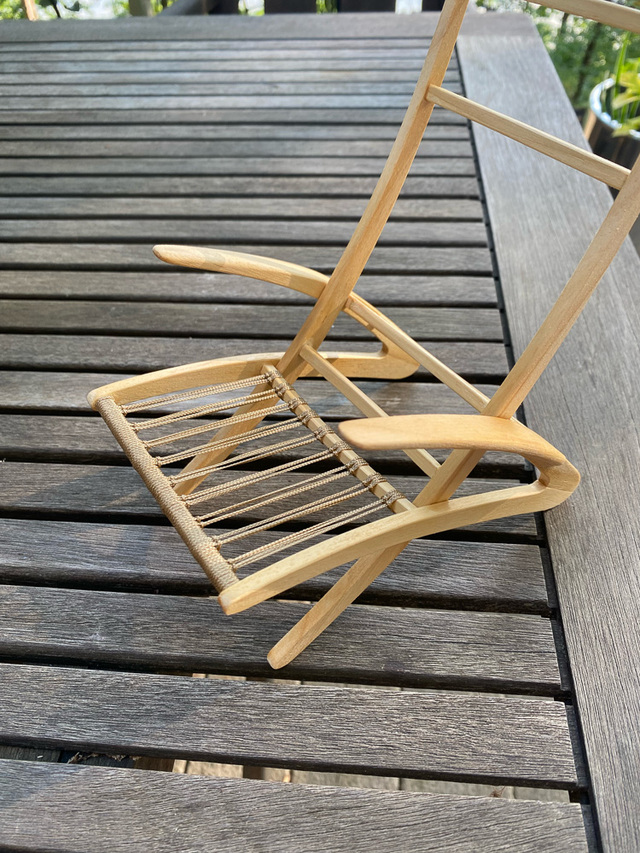
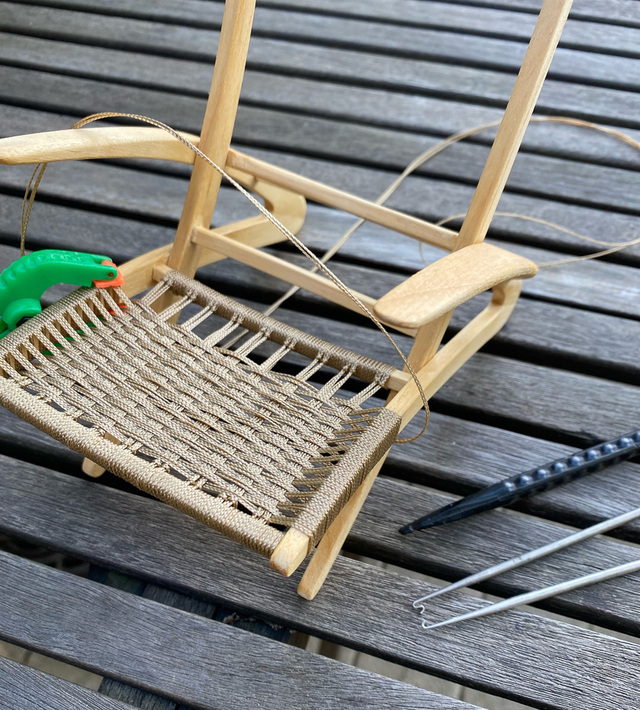
Working with the nano paracord was a challenge. It took me two evenings to complete the seat, about 2.5 hrs each day. I finished the warp strands on the first evening, and the weft strands the next. I'm happy with how it turned out.
The wire pick tools were perfect for this.
The next evening I did have a mishap while weaving the back. I was pulling a length of the weft paracord through and was moving too quickly, and I pulled the chair out of my other hand. It was my scrambling to grab it before it dropped that did the damage. Fortunately, it was not a difficult repair.
The next day I was back to finish the weaving, moving very slowly for the remainder.
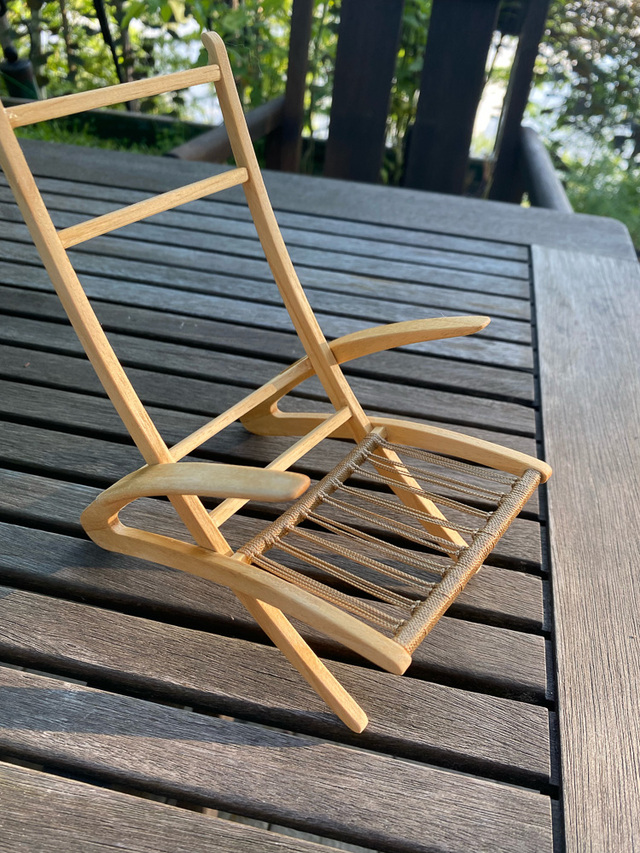
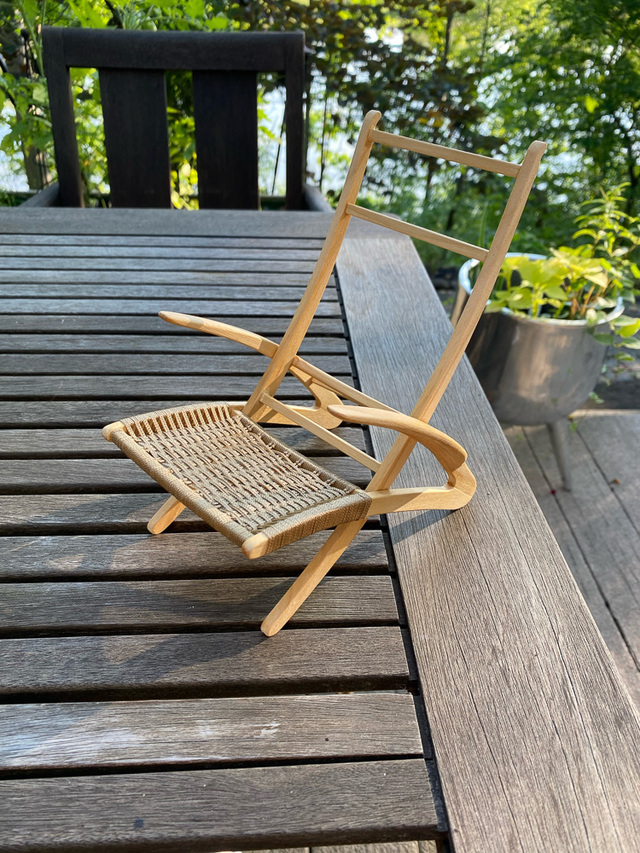
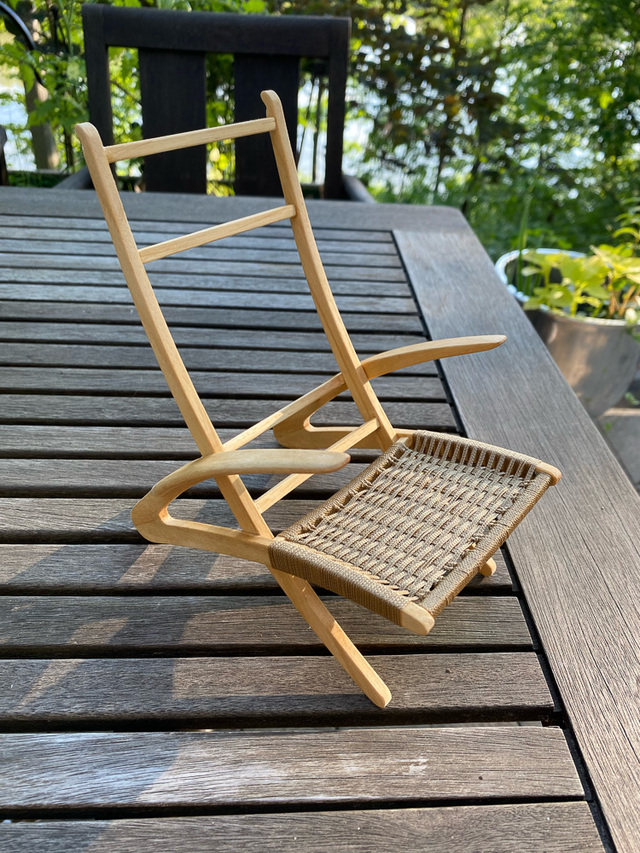
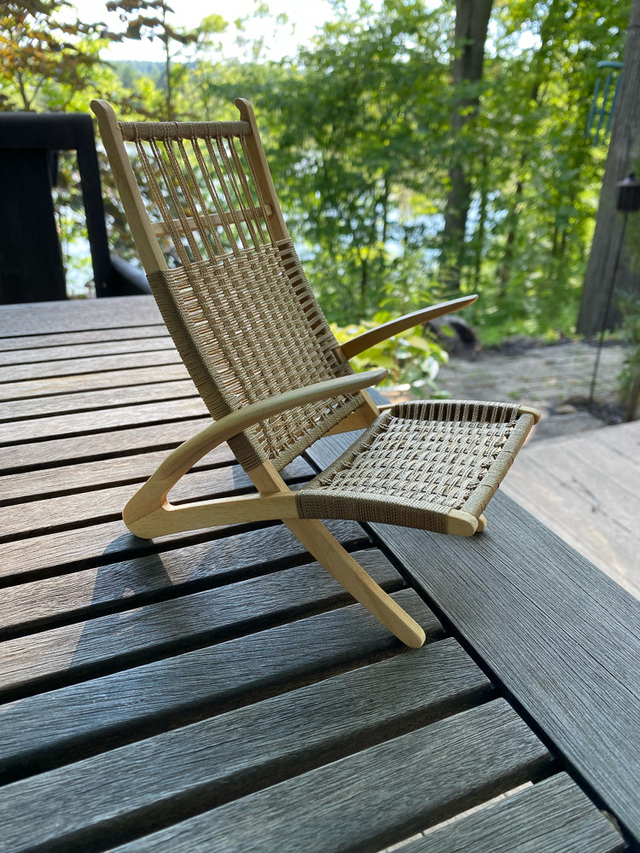
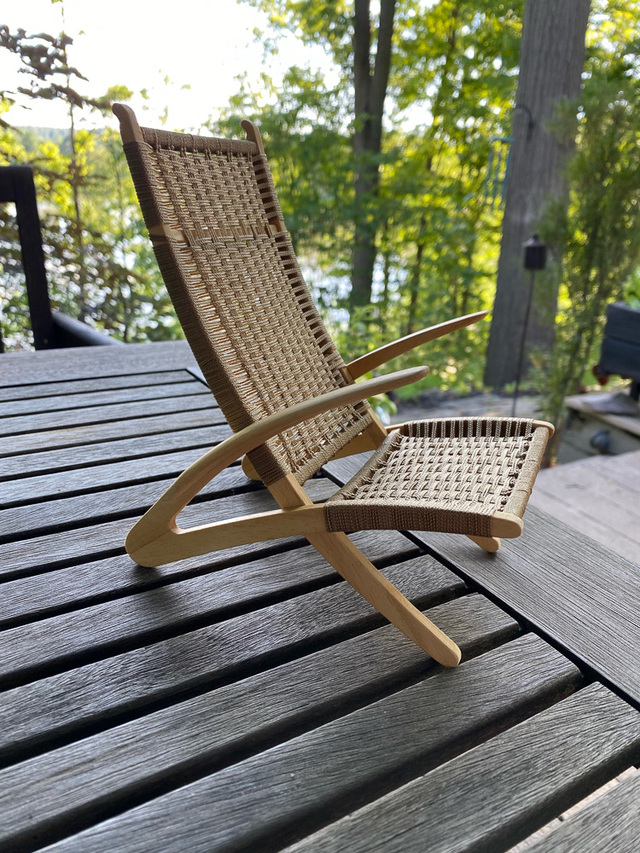
Finished.
It was a fun little project, and I can add another chair to my portfolio (scale model, whispered sotto voce).
Thanks, pottz. It was a bit fiddly working with such fine cord. Fortunately, I had learned some skills from the weaving I'd done on an earlier Wegner chair replica project.
Ron - it's still on the back burner. I'll be busy with the cat climbing structure though Christmas (I'm planning to start the blog series on that). During the summer, I did get to build another Wegner replica as a deck chair (I'm in a Wegner rut it appears). I'll transfer that blog from LJ when I get a chance.