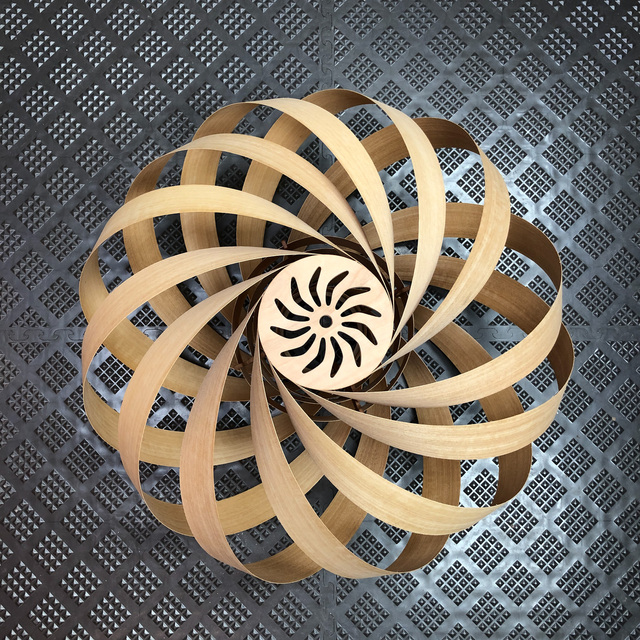
After watching a youtube video on making a paper lantern for a pendant light, I wanted to try something like it, but with wood veneer. It turned out to be harder than I expected to get the spacing right. On my first attempt, the spiraled strips were too crowded. On my second attempt, the spacing was better, but this time they were a bit too loose so there were gaps. I didn't want a bare bulb to be visible from the outside, so I thought I'd try to carefully detach the supporting ribs, twist the whole thing tighter, and then reattach the ribs. Well, the spiraled veneer generated a surprising amount of torque, and twisting it tighter and anchoring it just wasn't practical in the end.
Here are some photos of the early failures and the road to recovery.
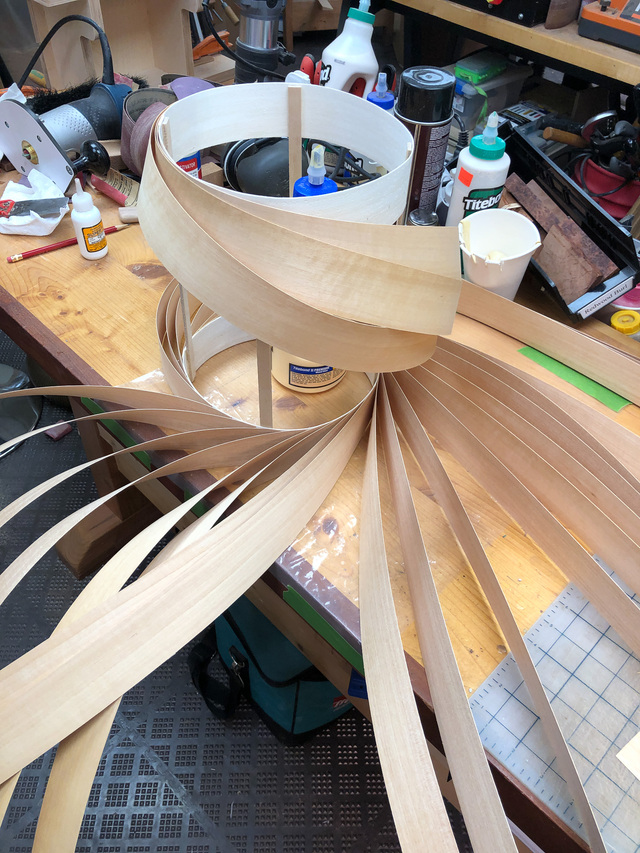
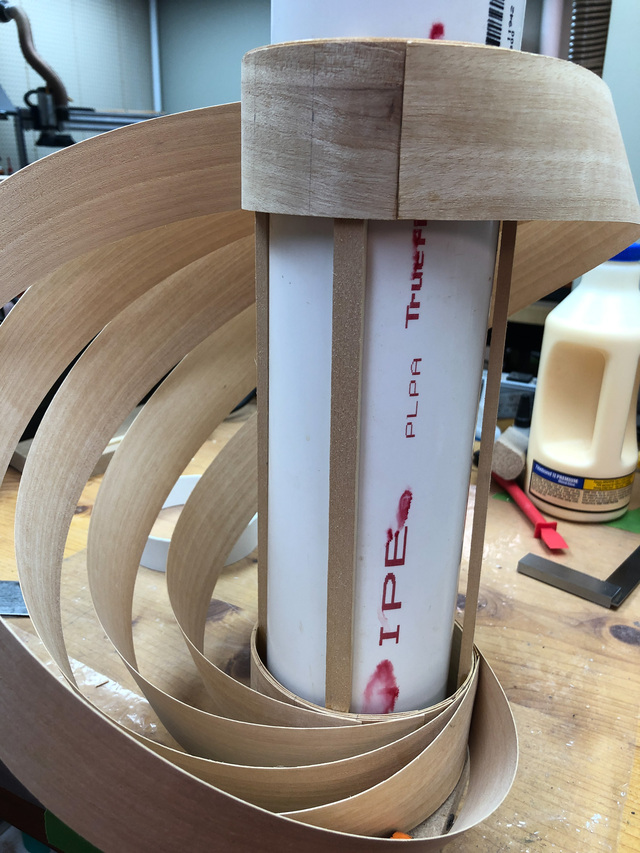
The first attempt was with a larger hub diameter.
The veneer strips must cross each other at the point of max diameter, and these strips were placed too densely to allow that to happen without them buckling in places.
Also, I didn't like the shape I was getting with the larger hub diameter, so I made a new hub with a smaller diameter. I used a slice of 4" pvc pipe to help form the hubs from a strip of veneer wound over itself and glued together with some CA glue.
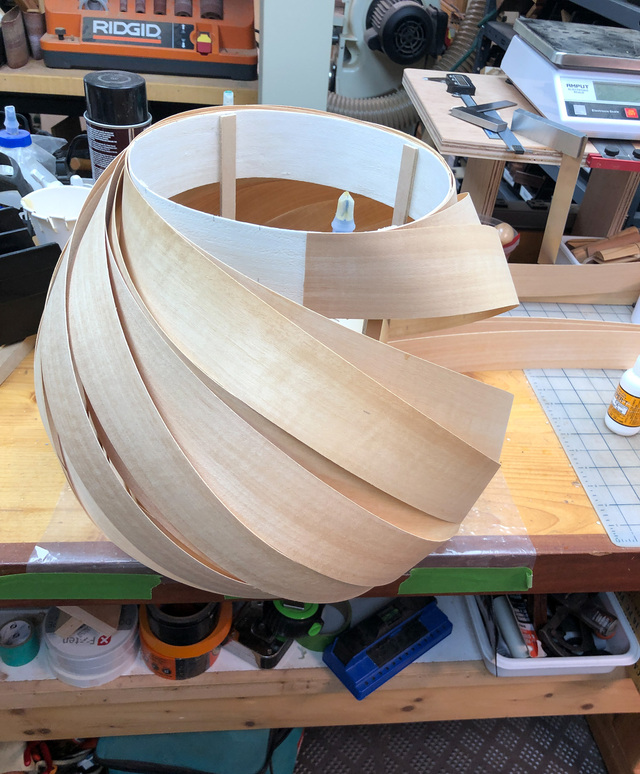
Then back to making the spiral, attaching each equal-length strip to the hub with CA glue.
You can see that the strips were no longer interfering with each other, but they weren't as tight as I had hoped either. The pvc pipe was attached to a base that I could clamp to the workbench as I attached each veneer strip.
I ended up completing spiral, not liking the gaps, then trying to tighten it up. That didn't work out and I set the project aside in September and didn't really think about it for a couple months. Over the Christmas break, I had a brainstorm for how to salvage the project. The idea was to build a smaller inner shade of veneer hoops that would cover the bulb and that would fit inside the semi-loose spiral part. Starting from the salvaged spiral and building inward presented a number of challenges, but I think in the end the result looks intentional.
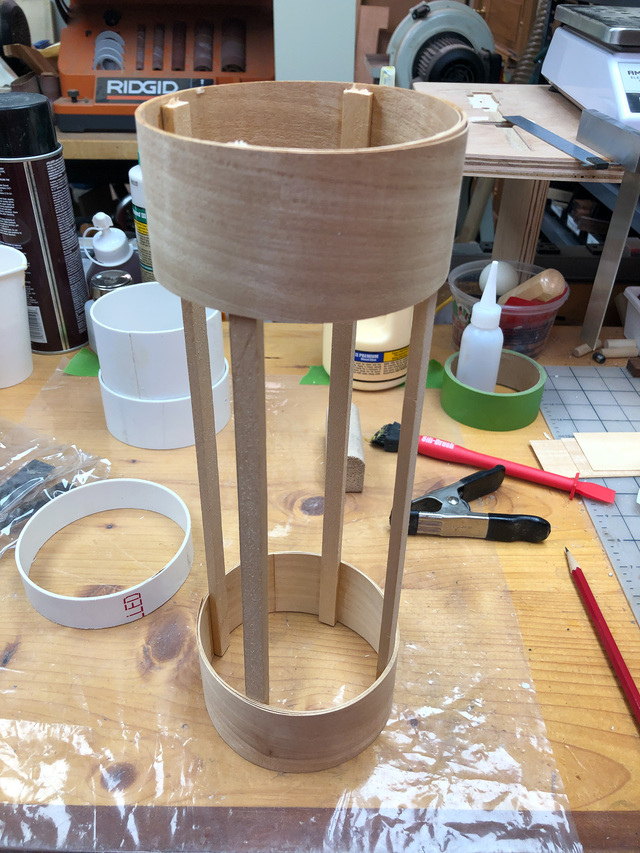
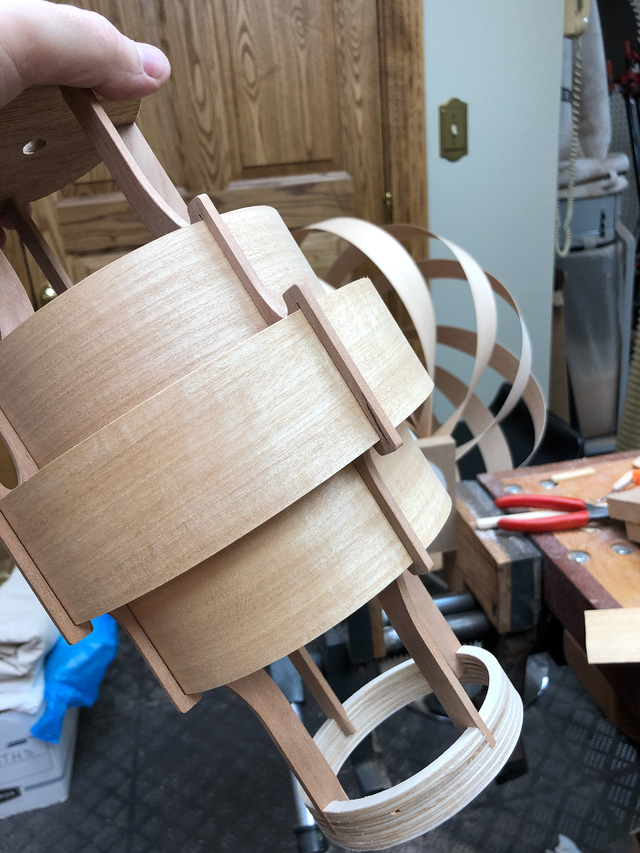
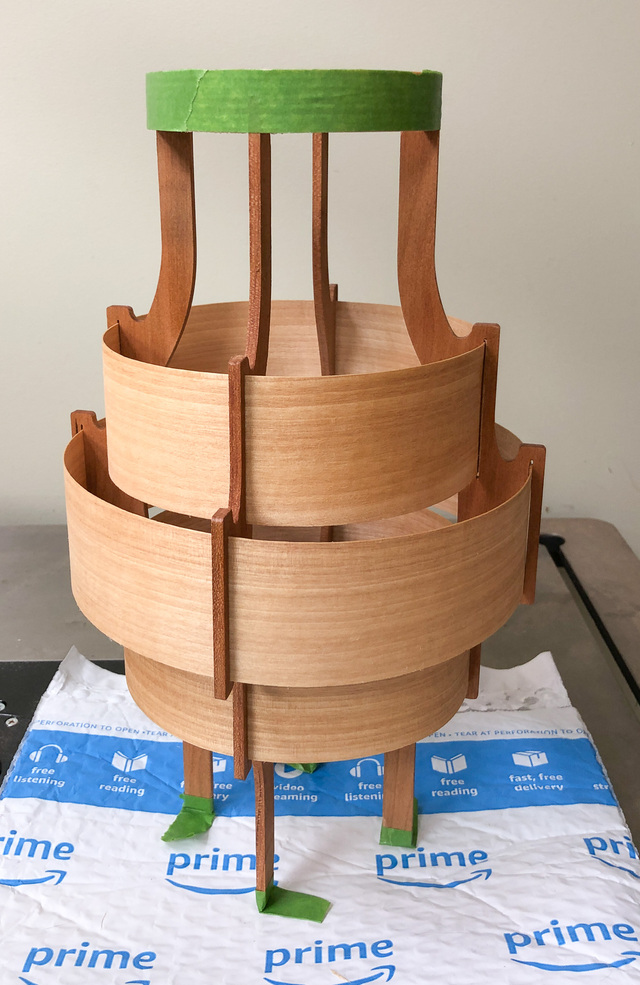
There's a big time gap here - I didn't take any photos of the final stage of the 2nd attempt. I pick up now in the middle of the build of the inner shade. The inner shade was made with 4 ribs with slots for the veneer hoops that would conceal the bulb. The ribs are attached to top and bottom parts that would slip inside the hub of the spiral. You can see the loosened spiral part in the background.
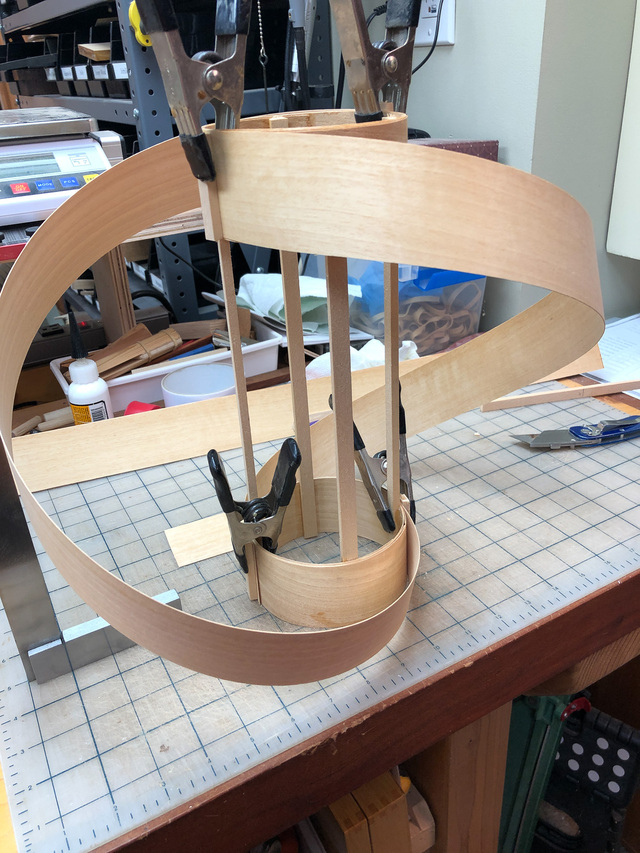
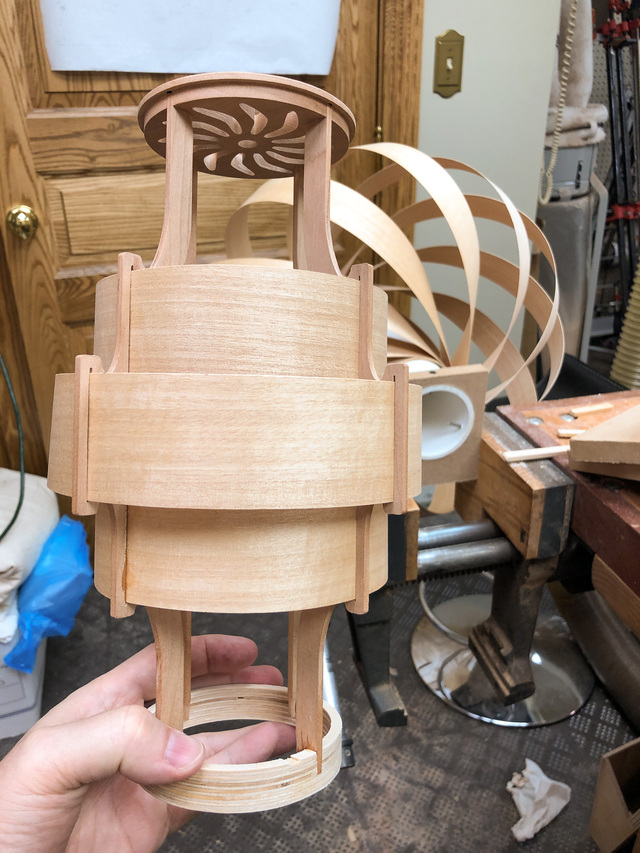
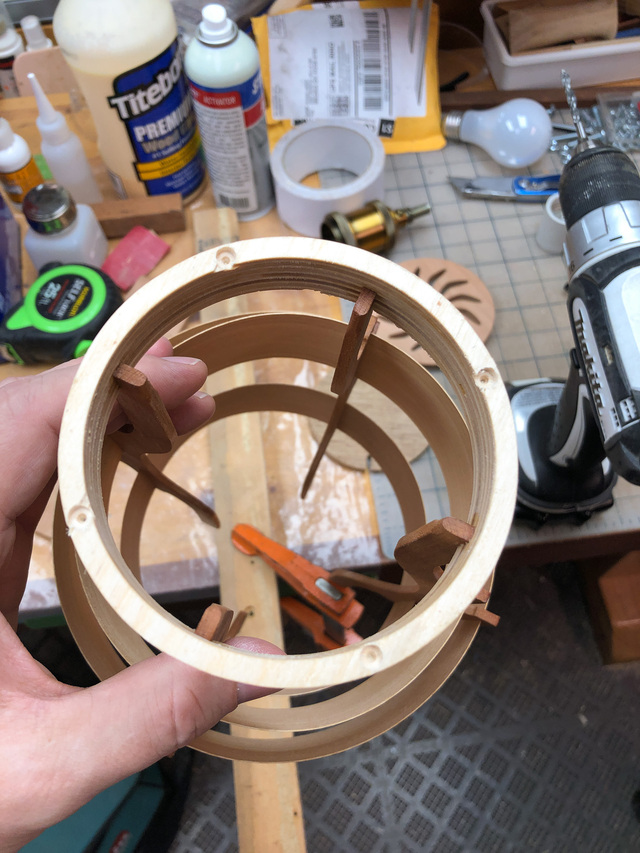
Combining the two pieces:
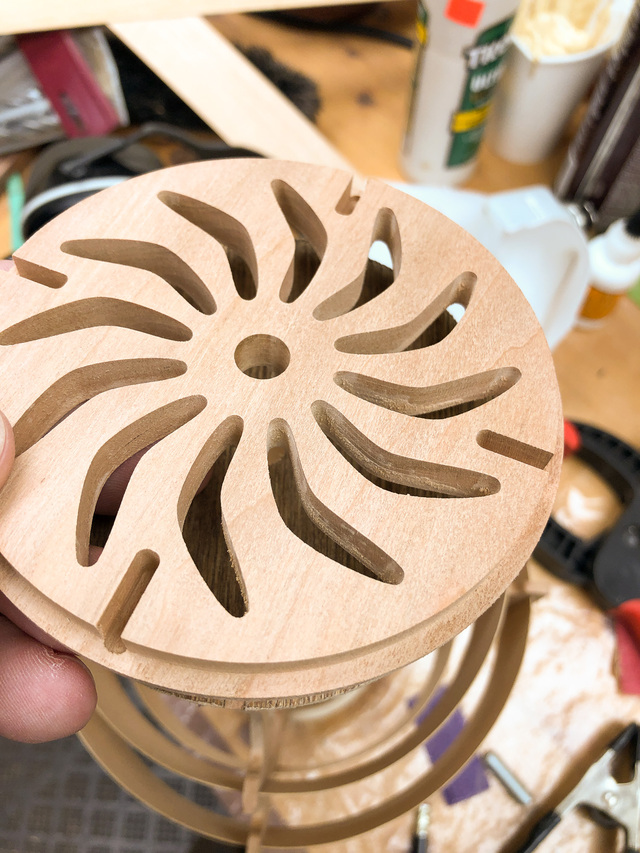
The top cap will be glued into the top of the spiral hub first, and later the ribs will get glued-in to the slots in the cap.
Test fitting:
I did a quick wiring to check things out in the workshop.
I paused here to apply some spray finish to the inner shade and the spiral, masking-off places that would be glued later.
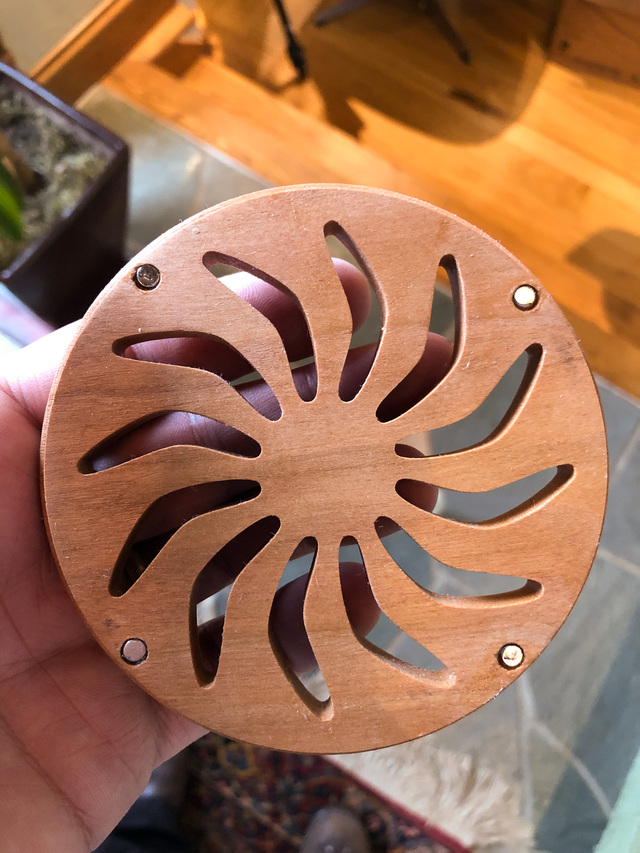
There's a bottom cap that matches the top and is removable to get to the light bulb. It's held on with 4 small magnets:
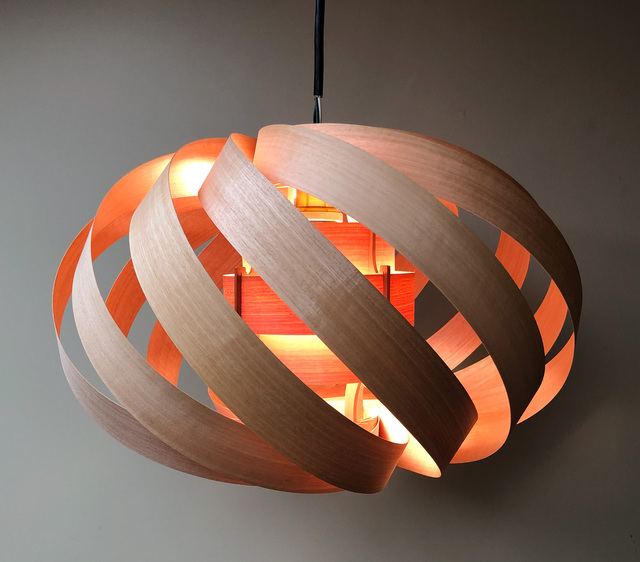
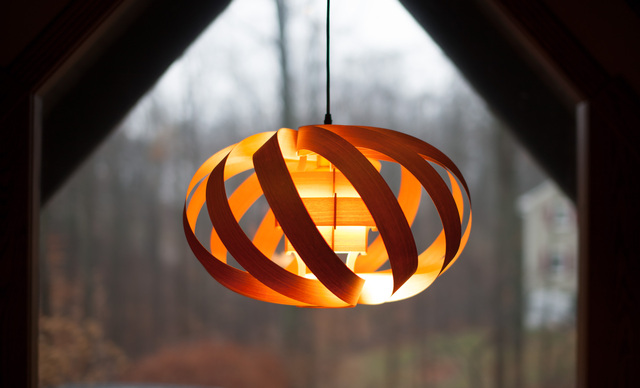
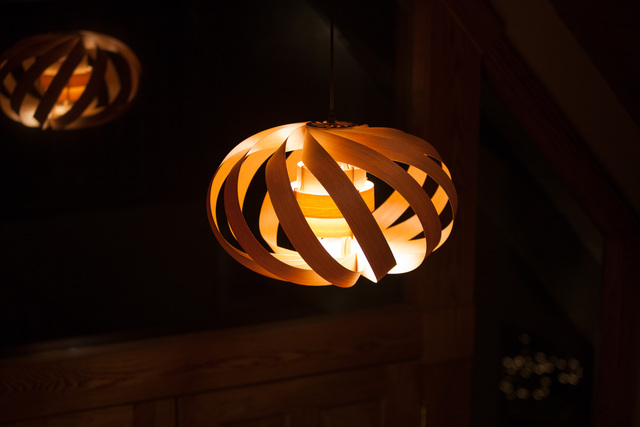
I didn't have a place in mind for this lamp, but my wife was on-board with installing it in the front entryway.
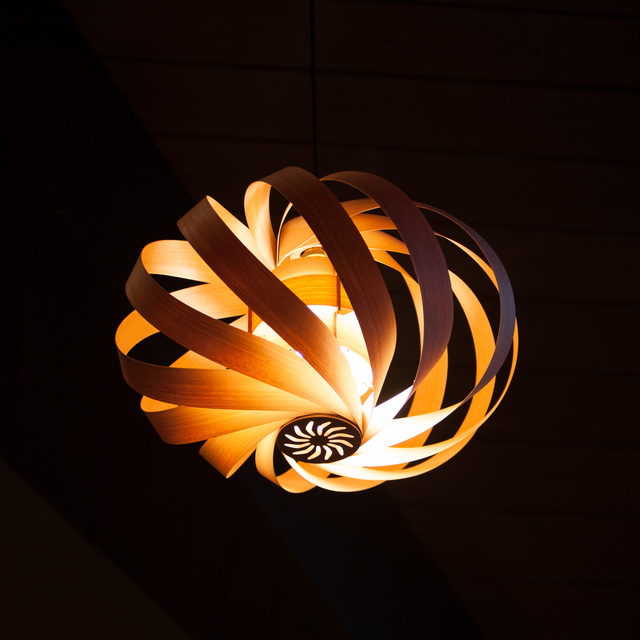
I started really enjoying this project once I knew I was on the right track with the two-part shade. The lamp doesn't give off a lot of light, but it does supply some atmosphere. I'm happy with how this one turned out.
I was pleased with the look of the inner shade all by itself, and that sparked a set of 3 more pendant lights which I'll share in a later post.
That really is an impressive light (and development process), and it fits in well with your entryway. I think it’s the first of your projects I remember seeing at LJ.
That looks like a nice camera (a Canon, I think) on your curvy chair. What do you use for your gallery photos?
Ron, I wasn’t sure what you were referring to and had to go look at that photo again. The camera is a Canon 1Ds Mark III with a 70-200L lens. I usually do try to take final project photos with it, but not normally with that lens. Progress photos are just on an iPhone. Frankly, whatever photos turn out the best are the ones I use for the gallery.
Thanks for the camera information, Ross. The photography in your posts is really good, and I wondered if you were a serious enough photographer to have multiple cameras. Of course, phone cameras are so good these days that they're as good as anything for product-type photos.