Paul Sellers has started selling a hardware kit for a router plane, and I quite fancied having one with a mechanical adjuster so I thought I'd give it a shot. It's basically a modified hags tooth router with mechanical depth adjusters.
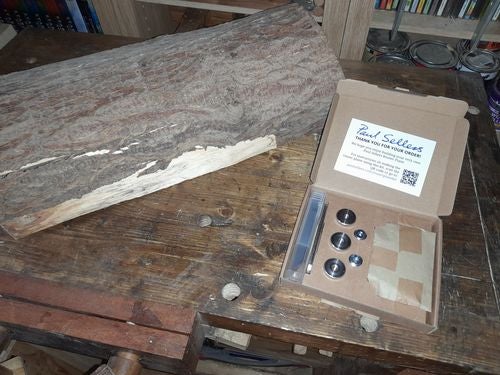
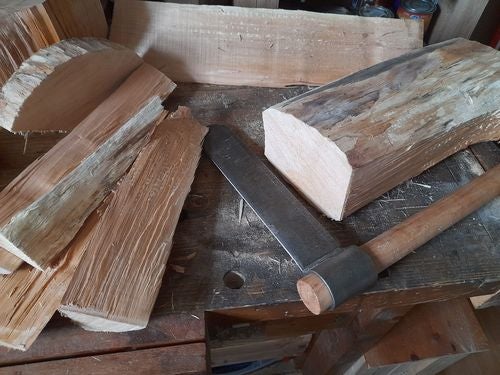
So, armed with the Paul Sellers Hardware Kit & a chunk of willow.
Big check in the chunk, so I'll split that off first so I can see what i have to work with. Lop it down to about a foot to work with. Couple of small checks left, but they don't look like they will run in much further and I can mostly avoid them anyway.
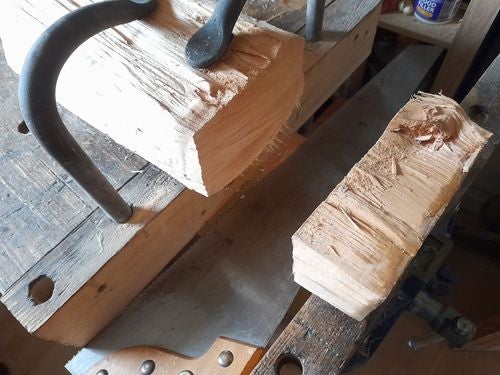
Mark out an oversize piece for the main body and split it off.
Big knot there, so I'll cut that end off as well.
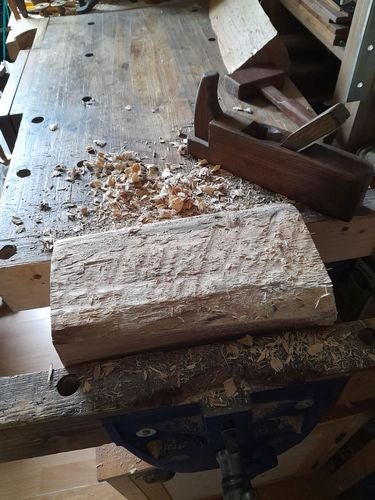
And make it roughly square with a scrub plane.
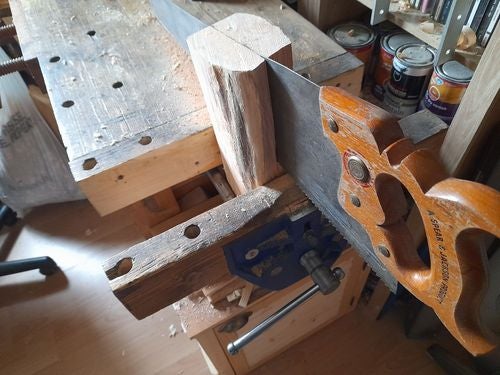
Cut it to size.
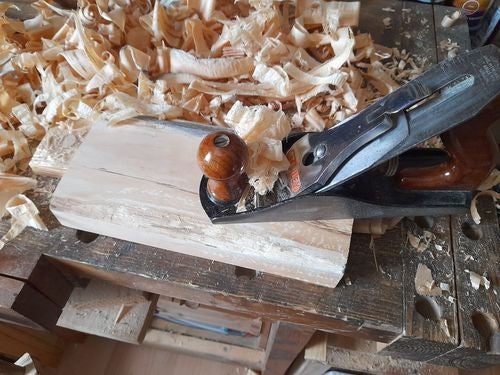
And square it off - It's a Paul Sellers kit so I think if you don't use a Stanley Number 4 at some point in the build some serious looking men in plaid come and take you away.
And cut a 1 1/4 inch hole for the throat, I'd never used this bit before and didn't check it well enough - the outside of the spur had been filed down from the look of it, so it wandered a little - No great worry, I can fix the hole up later.
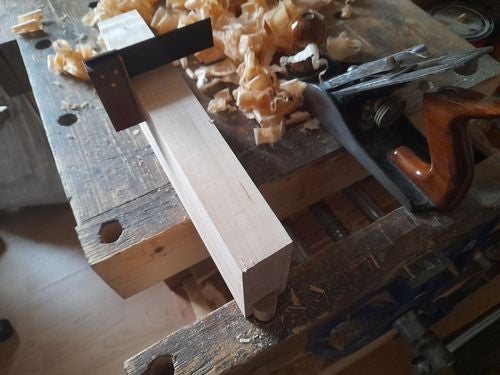
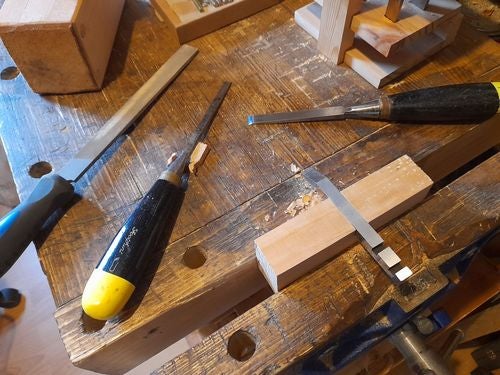
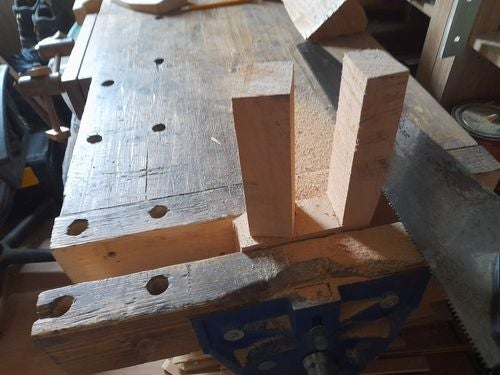
Onto making the piece on top where all the hardware goes. Cut of a chunk and square off 2 reference faces.
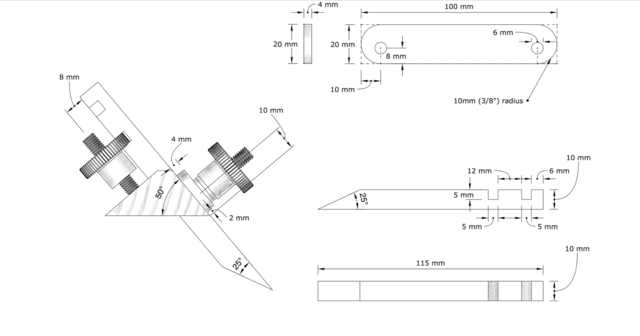
Mark the angle that the iron is going to be at - I'm going for 60 degrees on this one.
I was going to cut it to shape at this point but changed my mind as I think it will be simpler to add the holes and cut-outs for the kit with it squared off instead, so square the other 2 sides.
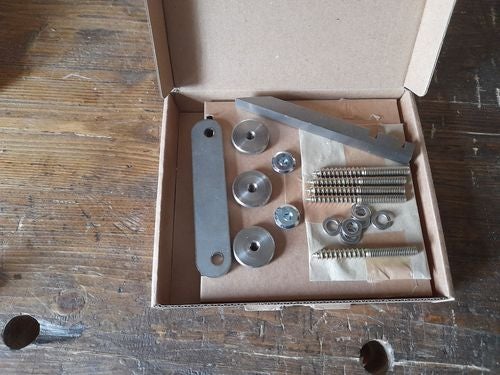
Which brings me on to the kit, it turned up in a neat little box that even the postal service hadn't dented. It contains all the metal hardware you need to make the plane.
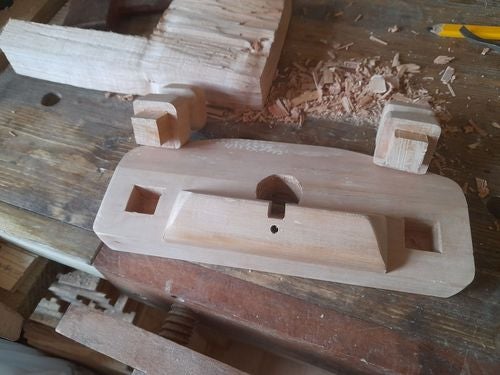
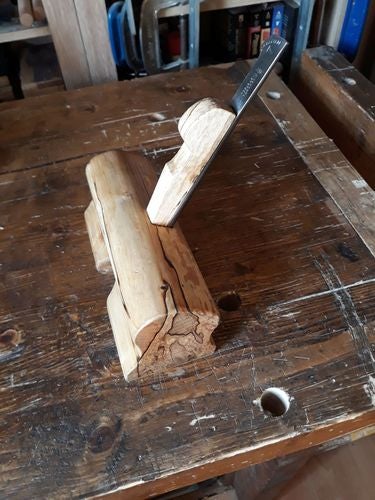
So, cut out a slot for the iron and fit it so it's just a little proud of the surface.
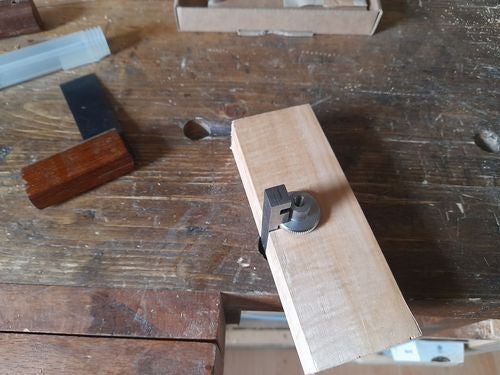
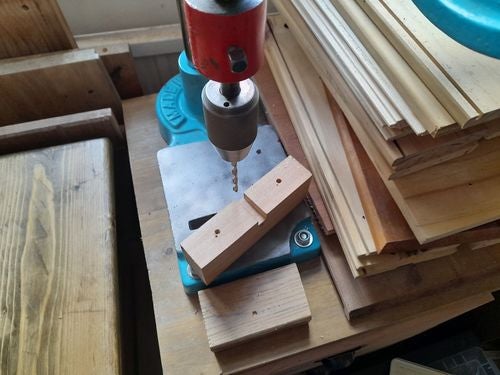
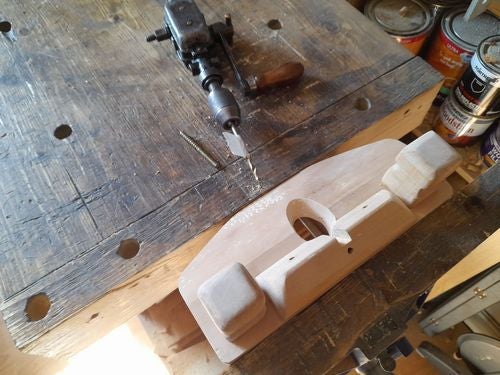
Mark out where the adjuster goes and drill the hole - I'd have normally freehanded this, but the pillar drill is a new toy so I'm using it.
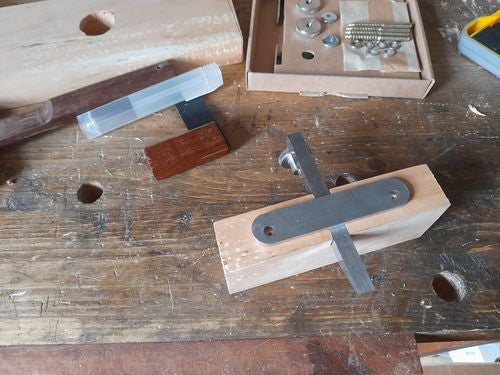
And mark out and drill the holes for the retaining bar.
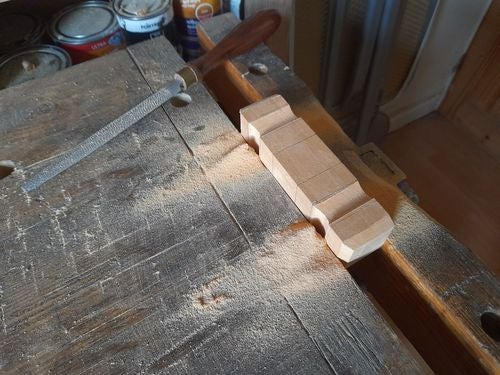
Now I can shape the piece to give a 60 degree angle for the iron.
And it goes a bit like this - I'll shorten the back and blend it in after it's glued on.
Smooth off the side edges of the piece with some rasps and sandpaper.
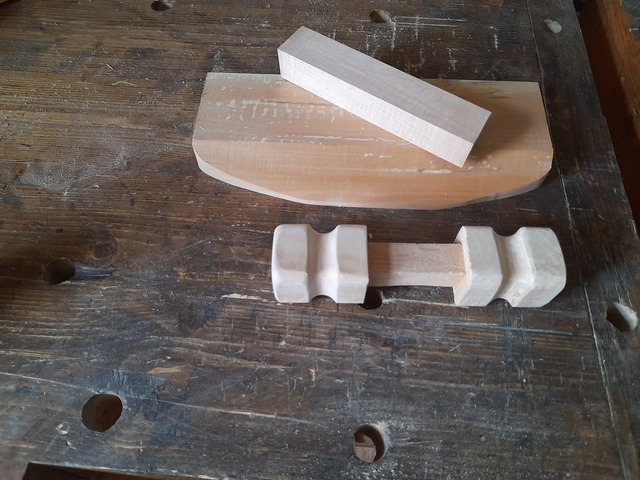
On to shaping the main body. Angle and shape the front.
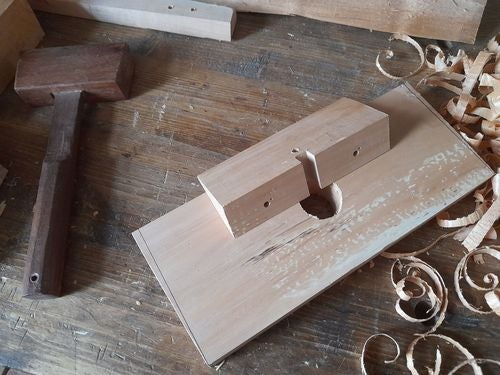
And glue on the top piece.
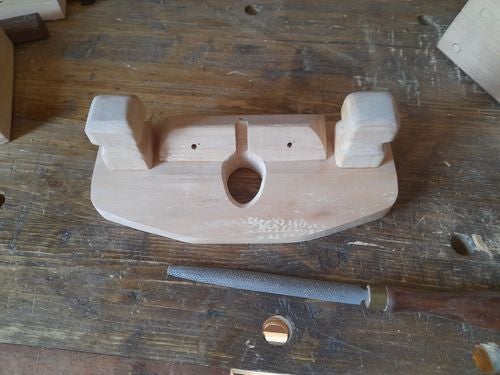
Match up the back and round it over to blend it in a bit.
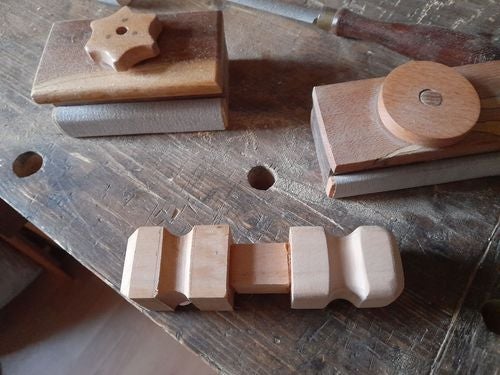
On to the handles. Paul Sellers just modifies some normal cupboard handles for his - I decided to just make them from scratch, mostly because I wanted squared off handles.
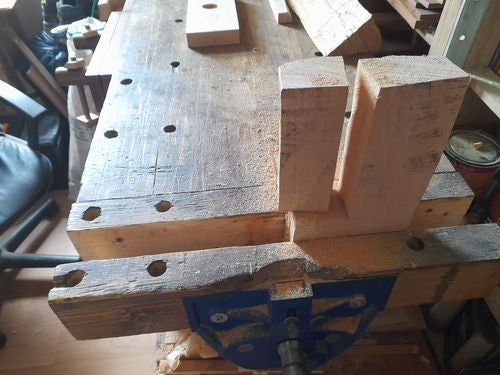
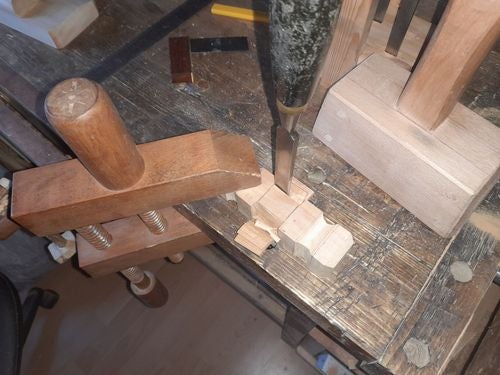
Cut off a chunk and square it off (Using a Stanley number 4, of course)
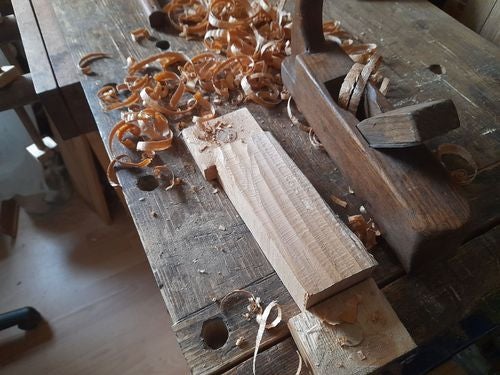
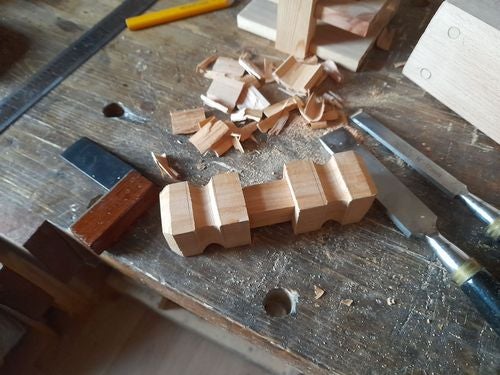
And then rasp and chisel down to the shape I'm after.
And then just round off the edges and seperate into 2 handles.
I didn't have enough visibility on the hole and it needed fixing a bit anyway, so I re-shaped it a bit while evening it out.
Which just left re-drilling the holes to final depth.
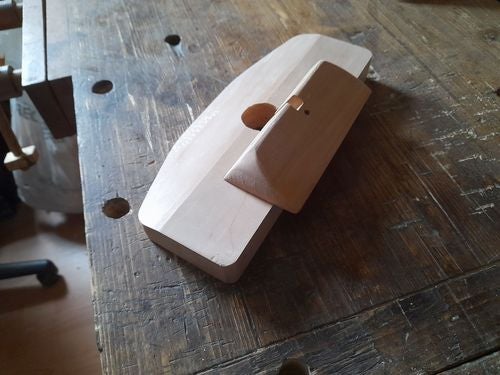
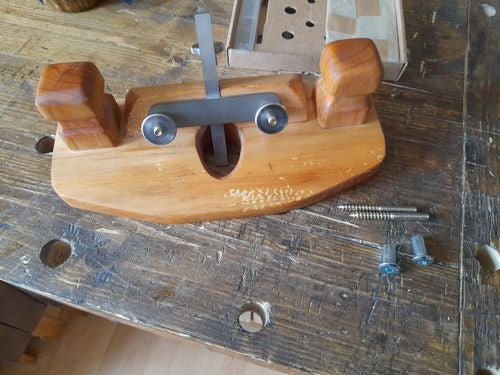
Adding a quick coat of danish oil.
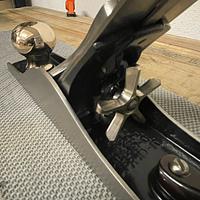
And attaching the hardware, I had a couple of bits left over that would have been used for the handles.
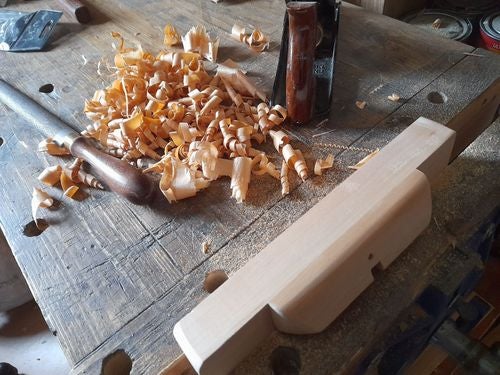
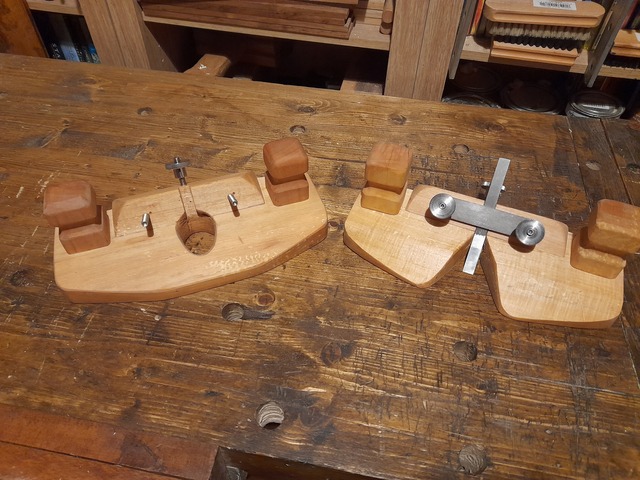
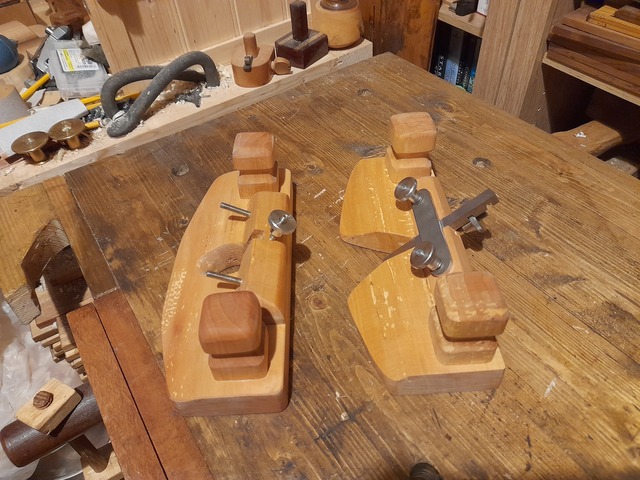
So I made another one with a 45 degree bed angle. Pretty much followed the same process, but opened the mouth up to give a better view to account for the lower angle. 30 seconds to flip the Iron and holding plate between the 2 depending on if I have a groove to flatten or a mortise to level out.
Neat little project and a great walkthrough B_UK... Not an overkeen hand tool user meself, however, you've given a few clues that might assist if the need be.
If your first cut is too short... Take the second cut from the longer end... LBD


 - Project by Dutchy")
 - Project by Dutchy")
 - Project by Dutchy")