Share your craft projects
Make new craft buddies
Ask craft questions
Blog your craft journey

LIttleBlackDuck
5504 posts
and
55 followers
in over 3 years
in over 3 years
More from LIttleBlackDuck
Teach your wood to spell.
..Boys and Girls,
Before you go and search my cloaca for castration purposes, blame some other member that said puzzles are a great Christmas present… I’m no Santa but granting a chance to enhance your options for presents.
Before you go and search my cloaca for castration purposes, blame some other member that said puzzles are a great Christmas present… I’m no Santa but granting a chance to enhance your options for presents.
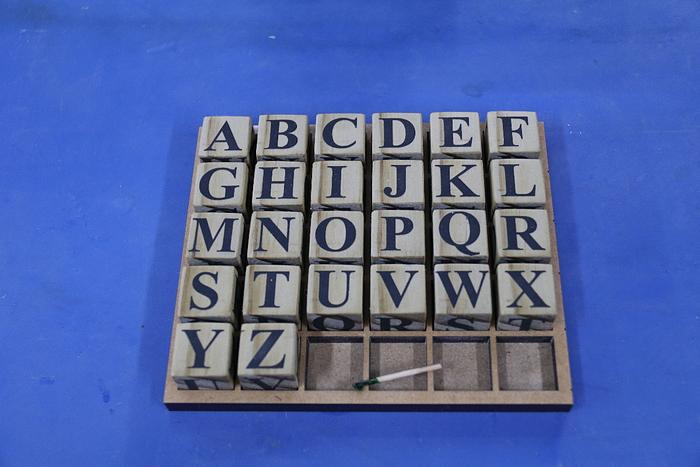
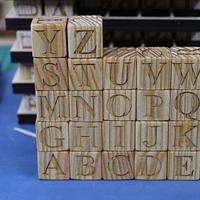
This is a puzzles with the alphabet mathematically distributed on 26 cubes that need to be rearranged alphabetically,
I have laser engraved the characters and some I have filled with wood filler.
Before you get into a tiz about laser engraving, KISS and mark the letters using a texta (Sharpie to Yankeelanders), pyromania, letter punches (can have small letters on a large block), Letrasets or plain paper stickon.
The secret is to list the letters numerically and when you are totally lost, try alphabetically. Lay them out vertically on an appropriate length of timber that when cut into pieces can make 26 “perfect cubes”. While still a stick, after the first side, rotate the stick and starting from the next letter, which is usually “B” in the English language, proceed down, placing the “A” as the last letter. Do this for the other 2 remaining sides... try to remember to progress to the next letter.
Then it’s over to your favourite small piece cutter. Once you cut the cubes, line them up alphabetically (just remember orientation) and on one end start with the 5th letter (normally “E” if you can count/spell) and “F” on the other end repeating your algorythm.
You can make a tray if you wish. I placed holes in the tray in case you have fat fingers and can poke a wrong placed block out with a tooth pick.
The following is the full extract of the SAGA I published at LJ extract on 12th. April, 2021 in case you had trouble following what I just said… but be prepared for more confusion if you read on.
______________________________________________________________________________
Boys and Girls,
Much to the chagrin of all the box makers, bowl turners and cutting board tragics, I am flying the flag for all the sadomasochistic puzzle makers… hmmm, well me and the other one out there.
Forever on the prowl to befuddle selected humans, that cohabit my earth, I came across this project by newbie BaritoneWoods.
What the cagey bugger didn't tell the LJ world that it was not a puzzle made for kids, as first impressions (at least mine) implied.
He hinted emphatically about the time consumption in swapping out 26 irons is bit of a chore that I won't be doing often and thinking I was a better Soprano than a Barintow I jumped at the thought of laser engraved time saver.
Thinking I could just engrave the 6 sides in one long length, I laid down my cask of vino and realised I had to cut the blocks to engrave on the ends… Not to be intimidated by menial tasks, I still opted to undertake the challenge.
Bypassing SketchUp, I headed straight for CorelDraw and started to setup the alphabet "matrix" (as per BWs picture)… found it near impossible, so I tried a table setup in Microsoft Word…
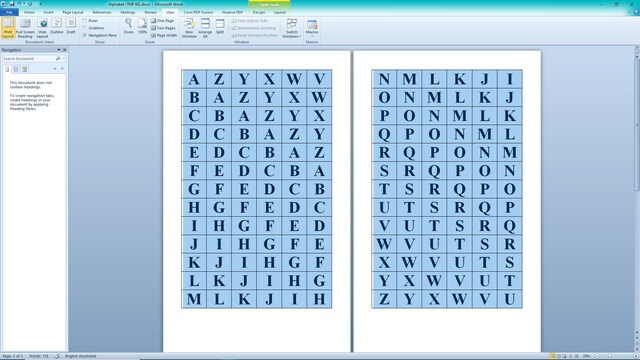
after entering the full matrix manually (156 letter) and correcting numerous typos… I quickly (sorry, bloody slowly) realised that the letters were shuffled 1 character downwards with wrap around and all I needed to do after 1 alphabet is to cut and paste the other 6… talk about the adage of forest for the trees… (DOH!).
Came up with this Corel Draw design,
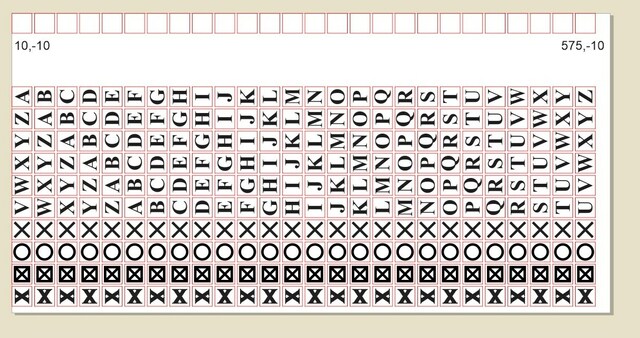
(more on the "0" and "X" later).
Won't bore you with details, but then sent to the laser, 1 side at a time,
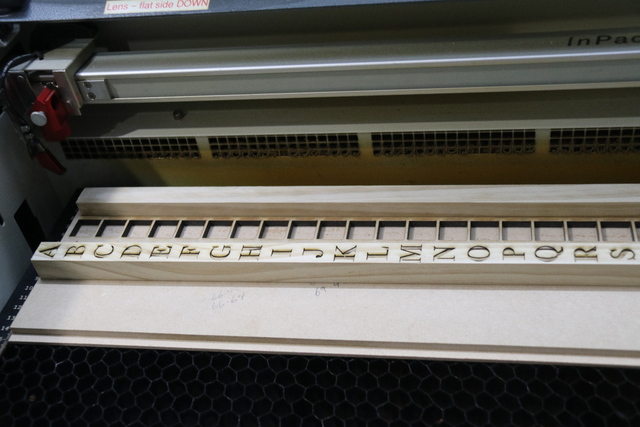
Then it came time to separate the letters…
- Tried the mitre saw…
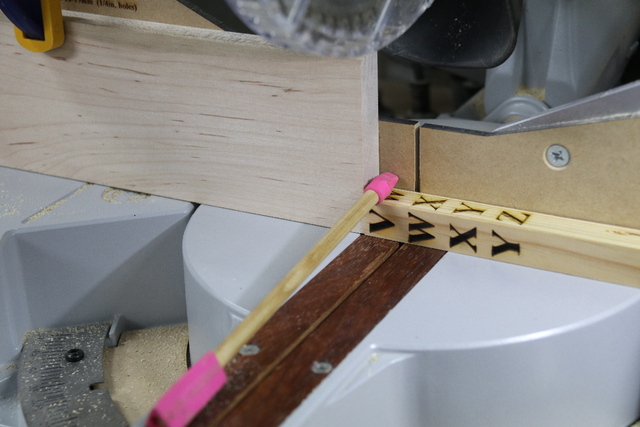
- Tried the cross cut sled,


Even put on a new fence skin to ensure ZCI,
- Resorted to my Incra mitre gauge,

Now stop blocks are good but just the slightest deviation would exacerbate any oopsies down the chain.
Decided to engrave cutting marks on the rod so I could visually confirm line up, and manually adjust if needed.


To get to the on/off switch of the TS, I loaded the power with a remote controlled power point that was controlled under my nose,

These cutting marks could have been used as laser guides on my Kapex,

however, I might still have to crawl around picking up pieces.
While writing this article and taking some follow up pictures, I did a test run,

and quickly realised this would be the best option… if I ever got drunk enough to decide making more of these puzzles… cutting between drinks of course…
During lasering I did forget to spin the rod (only once),
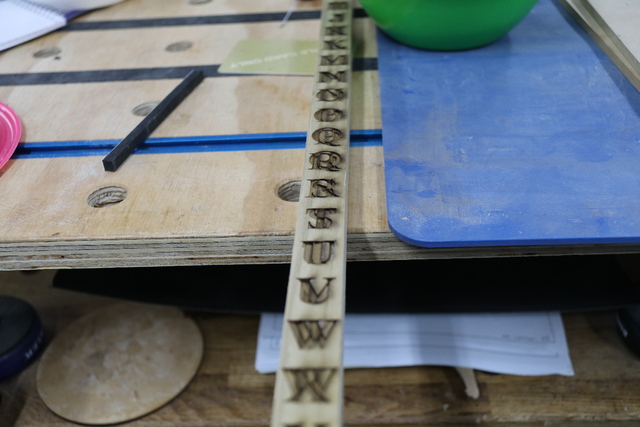
and align parallel to the laser bed another time,
and copious other oopsies lining the bottom of my rubbish bin.
My first run of 4 was out of treated pine, hence the greenish tint,
I chose to see the effect of wood filler on one of them,


After testing some wood-filler on end-grain,

Filler dust gets into the pores of the end-grain so I masked the pieces before engraving and subsequent wood filling,

and sanding. Too much effort and only bothered with one set,

though after tung oiling,

it did pop

(though the picture doesn't do justice).
Next run of 8 was out of structural pine.


In a way this was stupid as I thought that making out of 19mm pine was too small, so this idiot looked for timber that he could make 20mm cubes out of… Though in my defence the 20mm was based on my laser bed… any greater and I'd have to extend out of 2 separate strips.
The "sticks" were eventually cut into blocks using my Incra mitre gauge,

didn't trust my fingers on the last few cuts and clamped it,


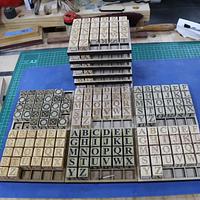
and collated into sets,

to have the letters engraved on the end-grain. The end-grain was masked to minimise laser blowout.
The sharp and scraggy edges
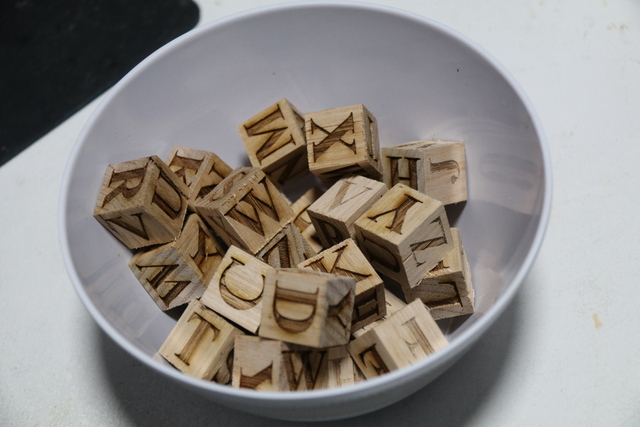
were eased with 180 grit sandpaper,

eventually slapped together into sets.
I have wasted enough drinking time on these freebie give-ways, so any further subsequent finishing is left to the recipient.

As previously mentioned, this puzzle is quite deceptive as each side bears the full alphabet. If you use the required letter from a different side, naturally the letter on the correct side will be missing out of the solution and you'll finish up with at least one missing and one duplicate… or more than just one.
Now if the solver notices, if they stick to end grain their selection is limited to 2 sets making it easier, however, if they stick to long grain sides, the options are quadrupled.
As I rotated anti-clockwise while engraving, I found that the best way to "cheat" (in long grain) is to follow the letters rotating clockwise

and the highest letter is it (B, C, D, E, ignore the A and Z)... the winner is E.
One set, I engraved the same letter on both end-grain sides making it more kiddie friendly as all they had to do is use the alphabet and avoid the puzzle feature,

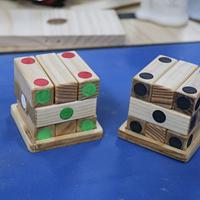
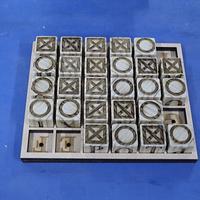
One of the treated pine sets had "O" and "X" on their alternative end-grain sides, so that set could be used for some sort of naughts and crosses or maybe Connect 3 alternative games.


The cubes could also be used as a Boggle word game…
Because of the self-gratifying word great, modesty prevented me from publishing this picture here,

Consequently, as the temperature in the workshop was 14°C, I decided to replace it with this,

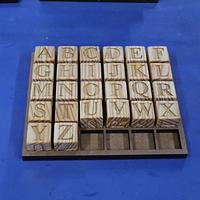
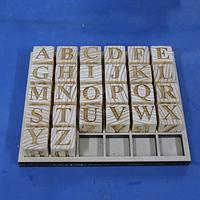
Interesting feature of this puzzle is that when tipped out (retaining formation), the reverse side is in alphabetical order,

though disjointed… as is all side views.
For those that are not into puzzle solving, it can be distributed with 26 blank squares,

and the user can sharpie the letters on them… if they can spell!
Finally, the base tray has 3mm access holes so that the blocks can be pushed out with a tooth pick in case of humidity driven wood expansion. Oddly it is not required for contraction… go figure.
Keep safe,
If your first cut is too short... Take the second cut from the longer end... LBD
9 Comments
To me it's look like a puzzle that can drive you mad, but I think it's a fantastic creative made and a great execution.
Great job LBD, that is a lot of blocks to make without a laser. Well done.
Main Street to the Mountains
Great one again. Still working on the dice. Thanks for the information and inspiration.
Ron
Another WOW project! Like the various versions - I would need the kid option.
Welllll...... that's just something for someone else. Well done and thanks for posting it but no thanks!
Albert
Pure torture, for both the puzzle solver and the puzzle maker, Love it!
Likes like a torture test to me!
Ryan/// ~sigh~ I blew up another bowl. Moke told me "I made the inside bigger than the outside".
I would need some mental help after playing this for a while. Sharp project. Mike
Thanks guys... Crazy part is that usually the first 23 letter are done in a few minutes (non WORDLE people)... then the next 3 could take hours before they turn into a missile...
Some are unlucky and only 20 lay down easy.
Some are unlucky and only 20 lay down easy.
If your first cut is too short... Take the second cut from the longer end... LBD


