Approaching Xmas, this is the ideal time to use up some scraps and for once, this puzzle is better suited to solids rather than laser cut MDF.
It was publishes elsewhere on May 8, 2020 and imported here… The imported narrative is just as boring as first published, with the exception that a few spelling mistakes may have been corrected.
When I made this puzzle, I laser engraved the dots… not because it was easier, but because I filled the “holes” with wood filler and the laser depth took less filler than any drilled hole.
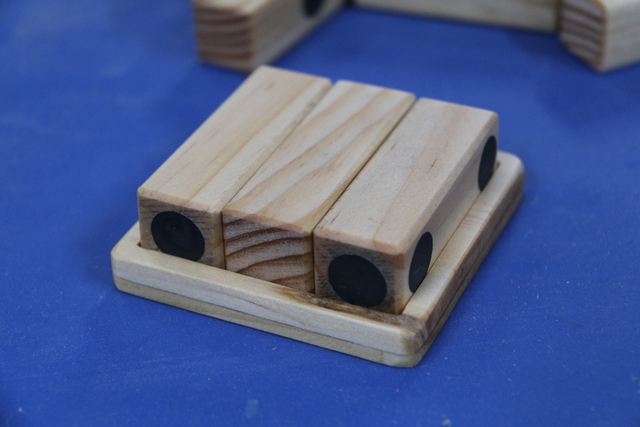
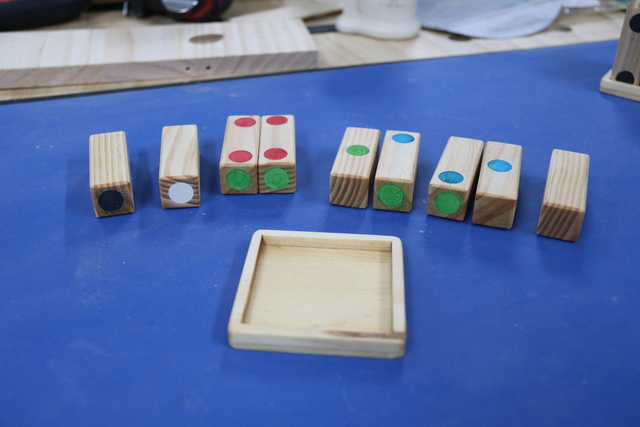
The tray is made simply to facilitate moving the assembled puzzle around… with the low sides, wasn’t much chop in keeping it together.
If you bother to read below, I mention colouring the woodfiller. I use neutral… don’t use white as that seems to pale the vibrancy of colour more than with the neutral. I used food colouring (from the supermarket) rather than the much more expensive wood stain for deeper colours.
If you have better ways of colouring woodfiller, please comment even if not interested in the puzzle.
Hot on the tail (sizzle) of my previous puzzle post, this one was fabricated to confirm there is more than MDF in my workshop's wood pile and my laser is not necessarily my primary operational tool.
This puzzle was also plagiarised from here (you might have to navigate to the Mechanical 3D puzzle plans screen). All relevant plans, documentation, including solutions can be found on the appropriate page.
The fart has dissipated, much like the congregation, but the lingering subtleties still remain. While on this topic of those small explosions between the legs, Q. Why does a fart smell? A. For the benefit of the deaf!
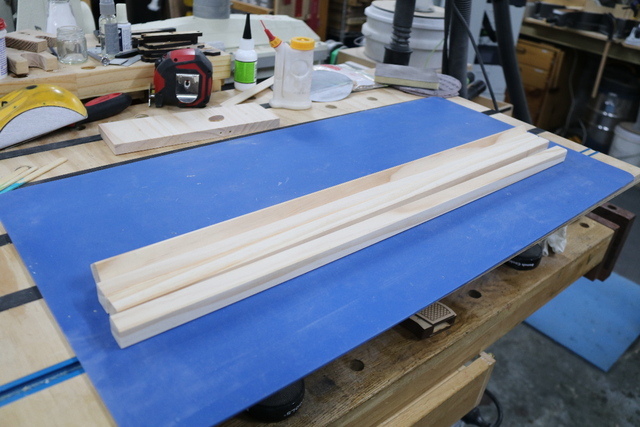
Started off as a very simple build… Sliced some slivers of 19mm non-boomerangs from a piece of 19mm x 42mm pine boards…
non-boomerangs you may ask… and if you don't, I will still insist on answering… Q. What do you call a boomerang that doesn't come back? A. A stick!
Chamfered the resultant stick on all four edges at the router table,
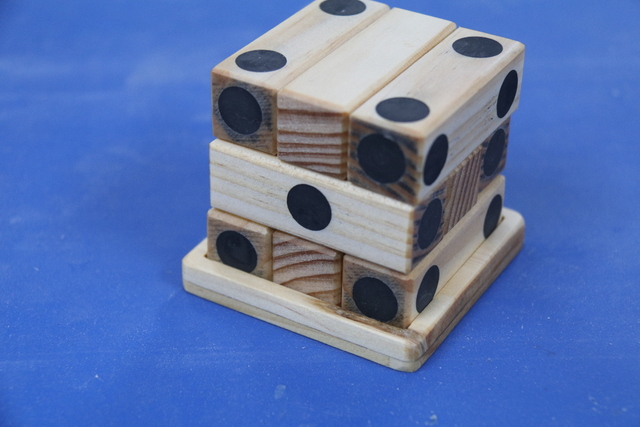
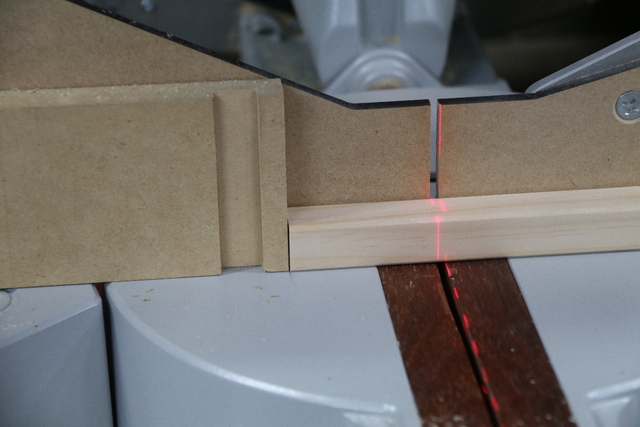
Set up a stop block and cut 18 x 57mm smaller sticks (2 sets) to permit 3 layered stacking of the 19mm x 19mm kindling (smaller sticks).
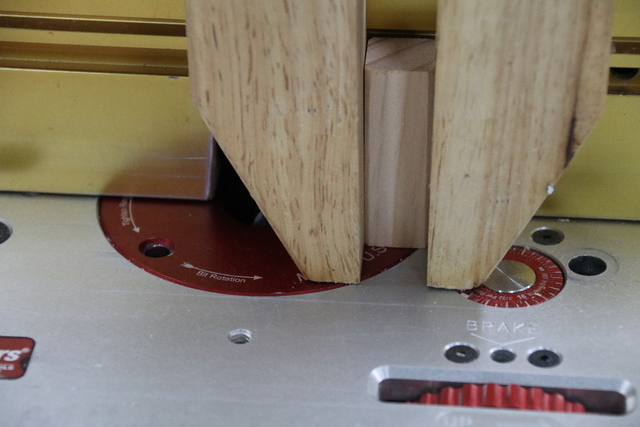
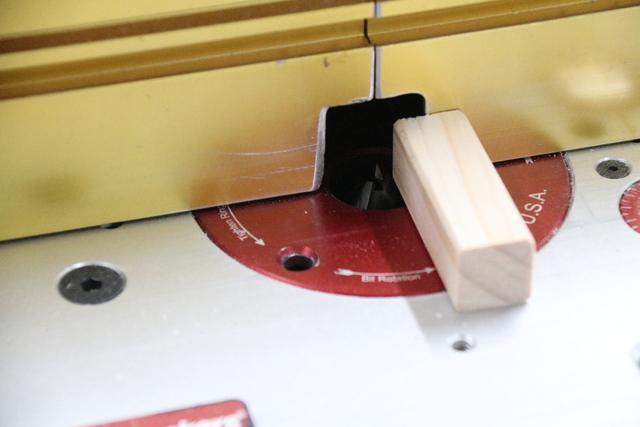
Don't know what possessed me to try to chamfer the ends using a wood handscrew,
other than the thought of potentially loosing a few fingers if I would have tried this way,
... more on the end chamfer later.
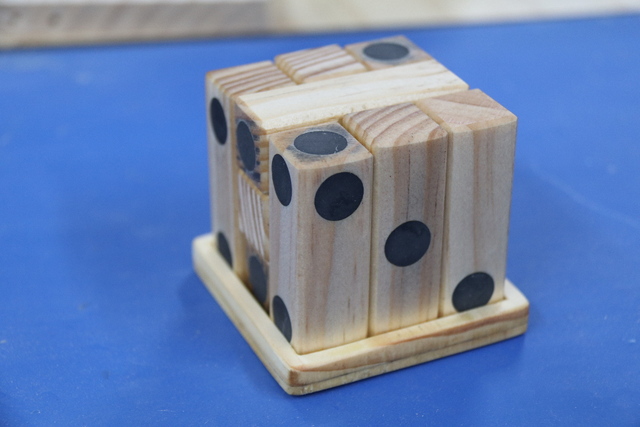
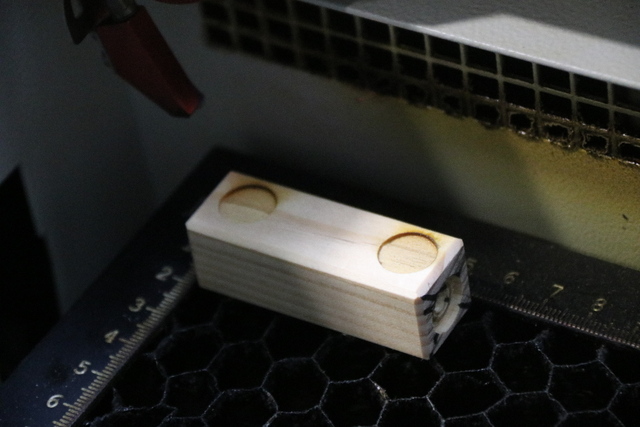
Not wanting to abandon my expensive hobby laser (long story for the uninitiated), decided to laser engrave the dots on the sides of the kindlings,
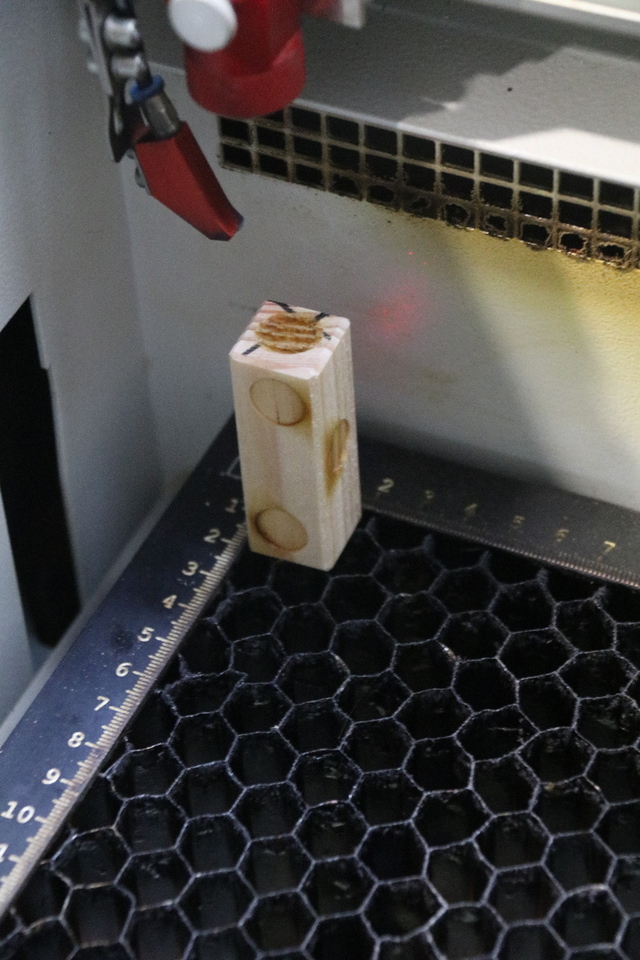
also tried to laser engrave the ends,
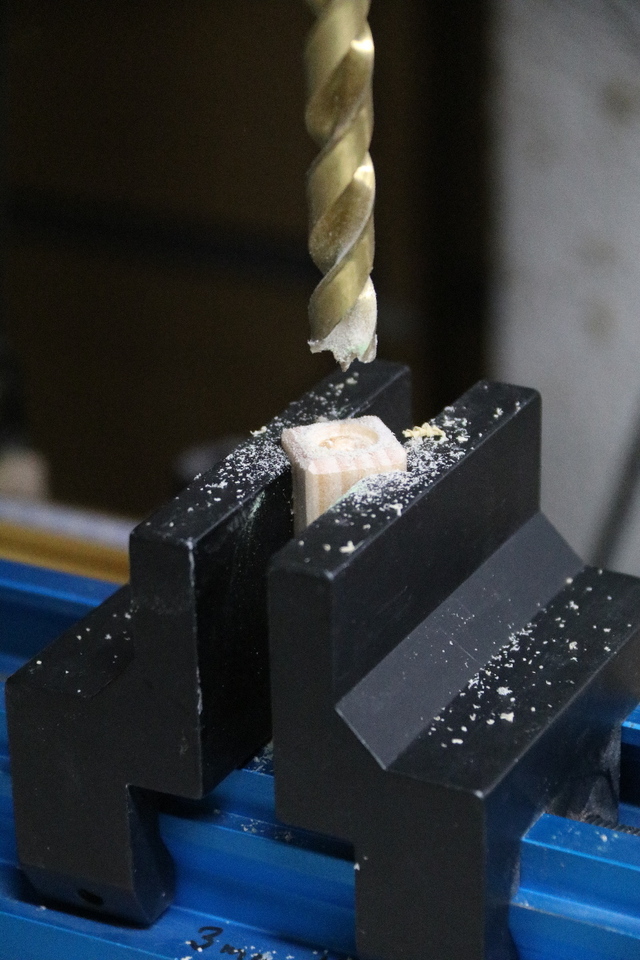
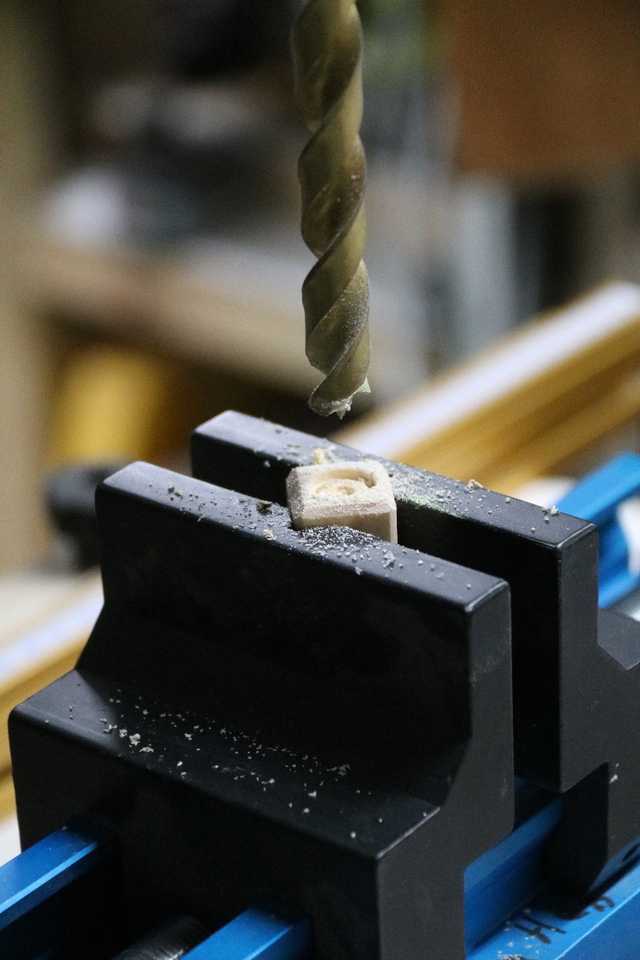
however, with the rapid movement of the laser head and the high center of gravity of the timber, a rhythmic rocking resulted in a "blurred" edge to the circle. Transferred the "end dot" creation to the drill press and used a pen blank centering jig to drill the 12mm hole,
The auto start and depth stop of the NOVA Voyager DP made this operation a pleasing exercise.
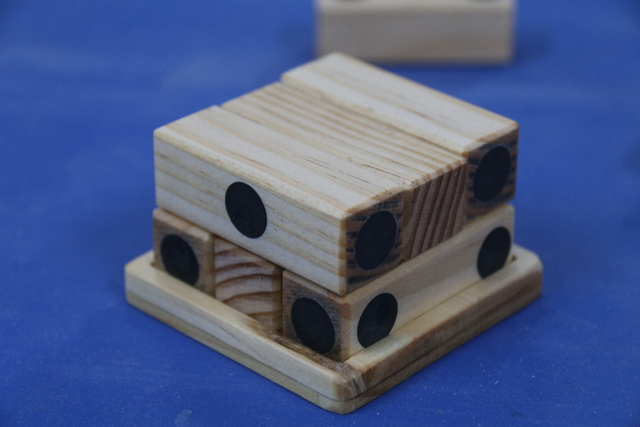
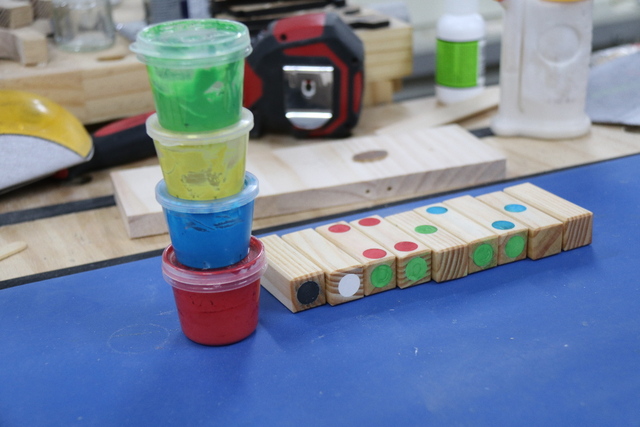
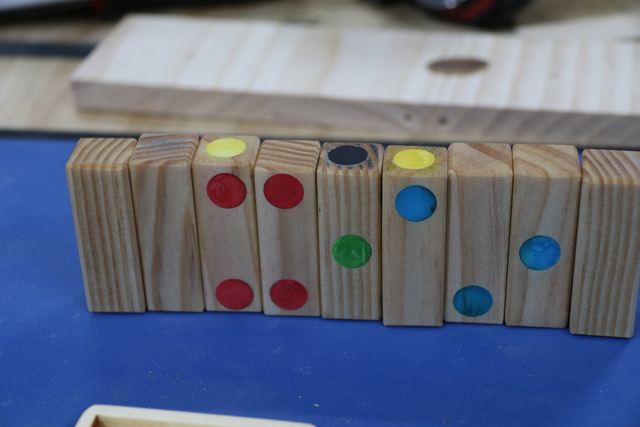
Filled the holes of one set with all black (ebony) wood filler and for the other set, mixed up some colours for each dice side's number combination,
and filled accordingly. Colours used for the representative dots/numbers were:
1 white.
2 yellow (mixed).
3 blue (mixed).
4 red (mixed).
5 green (mixed).
6 black.
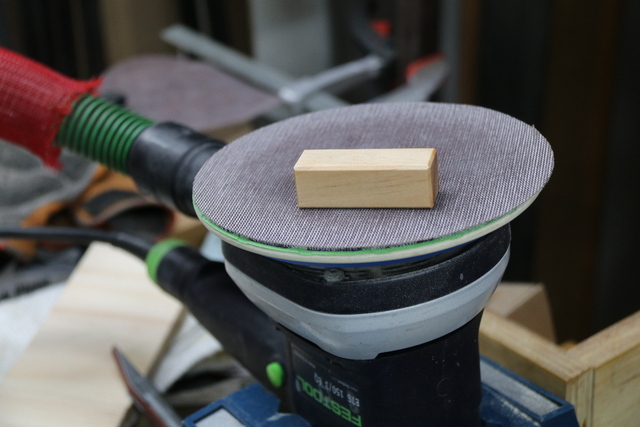
The sides were sanded on an upside down mounted ROS,
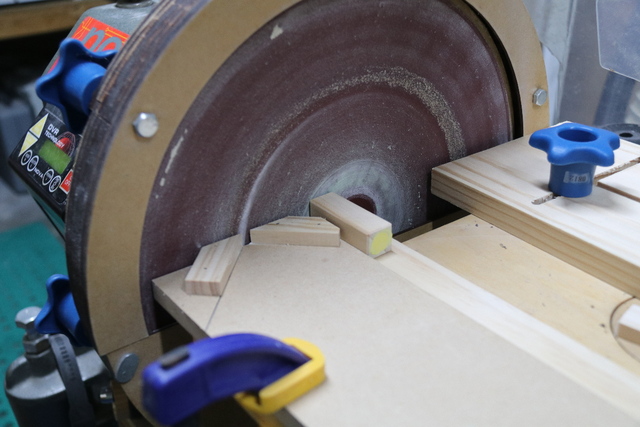
while the ends were sanded on my lathe disc sanding setup using a thin "plank" for near zero clearance support using the jig as a 90° reference,
and after abandoning my initial potential chamfer tragedy, I made a very basic beveling jig for the ends,
(c'mon guys, what's the difference between a chamfer and a bevel other than the spelling?)
Couple of oopsies in the fabrication:
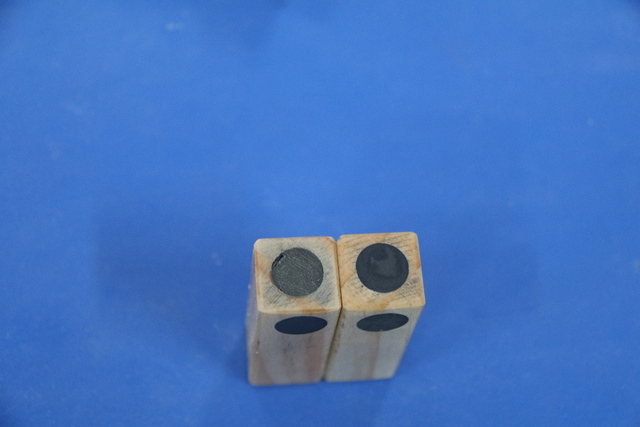
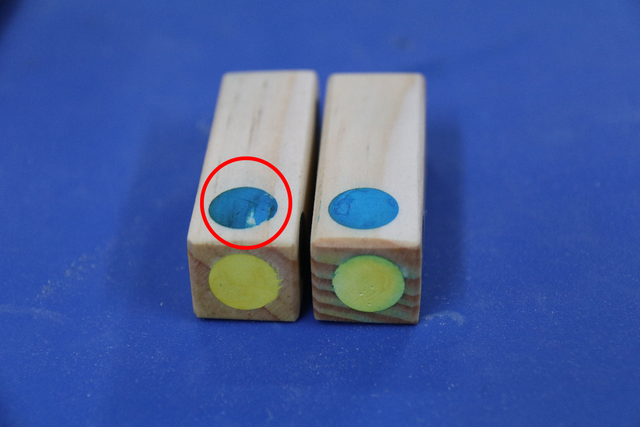
1. Big mistake of not sanding the ends before filling. With exposed grain, off the saw, the sanding dust impregnated the endgrain creating a smudged impression (piece on the left),
After initial endgrain sanding, it still spread but not as much
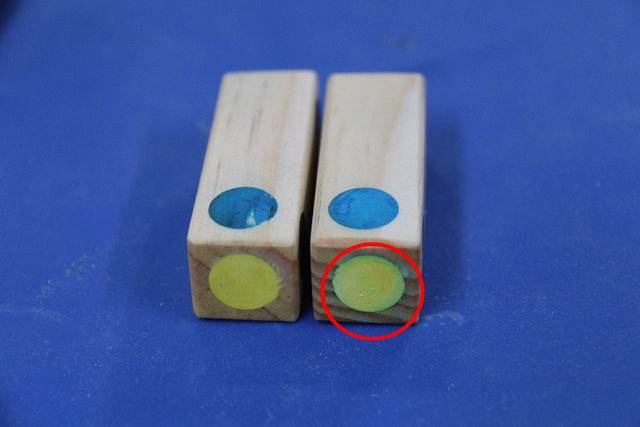
2. Accidentally filled one hole with the wrong green filler (on the right) and when replaced with the correct yellow, the colour's corona (DOH!) was unacceptable.
3. Laser engraves hardwood and sapwood to different depths. After sanding, filler over hardwood bottomed out revealing raw timber.
To rectify, the ridge had to be chiselled away prior to filling.
The black spotted puzzle was surprisingly more difficult than first envisaged. The coloured one was easier once you lined up your ducks (colours)
and remembered that each colour only appears on one side and all sides had a different number of dots. The fact that opposite sides add up to 7 can also assist in solving the all black dot version and further simplify the coloured.
There is a Covering video covering video about the assembly of my three latest puzzles,
4. Misc - miscellaneous files, eg. movies, word documents etc…
5. PDF - PDF format documentation or printable files
6. STL - 3D models.
7. SU - SketchUp model.
8. Trotec - laset files for a Trotec engraver/cutter.
For Corel (not C125) and SketchUp, backward versions may be made available on demand if not present and documented. (Not all puzzles have been tested and published.)
If your first cut is too short... Take the second cut from the longer end... LBD


 Puzzle Box. - Project by LIttleBlackDuck")