


Share your craft projects
Make new craft buddies
Ask craft questions
Blog your craft journey

Don
650 posts
and
29 followers
in over 12 years
in over 12 years
More from Don


Blanket Chest


This was two Blanket chest I made in 2011. They could double as toy boxes. When I started, I hadn't thought the whole thing through yet, but I had an idea in my mind what they were going to look like. I had some time to build them, but my job was getting busy, so I wanted to get a jump on them.
Edit Note: Somewhere throughout the project I decided to make my daughter a blanket chest as well, so the 2 became 3.
So here is how the story went:
The frame will be poplar. This is wood I cut and milled from a tree that blew over in a neighbors hay field. Its air dried about 2 years. The panels will be 1/4" oak plywood and I'll have some oak trim here and there.
I got the lumber down today, squared the live edges and planed it. Its ripped into 3" framing. The dimension will be about 36" x 20" x 22".
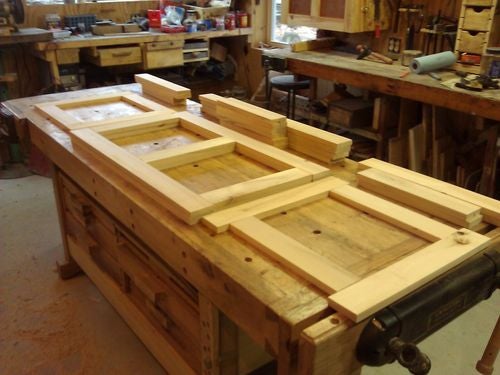
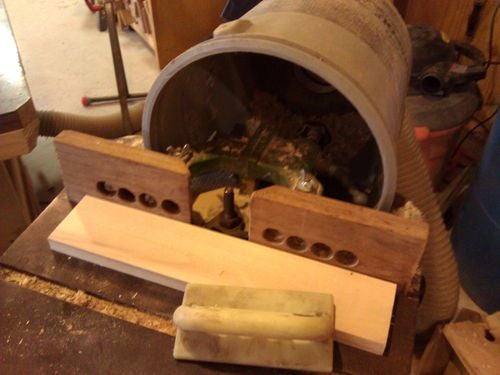
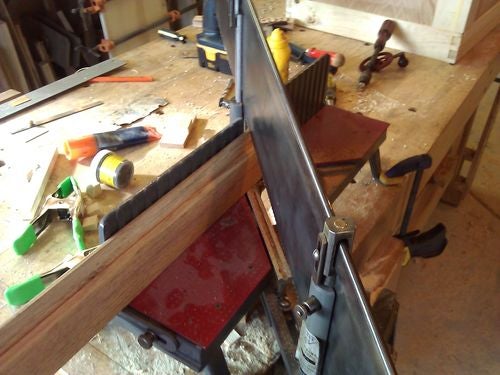
Next I thew a 1/4" bit in the shaper. This will be the first project since I got the shaper back up and running and added the dust collection. I couldn't find the stile bits, so using just the 1/4" flat is plan b.
I like the square look better anyhow, so I'll soften the edges with some sandpaper on the front and back face.
I added a mark for the frame pieces where the groove would not go straight through. I had thought about using a spline, but opted for doweling. I will dowel the frame together.


I also decided I wanted dovetails in this design, but I didn't know how to add them with this type of construction. I decided the top and bottom frame would be dovetailed, the upright frame will be screwed and plugged, probably with oak plugs since the 1/4 panel is oak, and I plan to have oak breadboards on the top. I may even do an oak skirt, but I'll need to see how that looks.
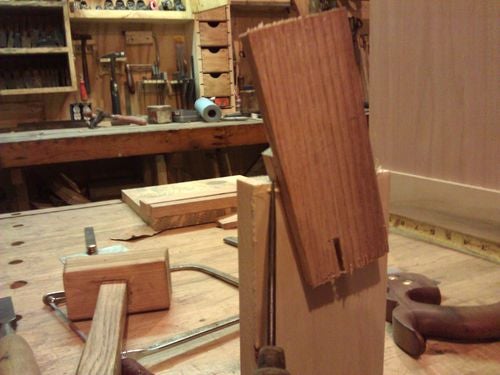
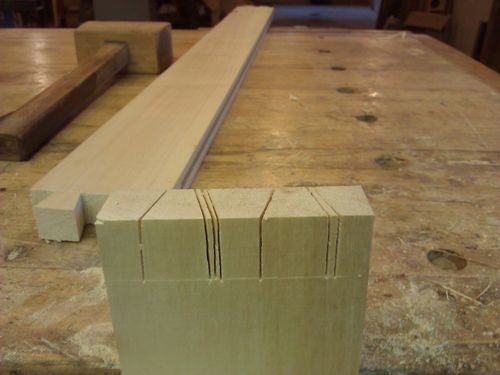
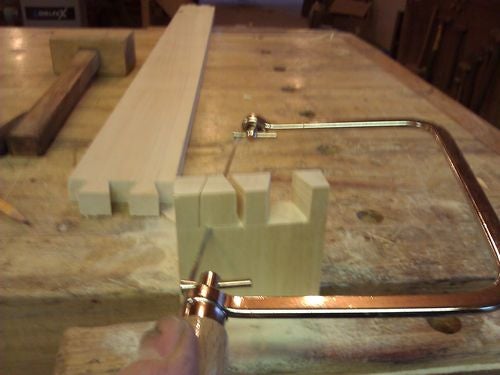
Before i cut the dovetail I decided it was time for a dovetail marker. Here's what I came up with. I'll clean it up at some point, but for now it'll just need to work. This one is 14 degrees.
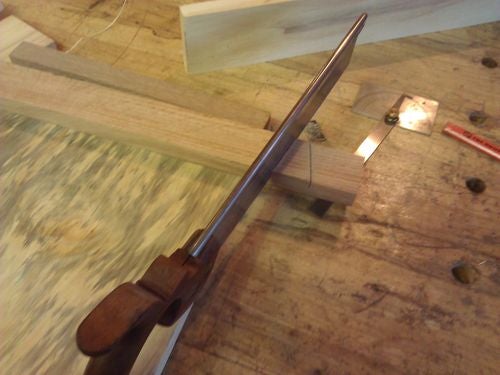

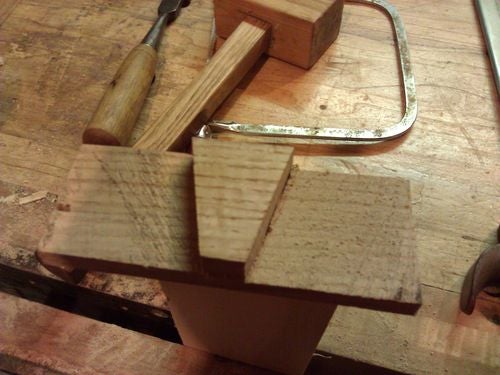
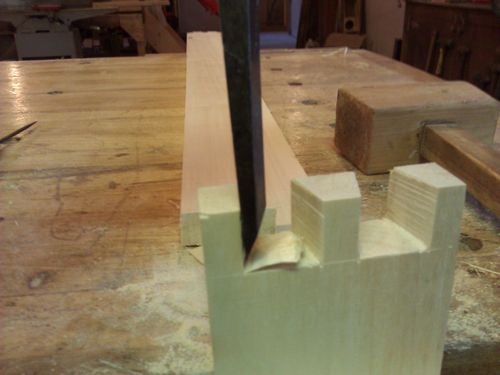
I have some problems getting the scroll saw to turn when cutting out the waste. I bought this new Lee Valley version and it does work better than my old craftsman, but I found if I make a second cut I can cut that piece out easier. I can then get the saw flat and do a better job getting a straight flat line.
And that's not saying once in a while some chisel work is needed. OK, maybe more than once in a while.


That's it for today. I hope tomorrow I can get the dovetails all cut and the box together on the two.
Thanks for looking and hope you'll stop back and follow as I go.
----------------
Post two…..................
----------------
A couple of good days in the shop First I doweled the frames together and glued then all up.

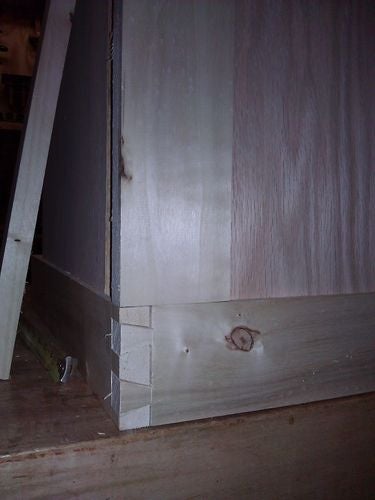
Next was the skirt. I cut the lap with the table saw, and rounded the edges with my hand planes.
Next I cut the miters
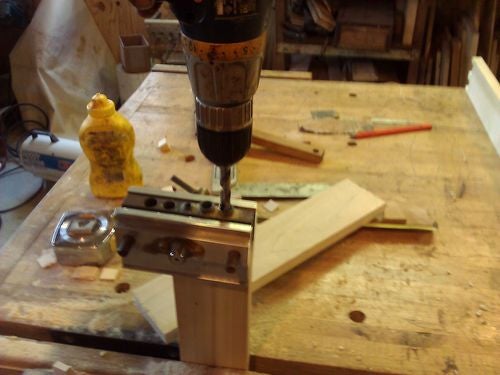
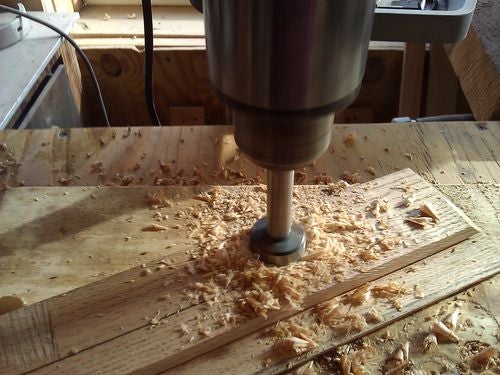
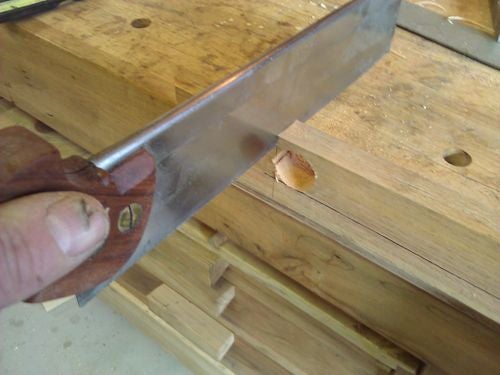
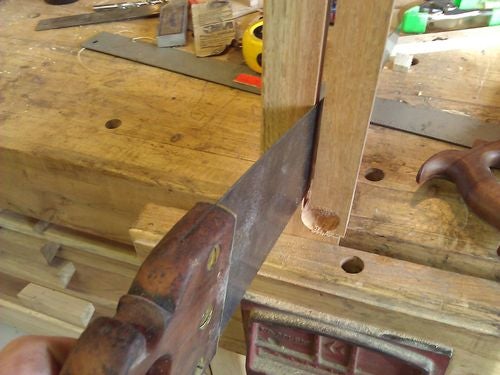
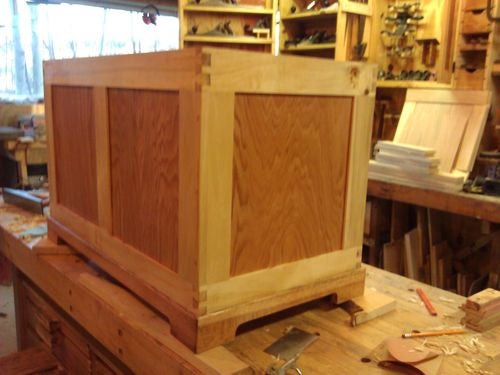
Made the legs buy drilling with a forstner bit on each end, cutting the short cut with my dovetail saw, the straight cut with the table saw inside the holes and finished with a hand saw.
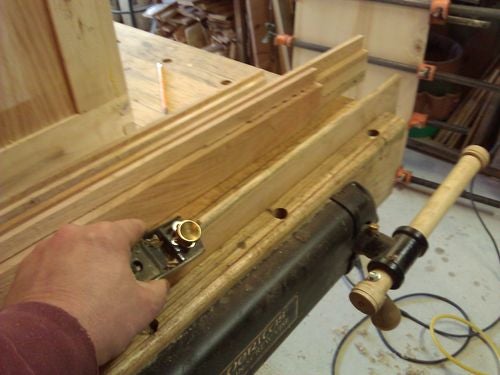
Now clean them up with the #75

And install
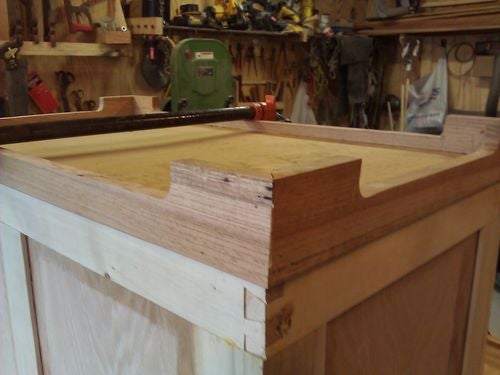
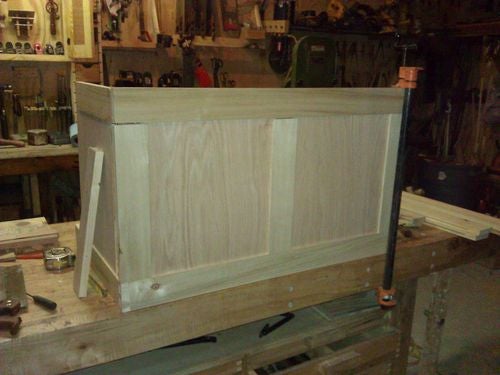
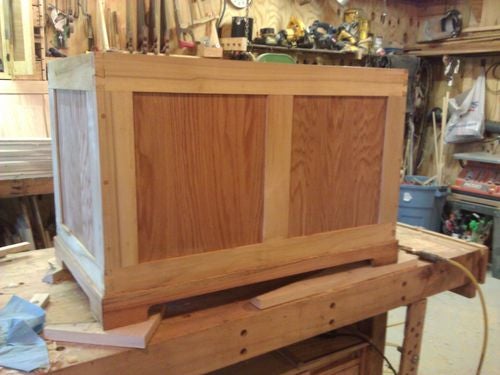
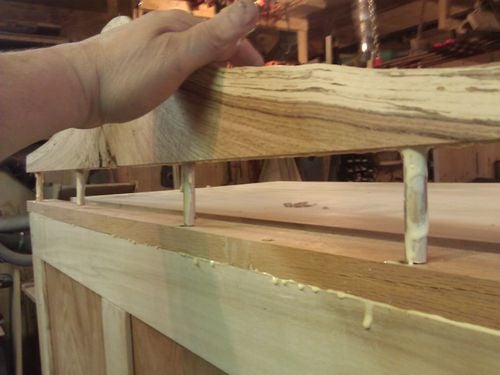
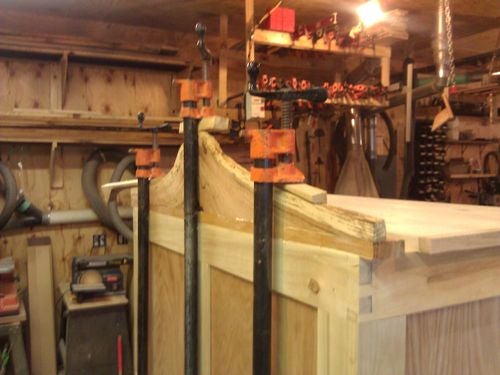
After some planing and sanding its ready to stand back and look. The top was glued up last night. There will be some oak ends added. The back piece is a piece of live oak just sitting there to be admired for now and make sure its going to fit.

And just before I left for the evening I gave it it's first coat of poly.
----------------
Preparing the top…......
----------------
ahh what a day. After the grandkid were happy on xmas morning, we headed on home. With a few hours getting between home and dinner it was time to test drive the new veritas scraper.
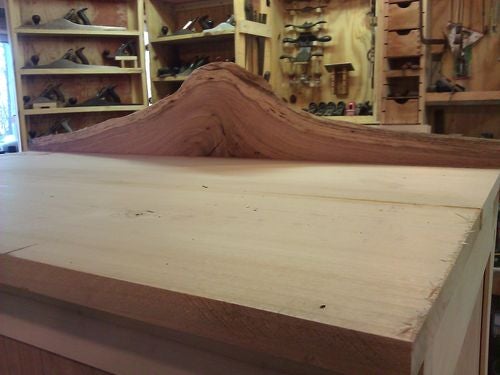
The chest top was glued up and waiting to be flattened.
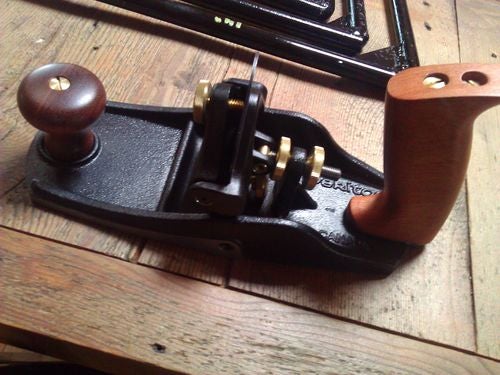
First I grabbed the 82. I need to get rid of the major glue drops. I've used the #82 before, but not since I cleaned it up.

Next i grabbed the 604 out of the till, a few last minute minor adjustments and touch down. No good. Its digging and lots of tear out. Its been a while since I sharpened it, so lets hone this blade. Sharpening by hand feels natural today, even with the thin Stanley blade. I've been trying sharpening by hand without the jig, and I can usually tell with a single swipe if its going to work or not. Today it felt right. Reset the cap iron and back in the plane we go.
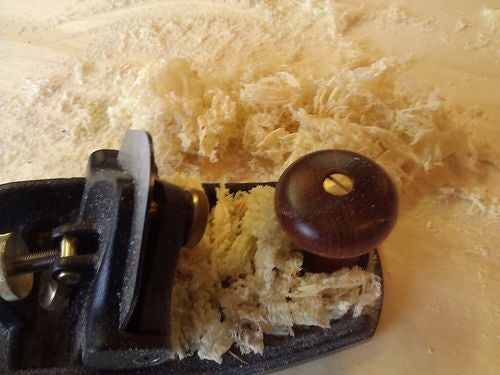
The shaving were amazing today. I just kept thinking of Dan's theory on "fine shavings pictures", so a snapped a few.


These things were coming out like butter. SO fine and crisp. I grabbed the can of fluid film and gave the sole a shot, even smoother now. I thought I was in heaven. Even the knots were coming off in wispy style.

I haven't had everything come together like this yet. This was poetry in motion, and for anyone that knows me, you know I'm not a real graceful type of guy. Today was the day. I'll remember this for a long time.
Now for the veritas. First thing I did was hit the back of the blade with my oil stone. It proved to be flat and true. Then hit the bevel with the stone. A few strokes to put the hook on it (i wish my burnisher looked as good as Al's) and into the plane it goes.
A few strokes and some chatter. A few more adjustments and some more chatter. Uh-oh, is this going to be a pain? Maybe i didn't get the hook right. I take the blade out and try it by hand. After a few strokes it seem to be working great. So lets try setting the angle as it is working in my hand. Now we're talking. Tighten down the adjuster to give it a slight flex and its working sweet. Why I didn't have one of these 20 years ago is now a mystery.
So next I grab the Sander and an old 220 disk. Give the top a once over. I've never been able to START sanding at 220, and now its all that it needs. Does it even need it? The top already has its first coat of poly.
So I need to thank LJ's. This site has taught me how to do this and provoked me to find this style. This is why I woodwork. Its just plane cool.
----------------
Fastening the back…......
----------------
Only one of these gets a back on the top. This is a piece of oak edge from the same lumber.
----------------
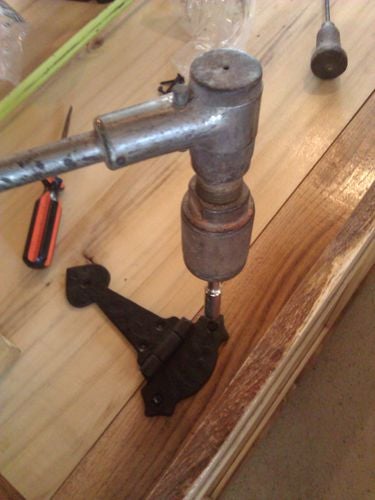
Installing Hinges…......
----------------
Here is a rough cut list
Frames
4 - 3" x 36"
6 - 3" x 15"
4 - 1.5" x 15"
4 - 3" x 20"
End Panels 2- 15 7/8" x 14 7/8"
Front & Rear Panels 4 - 15 7/8" x 14 1/4"
Bottom - 1/4" Plywood 20" x 36"
Top - 24" x 38" x 2/3"
Skirt
2 - 3" x 38"
2 3" x 22"
Add an inch or 2 for rough cuts.
Also add for additional top pieces if desired.
-- There is nothing like the sound of a well tuned hand plane. - https://timetestedtools.net
9 Comments

Great write up, thank you!
Ryan/// ~sigh~ I blew up another bowl. Moke told me "I made the inside bigger than the outside".

Those are great Don, well-built and the dovetails will add extra strength to the frame. I built some years ago for my kids and used a toung and grove joint on the corners. These chest will be passed down.
Main Street to the Mountains

Nice looking chests Don. Nice shavings in the pics

Really enjoyed reading this Don and sharing in your excitement with the scraper plane. I've never used one, but now I want one.
I just bought the acu-burr burnisher which was designed by Isaac from Blackburn tools. It turns a burr on both sides of a cabinet scraper simultaneously.
I just bought the acu-burr burnisher which was designed by Isaac from Blackburn tools. It turns a burr on both sides of a cabinet scraper simultaneously.
Andy -- Old Chinese proverb say: If you think something can't be done, don't interrupt man who is doing it.

Nice writeup, Don!
May you have the day you deserve!
Andy I just did a project write up on the accu burr. Adding handles actually. It’s a cool little tool for card scrapers. Works well!
Ryan/// ~sigh~ I blew up another bowl. Moke told me "I made the inside bigger than the outside".

Nice write-up, Don, and a lot of terrific work! Thanks for posting, I liked seeing your use of dovetails and the foot construct.
Don't anthropomorphize your handplanes. They hate it when you do that. - OldTools Archive -
Nice hand tool work and great write up.
James McIntyre

Nice project & write up. Thank you for taking the time to share it!
More from Don