Yolanda
in about 3 years
More from Yolanda
Cross Cut Sled
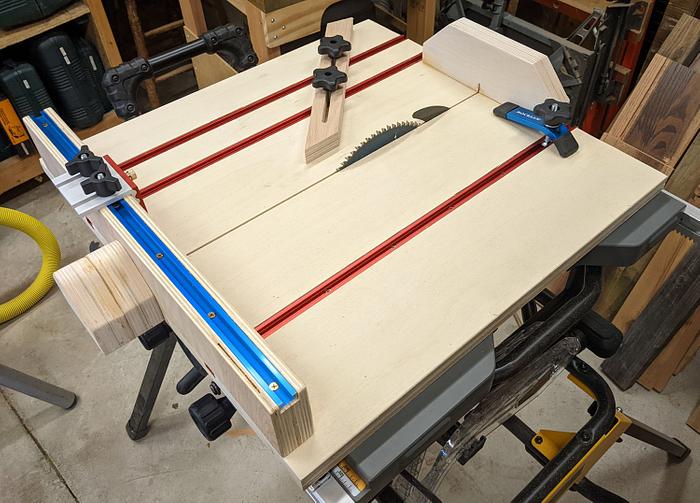
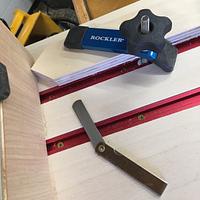
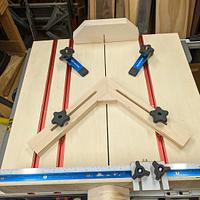
My Christmas gift year before last was a better saw but I soon realized that I needed a cross cut sled. I did a lot of searching & researching and this is what I settled on, it's a combination of 3 or 4 sleds I liked and I hope and think it will work for me. The hardest thing was squaring up the fence…after multiple attempts using the "5 cut method", I got frustrated and went on to other parts of the project. When I got back to setting the fence square the next day, it came together the first time, it amazed me the accuracy I was able to attain. I have no idea what I was doing wrong. BTW, I found out that not all squares are created equal, many I had were inaccurate
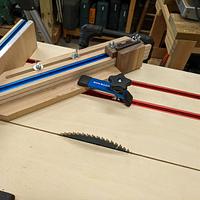
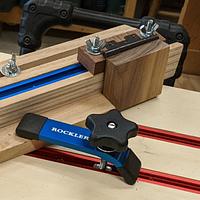
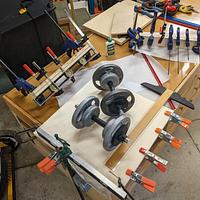
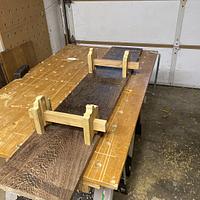
The sled part consists of 2 - 1/2 inch thick sheets of birch plywood I had left over from another project that I glued together for a 1" thick piece. The front and back fence are ¾" left over plywood that I glued up to double the thickness clamping them with a level to keep them straight while the glue setup. I dado cut several slots to install T-track for various hold downs including the top of the fence for the stop block that I bought from Katz / Moses. I read some critiques of the Katz stop block, but, to me, the criticisms were either self inflicted, like not recessing the track screws or putting a washer under the thumb screw to solve the claimed block movement that occurred when bumping a piece into the stop. I put only one track guide under the sled to allow for a future option to rip diagonals.
I waxed the bottom with paste wax, I was so surprised what a difference it made. I wanted to attach a self adhesive measuring tape on the top of the fence. I have one someplace that I have not been able to locate, I know it will show up when I buy another. I also could not bring myself to buy the overpriced T-bolts so I bought a pound of carriage bolts for 1.89/lb, ground down the head and sides to make something that worked like a T-bolt.
SO, this was my first saw sled I made up, I REALLY like how it works and the accuracy I can make my cuts.
Yolanda
21 Comments
https://www.lumberjocks.com/threads/blog-post-index.331197/#post-2112151
If your first cut is too short... Take the second cut from the longer end... LBD
Nice job on the sled. They are a handy jig to have in any WW shop. Much safer and accurate.
daveg, SW Washington & AZ
Main Street to the Mountains
Ryan/// ~sigh~ I blew up another bowl. Moke told me "I made the inside bigger than the outside".
working with my hands is a joy,it gives me a sense of fulfillment,somthing so many seek and so few find.-SAM MALOOF.
No Bees. No Honey. Bees Lives Matter
That's a nice looking sled, better than mine for sure.
Figuring out how to do something you have never done is what makes a good challenge.
If you plan to make another or decide to use different kerfed blades or angled/bevel cuts... between the tracks, convert the top 1/2" layer into 2 x 1/4". The bottom 1/4" layer fixed/permanent to the bottom 1/2" and the top layer replaceble. That way you can swap out the top "skin" with whatever kerfed/angled insert... just keep the first/original skin as a drilling template for future skins so that you hit the same screw holes without perforating the bottom layer.
BTW, 👍for the KM stop... I've got a couple and love them.
If your first cut is too short... Take the second cut from the longer end... LBD
Half of what we read or hear about finishing is right. We just don’t know which half! — Bob Flexner
Welcome aboard!
Yolanda
Main Street to the Mountains


