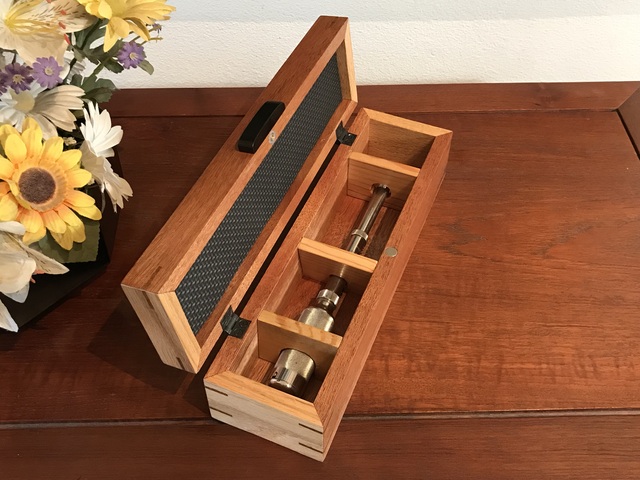
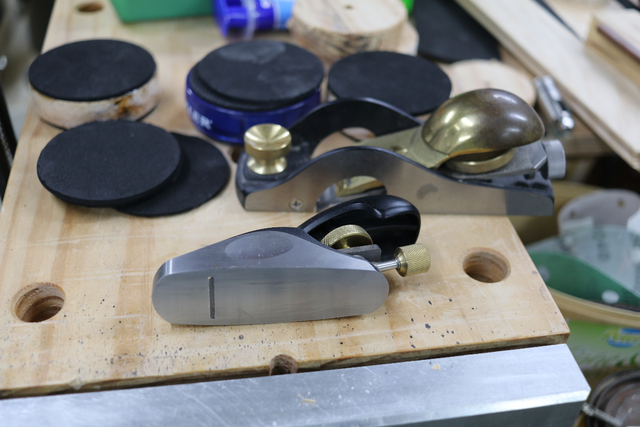
This Stanley Bailey push drill was sitting on a shelf in the cabinet stand for my bench type drill press. It was in almost perfect condition and I wanted to give it a safe home and no it's isn't a rest home he'll be gainfully employed.
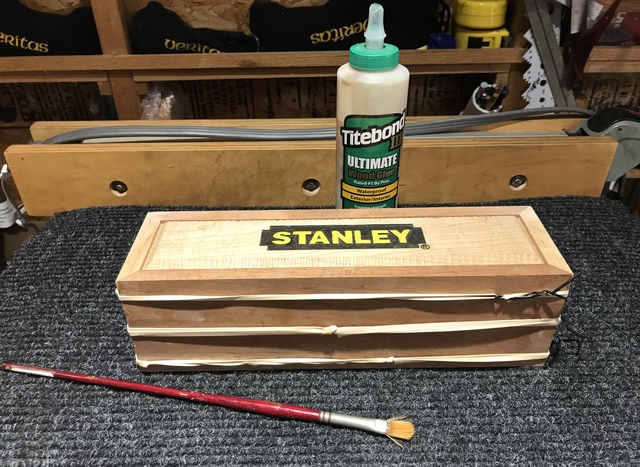
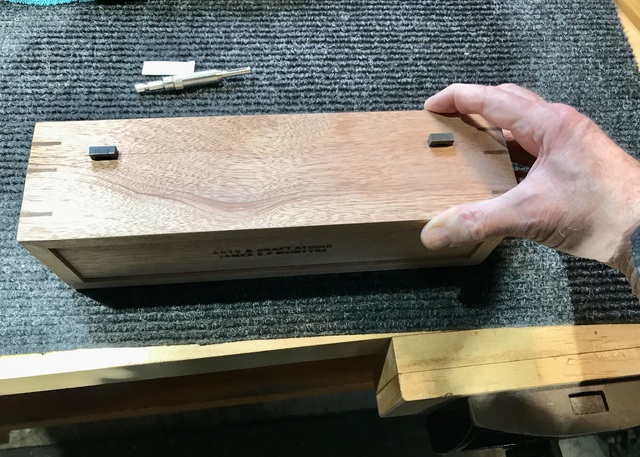
I saw this style of box on line at Popular Wood working. Their box was made of curly maple. Mine is made from a mix of cut offs from several species of wood.
List of wood species 1. Cumaru, splines 2. Gabon Ebony, lid handle 3. Hard Maple, top 4. Mahogany, front, back and bottom of box 5. Pine, dividers inside of box 5. Red Oak, sides of box List of hardware 1. Hortonbrasses solid brass stop hinges, dark Antique #PB-404 5/8" 2. Rare earth magnet 3/8" 3. Washer 3/8'" 4. Brass wood screw #4-3/8"
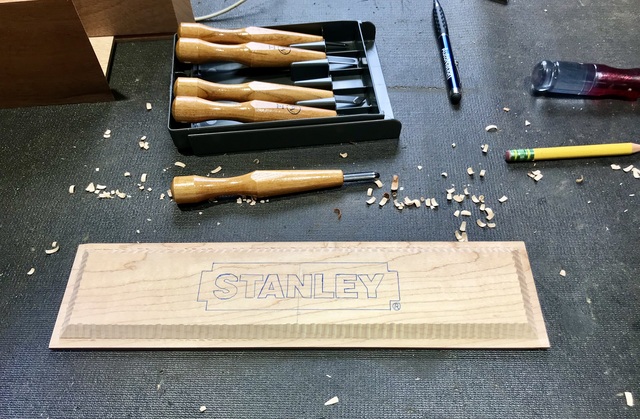
Here are a few of my work process photos. I’m not going to bore you by adding a lot of description or text only where I think it's needed.
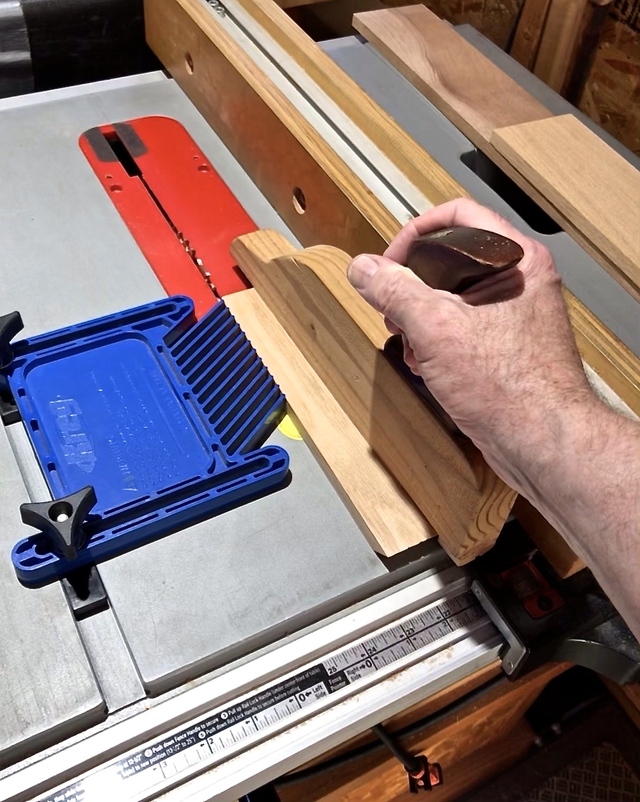
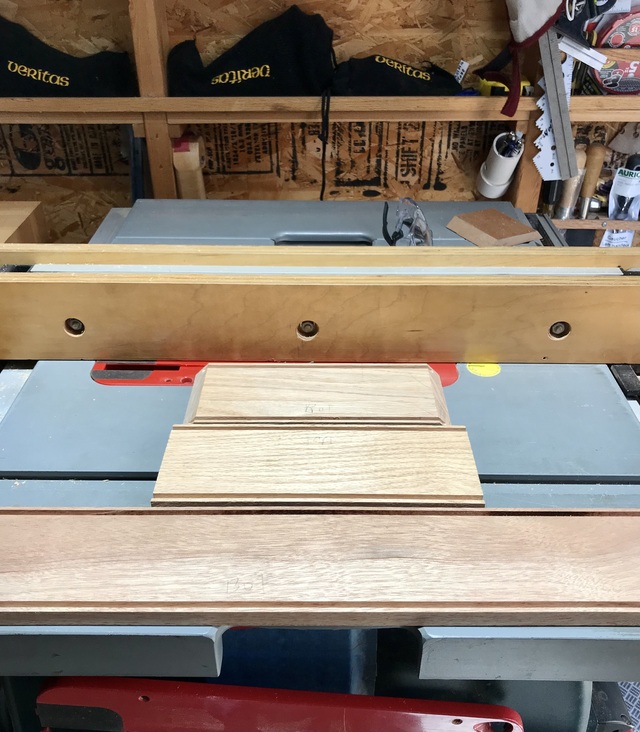
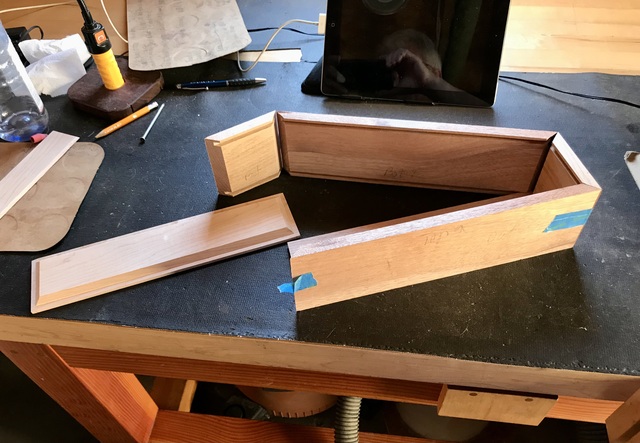
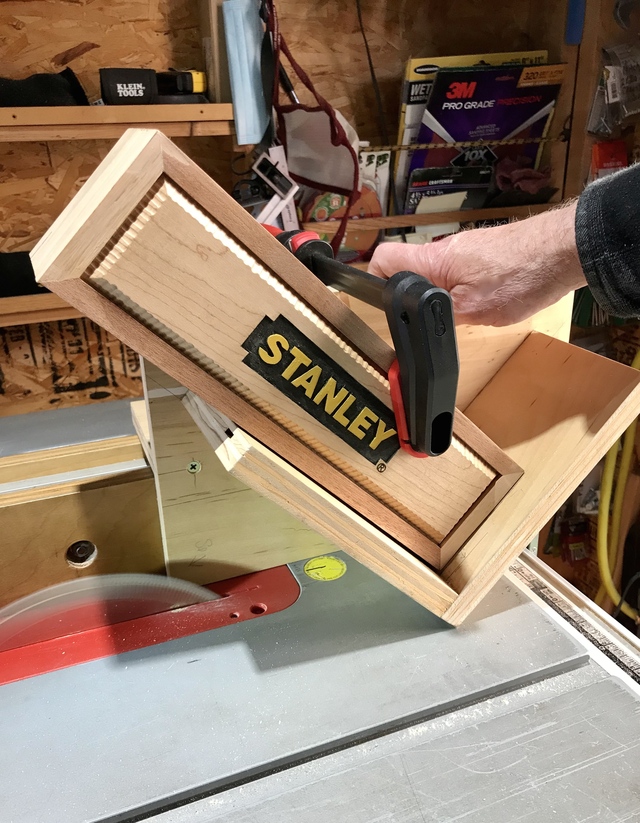
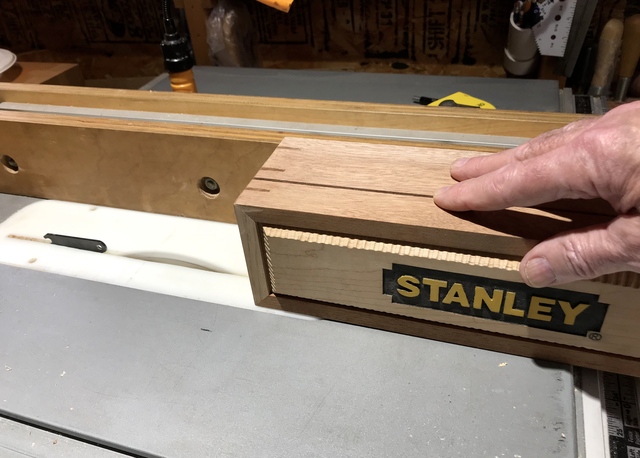
Cutting the 45's on the front, sides and backs of the box.
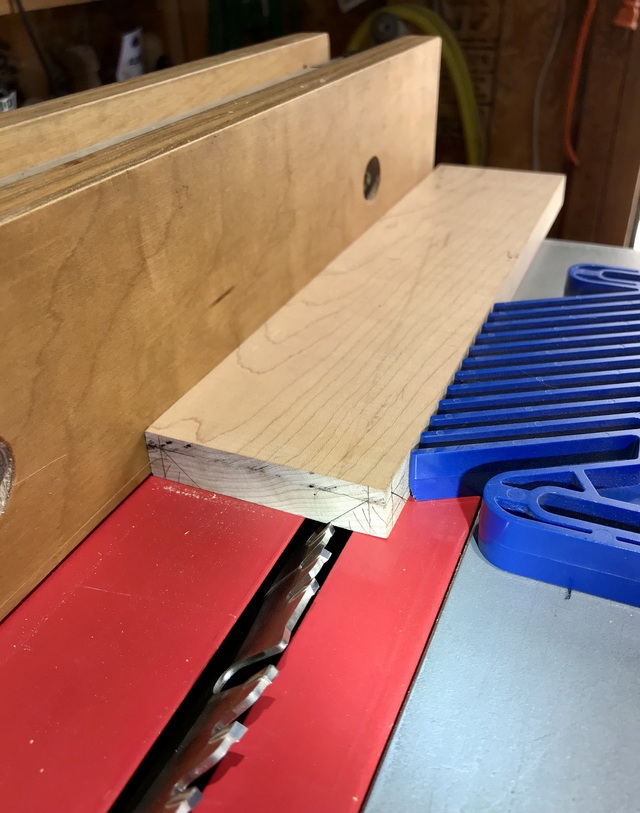
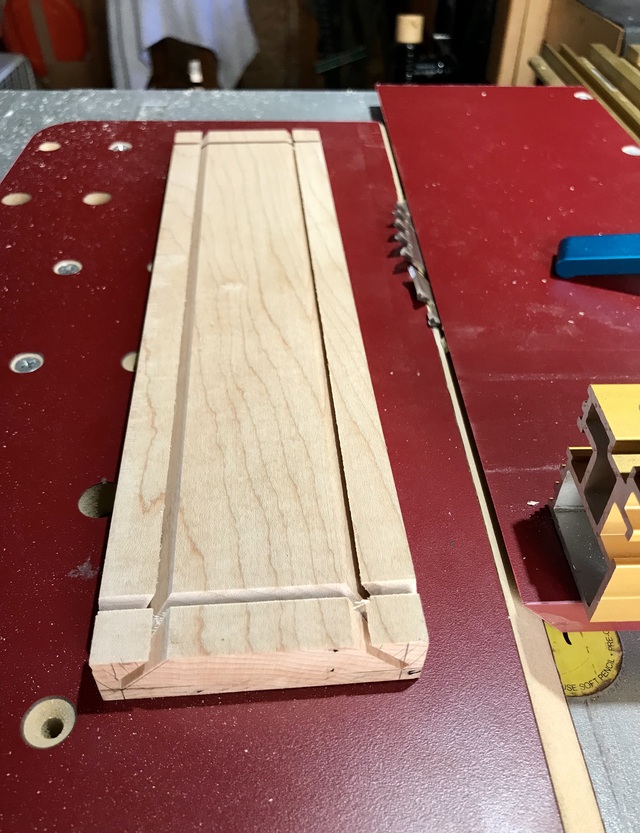
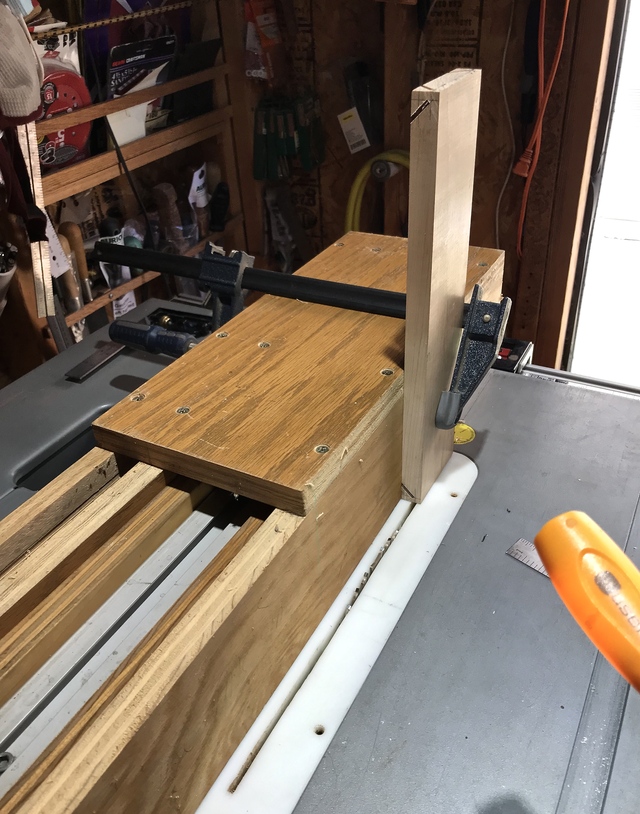
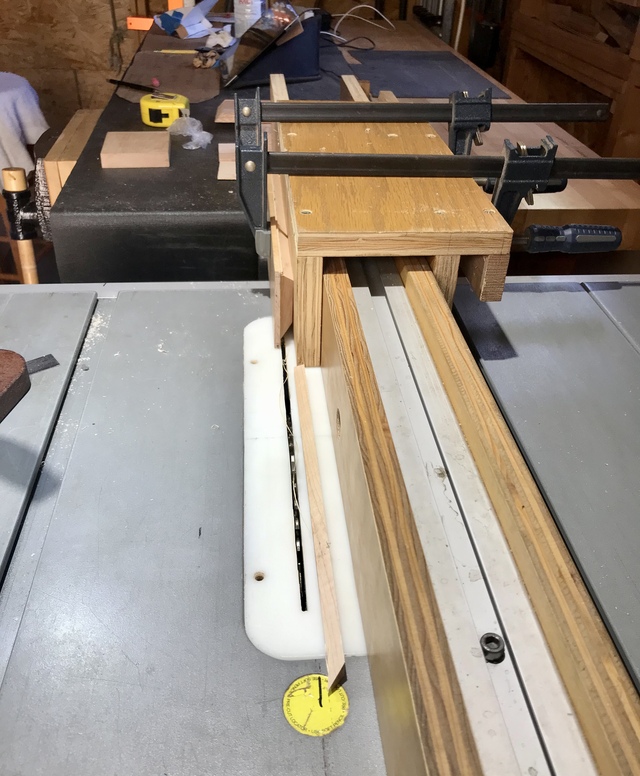
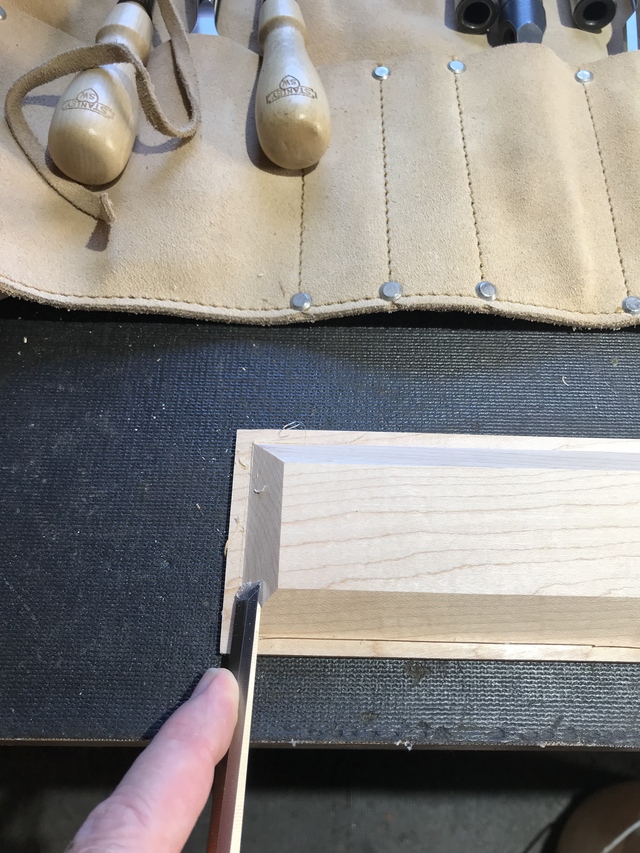
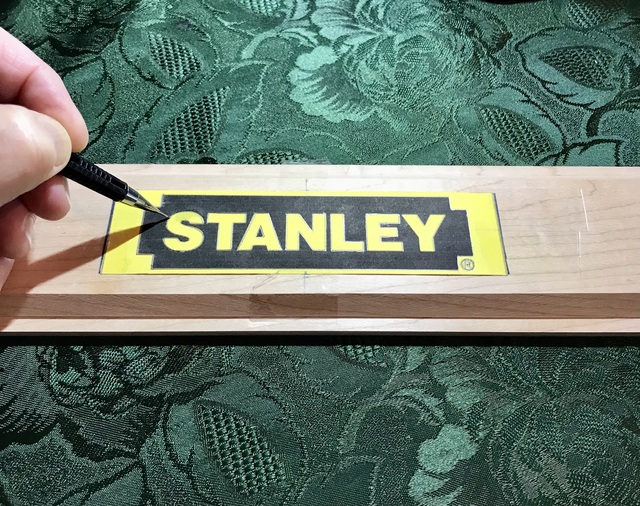
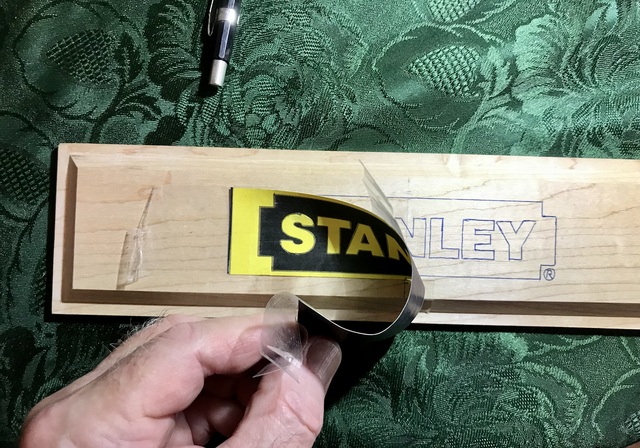
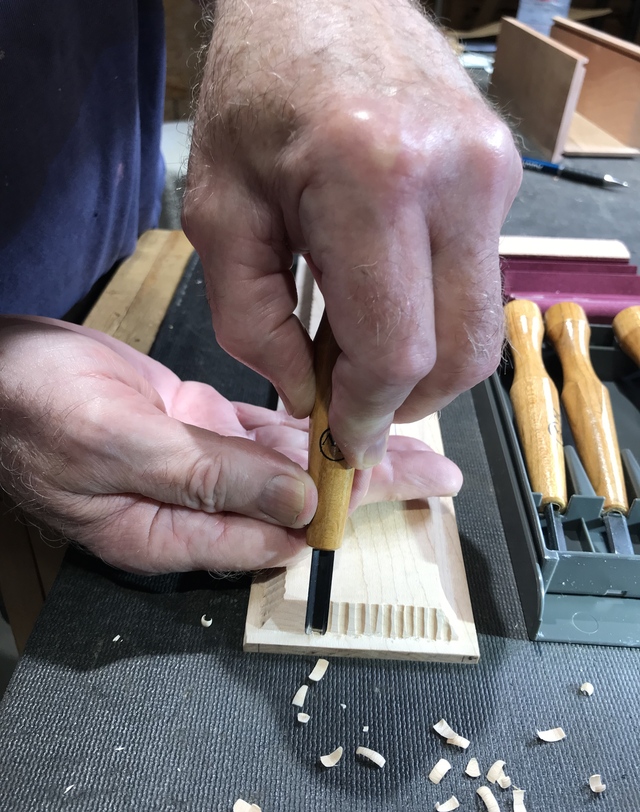
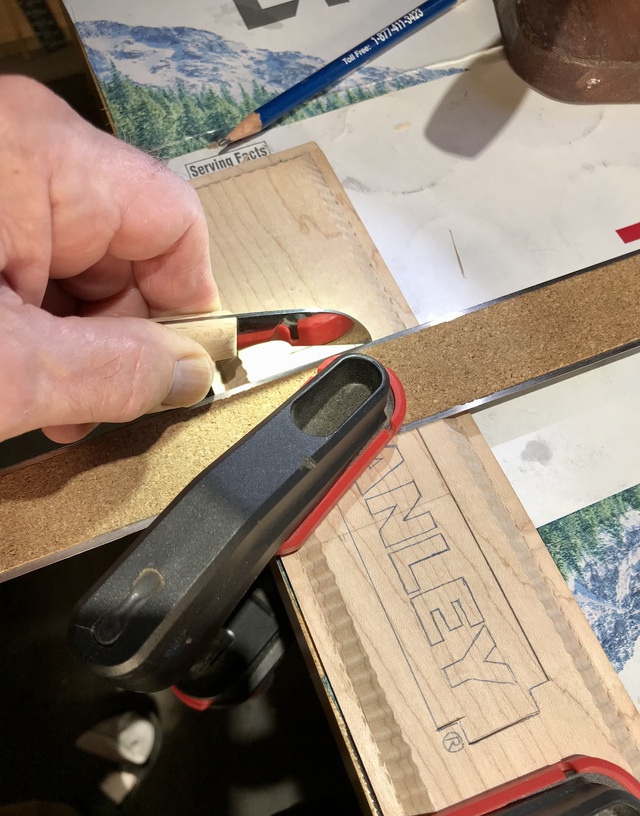
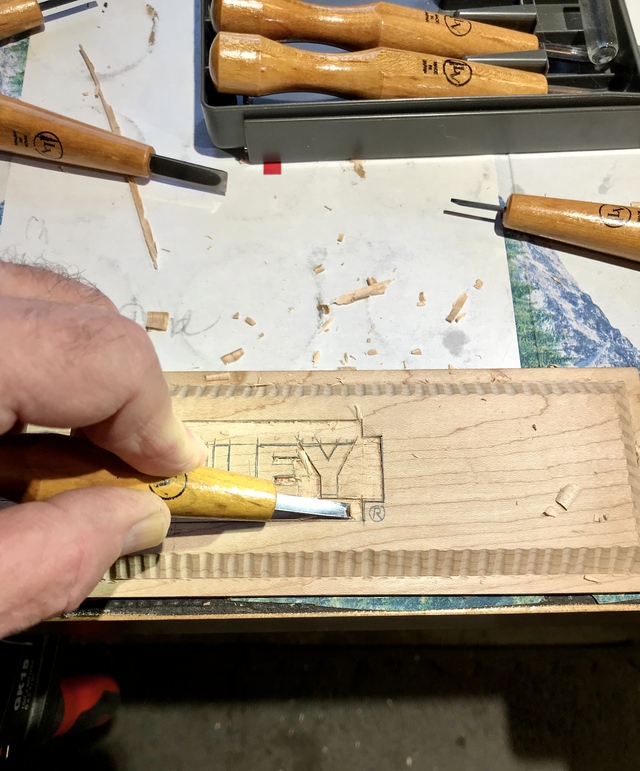
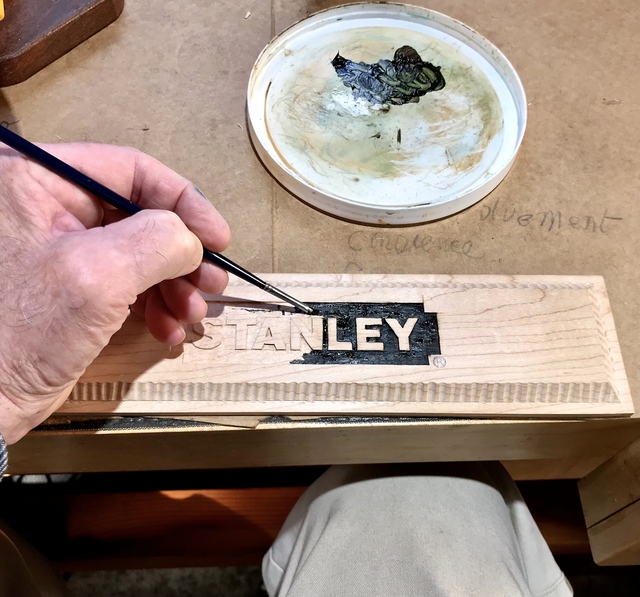
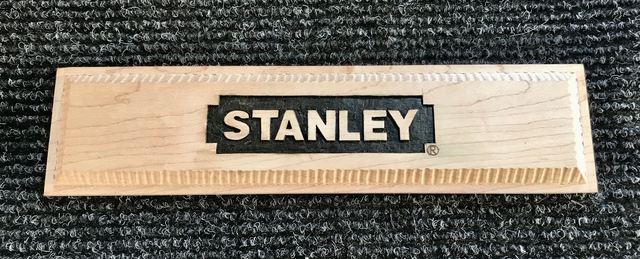
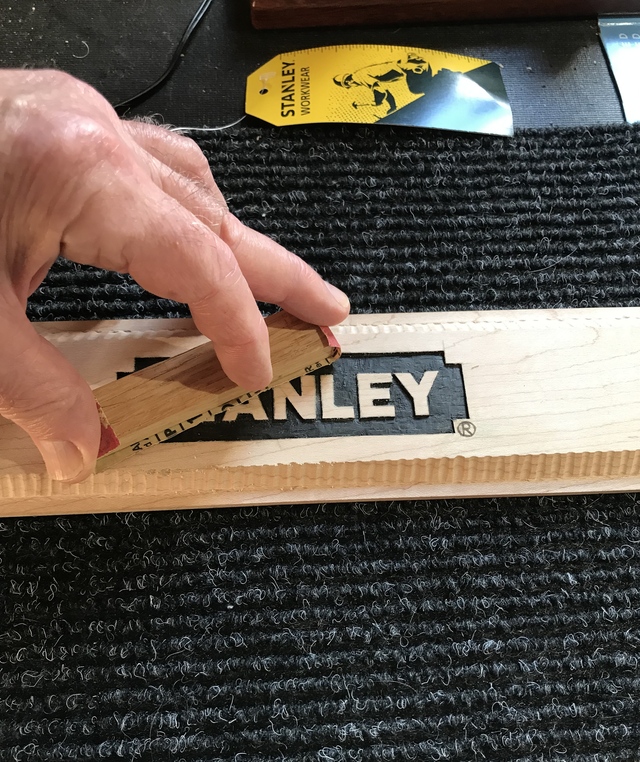
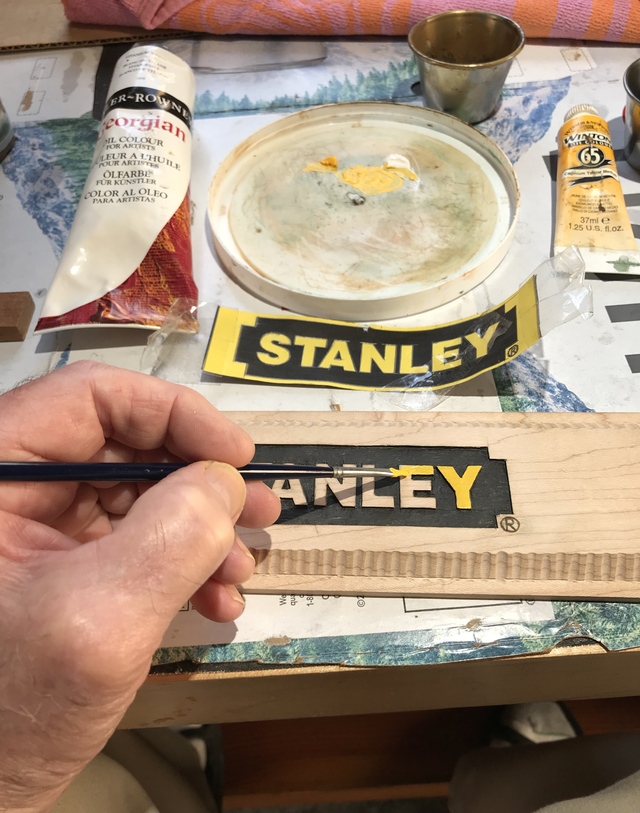
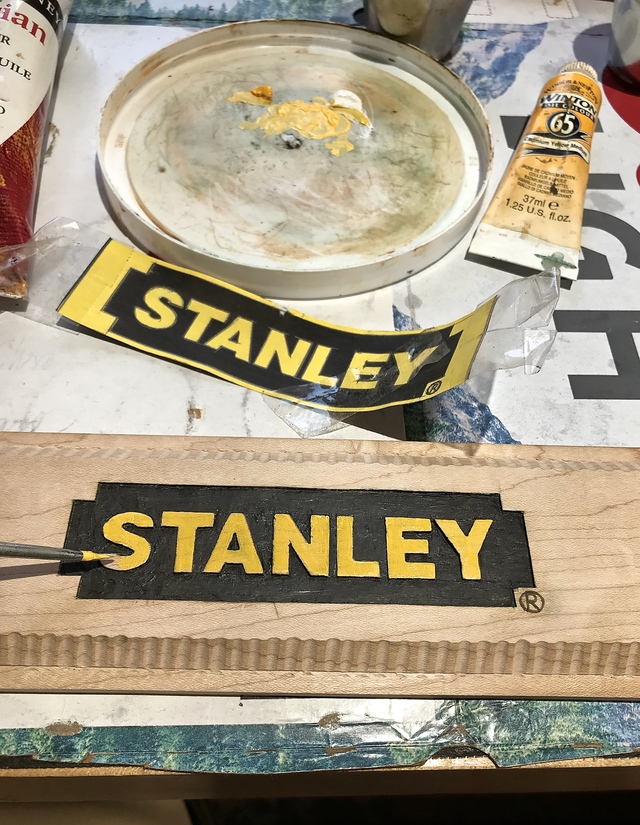
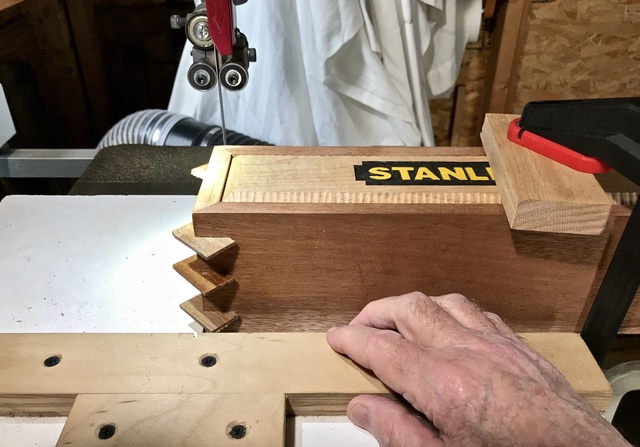
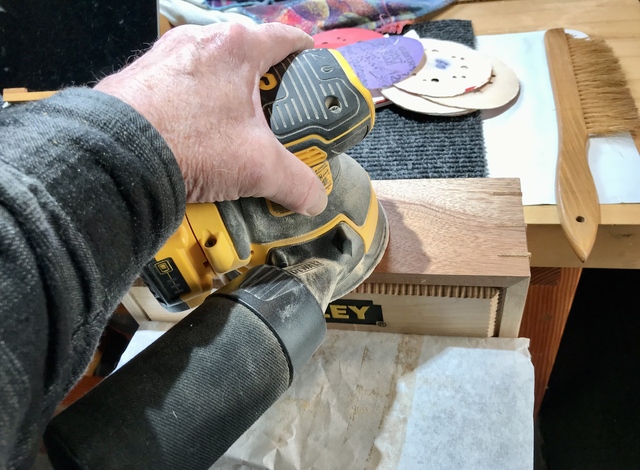
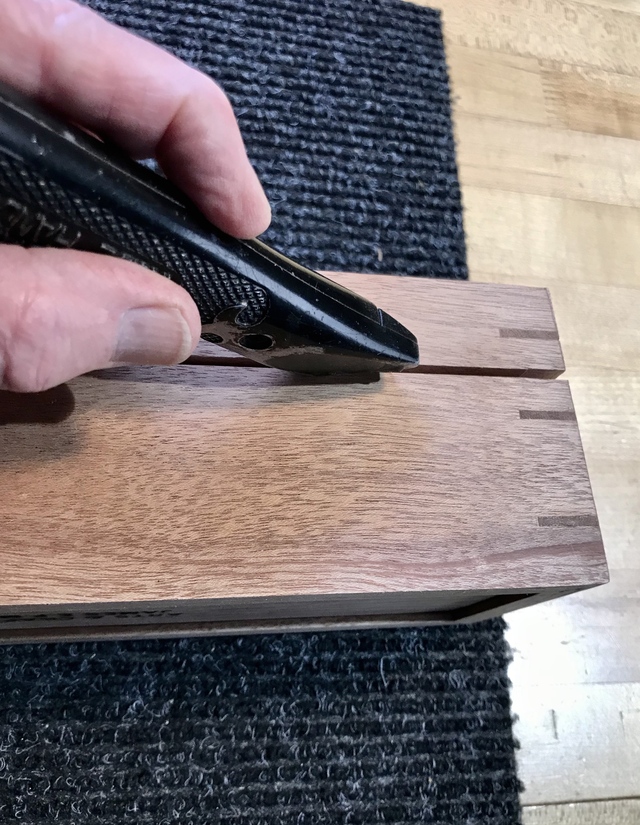
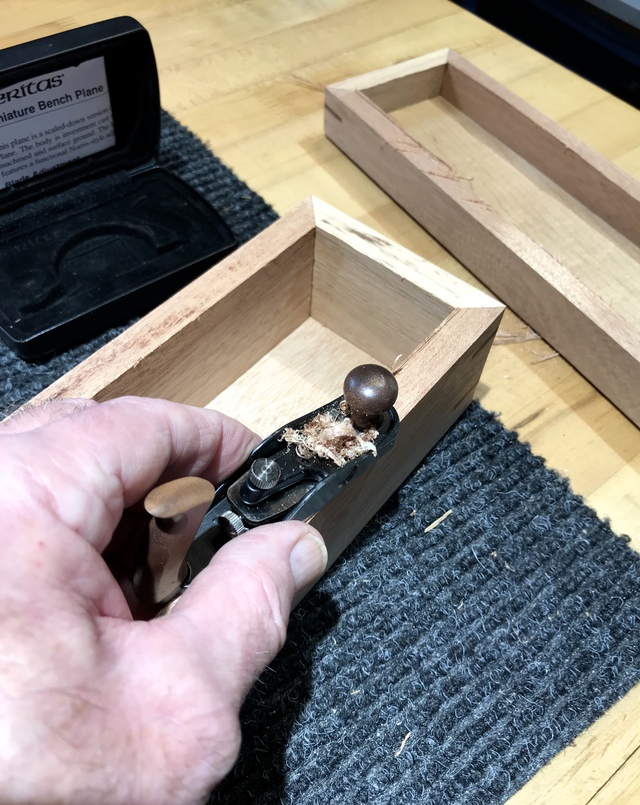
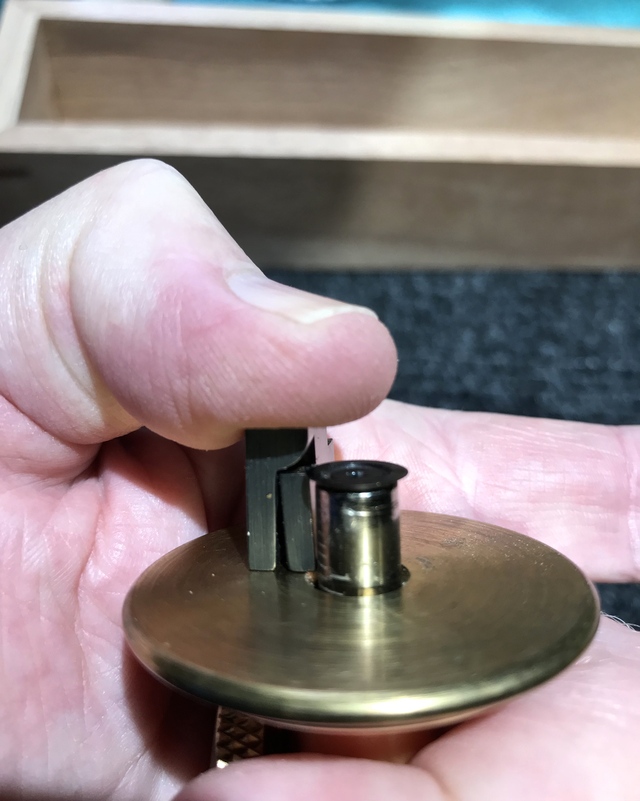
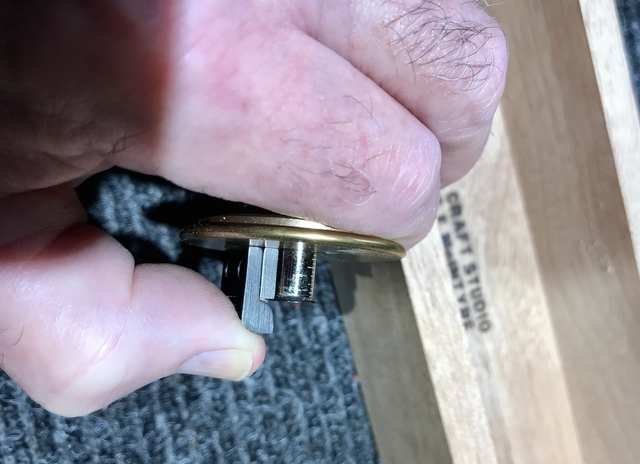
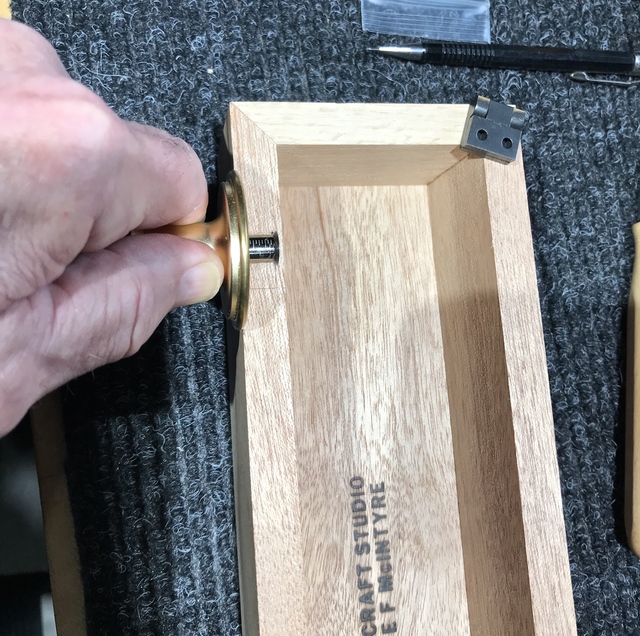
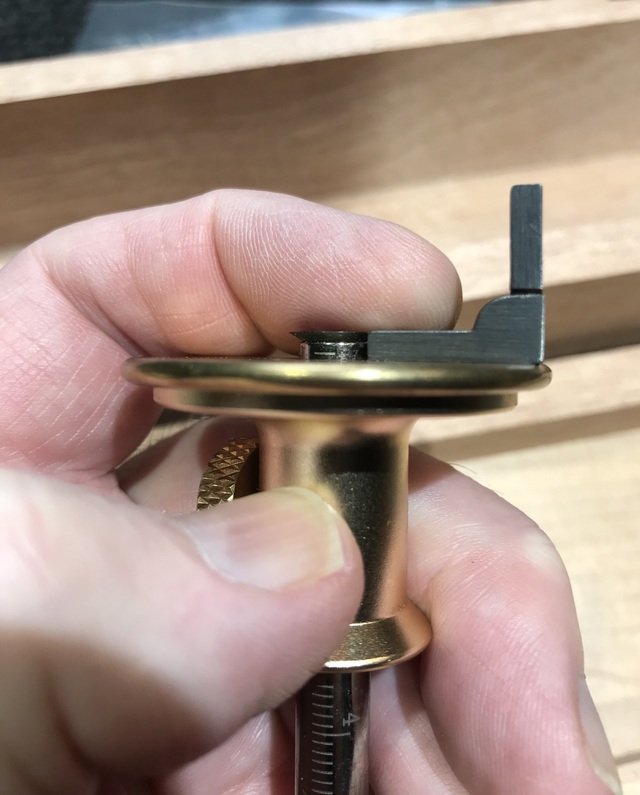
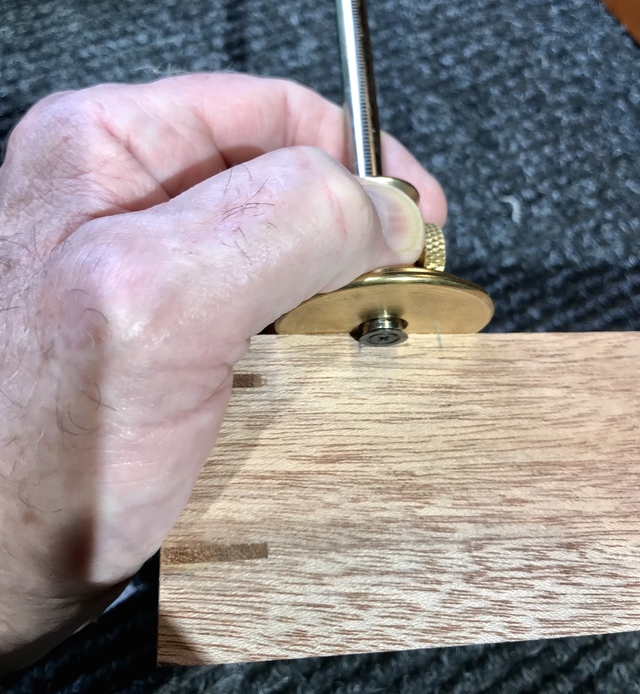
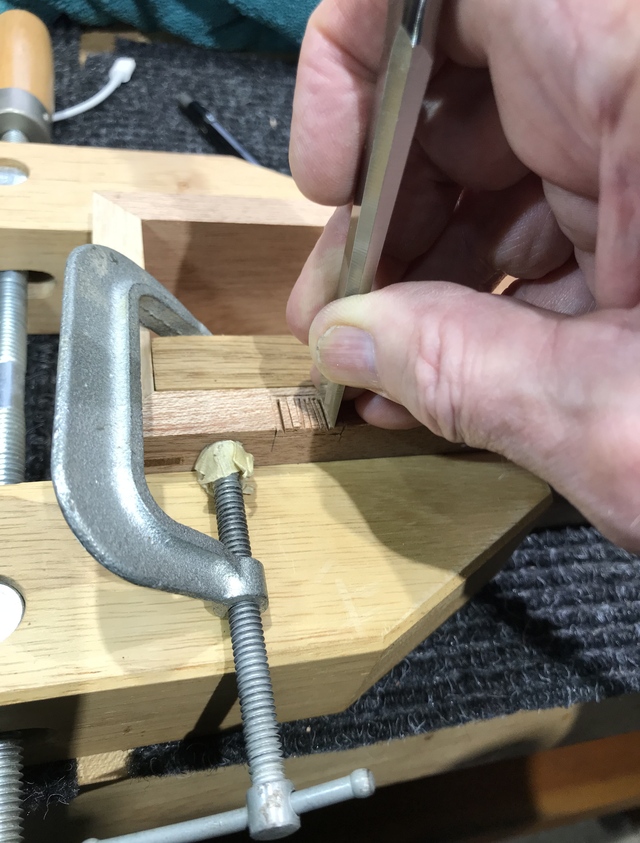
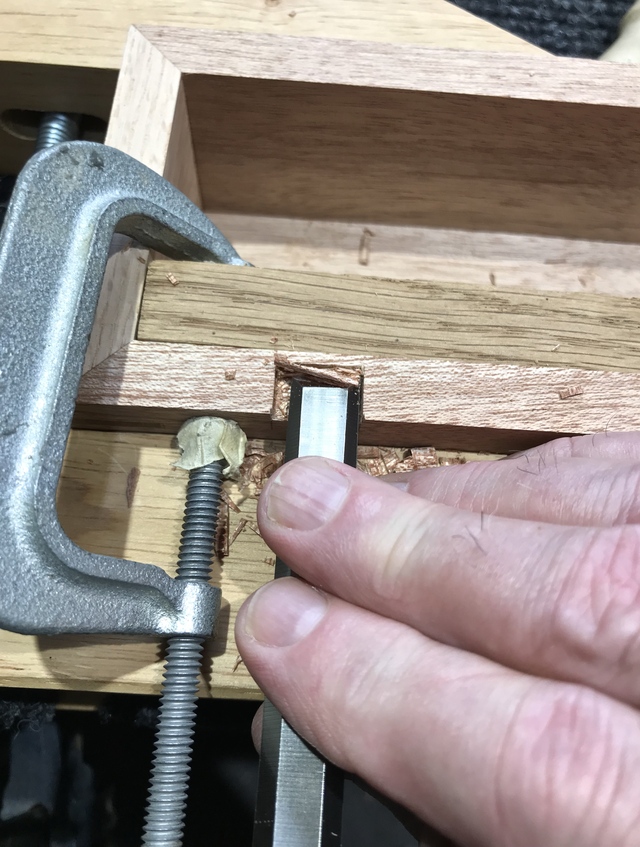
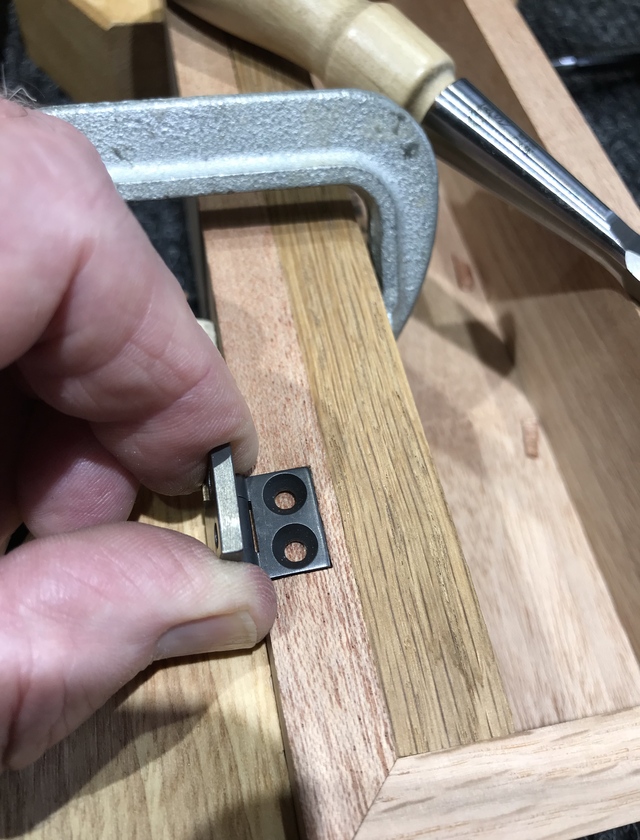
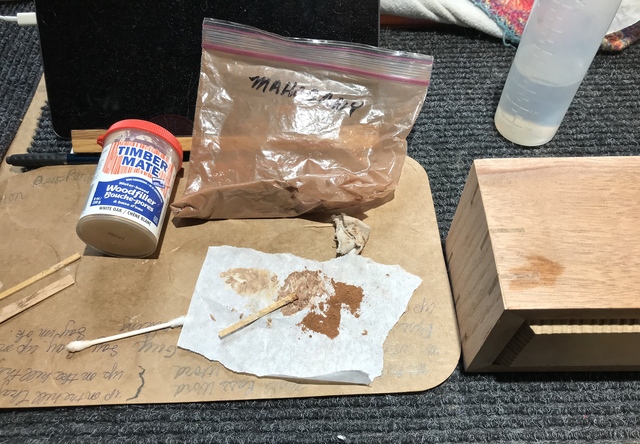
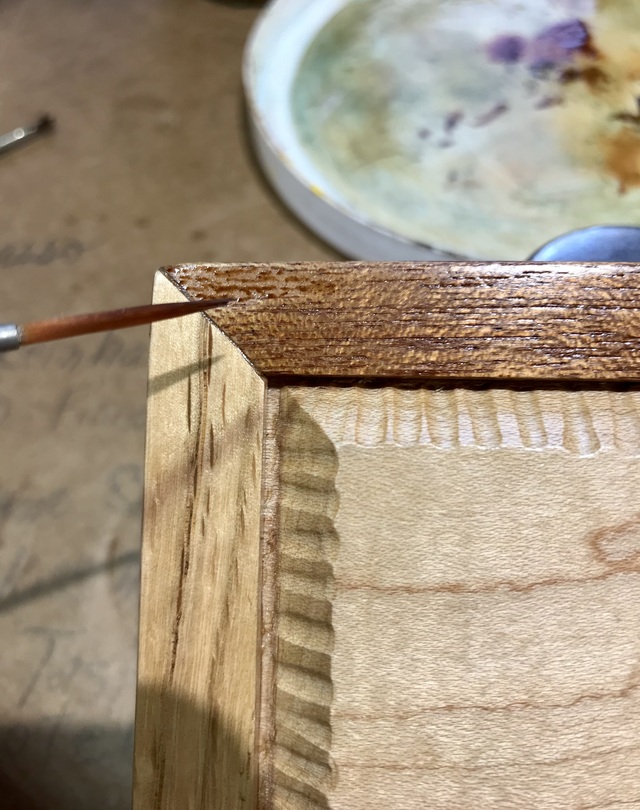
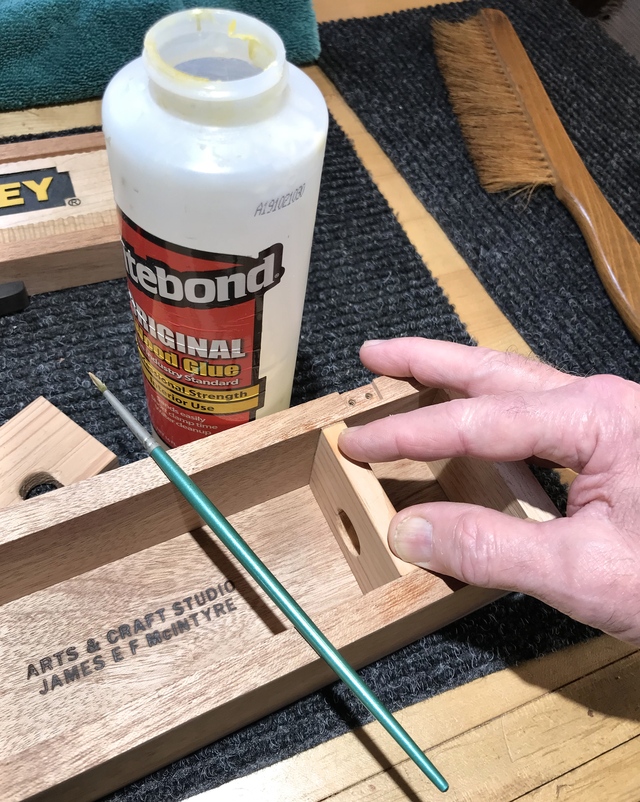
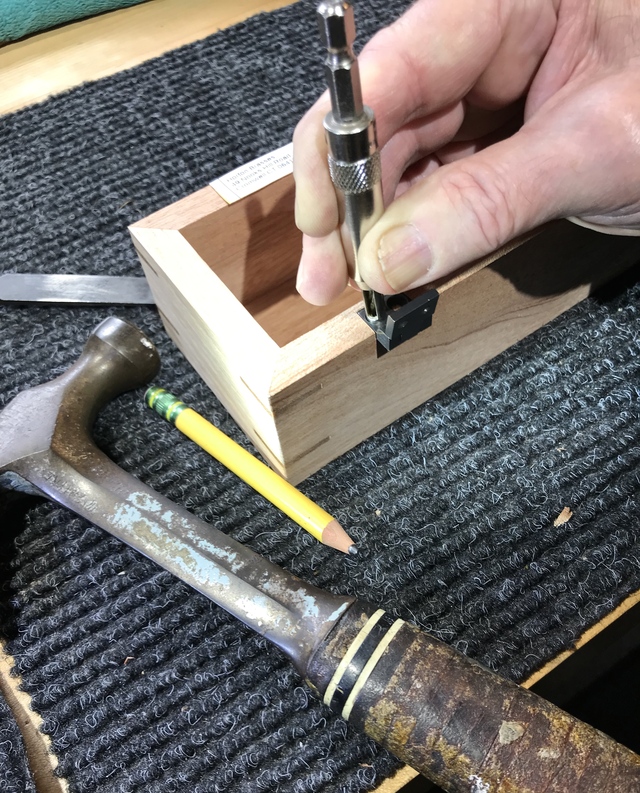
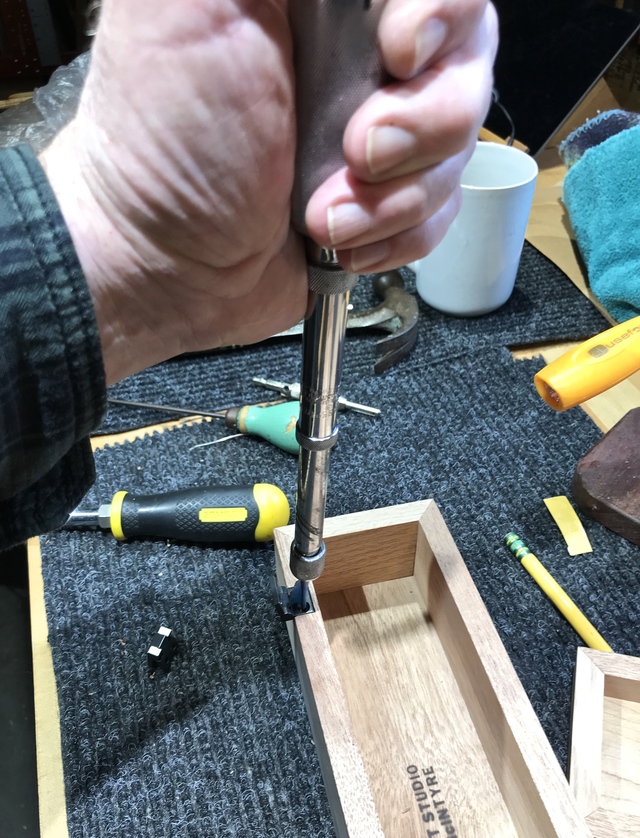
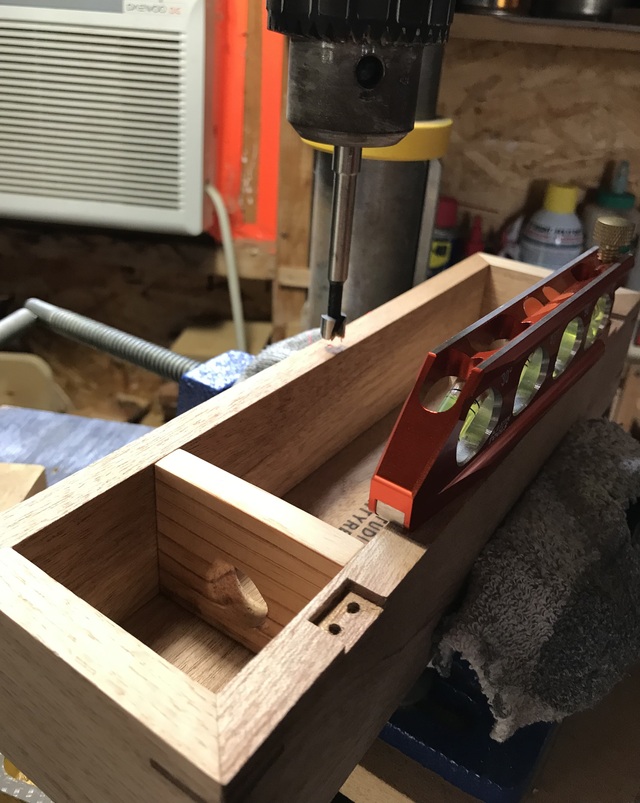
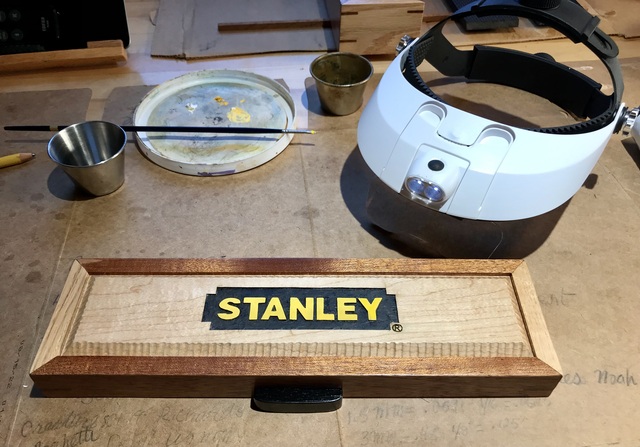
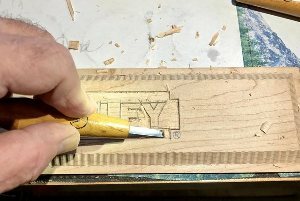
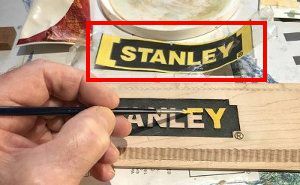
This is how I cut the shape on the top. Here I'm cleaning it up with a chisel. I printed this from a photo on line. I mix my own colors using high quality artist oil paints. Here I'm mixing burnt umber with prussian blue to make black. This way and can control how cool or warm the color is. Here I wanted a warmer color in case I painted out of the recess, If I did I cleaned it off with turpentine and a small brush. Matching up the yellow of the Stanley logo. It still needs more touch up. The glue up. Cutting the slots for the splines on a sliding jig I made. This jig doesn't have an open bottom and avoids tear out. Leveling the splines. Cutting open the box. I try to leave a paper thin piece of wood to keep the box from moving. Then cutting the rest of the way with a sharp utility knife. This is a miniature Veritas jack plane I bought when they had their second's sale. It works very well for the final clean up. I put a backer board behind the hinge mortise to prevent blow out. If your using one clamp put the crown facing the top of the clamp. Don't ask me how I know this. lol It's a good fit. While cutting the 45's a piece of mahogany chipped off. I mixed some white oak Timber Mate with Mahogany dust I saved from my belt sander to fill in the void and mixed some burnt umber oil paint with poly wipe on to emulate the grain in the wood with a pinstripe brush. I used a small Vix Bit centering it on the screw hole on the hinge and tapping it with a hammer to find where to drill the screw holes. He's helping build his new home. Drilling a hole for the rare earth magnet that will be epoxied in place. After I put about 10+ coats of poly on the top and bottom of the box I put the final coat of yellow paint on the lettering using a mixture of oil paint and poly. I ask my wife Abby if we had any black foam around. She said use the foam form the Harbor Freight floor pads. I sprayed on an STP product called Son Of A Gun to give it some sheen. It's similar to Armor All. I think it looks great.
Thanks Abby!
I all ways get a kick out of YouTube videos where the Youtuber asks for a thumbs up and to subscribe before the video even starts. If you like what you saw here and you want to give me a thumbs up and follow me that would be great.
Thanks for stopping by and taking the time to make it though to the end.
Nicely done James, and a fitting box for the Stanly. I like the small gouges on that raised top. You are doing the boxes the way I have been doing them. Thanks for the tip on using a backing block while cutting the hinge mortise.
Another super fine detailed write up James, you referred to the drill as He, so I assume his name could be Stanley?
Way over and above what typically would be considered "nice", but that is what you do. It has the appearance of how old instruments were always well boxed. The forming of the top panel is a neat approach along with the embellishments with the carving and label.
Tiny kids always disappoint their parents when they like the box more than the present on Christmas day, I'm with the kid on this one 😀
You have socks for you planes? Mine are lucky to get a drawer.
I'm not a great hand tools user, however, I agree that the miniature plane is great for those finishing jobs,
Was about to compliment you on your laser work, and then you go and slip that chisel into the foray,
Did you use that "stanley" label as a prompter to ensure you got the spelling right, with the paint brush... just the process of painting would confuse me.
If your first cut is too short... Take the second cut from the longer end... LBD
Wow! The box is nice and I like the miter cut with the detail on the lid! and Stanley logo, I didn't expect you did it by yourself until I saw it! Amazing skill and it looks so clean! Great job