It’s not so much that I was in need for another circle cutter or that my Fe$tool Carvex sat totally idle… though I have to admit it was more a luxury buy as opposed to a necessity.
Inspired by watching a video of someone using one upside down, got me experimenting.
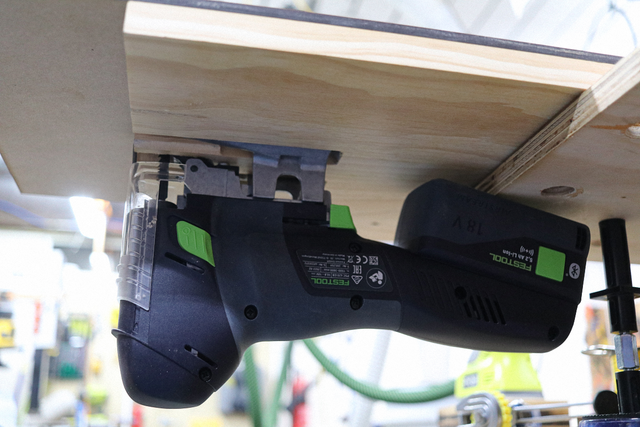
Still sporting my dodgy left arm (now about 55-60% functional) it was hard to control and I started thinking about a bench mount. Well it all happened,
I think I may have been sublimated by my new obsession towards the MFT style tabletops… using the UJK Parf System.
While I have used it quite a few times now as it is so easy to set up, that was primarily driven by the crapping out of my 6.35mm bandsaw blade and replacing it with what I think is a tad too wide 12.7mm blade for general purpose use.
Can't remember what brand of vino I drank (drinking helps), but I found myself running around in circles while thinking jigsaw. Driven by curiosity, for some reason I watched several promotional videos using the Carvex paired with a Fe$toolbranded circle cutter.
What a load of crap. One video showed how the two parts integrate, but no physical cut made. Another video showed some yank (note the lack of capital) using it to cut an arc from an edge… noooo bloody circle again.
I wanted to know that if you wanted a hole, how the hell do you start the internal cut using the (Fe$tool) circle cutter… nada!
So let’s get back on track and talk about this project.
Started in SketchUp using the principle of pushing the work unto the blade (hence the running slot), much like a bandsaw,
… then I sobered up and realised I just wasted a few hours on an impractical design as I might have trouble moving the board through the tall dog.
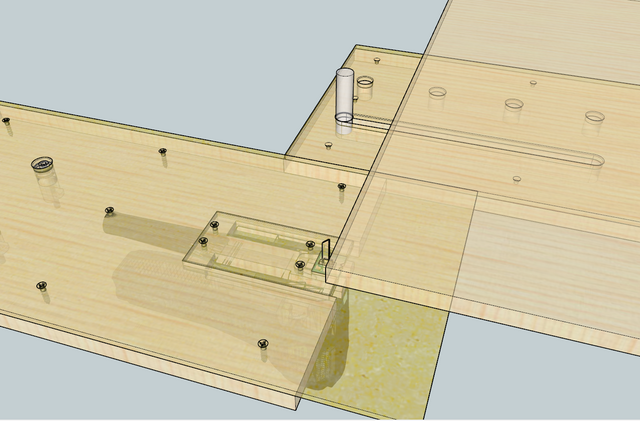
Abandoned SketchUp and went on a “relief hole” approach, much like my holesaw hint and did a radical redesign,
FAIW, the above was sketched for documentation purposes only (and maybe future reference) after the jig was built and tested... and me starting to draft this blog.
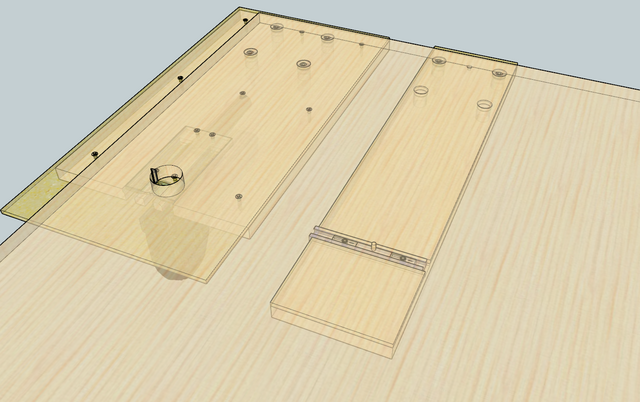
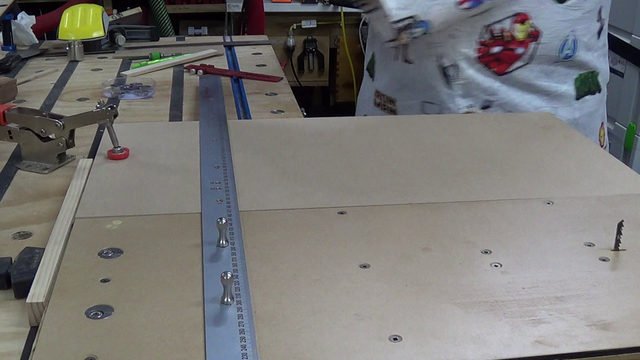
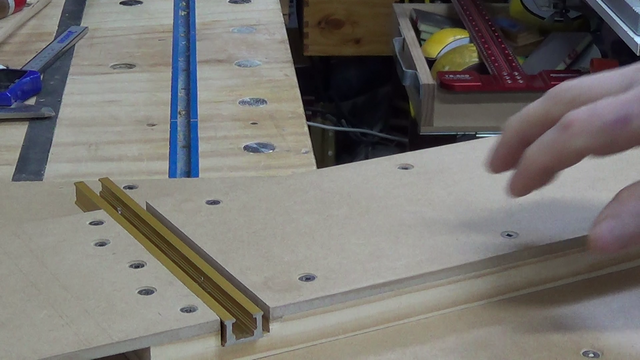
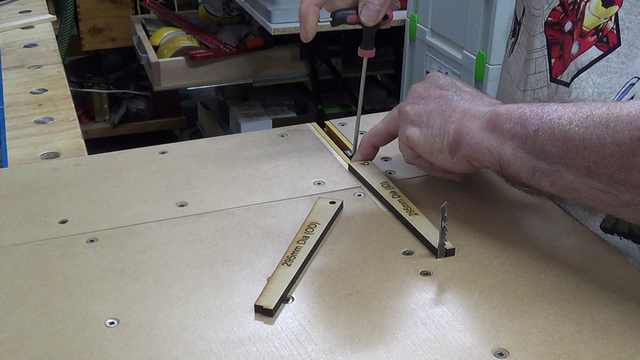
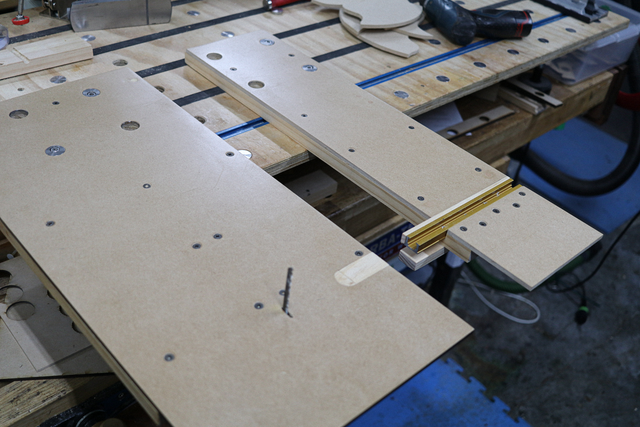
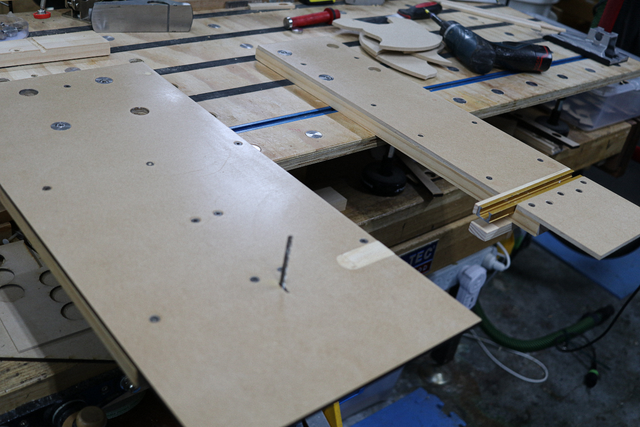
When using the UJK Parf System to layout a MFT style dogholes, a width of 3 x 96mm to permit two anchor points to drill a hole in the third, is optimum. I had planned only room for two dog holes so I had to do a bit of fudging to lay it out.
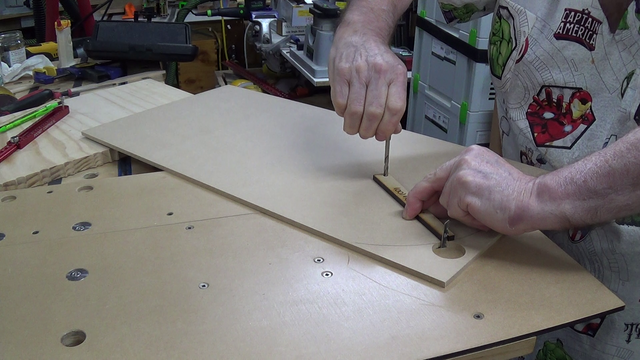
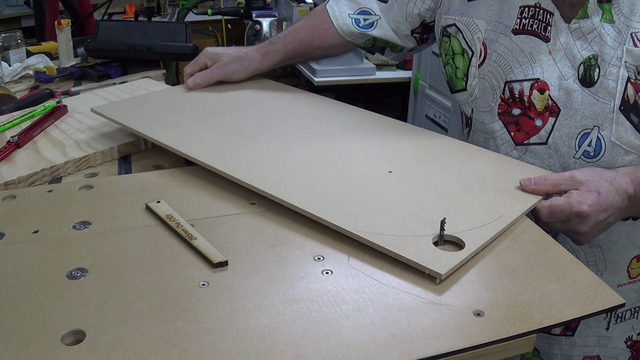
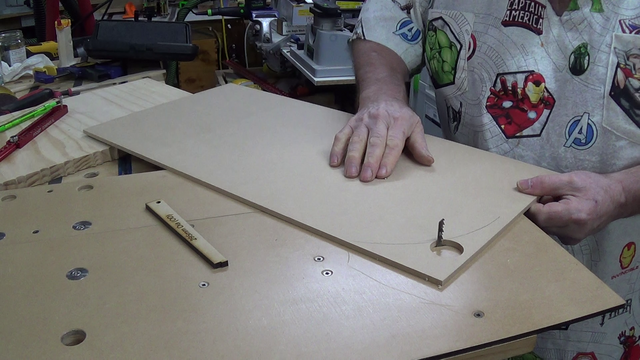
I butted the two boards together, along with the skin just laid loose on top of the outrigger… deliberately did not screw together as knowing me, I would have undoubtedly screwed where a dog hole would need to be… I then anchored the ruler on the original platform
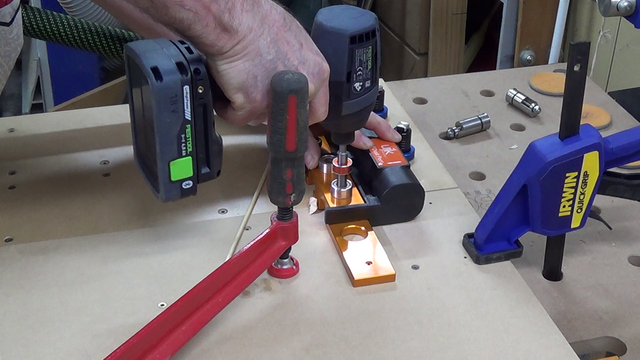
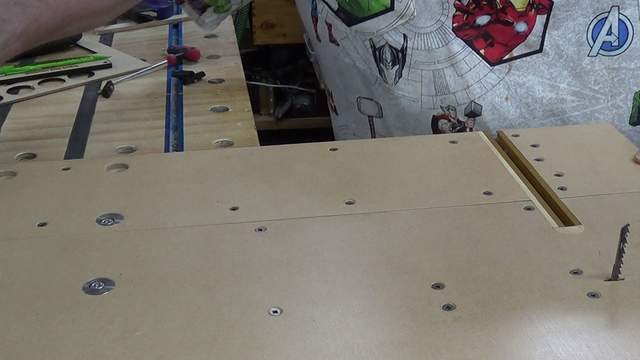
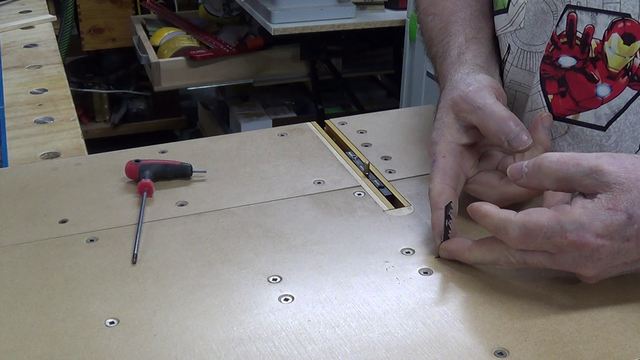
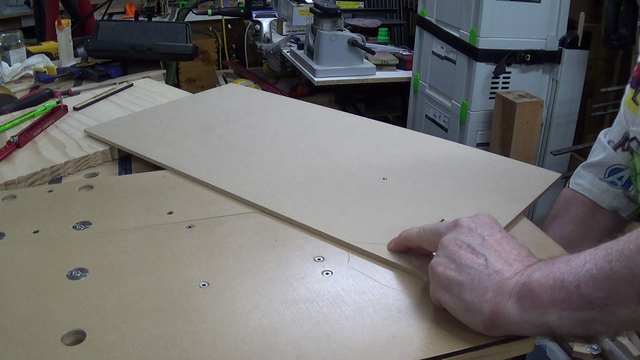
and drilled the holes in the extension. Then moved to a more appropriate MFT style tabletop for drilling the dog holes,
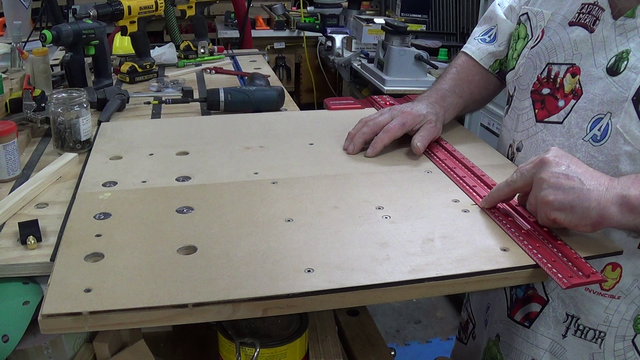
Wrongly, I aligned the centre of the pivot pin with the centre of the blade,
And using one of my tracksaw’s tracks, with the router attachment, cut the dado for the Incra t-track,
tested fit till I got the depth right,
A few shims after oopsies, fixed a couple of misdirected router plunges.
Went to bed and tossed and turned about the pin alignment… DOH!, should have been at the front of the blade…
bloody dado's already been cut… and unlike in SketchUp I couldn’t just us the “M” key to move it…
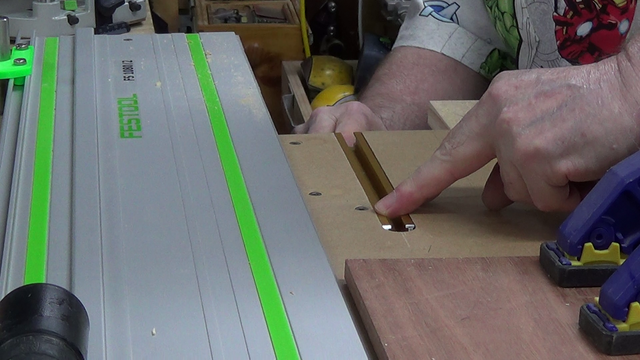
Extended the width in accordance with the new alignment using the tracksaw’s tracks and router, but now had a sizable gap that needed filling
and a similar plunge oopsie. I believe that in both cases I didn’t have the t-track horizontal when setting the router's depth gauge and the resultant angle extended the depth by roughly a very noticeable 1mm.
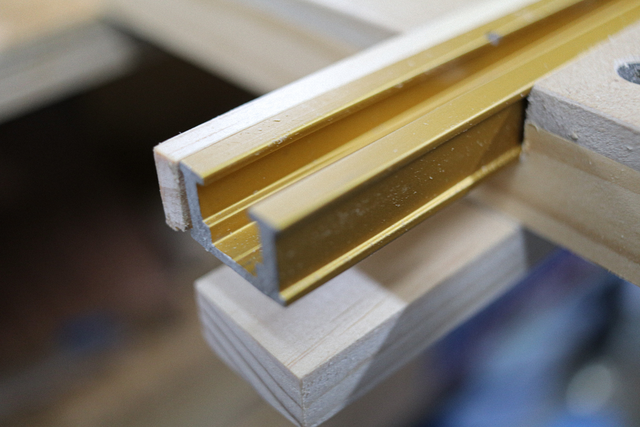
Cut out a piece of pine to fill the gap, however the lip on the Incra t-track
prevented proper seating as I tried to push it down, and I wanted to maximise the glue up surface.
I’m little intohand tools… or is it into littlehand tools? Nevertheless out came the hand tools,
and after some laborious planing, fit it like a one fingered glove,
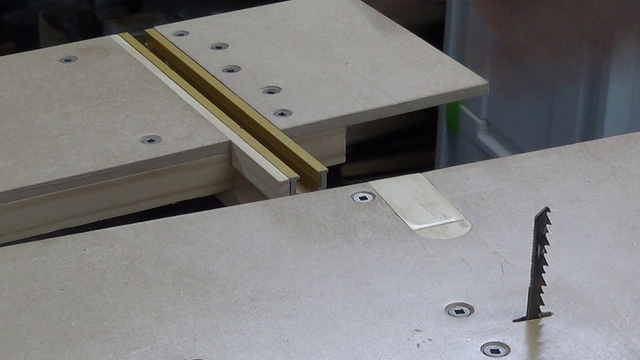
Made and glued in a curved plug for the main base,
to cover the router’s dado curve beyond the track.
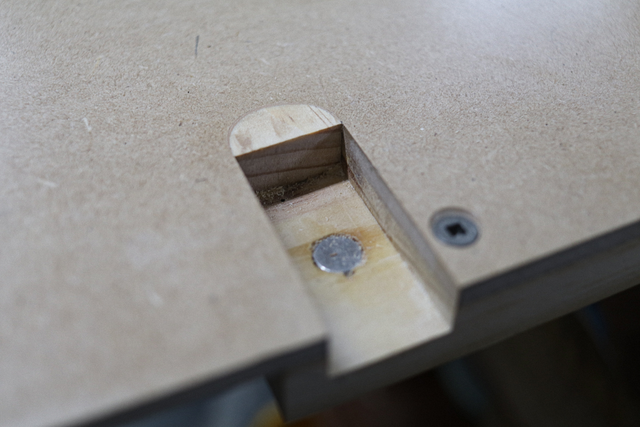
Also made another plug for the track when the outrigger is not used,
which was magnet attached for easy removal,
as required. Question:- Why do people spend an inordinate amount of time on something so inconsequential… and even more time wasted documenting the stupidity???
Time to do a test cut.
Most of my circles are restricted to less than 300mm which is the capacity of my laser, that I use to supplement my projects with circular cuts usually from Perspex and/or 6mm MDF as required.
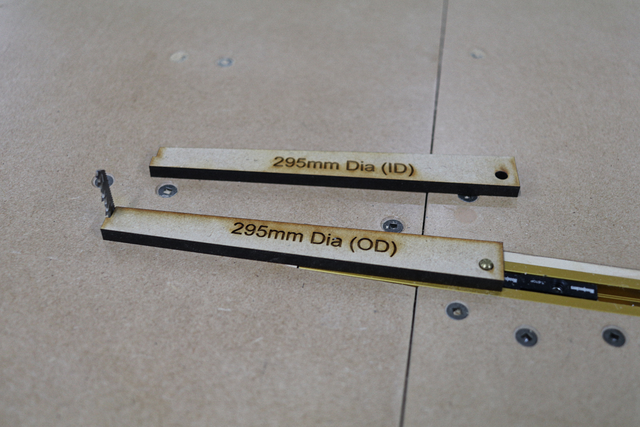
The test circle was set for 295mm diameter circles, which is my most common sized cuts.
I used a 1:1 scale, laser engraved/cut template that fits over the pivot pin and butted up hard against the blade,
and the grub screws tightened. Just a slight defletion (bend) in the blade is not totally undesirable.
Due to the kerf of the blade, albeit minimal, there were separate measurements for inside and outside circle diameters,
This difference is probably insignificant here, but is obvious on a router circle cutter when using a 6.35mm router bit (or bigger).
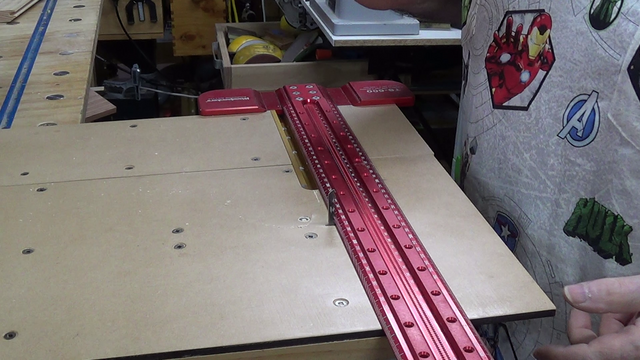
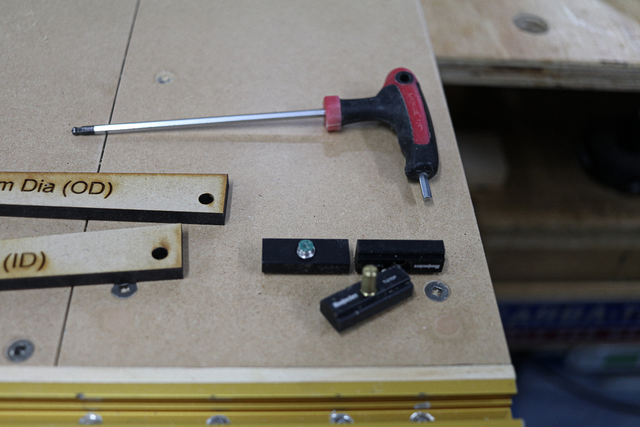
This is the hardware I use for the Incrat-tracks…
they do not fit the Kreg or Rocklert-tracks and please don’t ask where I got them from if you don’t want to get disappointed. Then why did I choose them?... because that’s all I had!
The piece holding the pivot pin is difficult to lock down by hand and I didn’t want to mar the 5mm dia. brass pin with a pair of pliers. Consequently I use the same type of blocks either side that can be locked down using grub screws.
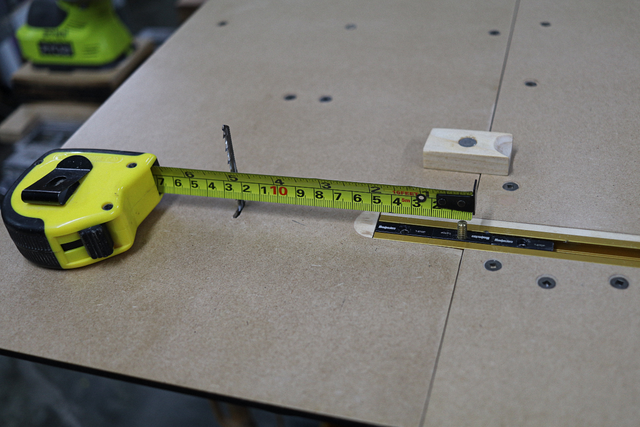
Because of my setup, the minimum radius I can use for a circle is a tad over 120mm (same limitation for a right handed tape measure),
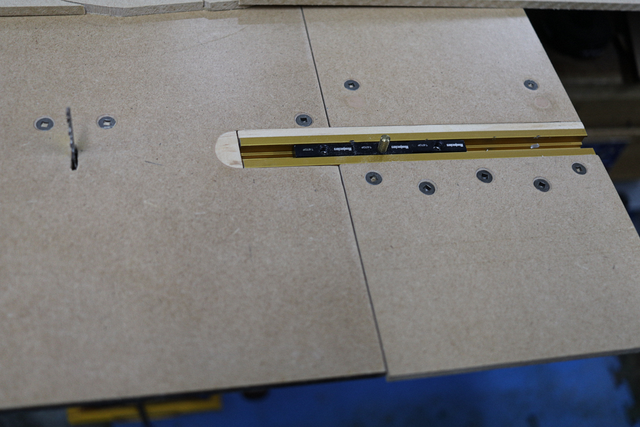
The maximum is determined by the size of the MFT table (and the swing)
in increments of 96mm
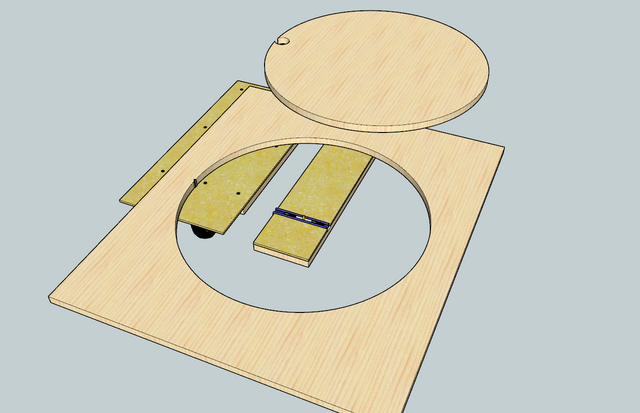
As many may know I don’t take a backward step in buying good tools, however, I do hate wasting timber. As I don’t have a need for a circle/hole, I baulked at using a 19mm thick pine board as a sample and opted for a bargain basement 300mm x 600mm x 6mm sheet of penny pinching MDF… After all this was still just a POC (Proof Of Concept).
To cut the circle, I am tackling it with the intention of wanting to cut an internal hole, away from the edge.
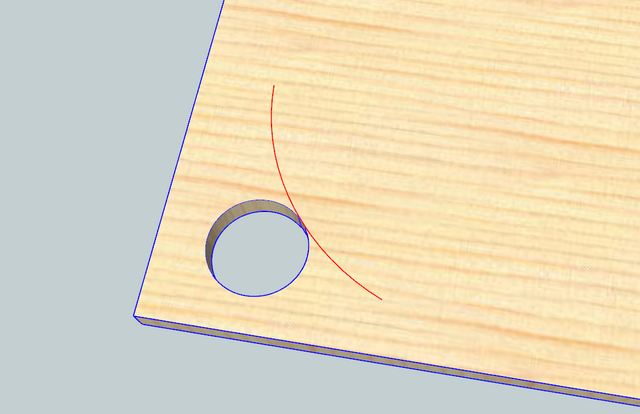
The process is to start with a compass drawn circle,
I can foresee an oopsie!
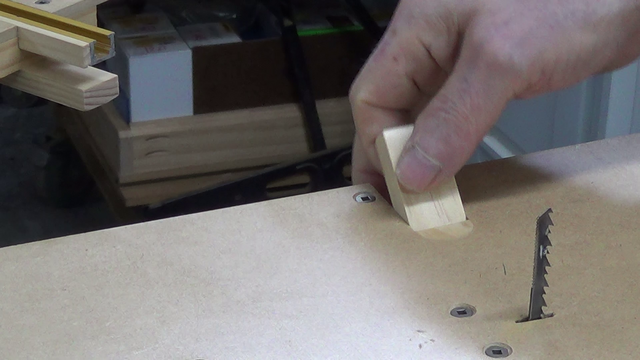
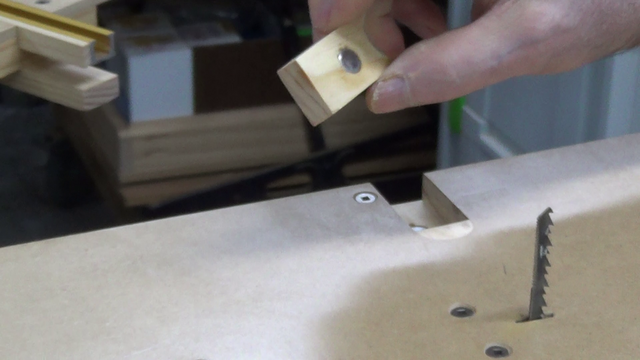
Then cut a relief circle touching the above drawing (arc), file a flat 6mm spot at the junction to snug up against the inside of the blade,
Place the template against the blade and I used a 5mm brad point drill bit (or preferably the pivot's diameter) to mark the pivot spot,
Go drill out that marked 5mm hole on the drill press and position it over the pivot pin,
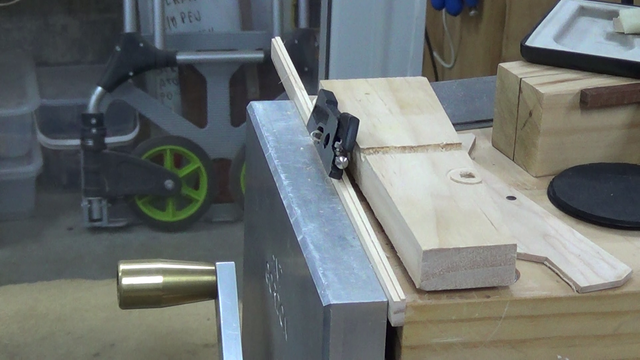
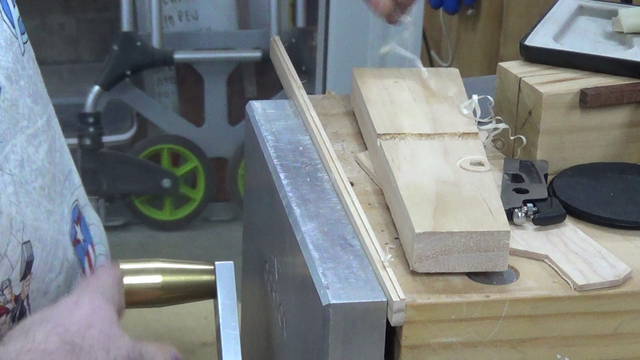
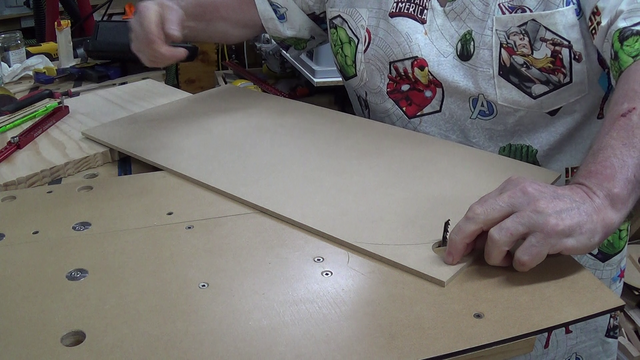
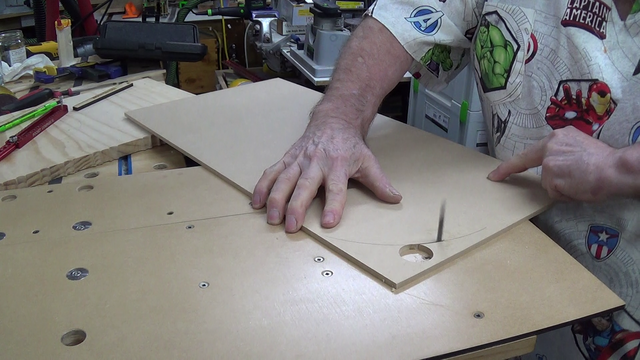
With downward pressure on the job near the blade,
turn the Carvex on and start rotating
preferably into the blade keeping pressure on the work to ensure the blade does not lift it off the tabletop.
The scream OOPS (or another 4 lettered word),
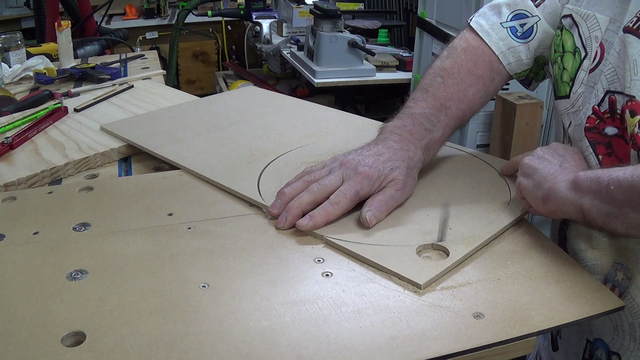
when you discover that you didn’t position that compass's drawing correctly and you ran off the edge… kinda makes an unholy hole.
A tad disappointed, finish the cut,
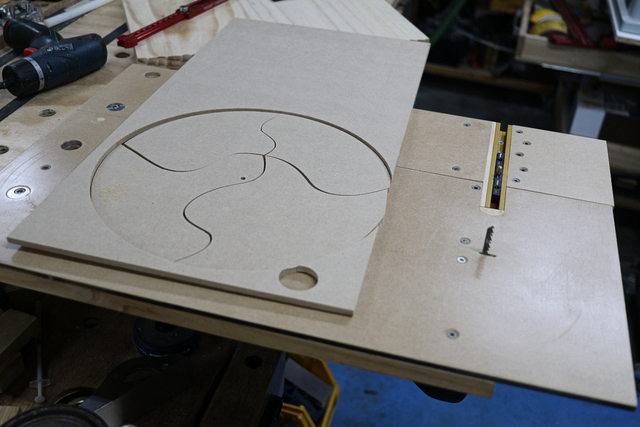
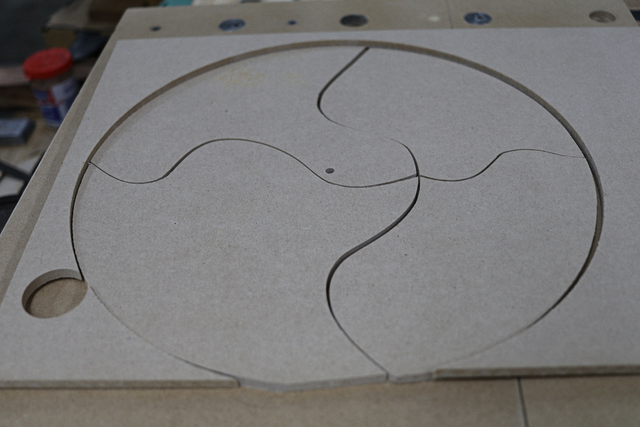
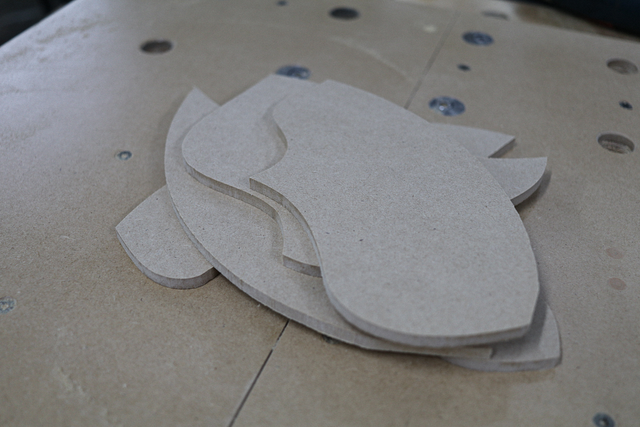
then went stupid making another “puzzle”,
Anyone interested, files available on my cloud storage.
I also made a 3 part video… that’s why the photos are graced by the new nightie. Part 1 can be accessed here,
with the other two piggy backing off the end of each.
Stay true to your craft... and remain crafty!
If your first cut is too short... Take the second cut from the longer end... LBD
Brings up the point. When I try cutting a circle (small table top), I always plan on going slightly large since the multiple depth passes can leave "step tracks" in the edge. Rout large, then rout a single, full depth cleanup pass. Using the saw for the primary cut would be faster and less dust.
BTW LBD, I bet you can find that "missing dust" from your trim router jig all piled up in your dust collector. Object permanence lesson 🤠


dust - Project by LIttleBlackDuck")