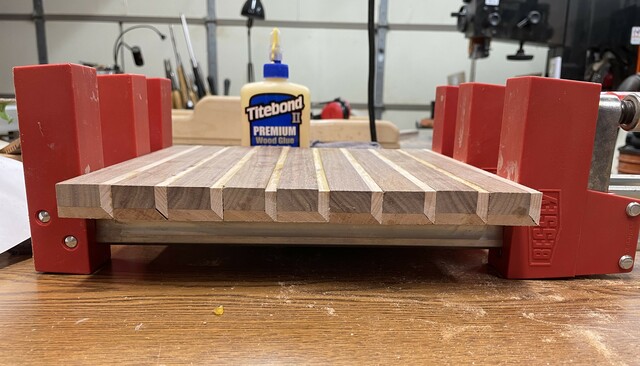
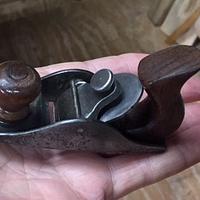
This was made for the 2023 Beer & BBQ Swap. The Bowl was made using my Ringmaster on my lathe. I started by ripping a bunch of walnut, maple and cherry strips to width and thickness and gluing them into a blank. (Looks like a Titebond ad.)
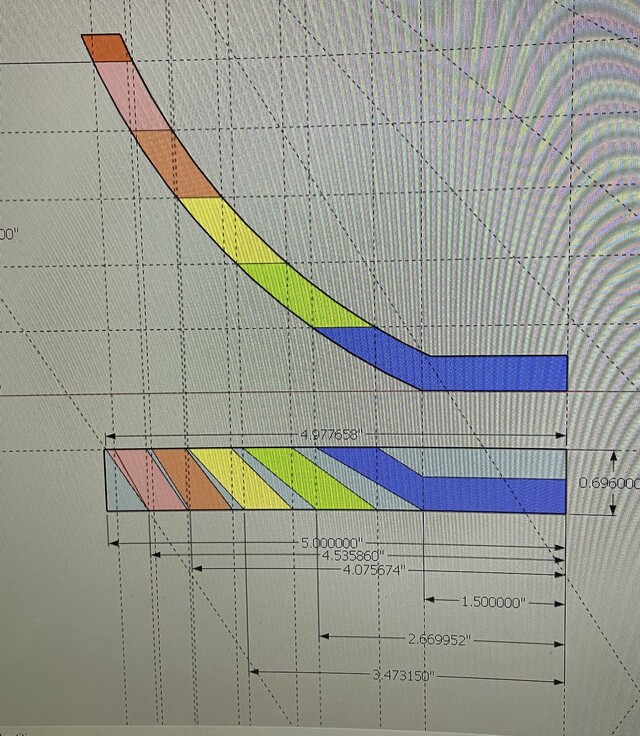
I designed a shape in Sketchup to determine the angles and widths of the rings. The is printed at actual size and is used to set a compass to draw circles that mark where the cuts are made.
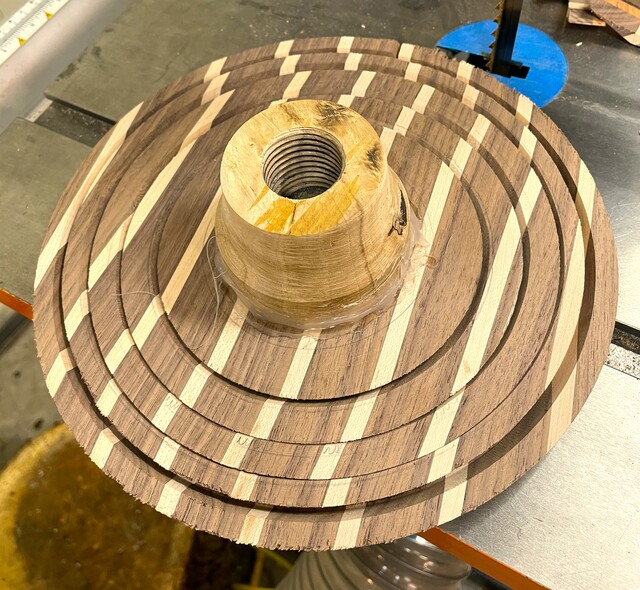
Normally, you drill a 1/2" hole in the middle of the board to mount it on an arbor but I really hate how that looks after you plug the hole in the bottom so I decided to try a glue block to mount the board on the my lathe and cut Rings with the Ringmaster. The block is a scrap of live oak that has been sitting around for years and it was drilled and tapped for the spindle on my lathe and attached with hot glue. This worked very well, though in the future I need to make the block a little smaller to allow the angles used on the bottom of the bowl. The rings are then stacked and glued to form a bowl, being careful to align the stripes.
The constructed bowl is then mounted on the lathe and is turned to get a smooth transition between each ring and some minor shaping was done on bottom both inside and outside to create a rounded transtion from the sides to the bottom. The finish is several coats General Finishes Salad Bowl Finish which was polished using Acks abrasive paste and wax.
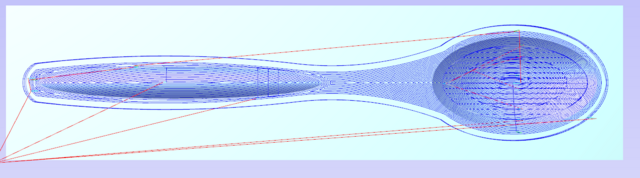
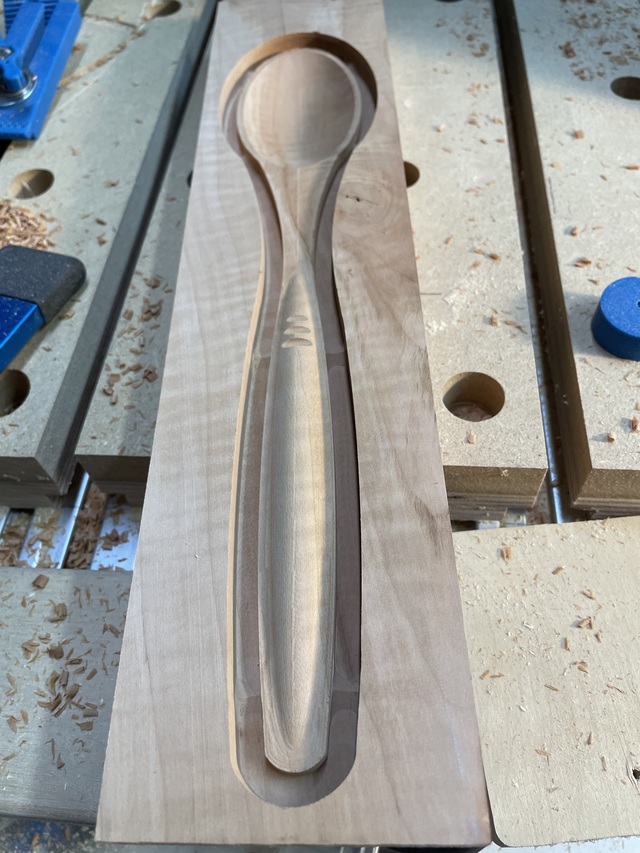
To go along with the bowl I decide to add some serving tongs. To try something new, I drew up a 3D pattern using VCarve and created some tool paths for my CNC to carve the 2 sided shape.
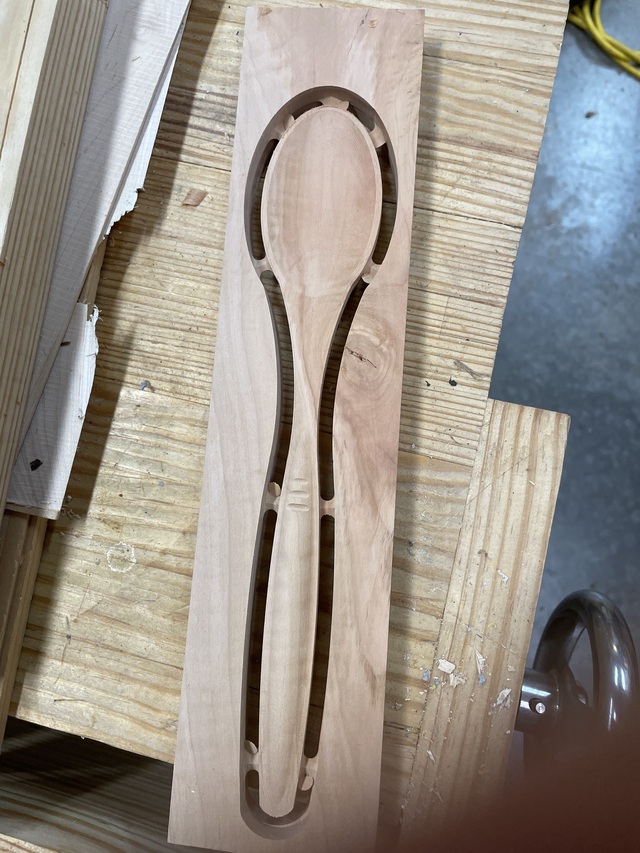
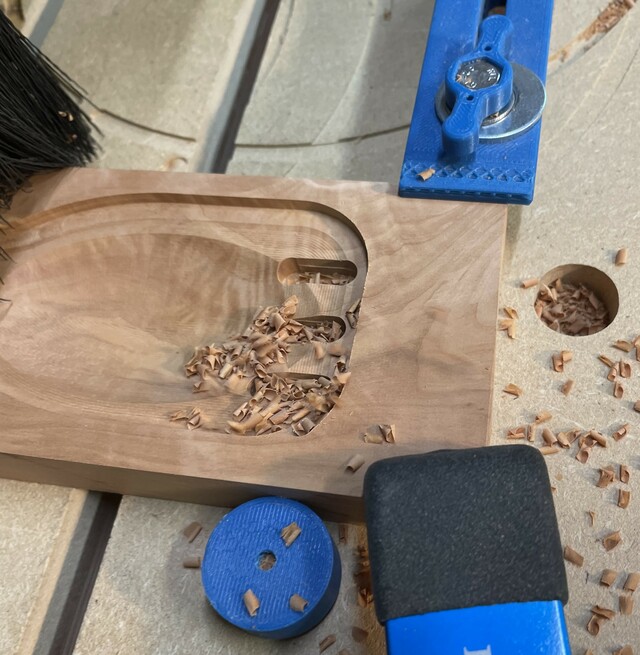
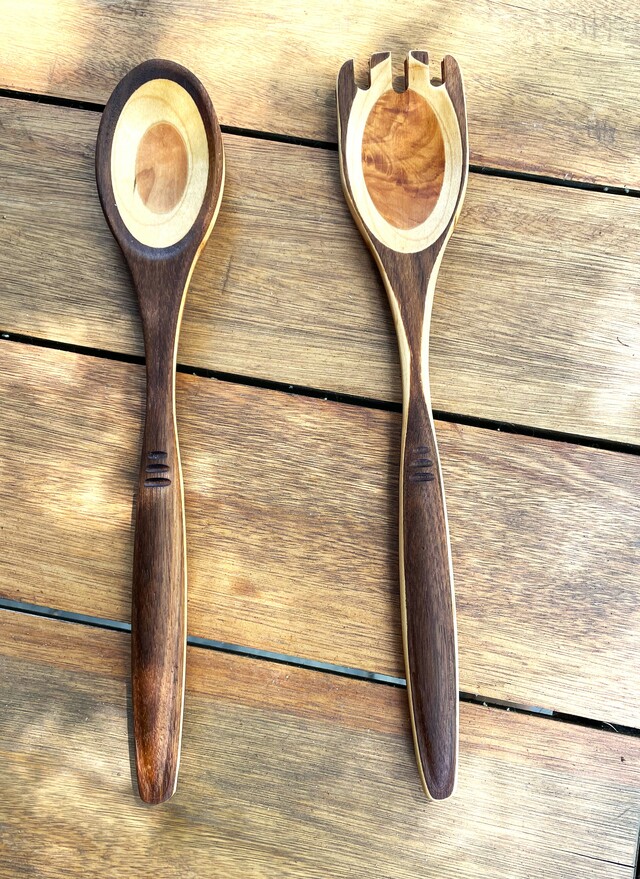
I was originally going to glue up some blanks of the same wood as the bowl but my glue up turned out wonky and while I was working through the issues and waiting for the glue to dry, I decided to carve the spoon and spork out of some Bradford pear that I have had drying for over a year. The figure in the BP turned out pretty nice and I decided it looked better than the laminated version that I made later so I sent the BP ones instead. This is after carving the first side. After flipping it over and carving the bottom. Only the tabs are holding it in the blank. I used a chisel to free it from the blank and then did a fair amount of sanding to remove the tabs and roundover the edges of the handle to make it comfortable to hold. I modified the design to square off the end and created some tool paths to cut some tines and cut a spork. The tongs are finished with several coats of Wood River Pure Tung Oil.
Here are the laminated ones I made once I resolved my laminated glue up issues. Still cool but I really like the Bradfored pears ones better, in part because I did not get uniform thickness of the top and bottom laminations. The BP ones should also hold up better to washing as well. I am worried that these may delaminate if they soak in water too long when washing.
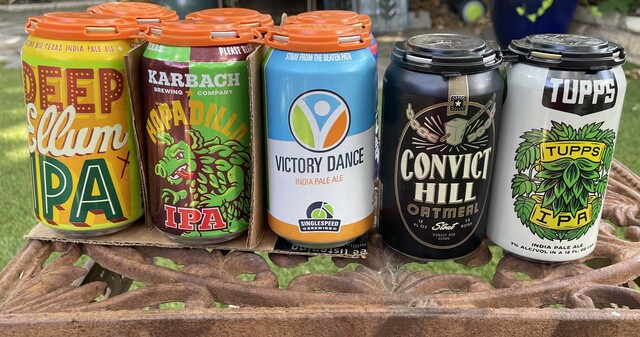
And being a beer swap, there had to be some beer included.
Thanks for following along.
--Nathan, TX. Hire the lazy man. He may not do as much work but that's because he will find a better way.
As the proud owner of this set I can say they are fantastic! They sit out on our dining room table and I admire them every time I walk by. Great job Nathan!
I was originally just going to use the CNC to simply rough cut out the outline instead of cutting out on the bandsaw and then shape them by hand. Vcarve can import 3D shapes and carve them but the design capability is mostly 2D (you have to upgrade to Aspire to design 3D shapes). It does have some 3D clip art and some of the shapes are domes and dishes which you can resize and stretch. With only a little bit of experimentation in the software, I found a really easy way to do do the most of the shaping so all that was left was some sanding by hand to ease and round the edges. To do the 2 sided machining required that the blank be a precise width and thickness. I did my first test run in a crappy piece of lauan plywood that I salvaged. The first test turned out that the bowl was too thin but that was an easy fix. I just stretched the height of the dome on the back and increase the overall thickness of the entire spoon a bit.
I think that one of the best things for me about participating the swaps is that they push me to try new things that I would not even think to try otherwise.
BTW, if any of you have Vcarve and would like to try this, send me a PM and I can share the files with you.
--Nathan, TX. Hire the lazy man. He may not do as much work but that's because he will find a better way.
Ryan, I suspect that trying to do that with the Shaper Origin would be extremely tedious. The micro steps it takes to get a smooth contour would probably take forever guiding by hand.
Adot, I think that the glue block is how I am going to use my Ringmaster from now on so I do not have to drill a hole. The hot glue turns out to be an excellent way to adhere the board to the glue block. It was actually kind of a PITA getting it off. One tip I found was to dribble a little DNA (alcohol not blood ;-) on the hot glue to slightly soften the wood and it makes it a little easier to pry off the hot glue.
--Nathan, TX. Hire the lazy man. He may not do as much work but that's because he will find a better way.
Nathan, that is an advantage of a lathe mounted RM. I have the stand alone and there is no way to do a glue block. (That I know of anyway) I make them on the RM as normal and then make a bottom on the Jet using a glue block with a paper joint to afix the final bottom to the stack. It wastes wood but no hole.
Nathan- the Origin has a ramping feature now that allows for smooth z-axis transition. It’s really meant to allow a tool path to be automatically deepened to a final depth by making repeated passes and, automatically, lower the z height on each pass such that you’re just cutting one continual path several times without pause. Obviously this is a preset algorithm, but it does the calculations on its own based on how many passes you want it to make and the final depth. Since that’s clearly using coding to vary the z-axis offset, one could assume it’s possible to expand that.
I think the major reservation I’d have with it, theoretically, is the rigidity in the z-axis. Since it’s a handheld device, the spindle advancing is going to put pressure up against the operator. Part of me thinks the reason they haven’t made it an option is because users would fail to understand it and blame the system because they’re not holding it firmly enough. A human gantry has intrinsic faults 😂 But, given they released the ramping, maybe that’s their way of field testing for a future release?
Ryan/// ~sigh~ I blew up another bowl. Moke told me "I made the inside bigger than the outside".
Using ball nose cutters greatly reduces that vertical force Ryan. It'll also leave a much better finish. I have to agree that some ability to carve in the Z axis would be a big bump in functionality for the Origin. I doubt I'll ever own one but having that ability would definitely be a key selling feature for me.
Adot, I think that if instead of the threaded glue block like I used, you turn the block around so that the recess is facing the board, you could bolt the glue block onto the arbor. You would have to glue the board to the block while it is on the arbor. You would also have to modify the base to move the carriage out so that it lines up with the new position of the board. I may try this with the arbor that mounts on my lathe.
--Nathan, TX. Hire the lazy man. He may not do as much work but that's because he will find a better way.
I’ve used ball nose cutters on past projects with great success. But, I did the math myself and left the outermost cut line ‘tall’ so the ball nose just takes out the corner and makes for a smooth transition…if that makes sense. Using a ball nose throughout would leave a bunch of ridges, unless your cut paths were right on top of each other, which would be tedious to cut.
Origin really uses pretty limited tool paths as far as I can tell. Really just following the SVG lines and allowing offsets. Any pocketing is done manually by just dragging the tool around until it bumps up against preset limits.
It works great, but it’s truly only a semi-automated process, so it’s got its own pluses and minuses. It’s a wonderful tool, but it’s not going to replace a gantry-style CNC. That said, there are things Origin can do that a gantry system can’t. So, pluses and minuses.
Ryan/// ~sigh~ I blew up another bowl. Moke told me "I made the inside bigger than the outside".
That is genius in how you made the bowl rings for the 3D effect!
Great thing about all these jigs and tooling is you can offload the grunt work and spend your efforts on cool designs and try stuff that might not work out, without spending many hours setting up.