Lazyman
in over 3 years
More from Lazyman
Antique Sewing Machine Cabinet Salvage
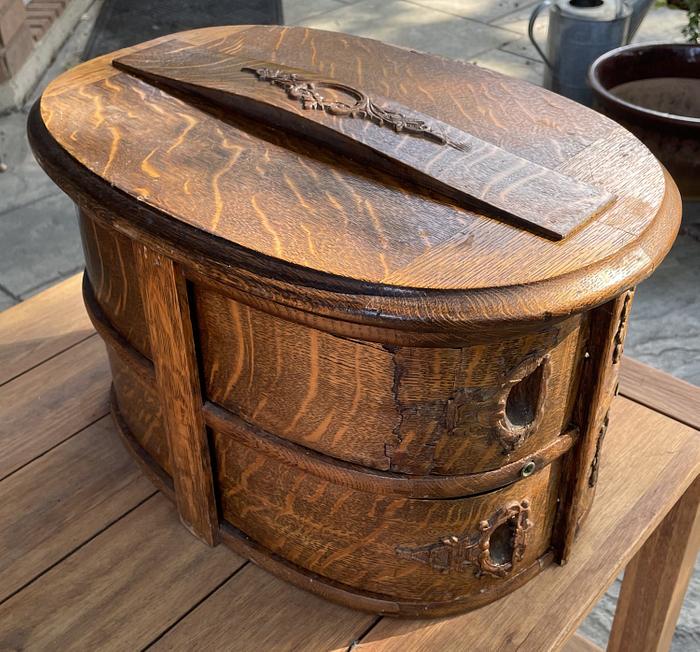
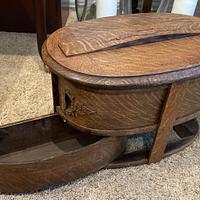
After repairing the drawer section of the the cabinet, another idea was to use the drawer sections and make a tall cabinet that could sit against or hang on a wall.
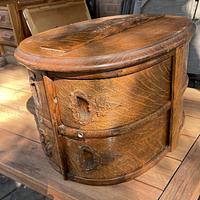
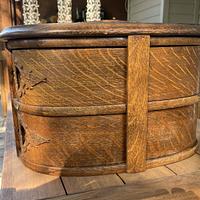
I finally settled on a table top cabinet you see in the project photos.
One of the drawers had been crushed and warped somewhere along the way so I had to glue it back together.
I wet the thin side wall to make it pliable enough to conform to the shape of the bottom. Large rubber bands helped get a smooth curve andI had to support the joints with pegs to help keep them aligned.
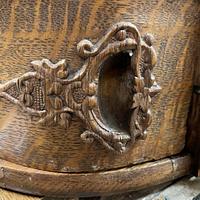
It turned out pretty solid but I should have paid a little more attention to the how the broken veneer lined up on the outside during the glue up. I was a little difficult to get clamped so that it was back in its original shape. This was glued up with hide glue so I may try to fix this spot on the veneer at some point and make a new grip for the pull. I saved part of the apron in case I want to use the veneer on it for the repair but this was difficult enough that for now at least, I don't want to risk making it worse.
Here is what the pull used to look like.
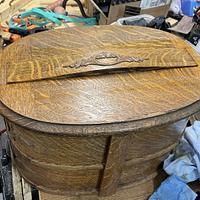
I made the top by cutting off the wings from the top of the cabinet and then glued them together using biscuits and bow cauls to help with clamping and alignment.
I used a crest that was on the front apron of the cabinet to help hide the joint.
I decided to simply clean the grime off and leave its hard earned patina in place. Considering the condition it was in, the finish was actually in pretty good shape. I did glue down a few areas where the veneer was chipped or loose but opted not to try to replace any of it. Thanks for looking.
--Nathan, TX. Hire the lazy man. He may not do as much work but that's because he will find a better way.
28 Comments
Ryan/// ~sigh~ I blew up another bowl. Moke told me "I made the inside bigger than the outside".
You are a brave and ambitious man! Looks really cool and will stay cool in it's new configuration, nice rehab!
Ron
working with my hands is a joy,it gives me a sense of fulfillment,somthing so many seek and so few find.-SAM MALOOF.
--Nathan, TX. Hire the lazy man. He may not do as much work but that's because he will find a better way.
The Other Steven
My wife had one similar that was made by her uncle. It has three rows of drawers. She uses it for storing her sewing stuff.
.................. John D....................
When taking it apart I was actually a little surprised about much it looked like stuff that is mass produced today, just without particle board, MDF and vinyl veneer. They just used different "cheap" materials than what is available today. The top was made from pine with surprisingly thin (for the day) veneer for example. The wood that divided the drawers from the inner cabinet was sort of like a thick veneer. Today they would use something like Masonite for that. I think that this was definitely made in batches with different steps that were obviously made using machines. I could definitely believe that different people made different parts and then that different people might have done different parts of the assembly.
--Nathan, TX. Hire the lazy man. He may not do as much work but that's because he will find a better way.
"Duck and Bob would be out doin some farming with funny hats on." chrisstef

If your first cut is too short... Take the second cut from the longer end... LBD
--Nathan, TX. Hire the lazy man. He may not do as much work but that's because he will find a better way.
May you have the day you deserve!
Awesome job!
Petey


