


Share your craft projects
Make new craft buddies
Ask craft questions
Blog your craft journey

Don
654 posts
and
29 followers
in over 12 years
in over 12 years
More from Don


Epoxy Resin First attempts


Here is my first Promise Epoxy project. I used this deep pour and this table top epoxy for my first attempt. Here is my story with a few lessons learned.
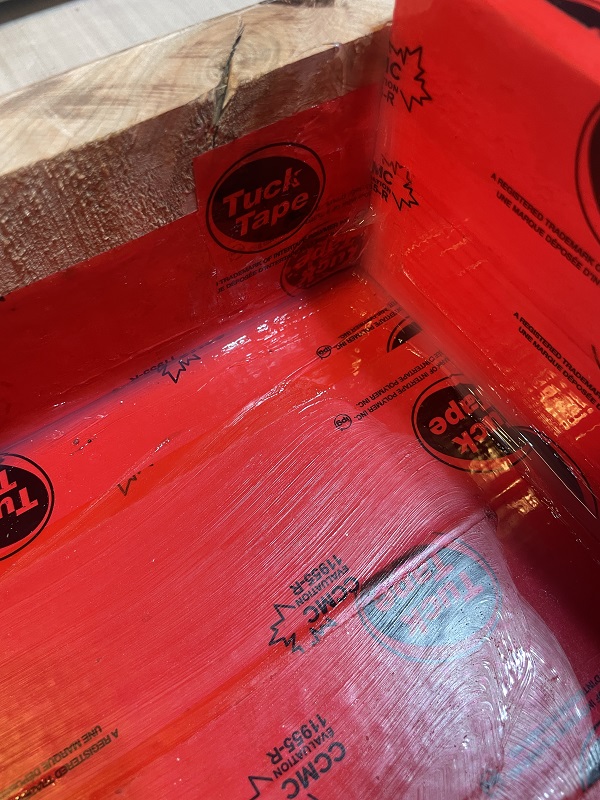
I made my forms from some 3/4″ plywood and 1x stock covered with tuck tape (you can also us something similar)

All corners were sealed with silicone. I used some clear silicone that I had it on hand. I see a lot of recommendations for using a color so it is easier to see. One thing I discovered in this first pour, when they say it needs to be water tight, they mean it needs to be water tight. If you can not fill it with water and put some gold fish in it, you’re going to have epoxy everywhere!!
Be careful not to leave globs of silicone. They will show as hollows in the epoxy edge.
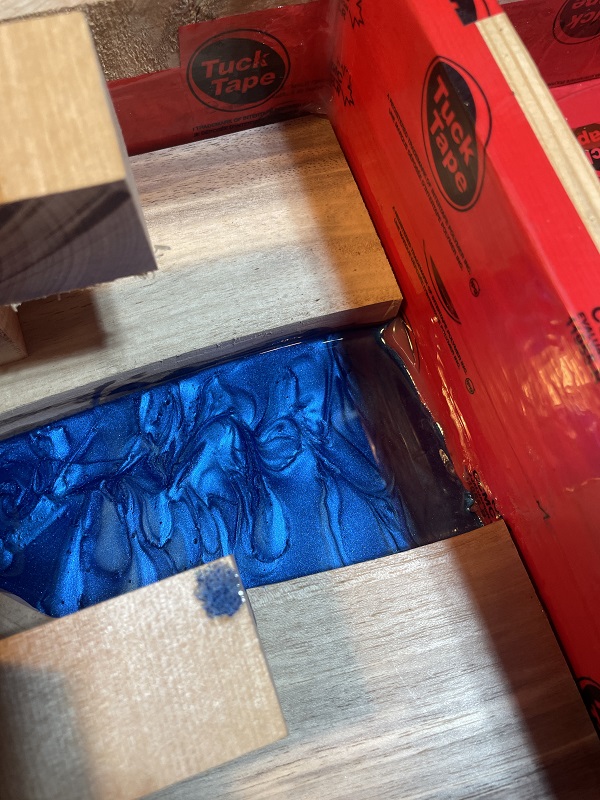
I wanted to fill some cracks with black epoxy first, so I made a dam out of silicone so I could get the level slightly above to ensure the void was completely full and could be sanded even.

The wood will float in the epoxy so it needs to be clamped or weighted down. One mistake I made was not covering the blocks holding down the walnut. I wound up epoxying them together. I had to cut and plane them off. Any pieces like this should be covered in tuck tape(Tyvek tape).
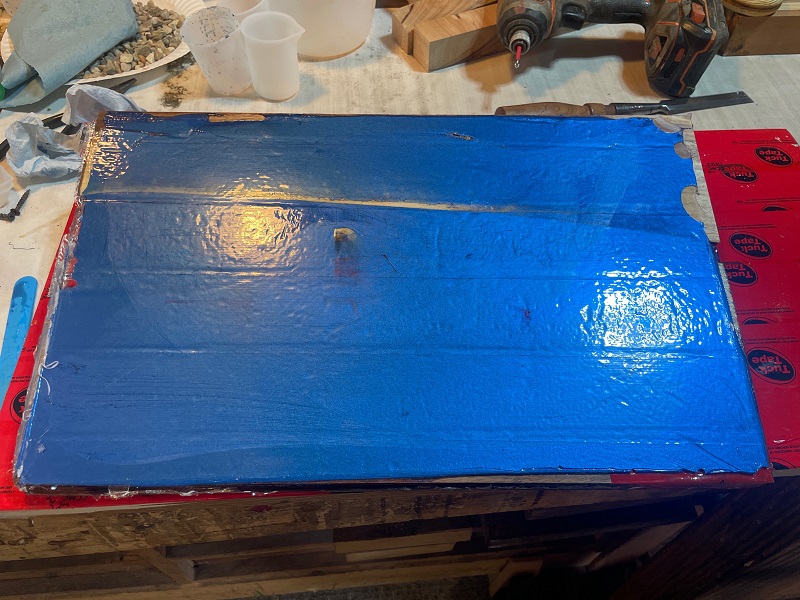
Then I did not get enough downward pressure to keep the blue epoxy from going under the walnut. This is what the underside looked like. Almost a 1/4″ of blue epoxy.
I have since made a bunch of tuck tape covered wooden blocks.

Since the rocks were just above the blue in a clear pour, when I planed the blue off to get back to walnut I ruined a set of planer blades. Luckily they were due to be changed anyhow so no real harm, but a good lesson learned. I should have gone with a simpler design for the first board.
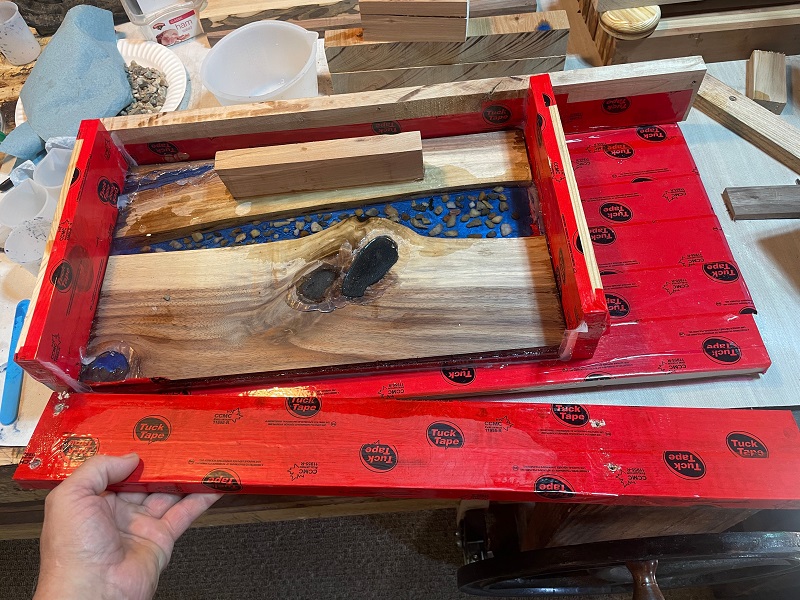
I had a matched piece of walnut that I glued to the back to make it thicker again. I then repoured the blue in the new bottom.
Removing forms
-- There is nothing like the sound of a well tuned hand plane. - https://timetestedtools.net
9 Comments

Nice write up!
Ryan/// ~sigh~ I blew up another bowl. Moke told me "I made the inside bigger than the outside".

Thanks for all the warnings - getting ready to try my first one later this year. For your first one this came out beautiful. Excellent job !!!

yeah thanks for all the tips which for the cost of epoxy can be expensive lessons to learn ! but wow a success !
working with my hands is a joy,it gives me a sense of fulfillment,somthing so many seek and so few find.-SAM MALOOF.

Looks great, good job Don. You are so right I believe that Epoxy will escape where water can't go. Can't be too secure with sealing your forms.
-- Soli Deo gloria! ( To God alone be the Glory)

Looks good Don, cheers for the tips.

Wow! That looks like a lot of effort. How big is the finished piece?
Andy -- Old Chinese proverb say: If you think something can't be done, don't interrupt man who is doing it.

GR8 JOB 😍😎👍
*TONY ** Denver * ALWAYS REMEMBER TO HAVE FUN

Worth a set of blades and all that effort...great color!

Thanks for the tips! This looks great!!
More from Don