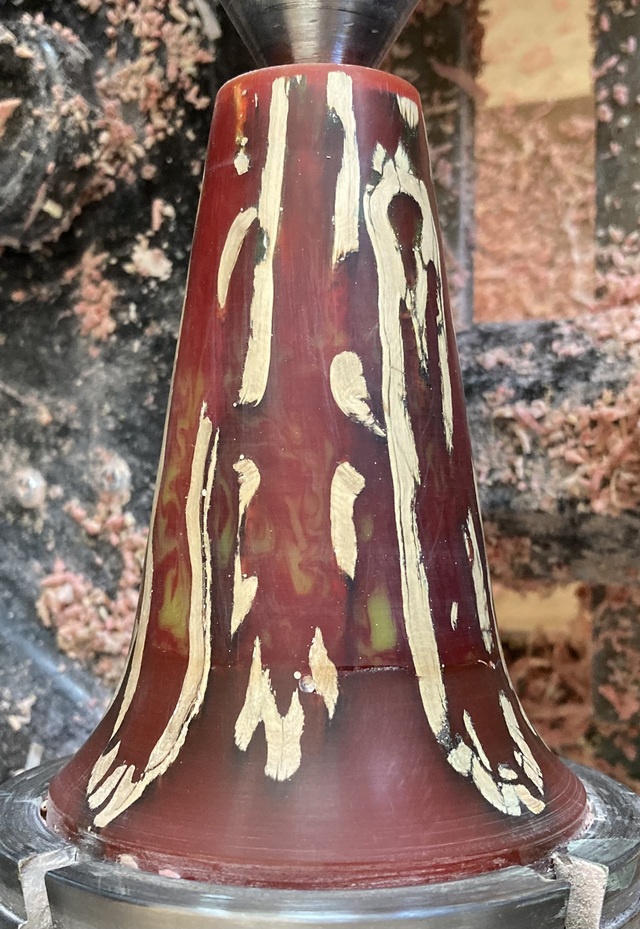
A while back, my sweetie expressed a desire to have a bedside lamp and a night light. I worked with a few different ideas for the lighting part of it before finding the Lanterna 3-Stage Battery Powered Lamp at Lee Valley. It’s just about exactly what I want, except it takes 3 C-cells. More on that later.
I also went searching for a rechargeable battery for the lamp. Turns out our door cameras have a battery which is just about perfect. The battery has charging circuitry built-in, and the terminals are on one end of the battery, and the charging jack on the other, so I ordered a spare battery.
Then I disassembled the Lanterna and figured out what I could use. It was pretty easy, as there is a ⅜ inch threaded rod down the middle of the lamp holding everything together and carrying the wires from the head to the base. All I needed to do was cut off the battery holder, shorten the rod to fit my base, and then solder the wires onto the rechargeable battery terminals.
Then because my base was a little short, I cut a piece of walnut and carved out a battery-shaped hole in it, leaving the hole just large enough to slide the battery through, but tight enough that the battery won’t fall out when you pick up the lamp.
With the walnut base glued to the twisted base, finishing was just a matter of a few coats of danish oil, a coat of shellac, followed by two coats of violin varnish, and then a thin layer of carnauba wax so the lamp should be easier to dust.
Thanks, guys! I’ve been pondering various LED / Lithium battery technology for over half a year at this point, and it feels awfully good to have one done. And a second in progress, and maybe done before Christmas yet.
Splint, beyond this and the next one, I’ve already had a couple people asking about buying these, and they haven’t made funny noises when I said that I’d have to sell them for a “cuppa-tree hunnert” which maybe is enough for me to actually want to keep making them, so figuring out the details may pay off. I’m not entirely happy with the battery mounting on this one, and soldering the wires directly to the battery may not be the best answer, but if those are the only problems remaining to be solved, I think I’m in good shape.
We’ll see how the next one using a cholla and epoxy base goes…
Today I started working on a piece of cherry that will be the base below this bit, and I’m figuring out how to bore the hole in the bottom to hold the battery. Gotta make those more repeatable processes if I’m going to make more than a couple of these.
Thanks, gents! More is on the way, but I won't be “staying in my lane” because I’ve got requests from my sweetie to finish up projects I thought up a year or two ago.
Super slick Dave. It's a very modern looking design (looks like a UFO beaming something down to me 😆) but the wood gives it a rustic vibe too. I really like the tangential turning too. I could see the basic design being adapted for a lot of different environments. You obviously can too with the cast cholla 😉 All around great work on design, electronics and excecution!
Thanks! The basic design is still due to the lamp from Lee Valley, but I have other ideas for it, as well.
The tangential turning is something I saw someone on here or the other place do, but ThePapa1947 does a great job of explaining how to get the pieces put together. One of these days I’ll build some jigs to make it an easier job.
Splint, one of these days I’m going to need to figure out how to use a router template. In the mean time, the battery hole isn’t too bad. It’s two ⅞ inch holes and a little chisel work, if I remember right. I end up measuring the battery multiple times to be sure, but it wasn’t at all hard with hand tools. And I may stick the battery in laying flat, since it would take up less space inside the base that way.
Just did the first pour of the next cholla base this morning, along with turning a cherry ring to sit under the first cholla base, and something else. The biggest problem I have on these is turning the base around so I can bore the center hole and then a recess for the battery, and not chewing up the base or getting it mounted off-center on the lathe, but I’m coming up with solutions. I might get it all figured out before I run out of lamp parts (I’ve four more sitting on the shelf in the shop yet).
Since that holder is drilled/chiseled into the resin(?) You might be able to make a battery "positive" casting from Bondo or pour excess resin into a mould. Wax it up and place it into your curing base.
I drill / chisel it into the wood that goes below the resin base, currently. Much easier to carve the wood to match than the resin. But yeah, I got some mold release spray that I’m currently testing out, so if that works, I may try getting fancier with the battery holding.


 - Project by Dave Polaschek")