SWMBO got a new phone. It’s been a few years, so she’s never had wireless charging before and wanted a bedside charging station.
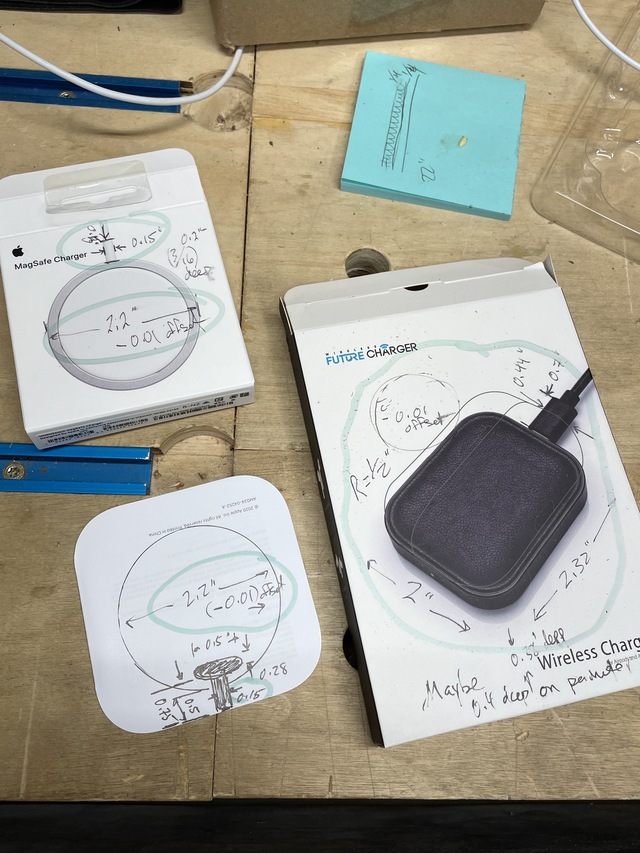
Pretty simple project, although very Shaper Origin heavy. I grabbed a MagSafe charging puck and an AirPod charging puck on Amazon and took some precise measurements. It seemed like a great way to keep track of the measurements by just drawing them on the pictograms in the packing materials. Worked great! Definitely the way I’ll do this sort of thing going forward.
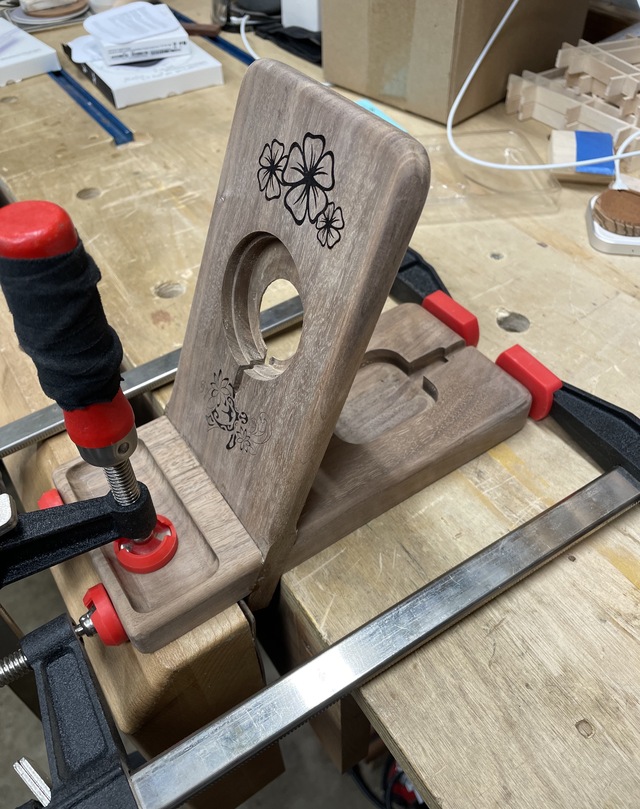
I had a nice piece of walnut left from another project, so I milled down two pieces. One 3/4” thick, another 1/2” thick. After roughing the sizing out, I cross cut the 3/4” thick piece with a 65° bevel. My plan was to sandwich the 1/2” piece into the cut, resulting in the vertical portion leaning back 25° from vertical which makes for a nice viewing angle. Something like this:
I did some test cuts on scrap using the Origin and the measurements I took, then made adjustments until the pucks fit. Since it’s so accurate, you actually have to add an offset or the piece won’t slip in. A 2.2” caliper measurements comes out pretty much exactly 2.200”…there’s an offset command, so you can just keep increasing the last pass by .001” until you get a perfect fit.
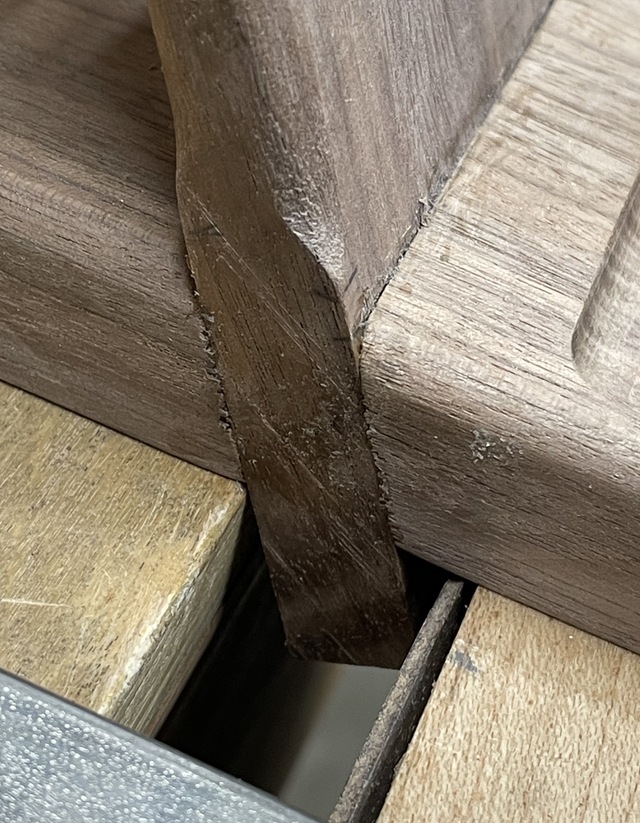
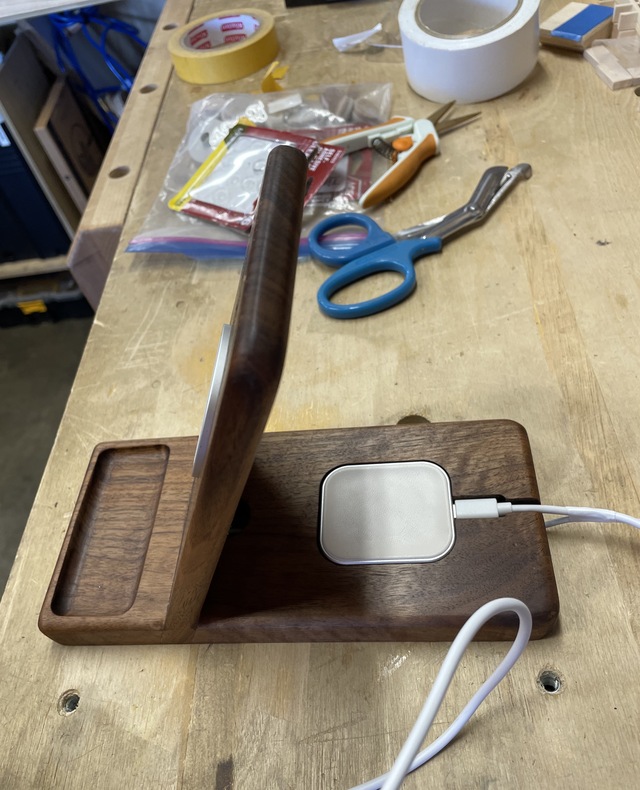
I also did some basic cable routing with just straight 1/8” bit cuts, they didn’t come out as perfect as I want…I should have actually properly measured the cable. They fit fine, just a little loose, no biggie. The parts that matter fit the way I want. I cut underside reliefs into each pocket to allow for removal of the pucks if I need to, and a small recess in the front to act as a tray for whatever crap she’ll end up putting there. I rounded out the edges on the router table and did a little laser work before assembly, since it’s waaaay easier that way! The glue up was done in steps since I still don’t have a really solid way to glue angles like these. If I apply too much pressure, the beveled cut just squirts out of position. Anyone have a really good way to do these sort of glue ups?
Once the first side was glued solid, I anchored it to the bench and was able to clamp the second side in tight since its natural ‘squirt’ angle was down into the bench. Worked out well.
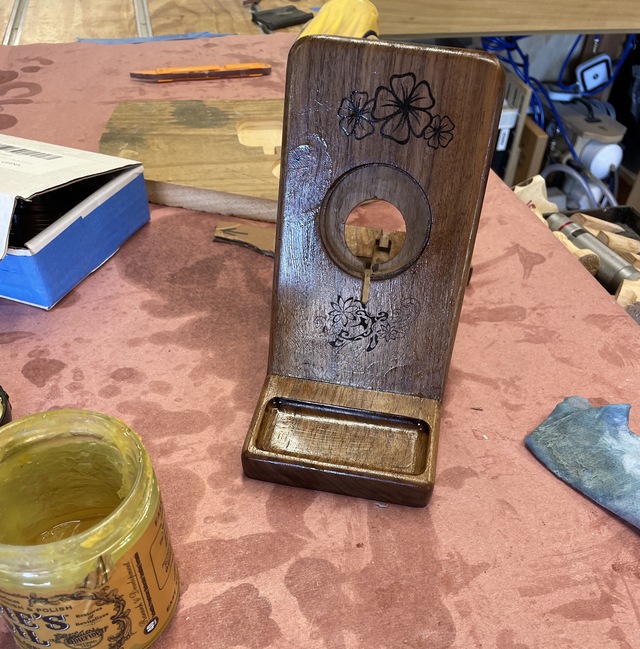
I used a flush cut saw to remove the overhang and flatten out the bottom, sanded flat. A bit of finish sanding after blending the corners, then slathered it with Odie’s Oil.
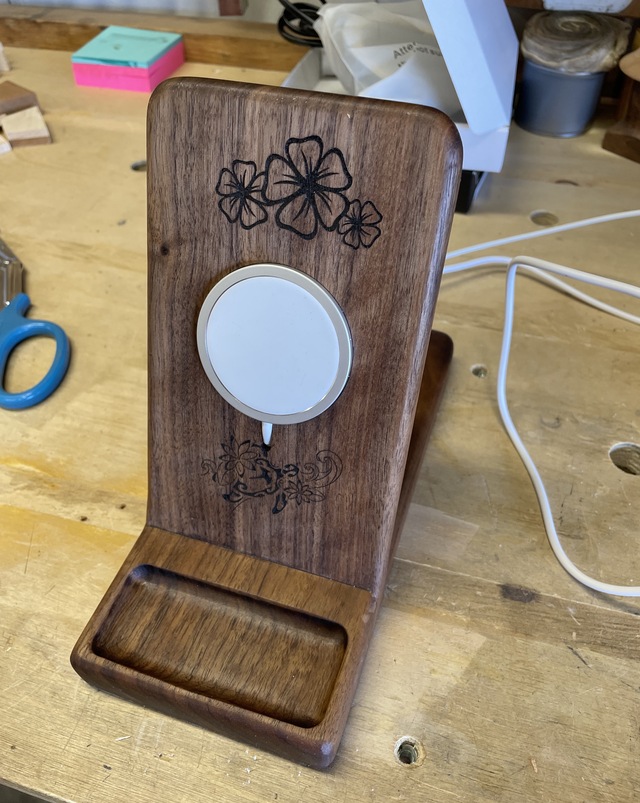
Buffed it all out and finish fit the pucks. I used some two sided tape just to be sure they all stay in place over time.
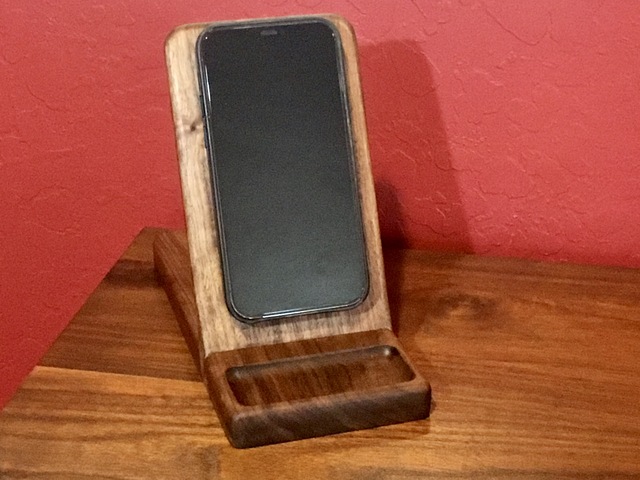
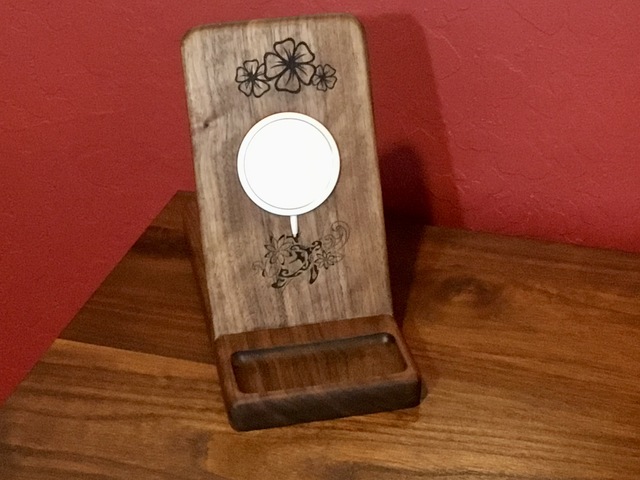
And the glamour shots…
Turned out ok for a day’s work…thanks for looking…
Ryan/// ~sigh~ I blew up another bowl. Moke told me "I made the inside bigger than the outside".