After rough-shaping the legs on my media cabinet build, I set to work on some final shaping and sanding. I thought that a bow sander might make that task a bit easier, so I took a break from the cabinet project to build one.
I have a bunch of 4x24 sanding belts to use for strips. To make a decent sized bow, I plan to open up the belts to make 24" long strips. Having not used a bow sander before, I didn't want to over-engineer the thing for a first iteration, so I opted for simple wedges to secure the sandpaper. But, since I have a CNC, why not use it. Here's what I came up with.
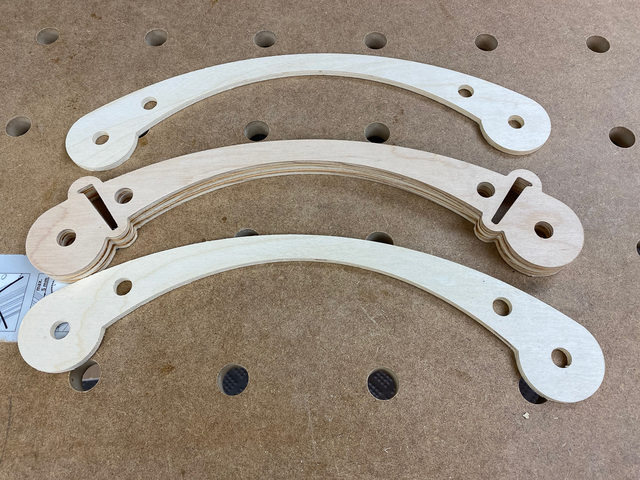
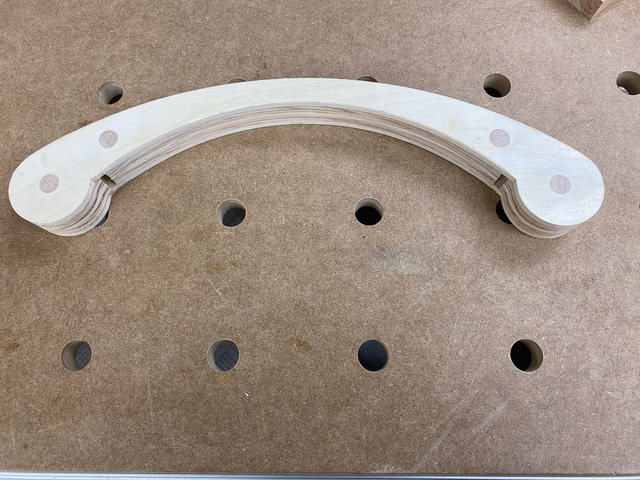
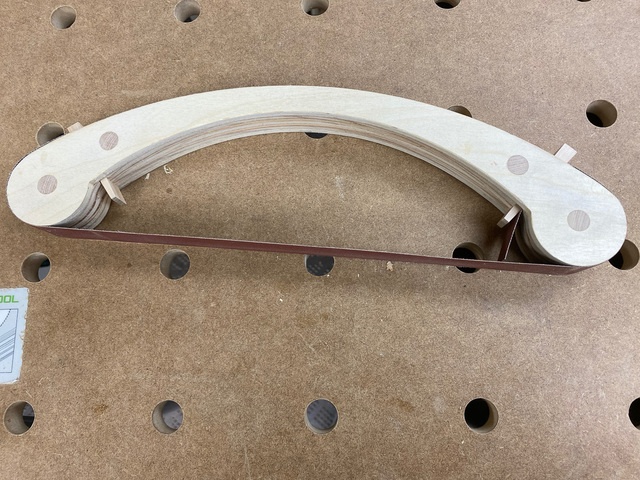
The bow is about 16" in length overall. The two sides are 1/4" plywood. The center piece is 3/4" plywood, and has angled slots for 5 degree wedges. I added temporary external bridges around the slots to keep the center piece as a single unit for glue-up. The bridges get cut off after that.
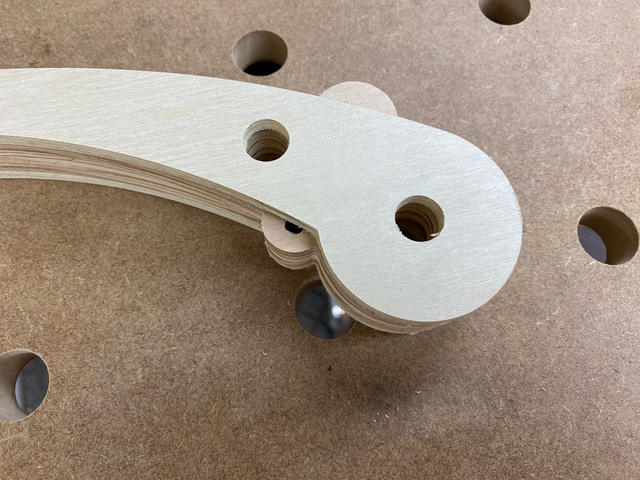
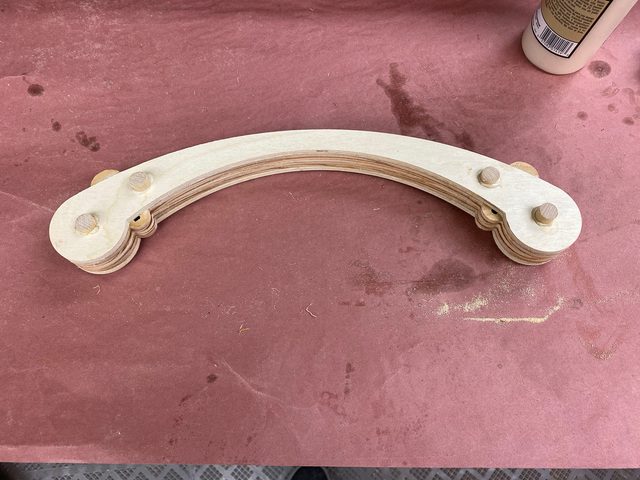
The 1/2" dowels auto-align the pieces and also strengthen the structure on either side of the wedge slot.
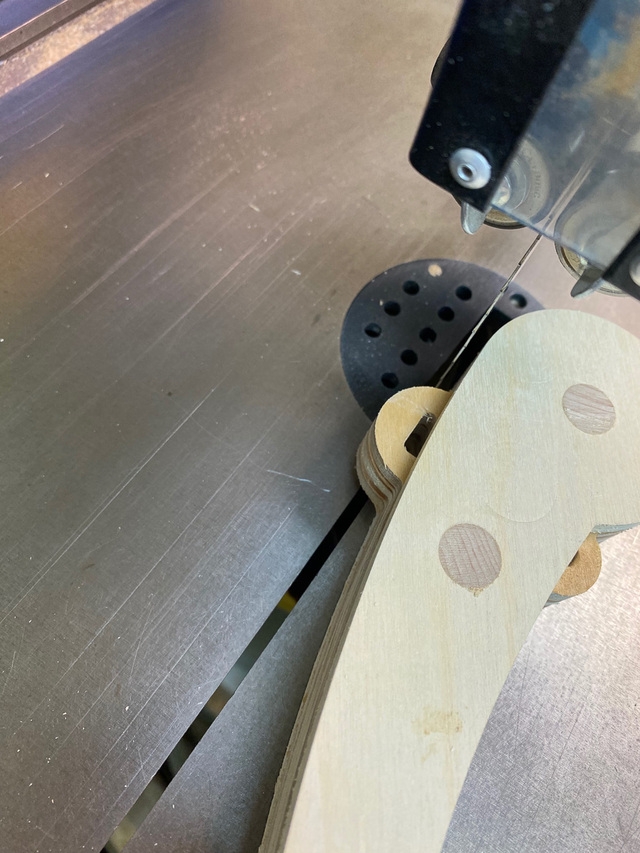
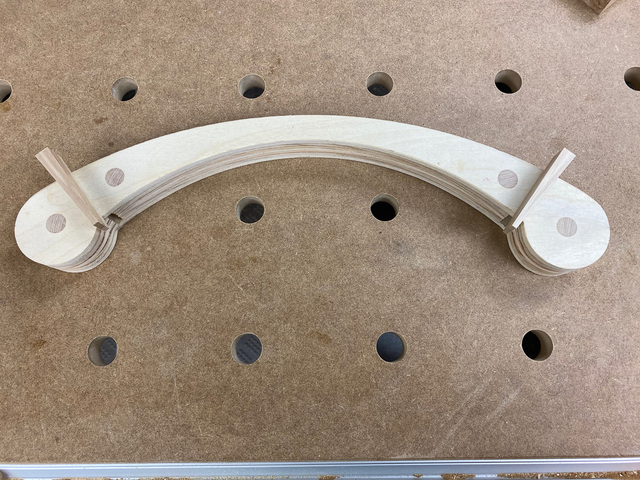
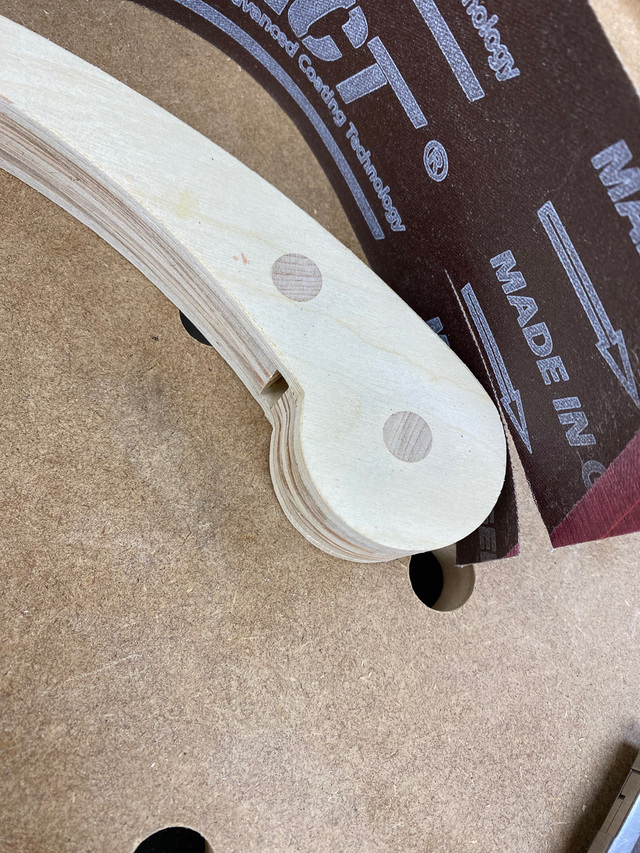
Once the glue dried, I used a flush cut saw to trim the protruding dowels. I removed the bridges at the bandsaw.
I did some touch-up sanding on the oscillating sander. A sander making a sander. There's a joke or a proverb in there somewhere.
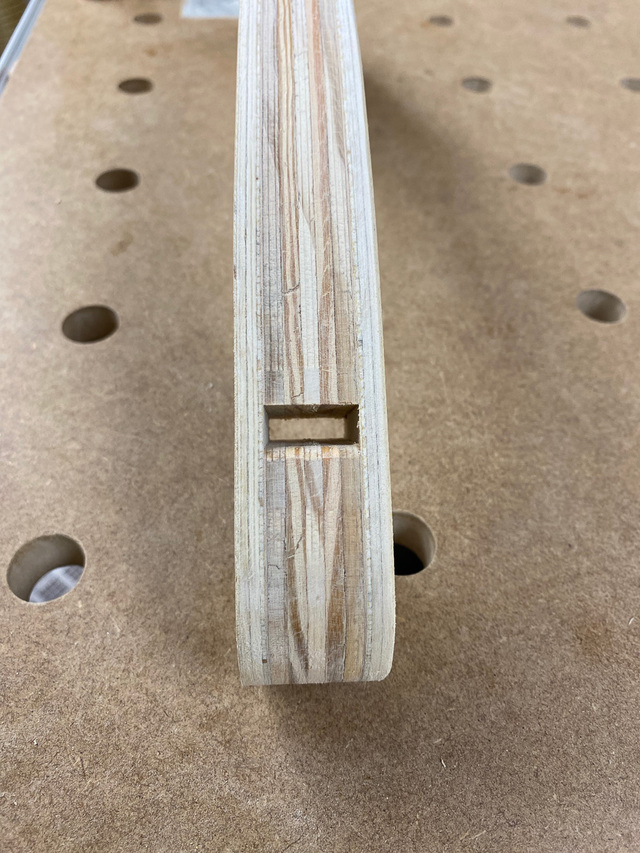
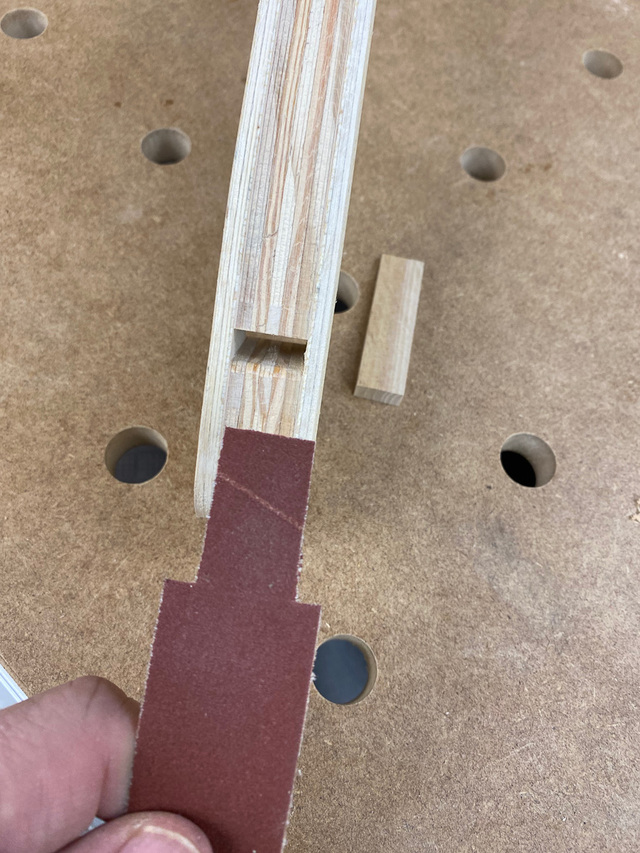
I designed the slot to go completely through so that I could tension the sandpaper by pulling it tight from the underside before inserting the wedge.
I cut some hickory wedges on the miter saw. With the blade set to 2-1/2 degrees, I made one cut, flipped the work and made the second cut. I had to experiment with the thickness of the wedges. I wanted enough sticking out the top that I could attach some kind of cap if needed.
I opened up a belt and made a small nick at the end to mark the width of the strip. The fabric backer tears in a straight line, so making a strip of the right thickness is simple.
To accommodate the narrower slots, I trimmed a bit of the strip width at the ends.
In the picture below, I anchored the strip on the left side first, which left about an inch protruding on the right side slot. I pulled it as tightly as possible and inserted the wedge. The wedge tends to tighten the band when tapped in anyway, so I'm not sure how effective my extra pulling really is. Can't hurt, though.
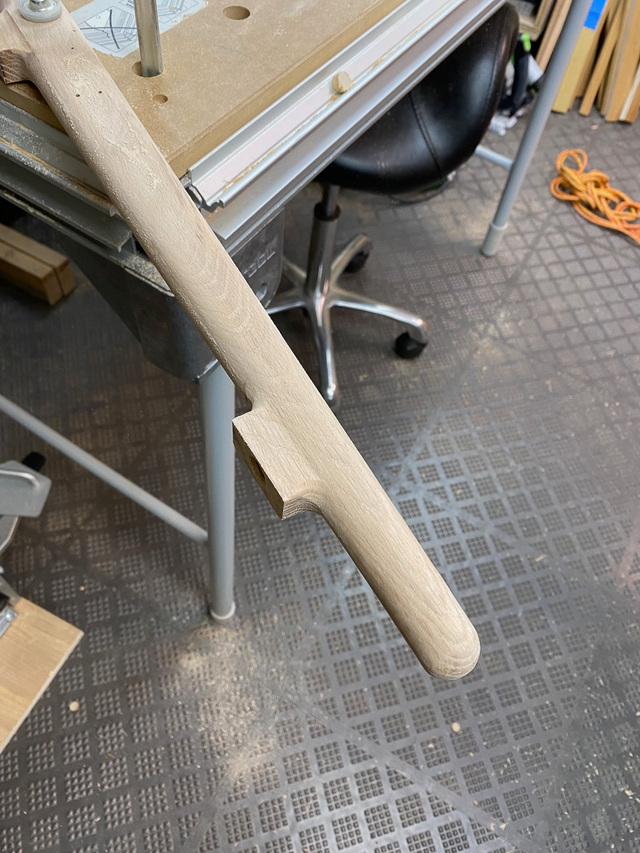
At a minimum, the exposed top of the wedges will need to be rounded over for comfort. But the completed bow is definitely going to be helpful.
Getting some sanding done on those legs. I could use a better way to hold the work stationary while sanding. Hopefully, that doesn't mean yet another project. 😀
nice job on those sanders ross. ive got some i bought from rockler but it's hard to get the sanding strips tight enough. yours look like they will work quite well ! ill take 3 😁
working with my hands is a joy,it gives me a sense of fulfillment,somthing so many seek and so few find.-SAM MALOOF.
I've always meant to make one of these and haven't yet. To be honest I try to avoid doing much sanding in my little shop, but some woods you just can't plane of use a spokeshave on. I'll add this to my likes for future reference. Well done sir.
Andy -- Old Chinese proverb say: If you think something can't be done, don't interrupt man who is doing it.
Nicely done Ross, a simple idea that will go a long way in the shop. I know the feeling when working on a project, just to stop and build a jig or something like that to complete the task at hand.
Thanks for all the kind comments. After getting some bench-time with the sander, it's definitely working well for shaping/smoothing the legs on my current project.
RyanGi commented 1 day ago Nicely done! I made one similar a while back. Project post is here. You’re tensioning method is more simple than mine, to be sure!
Ryan - that is an awesome piece of engineering! Very clever tensioning mechanism. And as a whole, it looks much more comfortable than mine. I may have to "borrow" that idea. 😀
I found that my cork-lined vise jaw pads worked well for holding the work securely. If only I had an Emmert pattern maker's vise. That would be the ultimate.