Share your craft projects
Make new craft buddies
Ask craft questions
Blog your craft journey

Carey Mitchell
169 posts
and
11 followers
in almost 3 years
in almost 3 years
More from Carey Mitchell
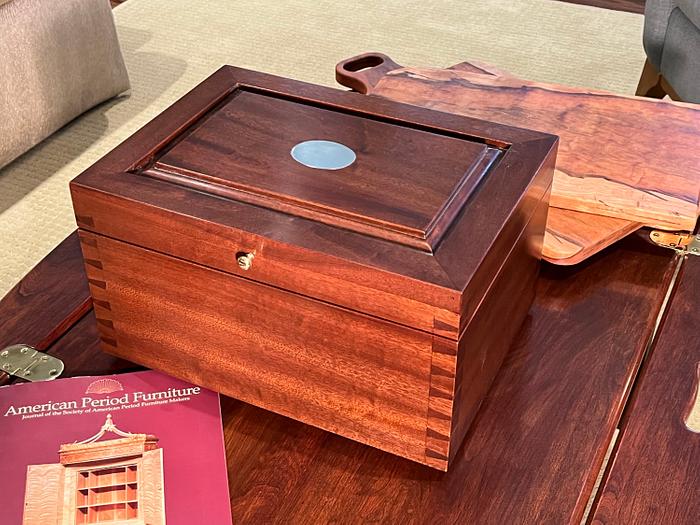
Humidor
This was my first humidor and was intended as a learning experience.
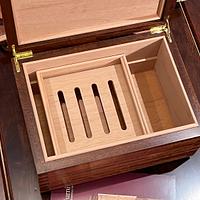
Sapele, with Spanish cedar lining.
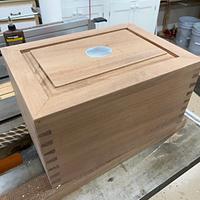
One thing I wanted to do was inlay the silver medallion into the top, to be engraved with the owner's initials. Since I didn't know who the owner might be, it must be removable for engraving and can be glued in afterward. To facilitate easy removal, I drilled a 1/16" hole through the top and liner so it can be pushed out without damage. The hole can be plugged with a spot of glue later.
Making the oval was interesting. I had made lots of silver and nickel-silver inlays for muzzle loading rifles back in the 80's, but never an oval that I recall. I found a simple, no math method to lay out an oval of any size - on that other site.
I polished the metal nicely in order to have the scribe marks stand out. Once laid out, it was sawed from the sheet with a jeweler's saw. I then secured it to the wood with double face tape and began outlining the circumference onto the wood. From the rifle making days, I still have a couple of very small chisels made from drill rod and tempered. One is 1/16" and the other 3/32" wide; both are very thin, intended for this type work - outlining without enlarging the kerf. I worked all around the oval, which was really slow going. Then I removed a little wood border and used the new Dremel tool and the router attachment to remove the middle (the old Dremel died after 40 years). In retrospect, I should have done this before assembling the raised panel top - if a slip occurred, less would have been lost.
The hinges presented a new challenge for me, as I had never used quadrant hinges before. I purchased the Rockler jig. It worked perfectly, although it does require a lot of careful alignment. It was a little more than scary, coming so late in the construction, and one slip ruins everything.
The Spanish cedar liner was a surprise. The widest 1/4" material I could locate was at Rockler. 4 pieces, 5" x 48" cost $135, and that was the cheapest I could find. I suppose I could have found a board, resawed and planed, but the planer noise is no longer permissible today in the new house.
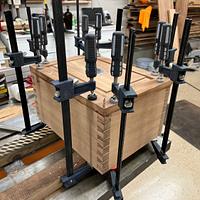
The most difficult part was making top edges of the cedar liner in the box contact the lower edges of the liner in the lid. They need to touch exactly, but not prevent the lid from closing perfectly. That took a number of tries at fitting.
The finish is Arti light mahogany dye, mixed 1/4 strength, Bartley's dark grain filler, shellac, and 5 coats of satin varnish.
Carey Mitchell
10 Comments
Beauty! I’ve always wanted to build a humidor. Seems like a great project!
Ryan/// ~sigh~ I blew up another bowl. Moke told me "I made the inside bigger than the outside".
id love to make one myself but dont know anyone that smokes cigars. fantastic woodworking as usual carey.
working with my hands is a joy,it gives me a sense of fulfillment,somthing so many seek and so few find.-SAM MALOOF.
Nice woodworking. Well done.
Ron
If this was a learning experience it looks like it worked, nice tight dovetails.
nA fine looking humidor Carey! Inlay is a great idea, personalized makes it a heirloom.
I've made a few of these over the years and for the first one I bought an 8/4 plank of the Spanish cedar as the price shock of the smaller pieces was just nuts to me.
You are right about the fitting being a pain, but critical. Those quadrant hinges are also scary because they go on nearly last and so many ways to really mess up.
With your DTs and paneled top, looks to be a classic someone will love to own.
Great looking box. Those are some nice small tight dovetails.
That looks great Carey, the moulded bead on the panel really sets it off.
Nicely done! The joinery looks excellent.
Cary I remember that project.
I should get back to my celtic knot humidors.
I should get back to my celtic knot humidors.
Petey
Carey, a really beautiful humidor. Done very well and the silver oval is a grand touch. If you need an owner, my initials are DJS. 🤣😂🤣😂🤣😂🤣😂🤣😂🤣😂🤣😂🤣😂🤣😂. Simply wonderful.


