Dave Polaschek
in over 3 years
More from Dave Polaschek
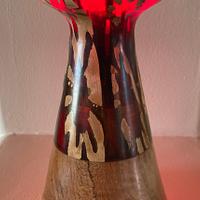
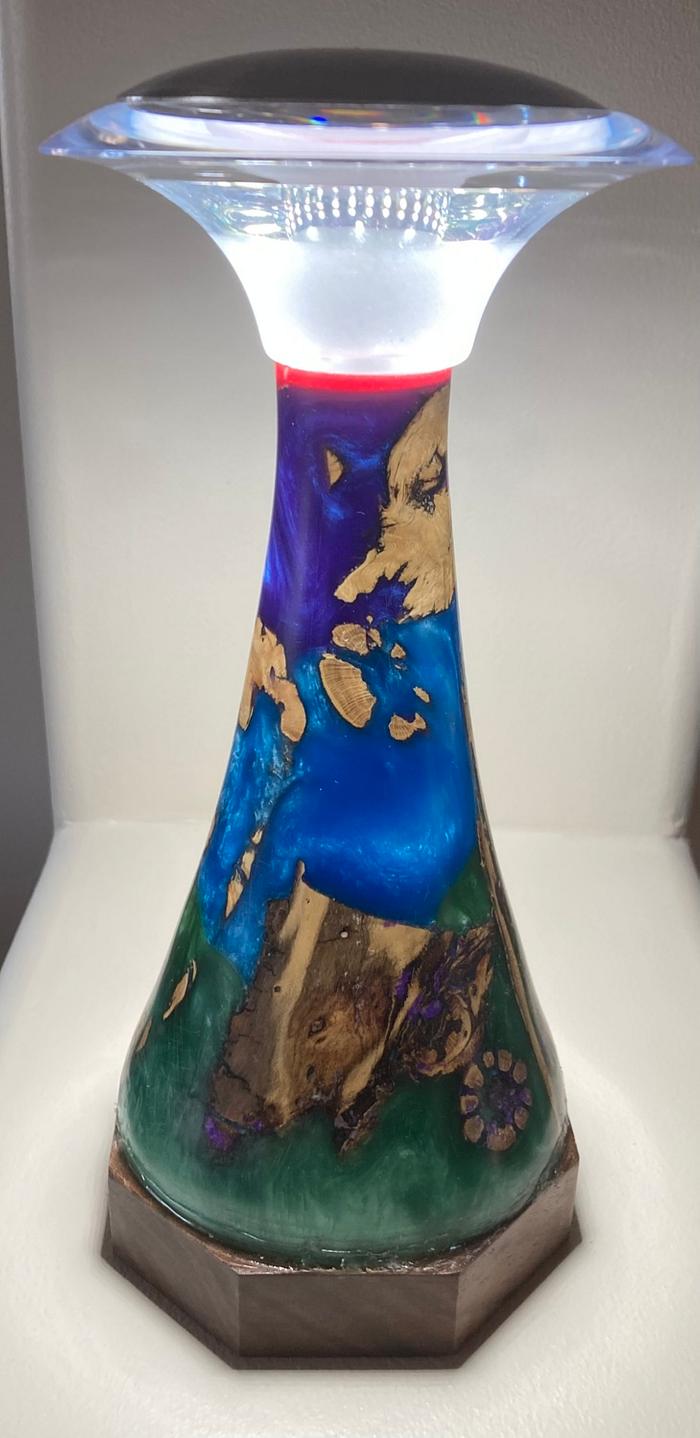
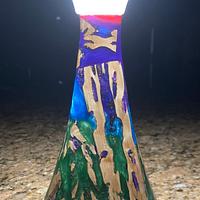
Touch control cholla and resin lamp
I’m using a solid pigment in the resin on this one, rather than translucent dyes, which gets a different effect. I like it, but I really want more swirly effects along the boundaries, which is going to require getting fancier about my pours.
That said, there are still some very cool effects in the resin, especially where I went back to fill in bits that had bubbles in earlier pours. I also like the more random arrangement of the cholla in this one. I basically just poured some chunks into a cup, shook them down, and started pouring resin, rather than carefully arranging the cholla first.
About 3” diameter, and 8-9 inches tall. The mechanism came from a Lee Valley Lanterna lamp. The mold for the cholla and resin was a 32oz cup from Church’s Fried Chicken. The piece of walnut on the base holds the battery with a cutout for plugging in the USB-C cord to recharge the battery.
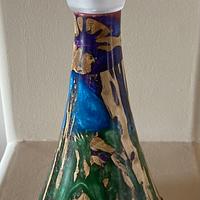
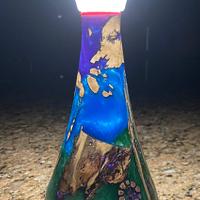
See the comments below for more information. I’ve also added night shots of the lamp.
May you have the day you deserve!
24 Comments
Way cool Dave!
*TONY ** Denver * ALWAYS REMEMBER TO HAVE FUN
Thanks, Jan & Tony!
May you have the day you deserve!
Ryan/// ~sigh~ I blew up another bowl. Moke told me "I made the inside bigger than the outside".
Does anyone else see a freaky face?

--Nathan, TX. Hire the lazy man. He may not do as much work but that's because he will find a better way.
Thanks, Ryan!
Thanks, Nathan! I think that’s the creepy guy Splint mentioned.
May you have the day you deserve!
Cheers, Jim ........................ Variety is the spice of life...............Learn something new every day

--Nathan, TX. Hire the lazy man. He may not do as much work but that's because he will find a better way.
Nathan, I did a few things. I was using the Shabebe epoxy, which takes a long time to cure, and pouring a different color each day. The red had a sharp edge because it was a thin layer in the bottom of the cup, mostly to make sure that the epoxy wasn’t going to eat the cheap styrofoam cup, and then I went more than a week before the next layer.
Subsequent layers, I tipped the cup inside a bucket, so the surface would be level, but in an angle to the cup. And before I poured the next day, I poked at the surface with a bbq skewer and in some cases made little dents with the skewer, so the transitions wouldn’t be sharp-edged. Ideally I would do two or three pours per day, since the Shabebe is still slightly ductile at 8 or 12 hours after pouring, but pretty well set at 24.
The other thing is that by tipping the cup, I got epoxy “catching” and getting dammed up behind chunks of cholla in the cup. That made for a more irregular surface even in the still-liquid epoxy resin. The blue-green transition shows some of this, when you realize that the green went in last over a very tipped blue layer, and there were some bigger chunks of cholla oriented randomly in the blue before I poured the green.
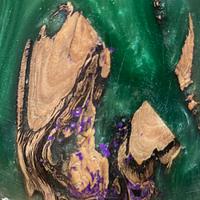
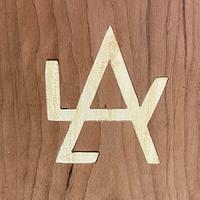
And then finally, I had some bubbles in the surface and in the turned surface. Part of this was due to not having cleaned the cholla well, and part of it was due to not tapping the cup enough to dislodge air bubbles. Anyway, after mostly turning the shape, I took an awl and poked at the surface, knocking loose anything loose, and opening bubbles. Then I mixed another bit of purple, and “painted” it over the surface (see picture 3) to fill in those little bubbles and gaps and such.
The pigments used this time are the System Three Cast FX dry metallic pigments and I intentionally didn’t mix them in as thoroughly as I could have, leaving the color kinda “streaky.”
May you have the day you deserve!


May you have the day you deserve!
I just noticed another shape that I think is cool.

I could see stacking the cholla horizontally so that just the ends are showing once turned -- each one probably looking a little different in cross section. You could cut shorter chunks so that they can be stacked in a ring around the perimeter of the cup. Might a good use of some smaller cutoffs.
--Nathan, TX. Hire the lazy man. He may not do as much work but that's because he will find a better way.
Today I started stacking pine cones (from our Austrian pine, aka black pine) in a cardboard and packing-tape mold for what will likely become a bowl. And ordering more epoxy. And one more color of pigment. I’m thinking I’m going to use system three general purpose epoxy, which sets in about an hour and then do my pours about a half-hour apart so I can mix the layers up. We’ll see if that idea still makes sense tomorrow morning or if I cross out all my notes and try something different.
Splint, I think that piece just above and left of the ring you clipped was a hunk of cholla stump / root. I’ve got a few pieces of that, and they have a different texture. Pain in the butt, though, since there are rocks and sand embedded in the roots which aren’t necessarily great for the tools.
May you have the day you deserve!
Renners, I started at 60 and worked up to 1200. I could’ve gone finer on the resin, but I ran out of patience. Note that I don’t just sand on the lathe. Following a tip from Kenny on sanding pens, I first sand with the lathe running with a given grit, then stop the lathe and sand end to end until I have the scratches running both ways. Then I step up to the next grit. Lather, rinse, repeat. It takes longer, but I no longer get in the situation where I had a scratch running around the piece from the 60 grit that I kept hiding through the higher grits, but never really completely removed. By sanding the other way, I find and fix any problems like that almost immediately.
Well, except at the end of the piece. You can see, in the first picture, a small scratch running around in the green about 1/8 inch above the walnut base. Somehow I missed that one. Dammit.
May you have the day you deserve!


