Boys and
Girls,
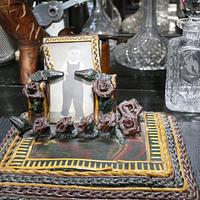
I posted my project about
my old man’s picture holder a few days ago and while it took me 2 ½ years to follow it up on
LJ, I feel there is a need not to take so long here at
CN before any more dust settles in my drafty house.
It was this project that made me discover a way to
clean up Perspex… I used the
Beall buffing system, however, probably any other buffing brand (even metal) would work… it was the
Plastix that glassed it.
Brought across from the LJ posting on 24th. Oct, 2019.
----------------------------------------- ooooOOOO From LJ OOOOooooo ---------------------------------------------
Boys and Girls,
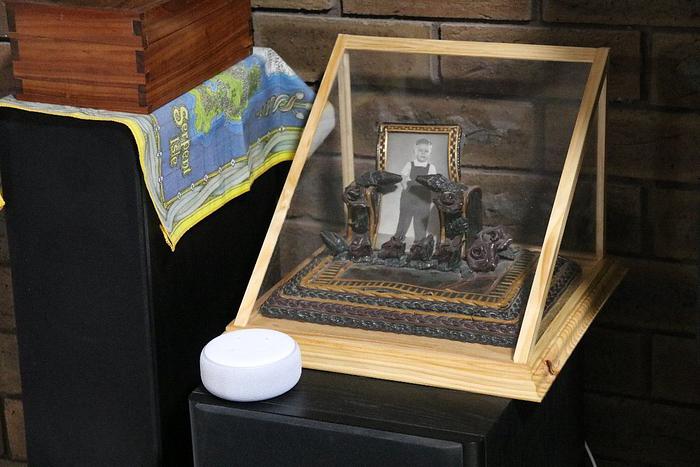
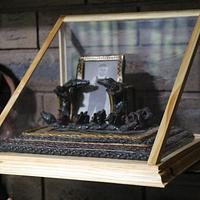
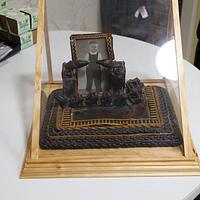
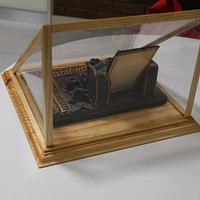
Forget about pheasant under glass, this cover is of white bread under glass.
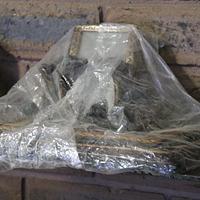
I finally got off my rrrs after 2½ more years of dusting my cling wrap,
I presume most readers couldn't give a toss about the aforementioned vow follow up and those that did probably wished they never read the original article. Well I was one of the few that wanted to hear the ensuing offering and took great pleasure in the interval perseverance to read about it's publication.
Before disinterest inundates your subsequent perusal and you decide to spend your time on more meaningful ventures, if anyone know of this "art of turning masticated bread into presentable gifts", I would appreciate any further info.
As a youth, I wasn't interested as I was only an unpaid slave chewer and the old man passed away by the time I appreciated his creations.
Zipped off to the SketchUp and designed this prototype which was based on a 19mm x 19mm channeled frame to hold 3mm glass plates.
That frame looked too bulky and thinking that my laser cuts Perspex perfectly, it would be easier to cut from Perspex rather than depend on a glazier for exact measurements… those idiots tend to cut to the exact measurements you give them… even if your measurements are wrong… bloody Philistines!
Redesigned it using Perspex…
and planned an ogee profiled base
Proceeded to cut the Perspex on the laser… had no issues with the side and back,
however, the top was a different issue.
For a bit of history… my old man and I had times in the past (read into that what you may) and I think he temporarily emerged from his grave to piss me off one more time…
The perspex lid measured 306mm x 303mm… and my laser had a 300mm width limit… DOH!.. I could hear the old man's GOTCHAs echoing through the Warragul burial grounds! Though it was no biggie as they were all straight cuts readily undertaken on the table saw, albeit messy… statically clinging to all extremities and fight aggressively about being a shop-vac destinee.
and improvised (clamped to a 10×4 sliding board… dangerous, yes… but success earns a yes too) to get the converse 37.6° on the opposite end,
Started the glue up using CA. I designed a couple of tight tolerance "clamps" out of MDF to hold the Perspex pieces together while the CA cured
I also made some more dedicated jigs out of MDF for alignment and clamping,
During the glue up, no matter how much care you take, that bloody glue always picks a spot it was not meant to be at…
Tossed up with/without base and went the former.
Made the pine base for it and fancied it up with an ogee bit on my router table.
Hmmm, have you considered that a "r" included in ogee would make one helluva interesting spin on ones routing exercises.
Placed a 10mm x6mm mitred frame (highlighted in red) around the base of the case.
The front of the frame had to be profiled to 27.6° to accommodate the slope of the top,
There was also an insurmountable amount of squeeze out that clouded and marred the glue joint,
Decided to put a dummy 13mm x 13mm frame around the case to hide some of the imperfections, which was not as bulky as my 19mm x 19mm initial intention,
Measured the lengths of the Perspex edges (compensating for the mitred base frame) and used SU to measure the overall lengths after allowing for the mitre joins,
Made up a special mitre jig to cut the angles based on the above angles,
which was about as accurate as holding the saw in your right hand and moving the jig back and forth with your left foot.
Decided to rig up the mitre saw with a bit of lateral thinking to achieve those less than 45° angles,
The top apex was an issue due to its profile,
Decided to cheat and make it up from gluing two pieces together, after doctoring them on my mitre jig.
The fame was eventually CA'd to the perimeter of the Perspex. It was only installed for cosmetic purposes and served no structural benefit.
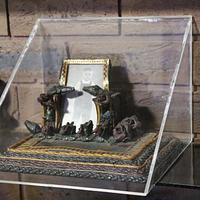
Out with the old,
and in with the new
The "item" survived 60+ years without cover and I'm hoping it'll last another 60+ years under glass down under.
For all those that thought they'd bypass the narrative and skip to the bottom to just view the video… well, tough titties (pottzy), camera out of film and you'll just have to do some verbose ocular digestion.
PS. The finish is finally... and for the more scientifically minded, Min-Wax Wipe on Poly... and for the extra curious, 3 coats… and for the micro managers, not really applied with a coat (or 3) but with an old recycled bed sheet.
----------------------------------------- ooooOOOO The End OOOOooooo ---------------------------------------------
Don’t be crafty Craftisians,... SHARE your craft!


.jpg)


.png)


