Another tip I published on LJ back in 9th. Oct, 2019. To supplement it I created this video,
It seemed to be relatively popular making me thing it may have provided some useful information. If that is true, it’s what prompted me to re-post here at Craftisian and if I’m wrong, I apologise.
I use the Beall buffing system (including their waxes), however, other cutting compounds and cloth buffing wheels will suffice.
For those that hate to read, the video should get most of my message across, however, if you’re a sucker for punishment… read on. _______________________________________________________________________________________________________________________________________________________
Boys and Girls,
I opened my big mouth in one of my comments to a post and rather than live up to my reputation of being a liar, I thought I'd honor my pledge.
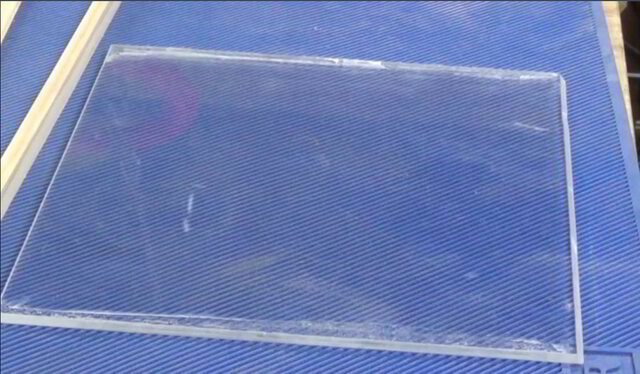
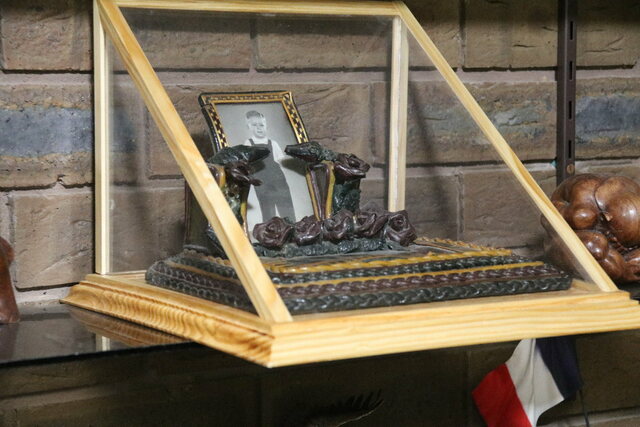
I am currently making a display case for my 60 yo(ish) heirloom (post to follow soon). I was too chickenshit to use glass, other than for delivery of vino to mouth, and decided to use Perspex. The thought of silicon tickled my fancy but not being ticklish and freakish, I decided to use CA glue…
Now CA in the hands of the competent is plausible, but in left hands of a right handed geriatric, if becomes a lethal weapon especially on the first finger adhesion, followed by 9 smudges across the face of the Perspex during the panic rescue extraction of said stuck digit.
Not only did I mess up the face, I also broke the joins revealing several unsightly seams that rendered the pane of Perspex a total pain
and useless requiring re-cutting and more gluing mishaps.
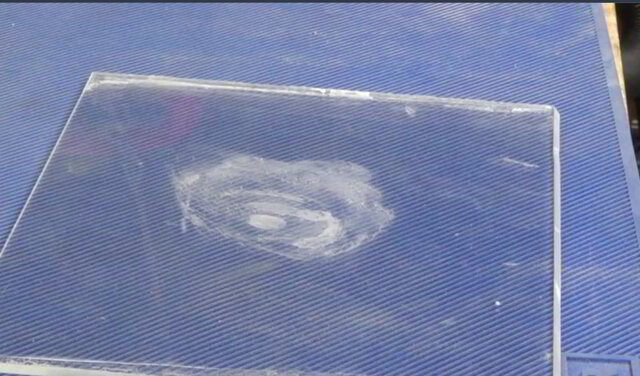
However, salvation is at hand. If you smear Perspex or suffer a premature ejaculation and have a blob in the centre of a face, immediately wipe it off.
DOH! You won't remove the CA, in fact, you will create an unsightly large smudge, however, the wiped layer will be thin and easier to perform surgery on.
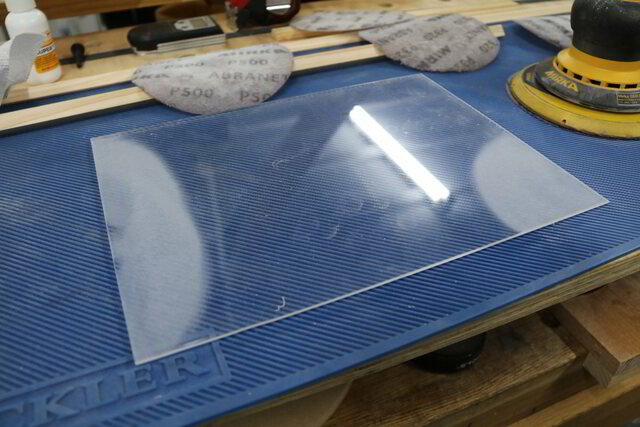
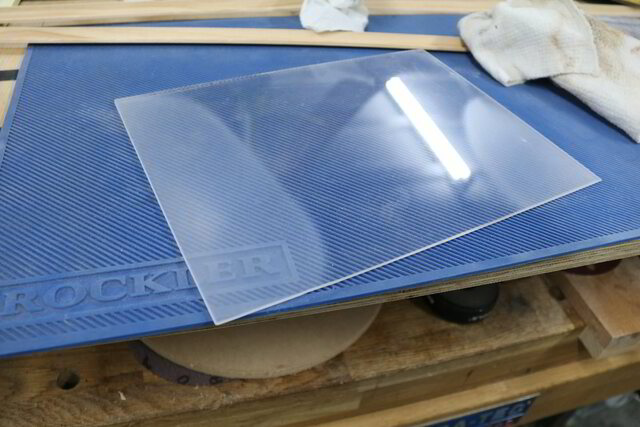
I deliberately blobbed a glob of CA on the reverse side of this clean Perspex (the above piece after initial cleansing) for use in documenting this blog,
a few more blemishes (red border) on the reverse side to over-dramatise this presentation
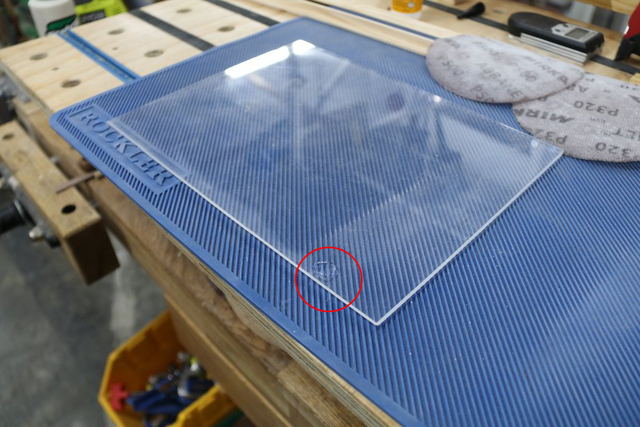
There are many videos on how to remove scratches from acrylic using fine sandpaper, polishing compound and elbow grease… well I trained hard to get this body of mine with elbow bending without the grease so there had to be an alternative way.
Get out your ROS and depending on the damage, start with 180 grit… you may remove some buildup with a scraper and don't be afraid of dropping down to 100 and work up to 180 (and on). I quickly move the ROS over the rough spots till it appears/feels level. Keep the ROS moving so as not to overheat the Perspex in one spot. If it takes more than 30 seconds to get a satisfactory starting point, drop down a few grits again.
I work my way up using 180, 240, 320, 500 and 1,000… only because that's all I have,
and don't forget to towel down after each monumental exertion,
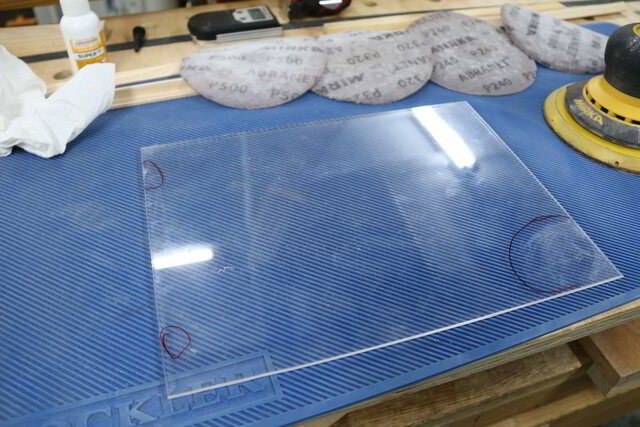
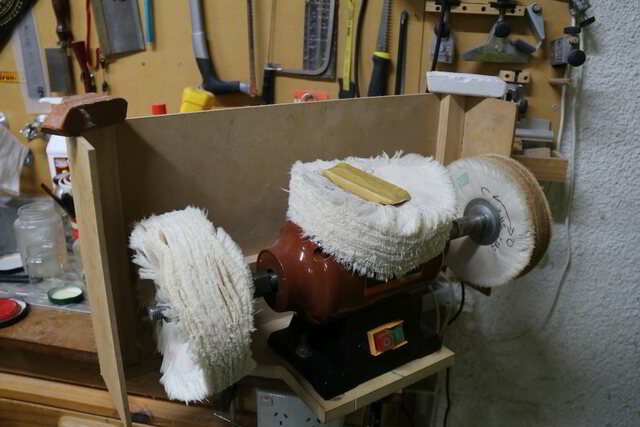
Then it's off to the buffer.
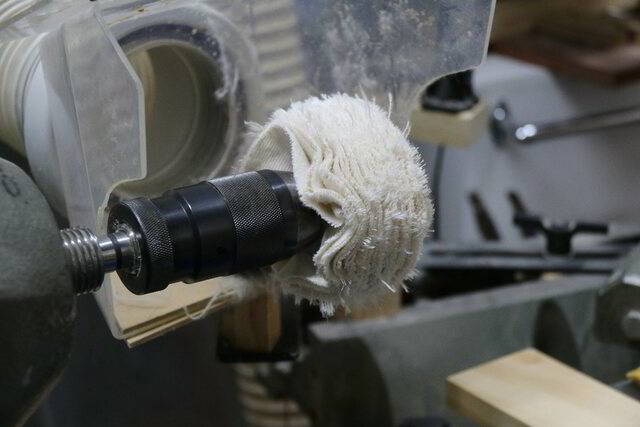
I have a slow spend grinder (1,400 RPM) ideal for 8" buffers. I use the Beall Buffing system and swear by the quality of their buffs. I recommend you don't skimp and buy those cheap "home depot" type of buffs. They may function better once "broken in" but any monetary savings would be eroded if you cost the break in effort.
Using the Beall system, which starts with the Tripoli compound,
followed by white diamondand finished with carnauba wax. I usually promote the job to white diamond to start buffing if I sand to 1,000. While you can start with the Tripoli, I find it redundant unless I stop sanding at 500/600 grit. A bit of trial and error wouldn't go astray, to find your best fit… there is no bad way as all you may err in is one too many passes at a lower grit/buff.
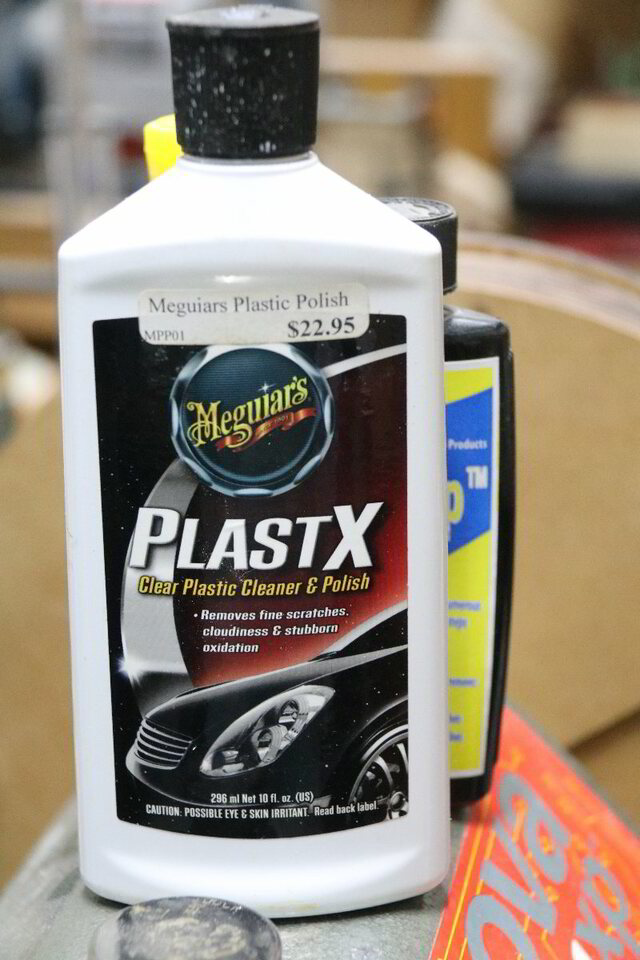
For Perspex, I sacrifice the carnauba wax for a Plastx Clear Plastic Cleaner & Polish compound,
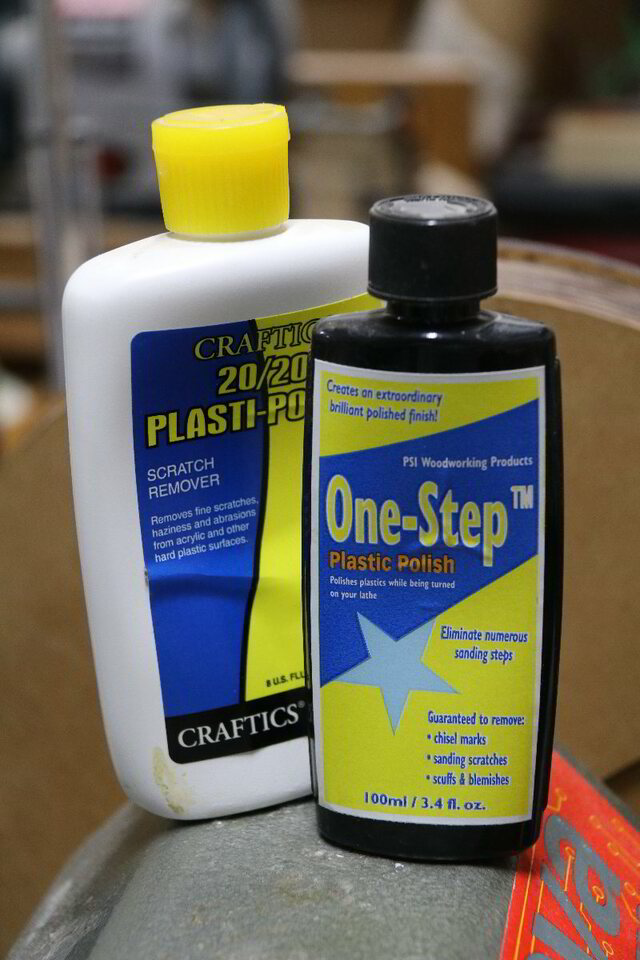
but any any other plastic polish will suffice
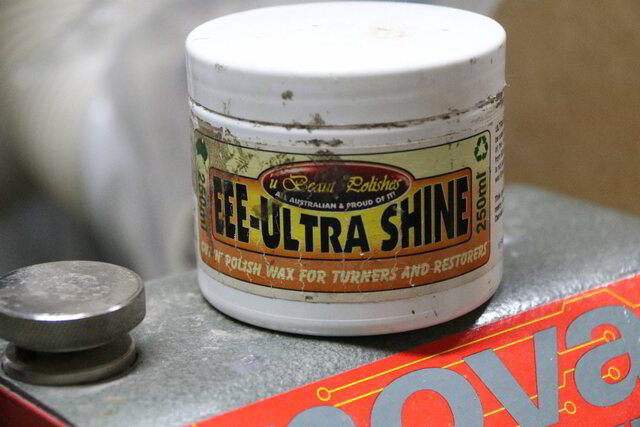
(this particular brand was purchased from a pen kit supplier - Berea or PSI). You may even use EEE,
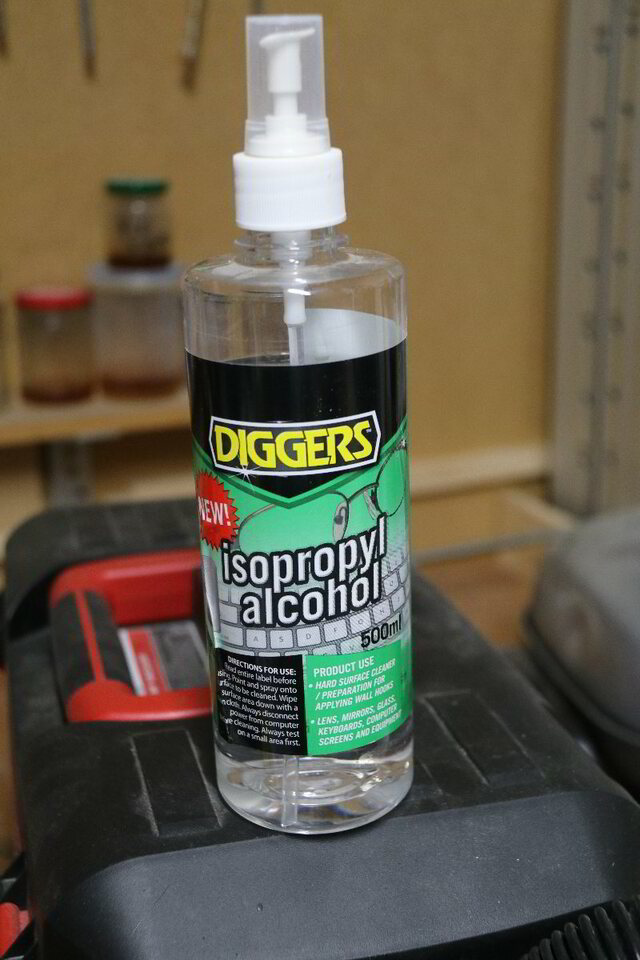
(however, I don't like the wax residue… having said that, I always clean up my jobs using alcohol (non-red,
deliberately avoiding the temptation to taste!)
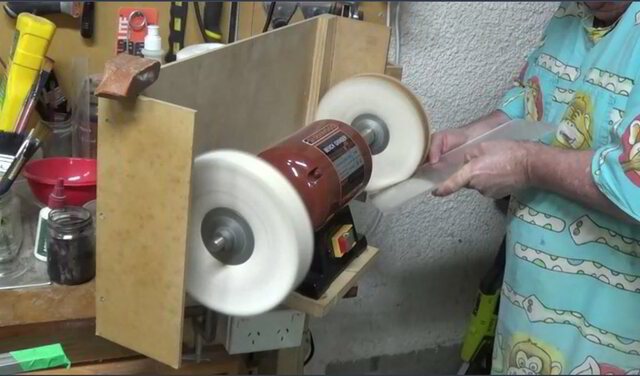
This plastic polishing I move to the lathe and use a 4" buffing wheel rather than contaminating my 8" carnauba wax buffer with the polish
The buff being only 4", I run the lathe at 2,000 RPM.
Again the acrylic had to be moved relatively fast to prevent over heating and potential distortion.
It's at this stage that you will inevitably notice that all those scratches and blemishes you thought was on the flip side, are actually on the active face and you're now faced with the chore of going back to the 180 ROS…
Being the nice guy that I am, I did make this quick dirty video (without the porn) for all you guys/galls that hate to read as much as I do, so you can view rather than read the above.
You will notice in the video that I savage the acrylic with my ROSing… rest assured it is not politically incorrect to brutalise Perspex… eventually you will see right through it!
PS. If you are a trhrillseeker, for big jobs, don't hesitate to take the buff to the job using a cordless drill,
it does as good a job, albeit much slower.
This is the finished result... the face piece, Have a guess who that 3 yo cherub is?
If your first cut is too short... Take the second cut from the longer end... LBD
The whole time I am thinking to myself, watching the video, “come on, let’s see it, bust out the Meguiar’s. I love that stuff.” And then at the end, out came the Meguiar’s and I was clapping at the video. I love it when other people use it too, because it’s like magic.
At least all the readers out there can ever say again they haven't heard of Meguiars.
I originally amassed my equipment for buffing pens and boxes. When I started to make puzzles, tight tolerances made it near impossible to apply "conventional" finishes without re-dimensioning the pieces, so I gravitated to buffing.
When I tried to build a display unit using acrylic, I used CA as I didn't know about this type of goo, and I think more CA went on the places it shouldn't than where it should. Thank's to you (DT and this project of your's at LJ) for the education... (maybe a "tips entry" by someone who knows what they're doing wouldn't go astray).
But the damage had been done... I thought I had nothing to lose by trying the buffing system as the piece of acrylic was dead... that's why I had no hesitation of dolloping that CA in the middle... it was thick and had bits of tissue imbedded when I tried to wipe it off. Sorry Lofty, but I'd hate to try that with the toothie.
I'm sure there are many different and probably better ways of doing this, but I already had the equipment as many woodies already have... and if you haven't, it's a handy piece of kit in your finishing arsenal.
If your first cut is too short... Take the second cut from the longer end... LBD