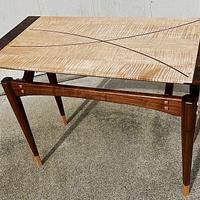
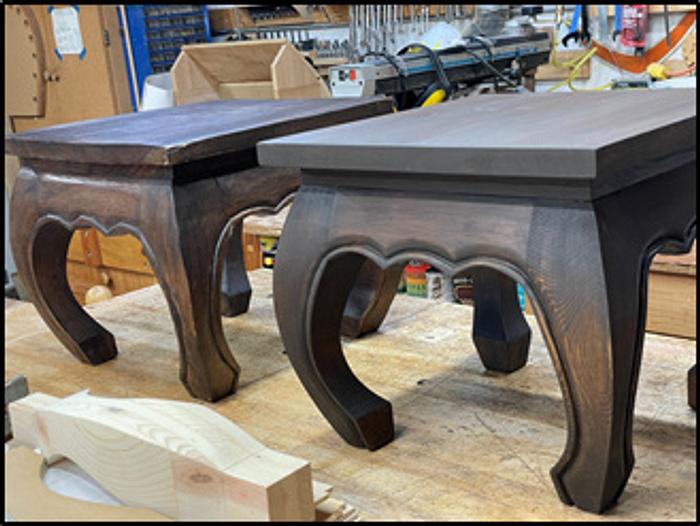
A friend asked if I could replicate this little table for a friend of hers. It is short (14” tall), has a small top (15” x 15”) in dark stained monkey pod. It seemed simple enough to make, deceptively simple as it turned out. They had bought it for about $5 in Thailand on vacation. First, I should explain that this style table is a common form throughout Southeast Asia, and gets the name “opium table” from its more nefarious usages in the 19’th century. In my completely respectable client’s home, however, it was used as a foot stool, and they wanted another to complete a ‘his and hers’ set.
I had misgivings about taking on this project. My first thought concerned the legs. The legs are a variation on a cabriolet leg, something I have wanted to try for a while now. To test how well I could replicate the legs, I glued up some scrap pine boards into a 4” x 4” post and practiced making a leg. A template, a bit of tracing, a band saw, a drum sander, and a day later, to my surprise, the first try came out looking good. I left some tails on it thinking they would assist in the cutting and shaping, but found them to be unnecessary.
The original legs used something like 3.5” x 3.5” solid monkey pod stock, not cheaply available here in the States. Instead I decided to use some of my left over Alaskan yellow cedar. A little experimentation showed that I could easily match the stain. Having solved the problems of leg shaping, lumber species, and staining, I agreed to go ahead and try my hand at replicating the table. For the legs I flat glued two 1.5” thick pieces of the cedar plus another ¾” thick re-sawn piece to get a 3.75” square stock post.
The side rails are 1” thick stock, but are rounded over to 5/8” near the top to match the curvature of the leg. For strength (someone will likely sit or stand on this), I had to offset the rail tenon to the inside edge of the stock in order to leave enough thickness between the mortice and the edge of the leg. The mortice & tenon also needed to be tilted back about 12 degrees to match the slope of the leg at its top. I dry fit the rails into the legs and traced out the leg curve onto the end of the rail, and then hand planed off the waste material to match the leg curve traced on the end. This was a particularly satisfying operating since the clear straight grained cedar peeled of perfect shavings with each cut.
Cutting the decorative groove around the inside edges of the table was a challenge. I do not have the carving tools or skill to cut it free-hand, as so clearly had been done on the original. I did find a grooving router bit, and devised a stand-off head for my hand-held router that allowed me to rough in the groove. After that I expanded the groove to match the original with chisels to more closely match the original.
The top end went quickly. It consists of a conventional 1” thick glued up panel sitting on a 1” thick frame. The frame is glued to the leg assembly, and then attached to the top with a few screws.
After staining, I finished it with a 50:50 mix of pure tung oil and bee’s wax, a concoction that closely matches the descriptions of the kinds of finishes historically used on opium tables.
This ‘simple’ project took a lot more effort and new skills than I had estimated at the start. Above all else, it taught me a humbling lesson. Judging from the surface texture and fit of the original, it was evident the whole thing had been carved with rudimentary hand tools, probably a knife, a carving tool of some sort, a hand drill, and a hand saw. And whoever wielded those tools probably made about 10 of these a day
Huh? Whadaya mean it ain't "measure once cut twice"?