The Christmas cheer is starting to dissipate from my vision,
so I will attempt to provide some meaningful feedback on this item.
Before I go any further,
Be warned that the Beall Tool Company has been taken over, and now managed, by Lee Valley… though this product may be available from other re-sellers (eg. PSI).
This finish method is primarily suited for items that need to be glosses without affecting the overall dimension. Many finishes of multiple layers may add volume to the piece. I use it explicitly for my laser cut puzzles where the kerf does not leave a margin to apply layered finishes.
Ideal for removing sanding scratches out of acrylics/metals.
I’m not qualified to offer any definitive comparisons between the Beall and other finishing products… it may be my choice at times, based on ignorance.
I have made quite a few videos that highlight how I buff up my projects… as opposed to… (censored).
Rather than waste your time wading through some prolonged duck speak, I believe this may be the shortest one I have been incriminated with,
… and in all honesty, I had trouble finding the time to go searching for one shorter or/and editable.
From the video, the first thing you need to do is replace the step where I use the Plastix compound with carnauba wax... the time/effort/activity is basically the same.
If you watch the video, and sneak up close to your viewing media, you may notice all the sanding scratch marks in the acrylic. All that gets removed with the Tripoli compound… I feel that’s a fair indication of what fine “sanding” any timber would be subjected to. The Plastix could also be used on timber, however, I feel that the carnauba wax probably leaves a better protection film on the surface… have not tried carnauba over Plastix, though I can’t imagine too many issues.
Now may I suggest the video’s message could be worthy of filing in the memory banks that alcohol will not affect.
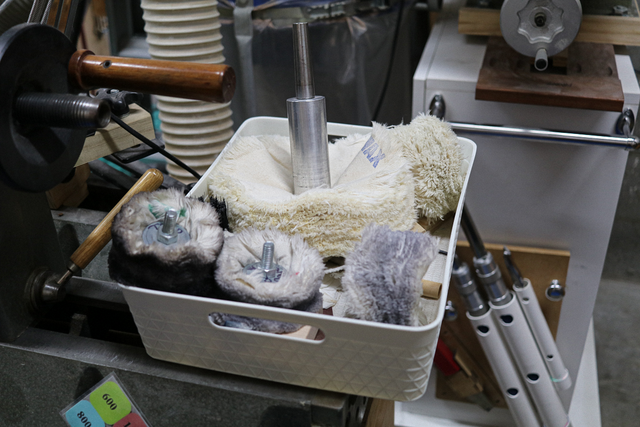
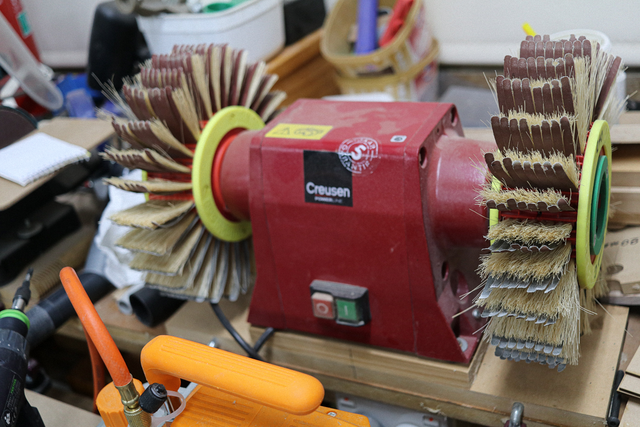
I use the Beall Buffing system. Now before yazall start to yawn, this is what I use, this is what I’m familiar with, and although there may be many other combinations, this is what I’m prepared to recommend from experience.
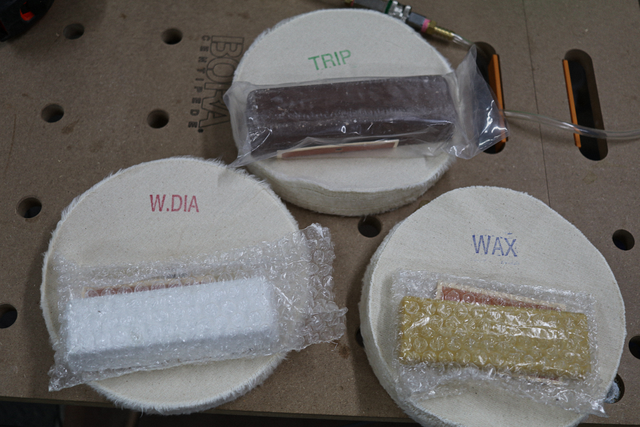
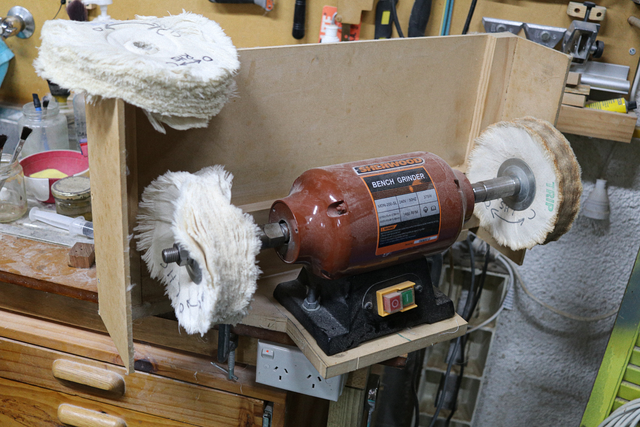
This system was initially set up with their 3 various 203.2mm buffing wheels,
each dedicated to be used with their recommended Tripoli, White Diamond and Carnauba waxes (from left to right),
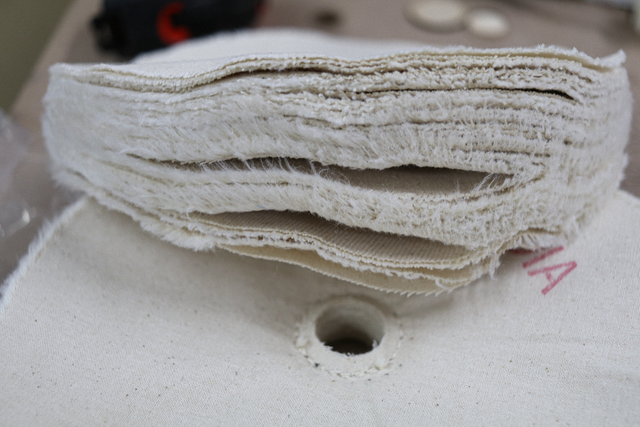
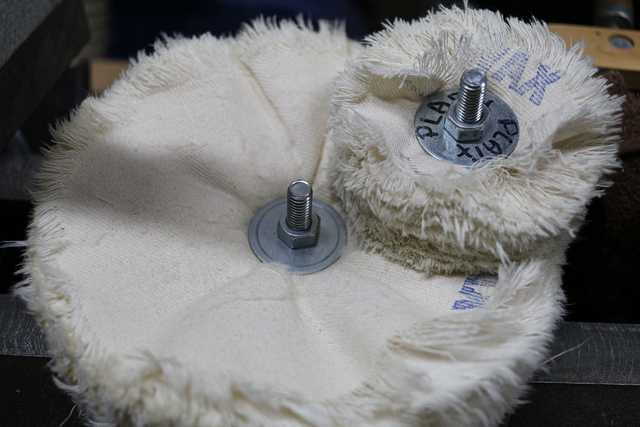
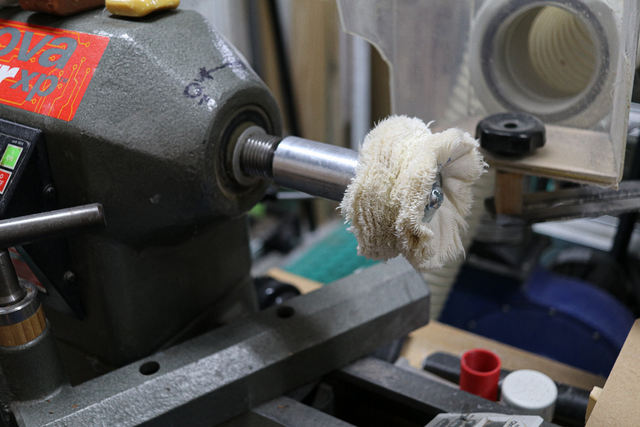
Don’t confuse these with the big store buffs. They are made up of many individual discs of material, only stitched at the centre,
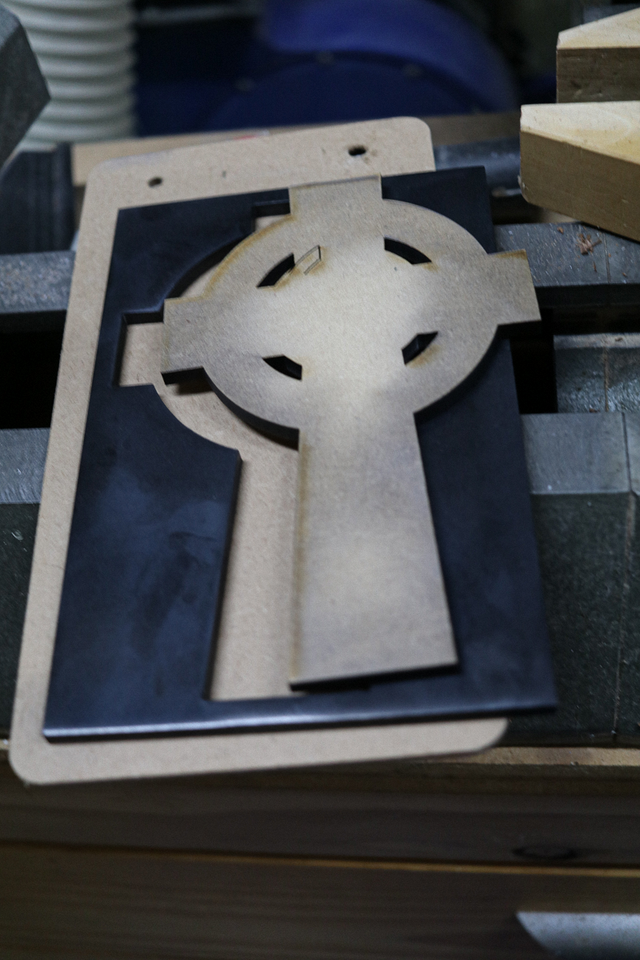
consequently the is a bucketload of fluff created. This is just after my Celtic cross project,
and I keep finding fine fluff in every nook and cranny,
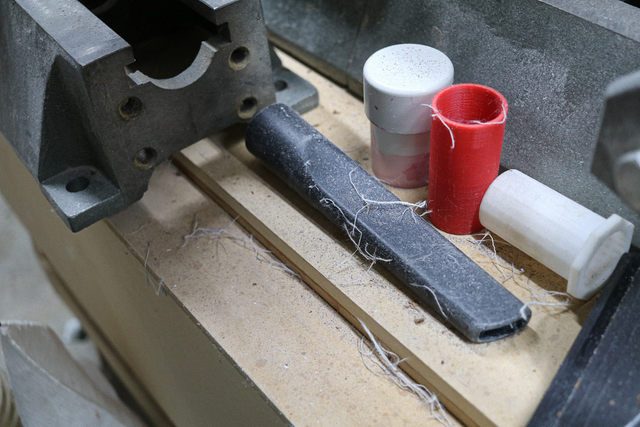
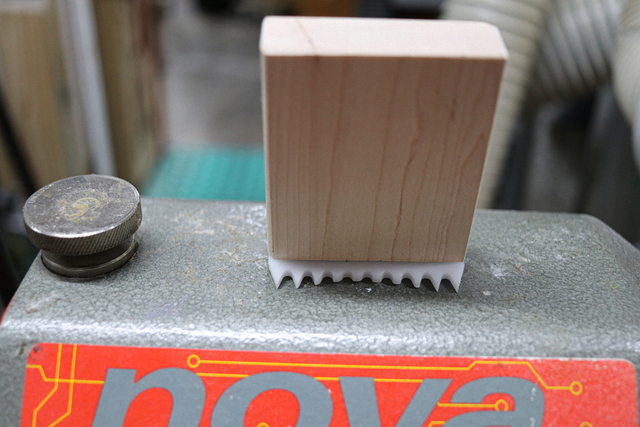
Beall offered this comb in an attempt to condition new buffing pads and minimise the fluff,
however, I don’t think enough thought went into it as with the plastic teeth and the abrasion of the waxes (maintly Tripoli) they wore down quite quickly.
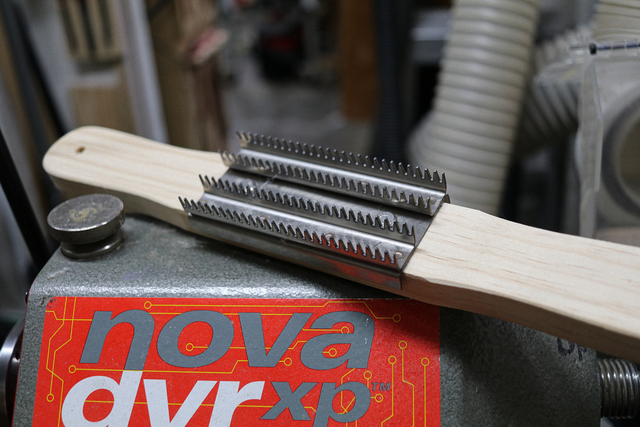
I now use this beast (not sure where I bought it from)
though Beall used to claim that the teeth of a hacksaw could be used… I tried and me having purchased that comb, indicates my satisfaction.
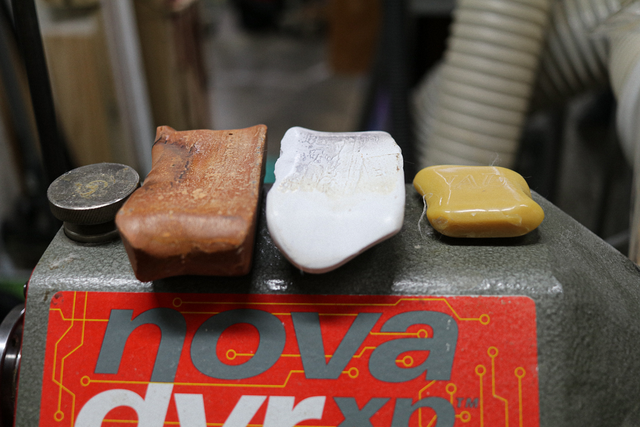
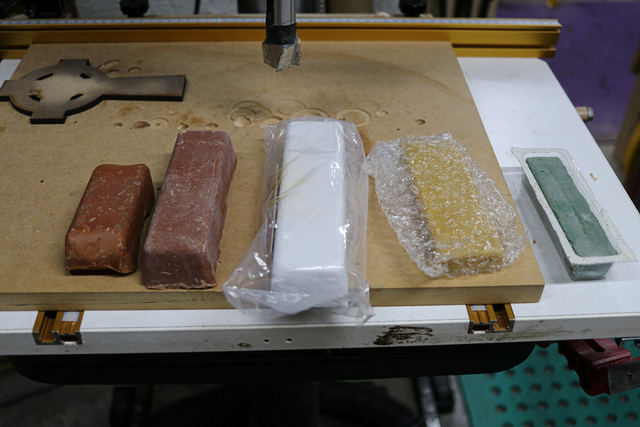
The buffing compounds left to right are, Tripoli, White Diamond and Carnauba waxes,
Many of you know of my extravagance and I have a stockpile of backups, however when you consider that the Tripoli wax from the above picture included below (far left)
you may appreciate its survival after reasonable usage over the past 6 years… I'm pretty sure I'm still on my first bar (of each)
Have no idea what the green one on the right is… probably some shady salesman saw a sucker.
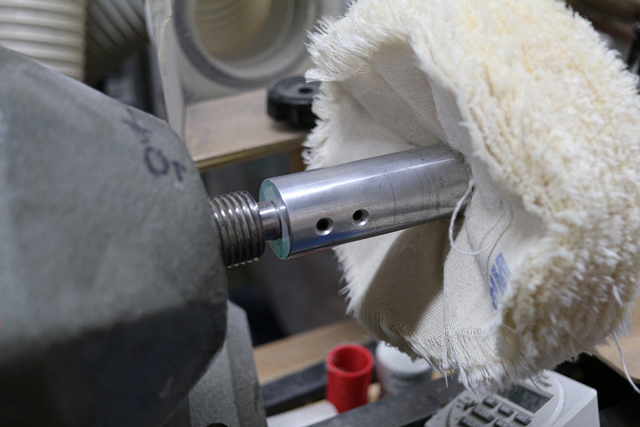
Back to the buffers… they come in 203.2mm and 101.6mm diameters with either a 9.525mm or 19mm bore.
Can’t remember whether that 203.2mm buffer has a 9.515mm bore or a 19mm bore I reduced to 9.525mm using a 3D printed bush… the hardware is so tight I just couldn’t be bothered to struggle to undo and redo.
I use a slow speed grinder ,
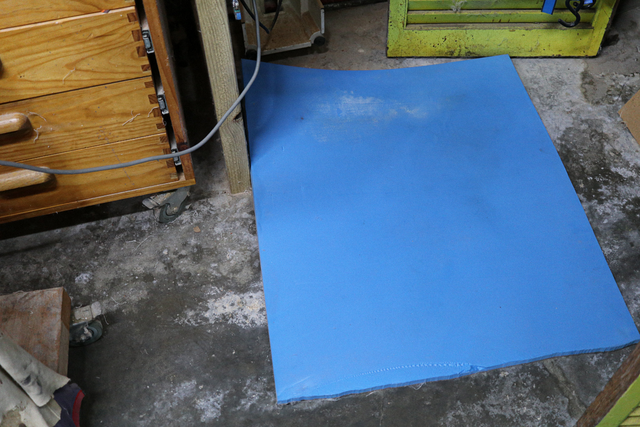
which runs at 1450 RPM which minimises my missile speeds compared to my original grinder at 2850RPM. That backing board was my futile attempt to minimise the spread of fluff and the underfoot mat is designed to reduce the impact of items hitting the floor, at speed..
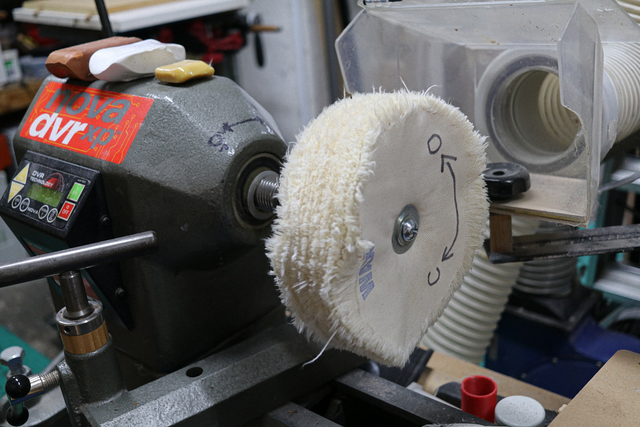
For the 3rd buff (carnauba), I either swap one of the wheels (for the one sitting on top) or use one on my variable speed lathe at 1,000rpm,
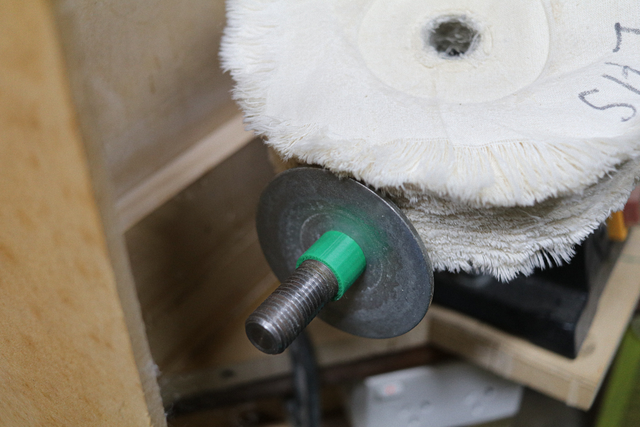
or this small one at 2,000 rpm,
Beall (used to) offer the appropriate accoutrements for the 9.525mm bores,
for the lathe (MT2). Unfortunately the spindle extender has a 3/8” thread, so you have to use 3/8” bolts through the 9.525mm hole,
My grinder has a 16mm spindle... I use a 3D printed bush
to mount the 19mm bored buff… hell you’d get bored if you just run around in circles.
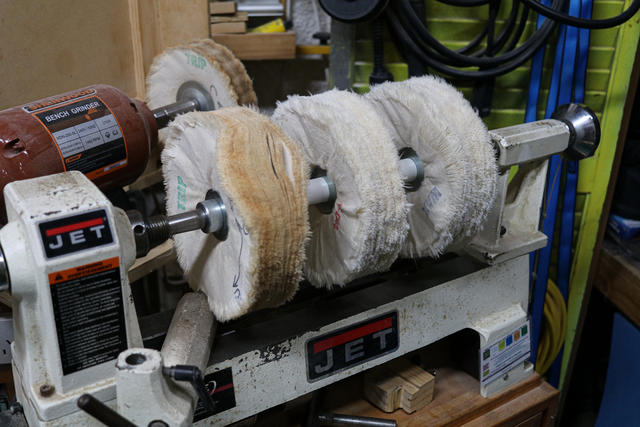
I also forked out a few shekels for the tri combo which I have now permanently mounted on my Jet Mini,
WOFM (Waste Of Fuckin' Money), as the buffs are too close together to conveniently buff larger pieces… but for small???... with some effort, the buffs can be mounter individually… which is not so dumb for large pieces, just inconvenient.
I also found that my Jet Mini was under powered for the 3 in line buffers… it struggled under pressure.
FAIW, contrary to NASA funding (in joke), I am not a Zillionaire ( only one with a small z ) so I investigated/invested in some cheap buffers… no pictures available as they have all been gifted to my nemesis (or is it nemesi??). I believe the buffs were designed for metal and too tightly packed (stitched several times from centre to perimeter) for timber.
In the same vein, there may be many compounds out there that may serve the same purpose much like that the green buff mentioned before and are not useless, however, I have not tested them so your lawsuit against me will not hold.
Back to the process…. Ensure you have a backing board if the piece is thin,
and buff through the grits. I’ve found the time is immaterial on each grit, but tends to decreases as you move through them. A good coverage of all the real estate in each grit is a must. Don’t be slack on the Tripolli as it has the most cutting compound and is the foundation of a good shine, however, ensure all deposited residue is remove before moving on. Go 90° rotation four times to cover all the surface…
The following passes (white diamond and carnauba) can be lighter/shorter passes.
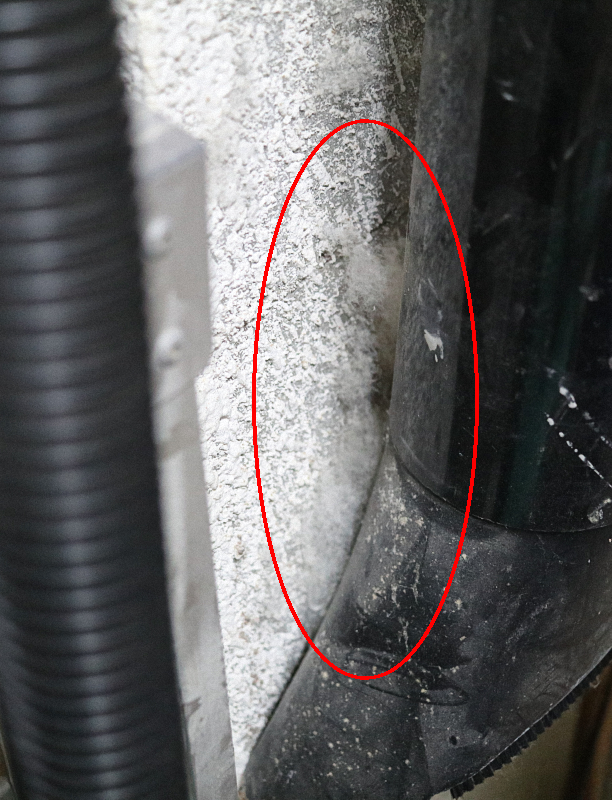
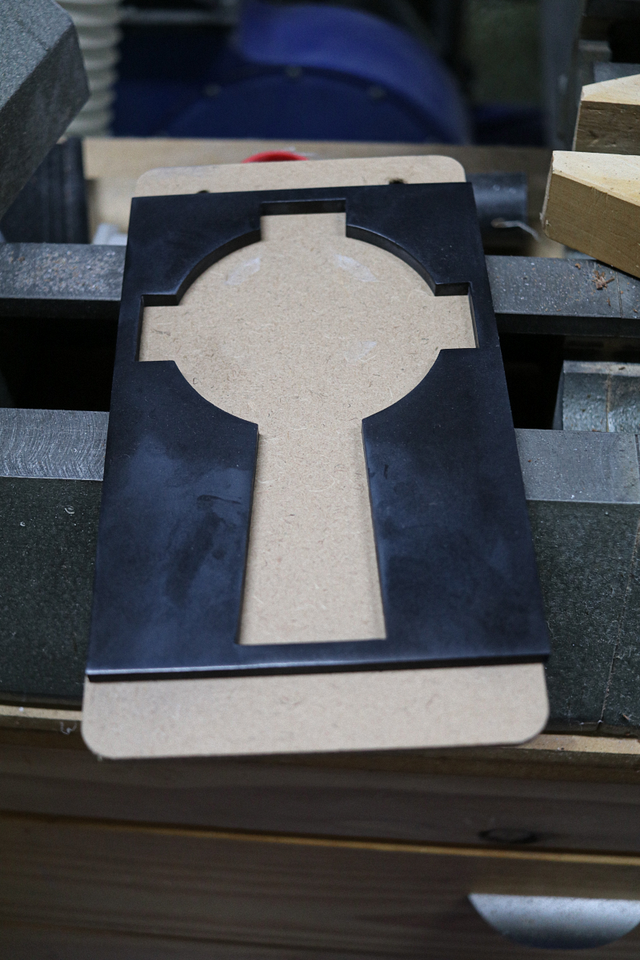
If you have large “holes” like this frame for the Celtic cross, to prevent that nuclear missile catch,
slap a fitting profile to minimise catching any cut out edges... or be bloody careful and slow. Don’t be too anxious to throw away cut out, non-required pieces. The above is separate from the actual cross to prevent the stain contamination (as can be ssen in the picture) onto the real McCoy.
Have all bases covered with dedicated buffs ,
f
for those “contaminatable” finishes (black stain). I use dedicated buffs for acrylics (Plastix compound) and one for the popular Renaisance wax.
I usually tung oil my pieces before buffing… though I hate waiting that 7 days for it to cure… the oil tends to add a nice patena to the project.
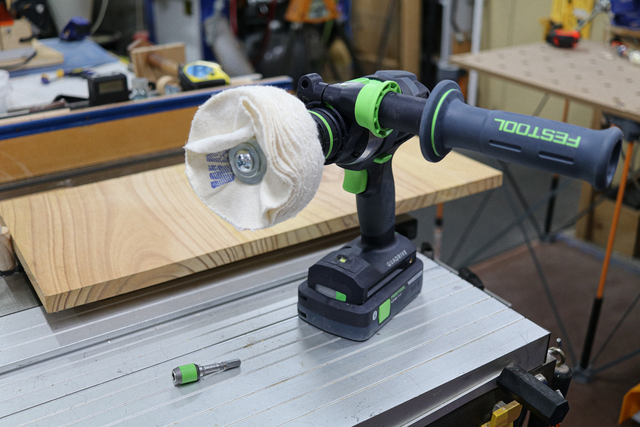
If the job is too big to bring to the lathe/grinder, you can always mount the buffs into a drill
and take it to the job. I’ve found the handle attachment for my Fe$tool a handy addition.
If you happen to buff before glue up, suggest you mask off the glue line as I’ve found that post buffing CA (👍👍👍) was my main salvation. Poxy glue (👎👎👎) was too messy on the slick surface.
Just remember, The Beall… is not the “be all”!
Spoiler alert... slow speed grinders are ideal for flap wheels for those contoured shapes... maybe more on them later.
If your first cut is too short... Take the second cut from the longer end... LBD
Good post Duckie, however the Beall Buff System-3 buff on the single arbor, that you have on the Jet mini, is designed for PENS. I have one on a Rikon, never thinking it was underpowered and while they are close together it forces the buffee(person operating the buffer) to have the pens in a position under than perpendicular to the buffing bonnet, which is where not where is should be. I buff with the tubes angular to the bonnet creating a better more even finish. It is also so easy to push to hard on a sinfgle buff, ruining the blank. DAMHIKT Also, just for those thinking of trying any buffer do not wear good clothes the first couple buffs...you are going to be covered with tiny little strings....the small amount Duckie showed is far less than what you will experience. The rakes will help a new buff but not to a great extent. I buff my bowls too. I have the separate buffs that fit on my lathe that are conical. Hang onto the bowl!!!!!! For all the issues with buffing that there are, it is still a fantastic method of bringing the finish to life. When you buy a buffing system you can throw the Micro-Mesh as far as you can throw them....and be done with each pen body in half the time.
BTW Buffing anything metal will turn the buffs black and may be brought back with a rake, but the rake takes a significant amount of life out of the buff. I have a buffer for metal and others for pens.
Some excellent info D. I used to spend a lot of time buffing plastics and metals so a lot of this is familiar, but that was long ago and all I have left is some assortment of rouges and a few buffing pads.
The video is excellent BTW. Good to see things get chucked as I'm very familiar with the effect, except you can snatch it up again like a Duck on a June Bug, for me it's usually gone for good.
I personally like using McGuires compounds (for automotive lacquers and glass) since I'm familiar with them and have stash from my car painting days. Same general thing, finer and finer grits until you are using bunny butts.
The slow speed grinders are probably the best tool to have, but over two minutes? Geeze! With a high speed unit that time could be halved 🤠
The 14" buffs that luthiers use are the real schizz. I've actually used the Beall buffs on my drill press before which works quite well for some things.
Thanks for the review, I can see various different uses for this. The picture of you - At first, I thought it was of Grizzly Adams from an old TV series we had here years ago. lol.


.png)