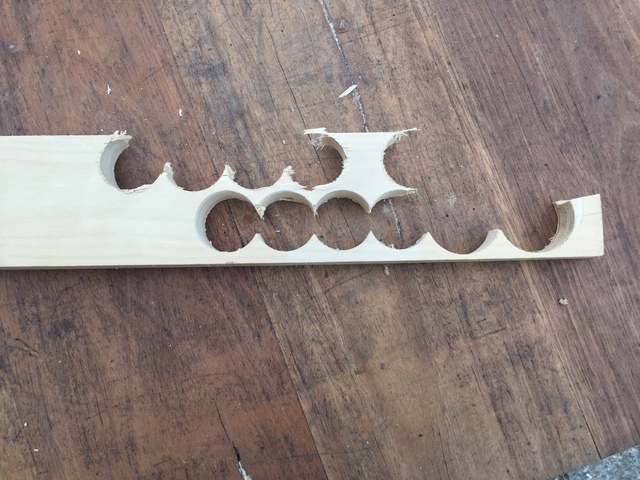
I managed to get all the plugs cut for the top side of the Table Top. Plug cutting:- By way of an explanation and to provide how this was done without drilling waste holes see the next image. the material is lined up on the drill press by way of an adjustable fence and transported across the appropriate holesaw. The first cut does not have any waste escape, however correctly aligning the material with edge of the holelsaw for the next and subsequent cuts does, and this allows waste to be discharged from the holesaw as it cuts. To repeat the process simply flip the material over and continue, as you do the sections may break away. You still have to stop after each one and extract the plug!
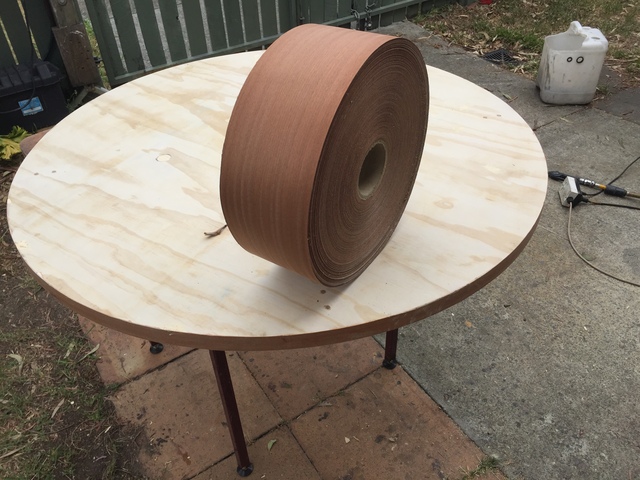
Banding:- This was a learning process prompted by the question being asked about the Rockler Steamer, (of which I dont have) I however have a small amount of paper veneer.
Its 135mm wide so I had to build a jig to slit it into strips of 35mm wide to suit the table top edges. I found this to be a very time consuming activity and I did not get impressive results so it was terminated after two table tops!
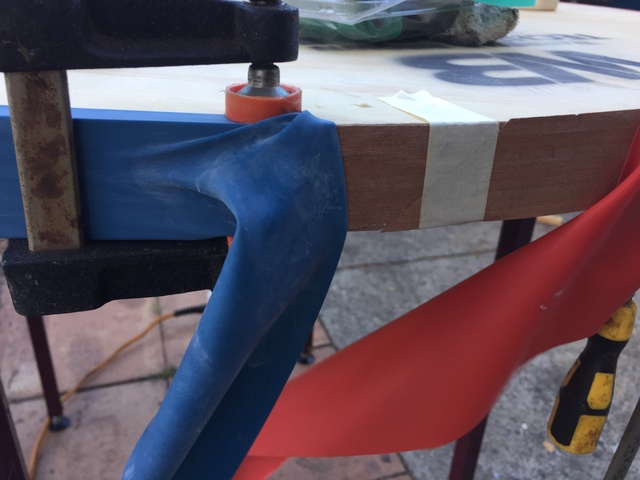
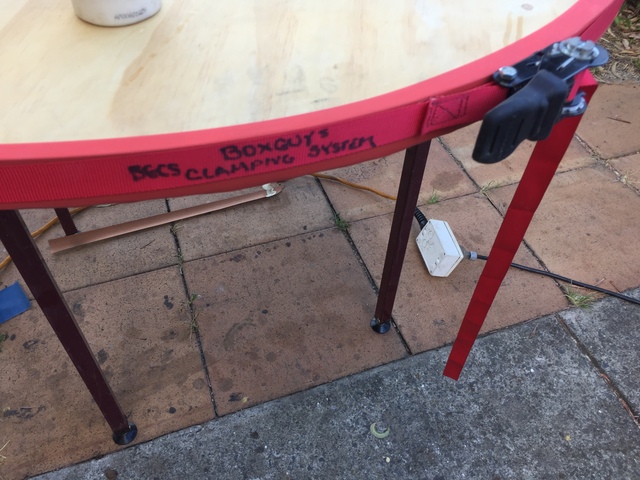
However I will explain how I did it (no acceptance of it being the approved and correct method) 1. cut the strips in a continuous length and dr fit them cutting a diagonal joint at the two ends 2. Apply glue to the edges, beware its edge grain so by the time you complete one pass its gone and a second coat is needed Do this by a roller or paint brush. 3. Mark the middle with chalk and tape it in position on the top working your way around and temporarily secure it in position 4. Using a rep band or similar material clamp the band at the center point, then stretch it around to the overlapping ends, which BTW are not glued at this stage.
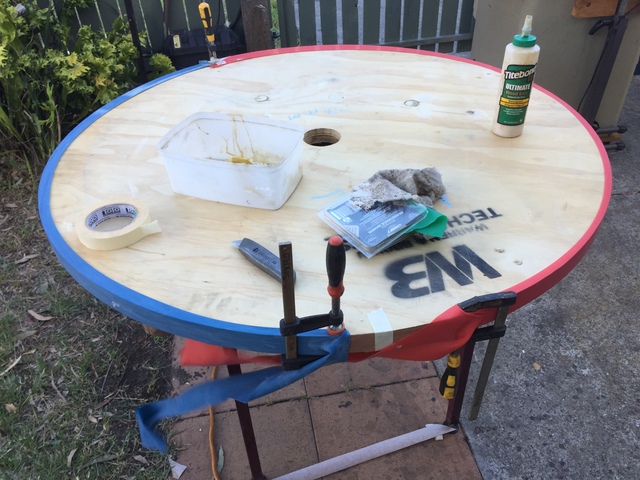
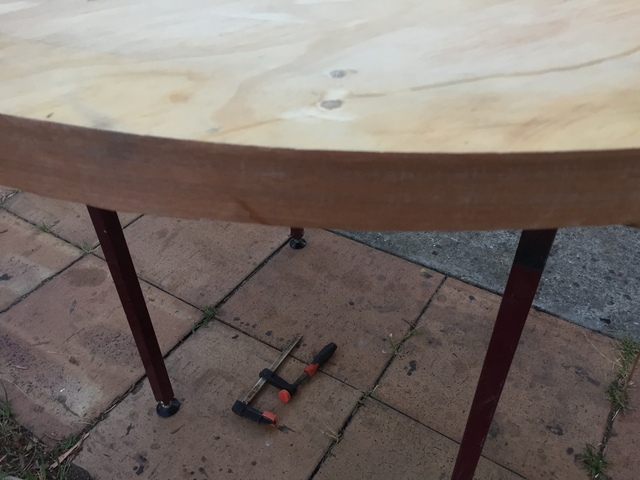
5. Smooth out any "bubbles" and apply a Box Guy Clamp. Leave it all to dry and "hope for the best" 6. Once its all dry remove all the clamping gear ans glue up the remaining section. that's the area between the two clamps. 7. Trim the edges off and sand flush. 8. Why I halted the process
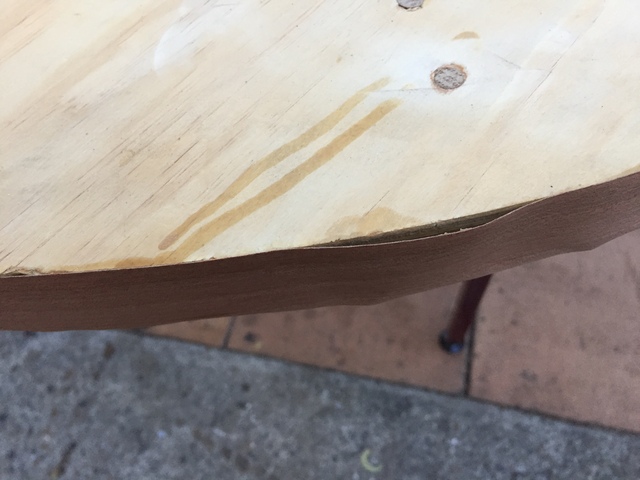
9. this had to be diagonal cut and re glued, it all took too long, was too fiddly, and being paper veneer it was not able to be sanded,... and I didn't have the skills to get a IKEA edge finish!