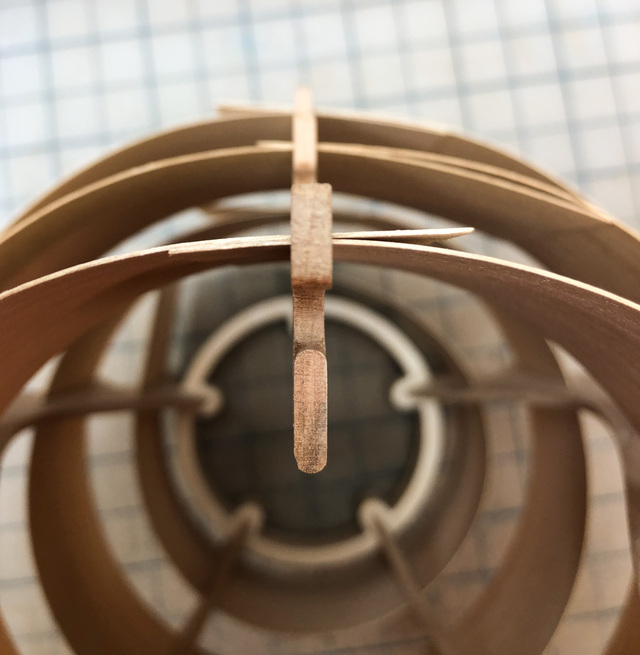
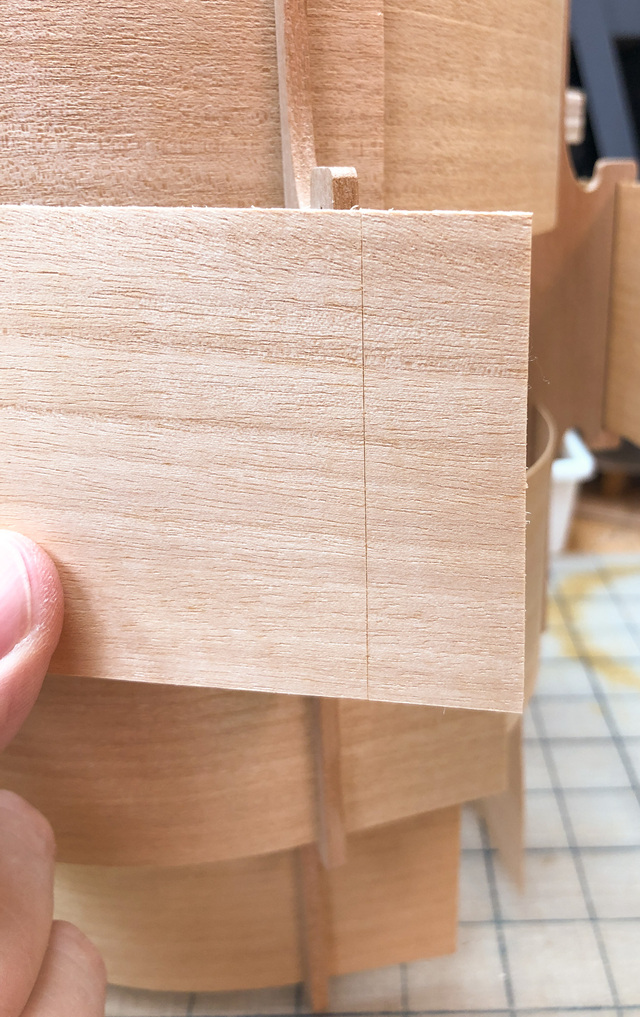
With the veneer strips adjusted so they formed loops as close to circular as possible (by eye), I scored the ends where they overlapped on either side of the rib. After removing each strip, I trimmed-off the ends at the score lines and used the 3 different length strips as templates for the remaining strips.
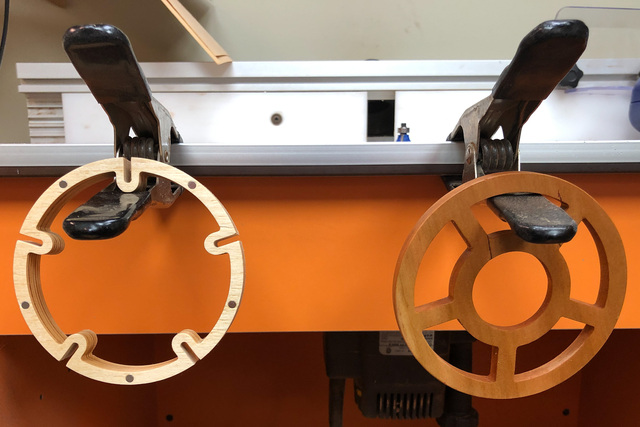
I then disassembled all of the lamp pieces and gave everything a good sanding in preparation for some finish. On the previous spiral pendant, I gave it a rattle-can spray finish after it was assembled, and that was a challenge to get to the interior. On these lamps, I'll apply wipe-on satin poly prior to the glue-up, which will be much easier.
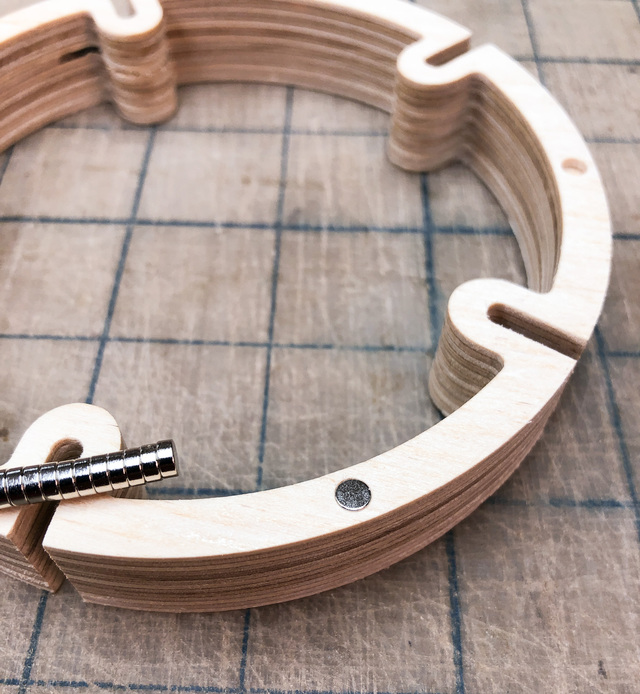
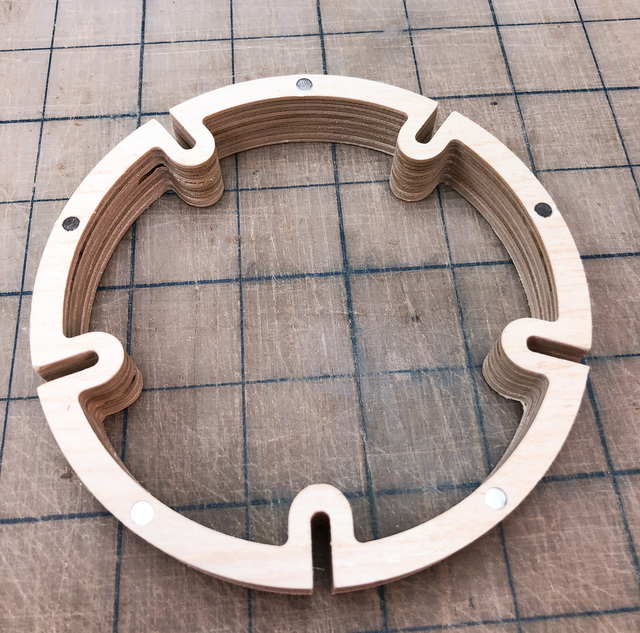
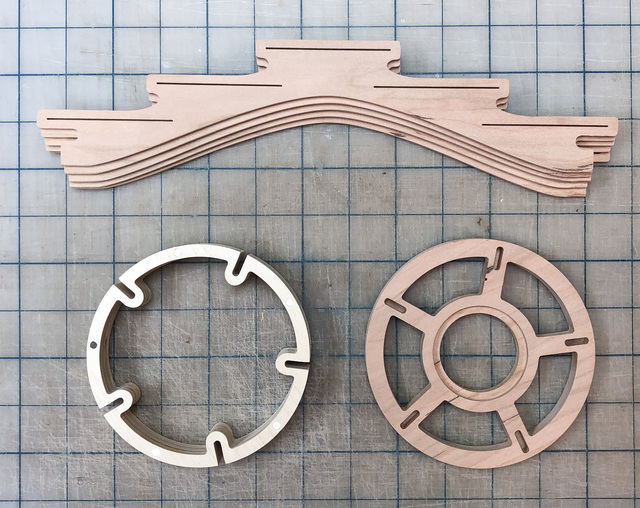
The magnets had to go in early, too. They were a friction fit requiring a hammer to tap them in. I took care to make sure they were all oriented with the same polarity. These magnets will align with corresponding magnets on the bottom cover that will be removable to access the light bulb.
All the parts sanded and ready for finish.
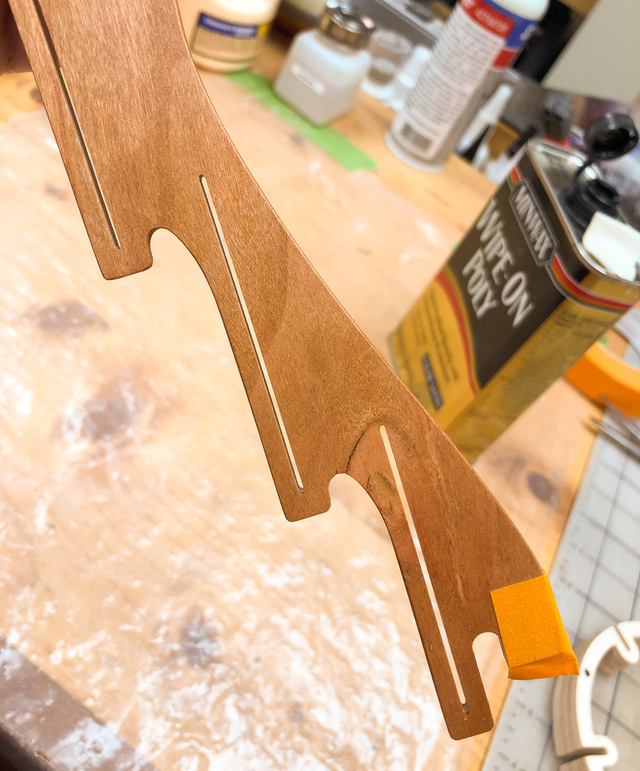
I taped-off the ribs where glue will be applied later.
Before final assembly, I'll work on the removable bottom cover.