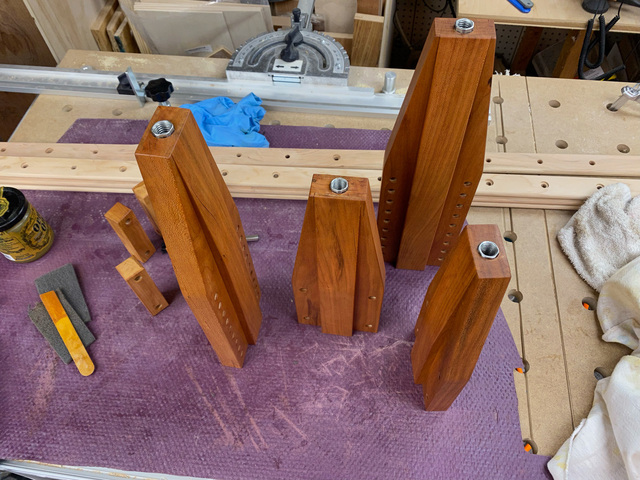
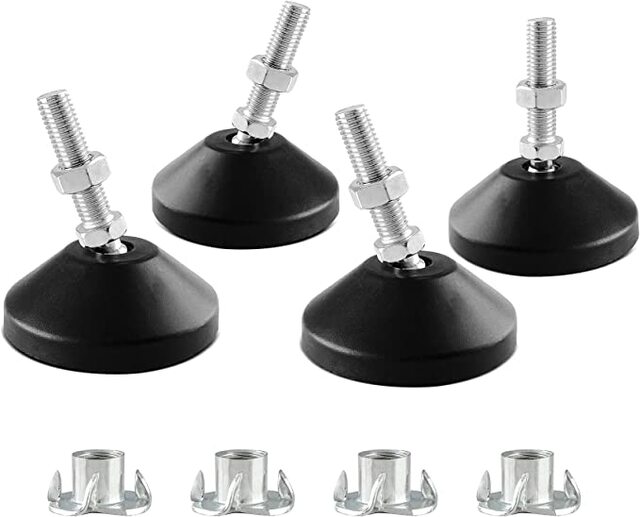
With the sanding out of the way and the threaded couplers epoxied into the feet, the only thing left for the upright components was to apply some finish. I'm a fan of Odie's Oil because it's very forgiving and leaves a silky finish. To the left of the feet you can see the spacer blocks that will be placed evenly along the length of each upright, which will provide rigidity. Each upright will have 3 spacer blocks.
After a couple hours of curing, I buffed the pieces and started to get the uprights assembled.
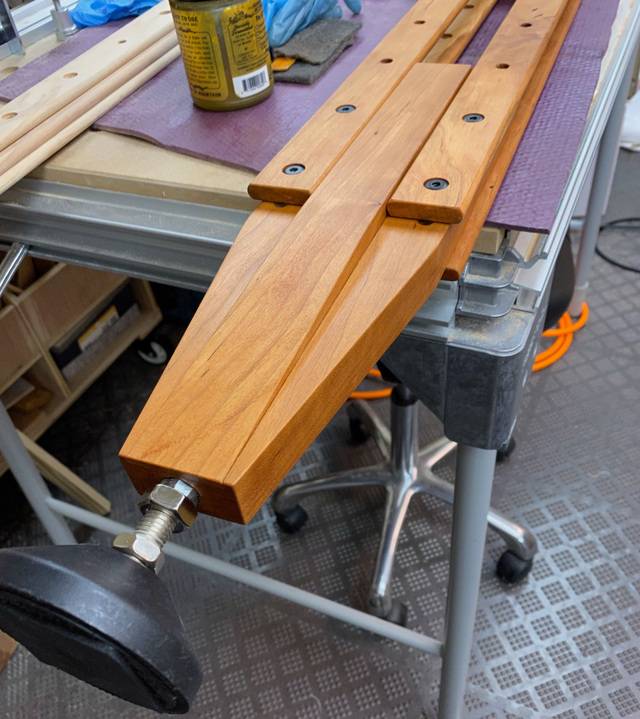
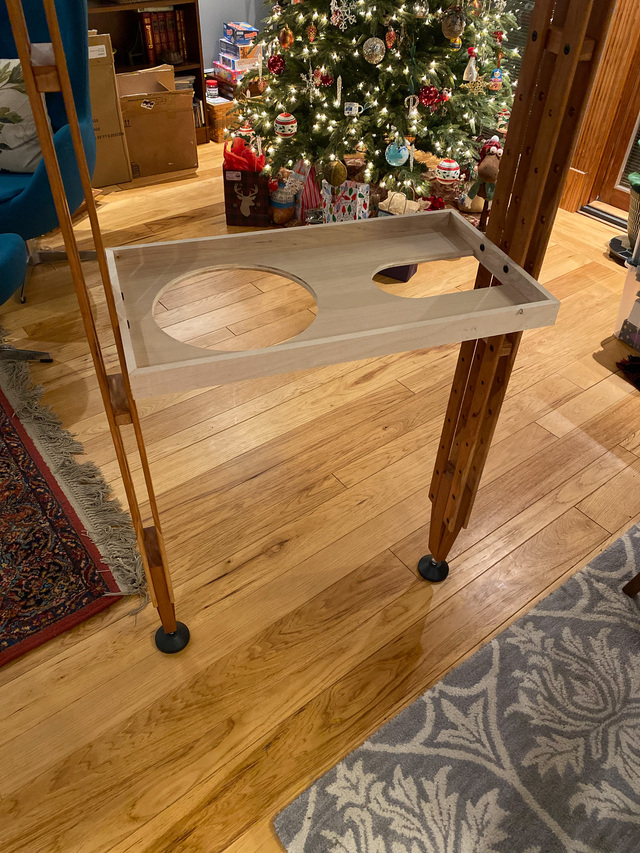
I applied finish to the struts in stages because it took a really long time to get finish into each of the holes along their length. Here I've assembled one upright for some instant gratification that would spur me on to apply finish on the remaining four struts.
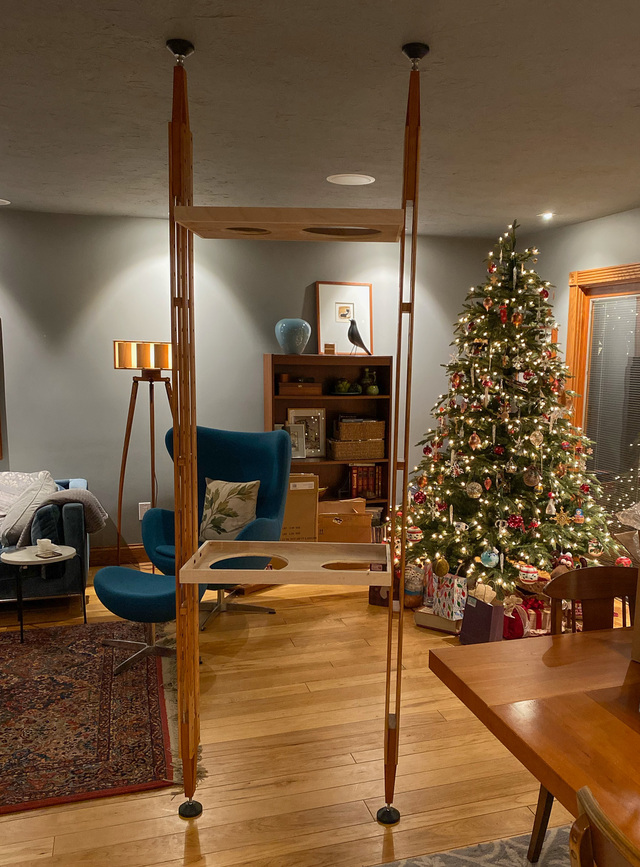
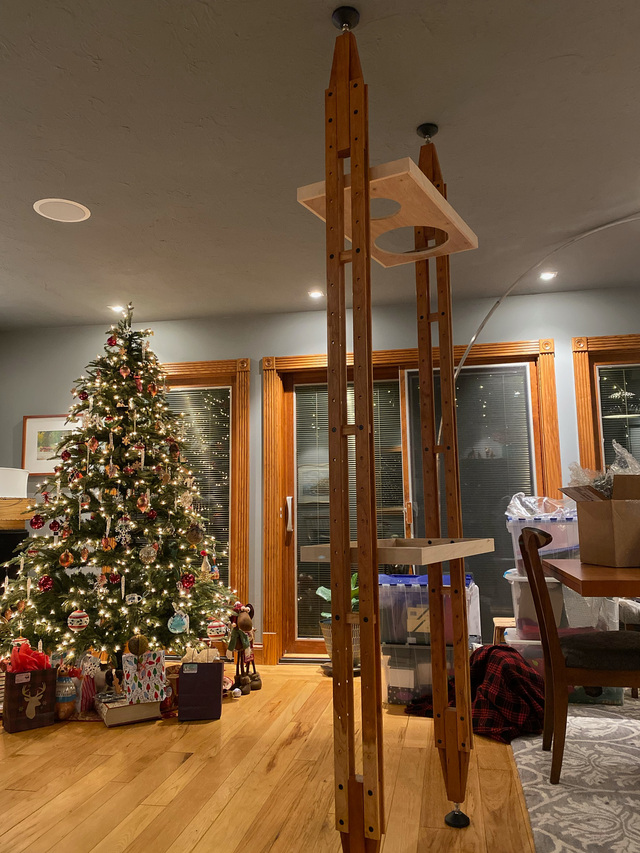
While I was alone in the house, I moved the uprights and two trays upstairs to do a test assembly (there's a dropped ceiling in my workshop, so I couldn't do it there). While the living room is not its final destination, it gave me some room to set it up and get a view from multiple directions. Plus is looks more festive with the Christmas tree in the frame.
I'm pleased with how it's coming along. Time to finish-up those trays and climbing components.
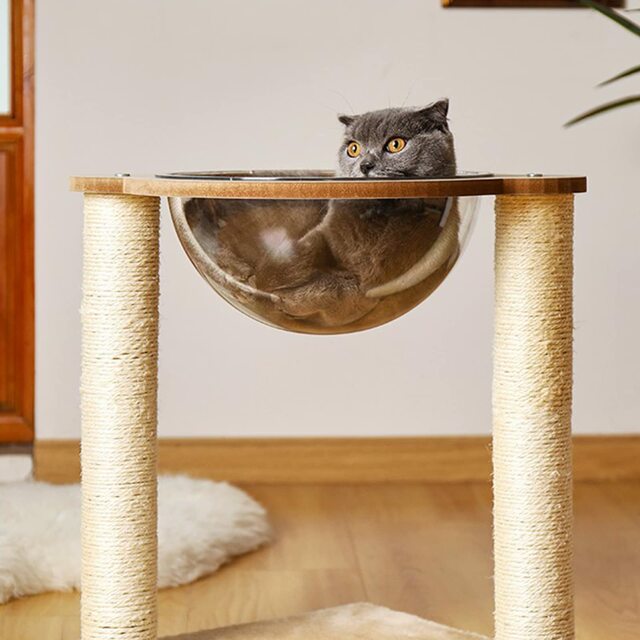
It’s looking really good, Ross. I’m interested in seeing how the acrylic half-spheres you mentioned in the previous post fit into the overall structure.
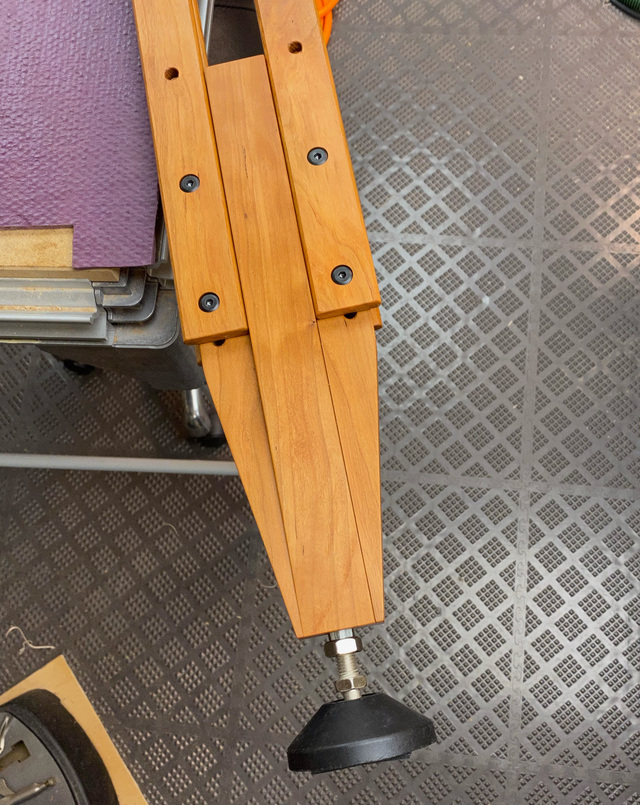
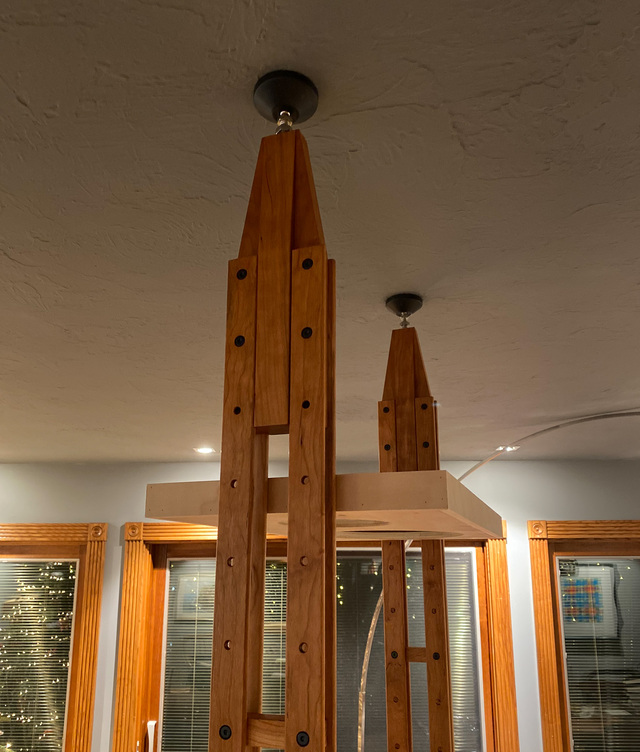
Thanks, pottz. The leveling pads are from Amazon and are some kind of hard plastic - I've applied some neoprene on the ends so it grips better and doesn't mar the ceiling or floor. The pads aren't nearly as sleek as those of the original bookcase, and I hope to work out something better down the road.
Ron Stewart commented about 6 hours ago It’s looking really good, Ross. I’m interested in seeing how the acrylic half-spheres you mentioned in the previous post fit into the overall structure.
Hi Ron - thanks. The half spheres are an idea I confiscated from some online cat structures.