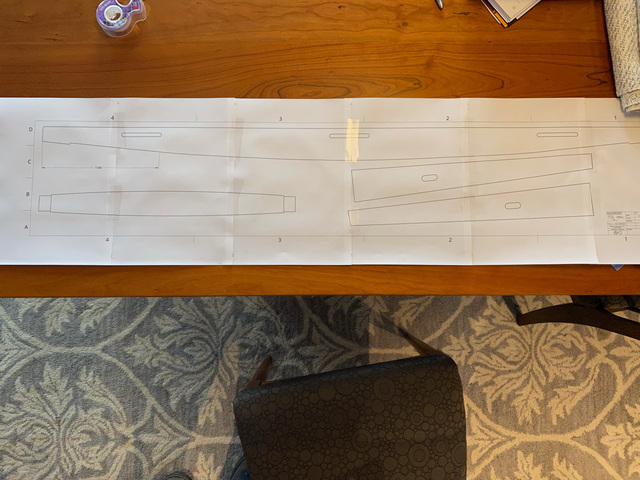
The next step was to create a set of router templates for some of the pieces. My original plan was to print paper templates, glue them to MDF, and then sand down to the part outline. Onshape allows you to export drawings to PDF, which can then be printed across multiple pages. This works fairly well, but there was some scaling error over the multiple sheets - probably in the printer driver.
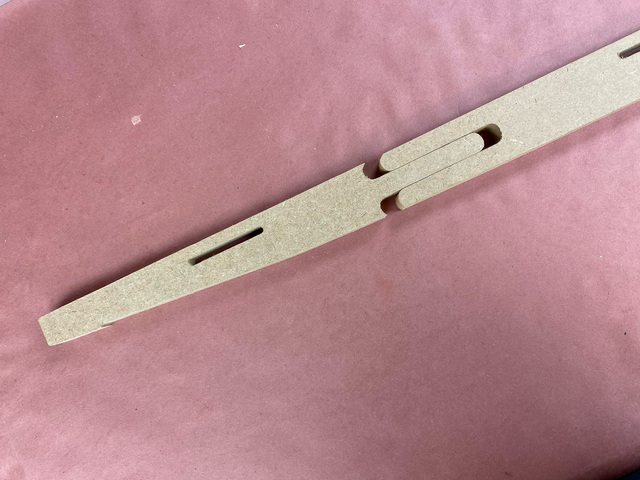
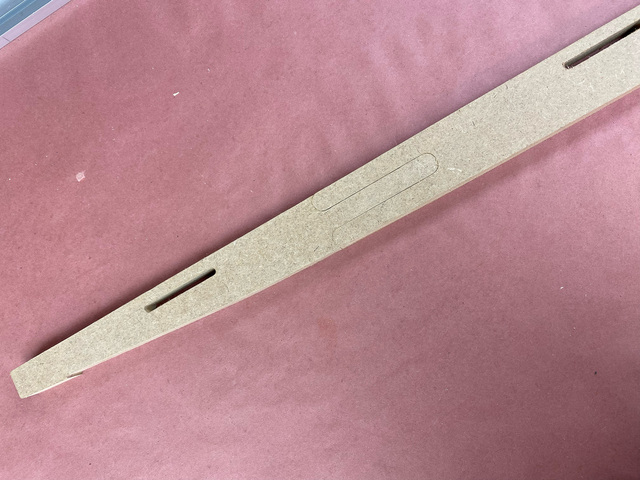
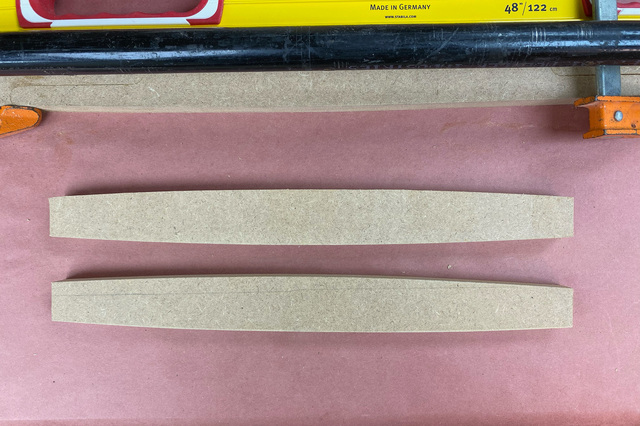
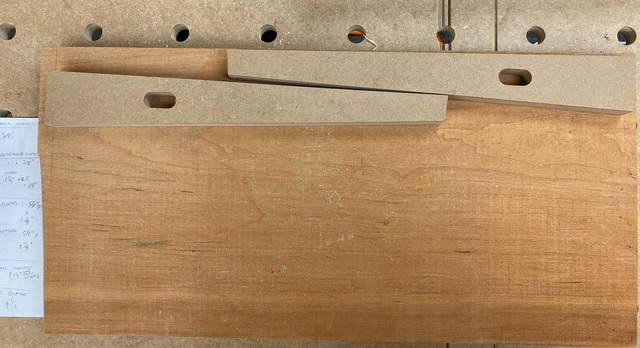
I could have lived with the slight sizing error, but I wasn't looking forward to shaping the MDF, so I ended up going back to the CNC to cut templates. Its bed is not large enough to accommodate the long rail all at once. While I could use a technique called tiling to cut the rail in multiple passes, shifting the blank on the bed after each pass, that operation is kind of a pain to setup. Instead, I cut three separate pieces that could be glued together to form the rail template.
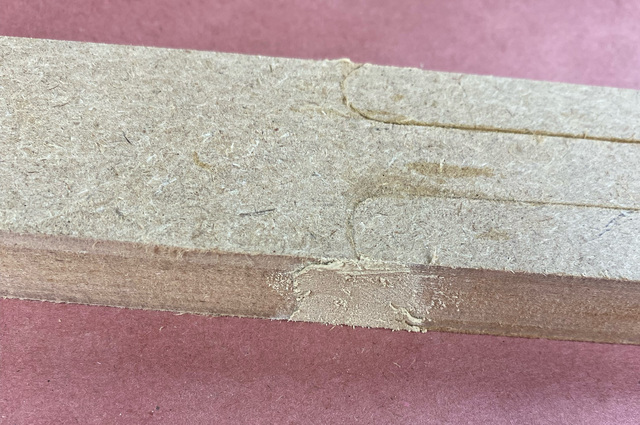
After gluing them together, I just had to fill the little voids at the edge seams where the pieces joined. Otherwise, that little indentation would translate to the work when using the flush-trim bit.
I also made templates for the legs and the leg stretchers (since they had curved edges). The leg templates serve dual purpose for both flush-trimming to shape and also for cutting the stretcher mortise with a guide bushing. I did not bother with templates for the rail stretchers since they had parallel edges and would be more easily made on the table saw.
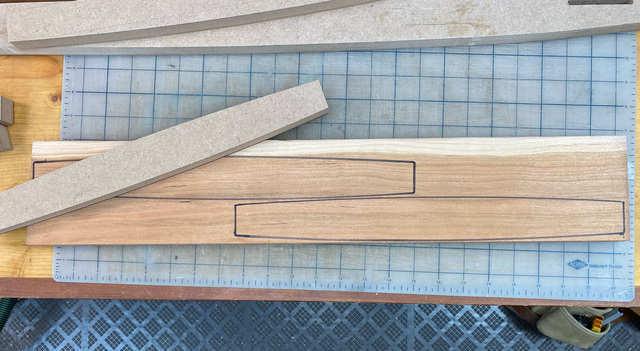
I had to pause here while I was waiting for my new planer to be delivered. Once it arrived, I dimensioned all the cherry that I would need, and started laying out the pieces.
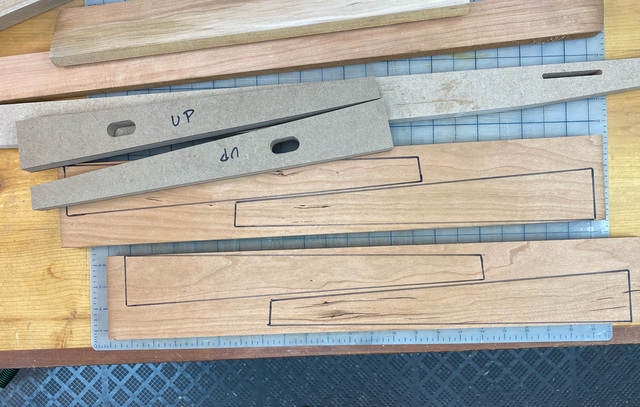
The pair of leg templates were mirror copies of each other. I marked 'UP' on each so that I would be sure to end up with a pair of left legs and a pair of right legs with the mortise on the appropriate side.
With the pieces laid-out, I cut them out slightly oversized on the bandsaw, attached the templates with double-sided tape, and flush-trimmed them all at the router table. With the template still attached to the legs, I used a handheld plunge router with a guide bushing to cut the mortises. (More photos of that in the next post.)
Typically I'll avoid as much hand shaping as possible when doing the templates for the obvious reasons, but when I do need the hand work, I'll make a working template from the "model" so I don't have to repeat the process (as I've experienced enough times)
Interesting concept.... my laser bed is 300mm x 600mm. I use dovetails for similar operations... must give this a try and compare.
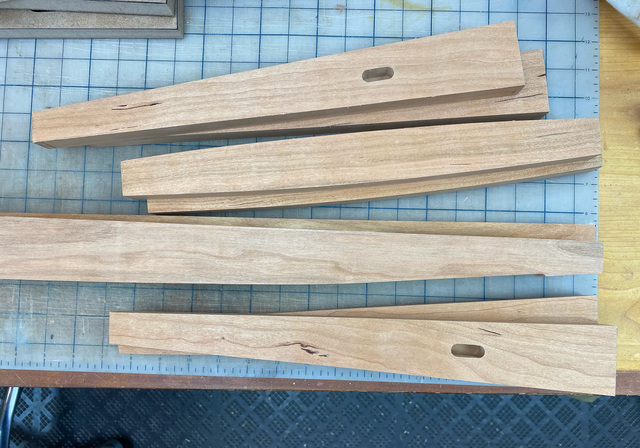
I chose the long fingers for the joints on this template because I thought it would help keep the top edge planar. (Better than a puzzle-piece joint that I've used in the past.)