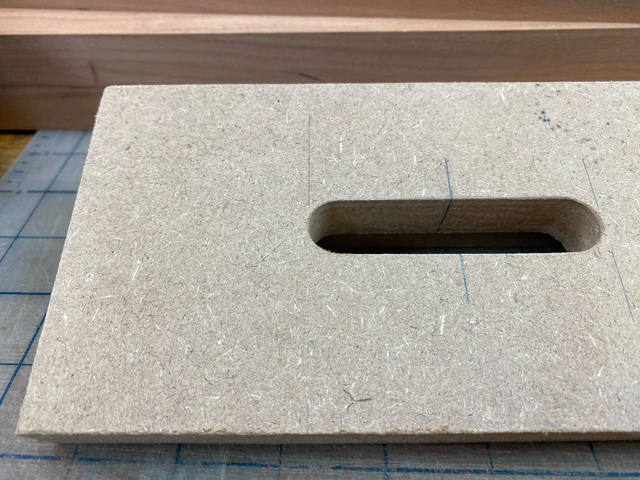
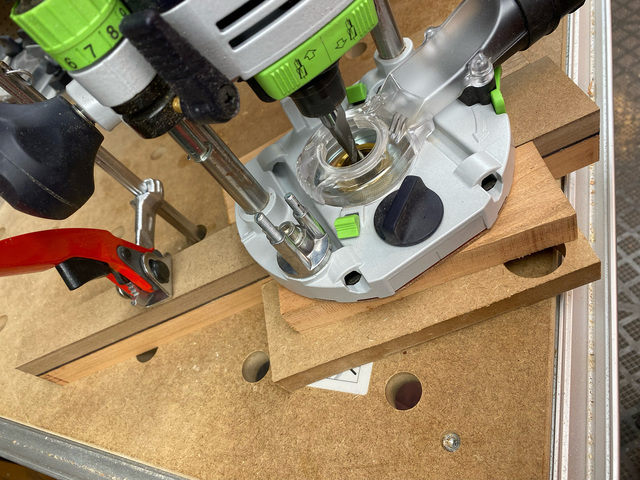
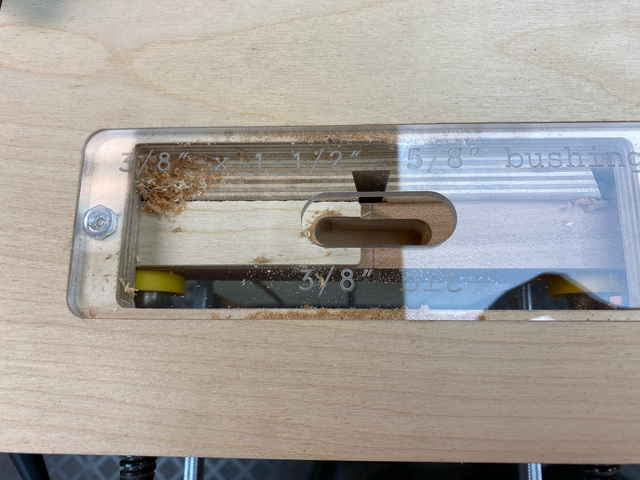
With all the pieces cut to shape, I moved on to cutting the mortises and slots, which I did with the help of a couple jigs. They were all cut with a plunge router with a guide bushing.
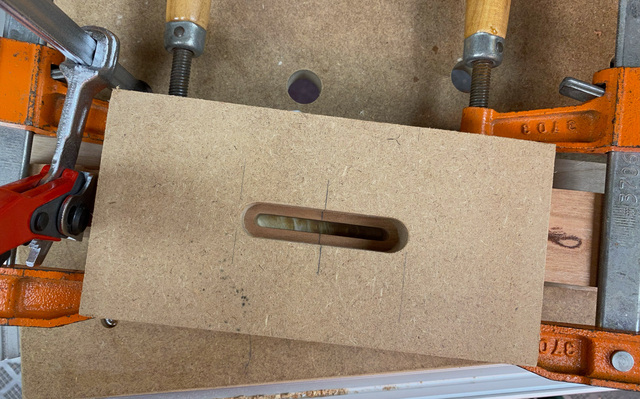
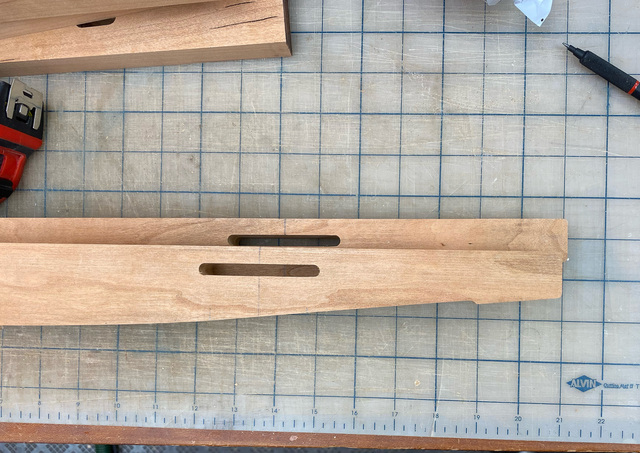
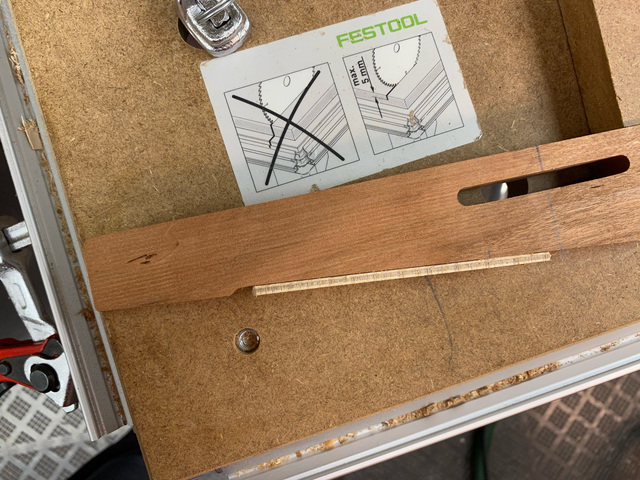
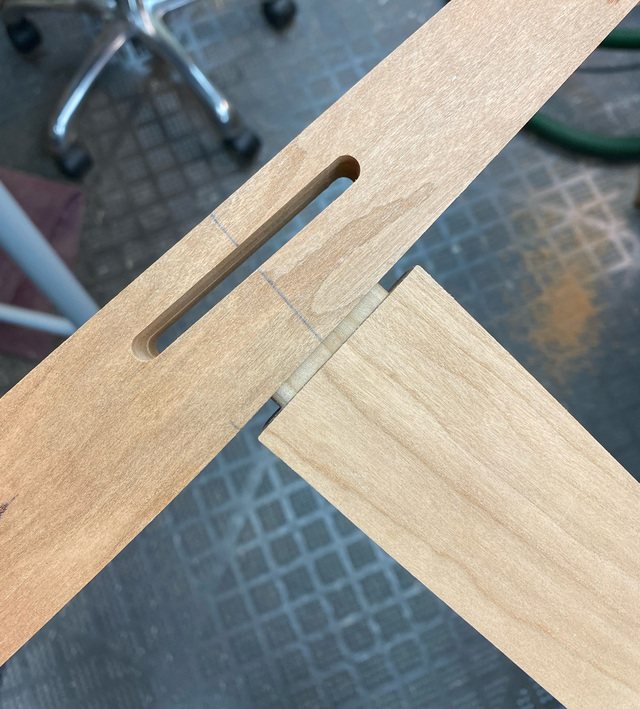
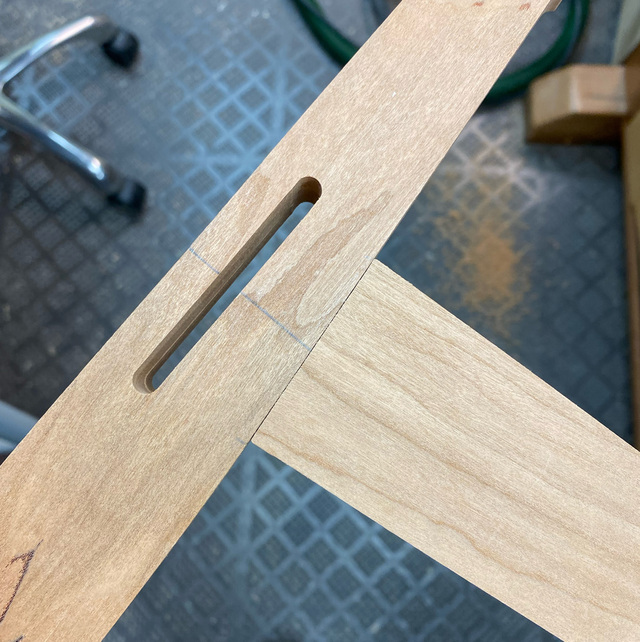
For the weaving slots, I made a simple jig with a short fence that I could clamp to the top of the rail in the appropriate locations. I marked the center of the jig slot so I could line it up to the marks on the rails.
The leg template had a built-in slot for routing the mortise for the leg stretcher. While the flush-trimmed legs were still attached to the templates with double-sided tape, I routed those mortises. I stacked some MDF scraps and cherry off-cuts on either side to stabilize the router base.
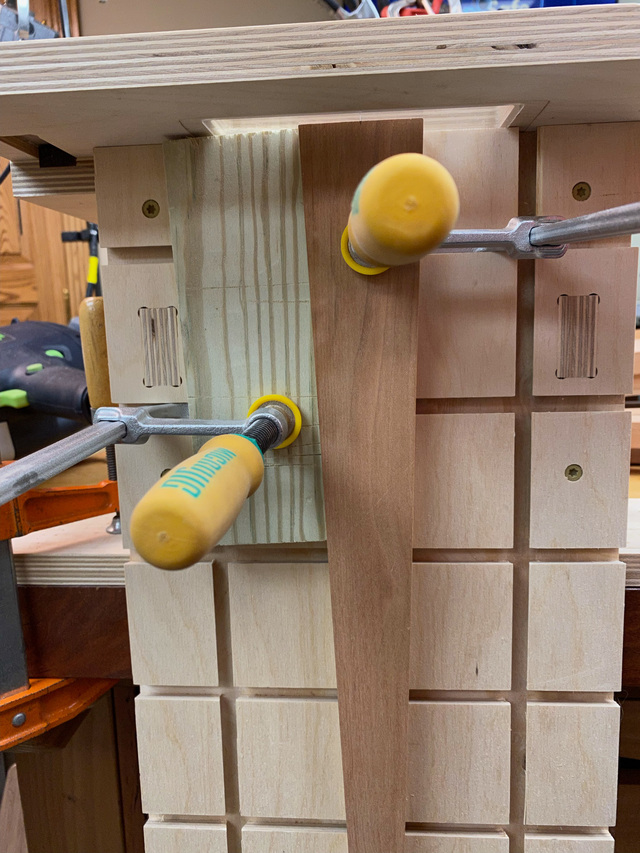
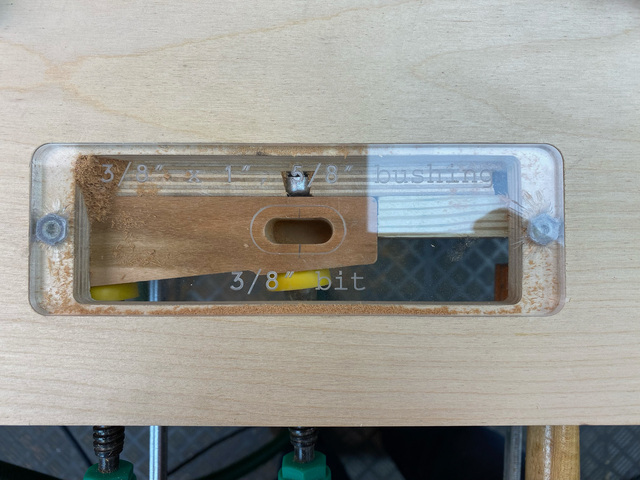
For the remaining mortises, I used the mortising jig that I built during my first chair project in 2019.
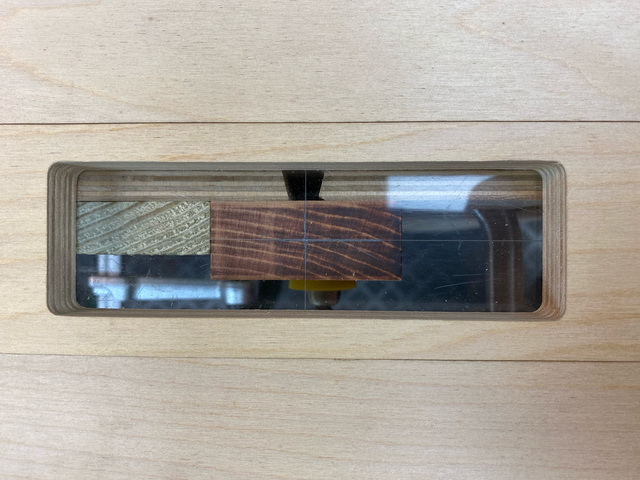
Sighting the center mark for the mortise on the end of a leg:
Once I had it positioned, I clamped a scrap up against one side so that I could easily position the remaining legs without having to use the cross-hairs.
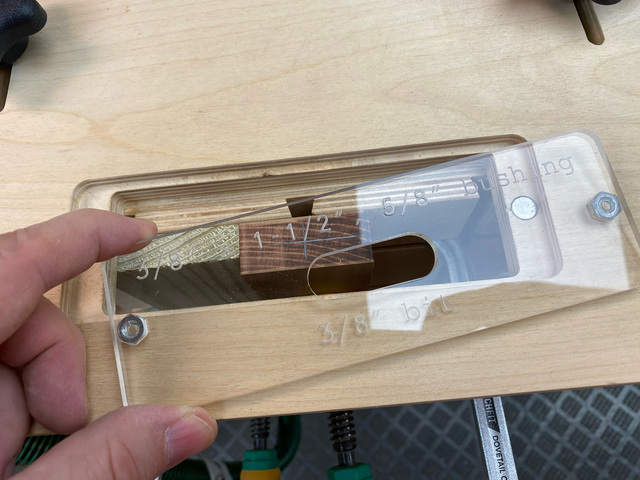
With the first leg ready to go, I popped in the appropriate template for the mortise width I needed.
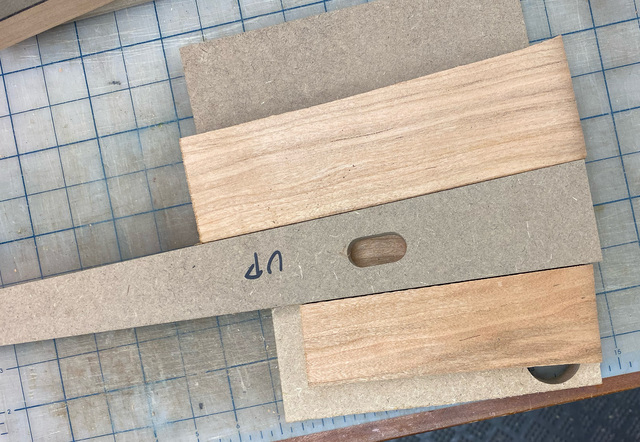
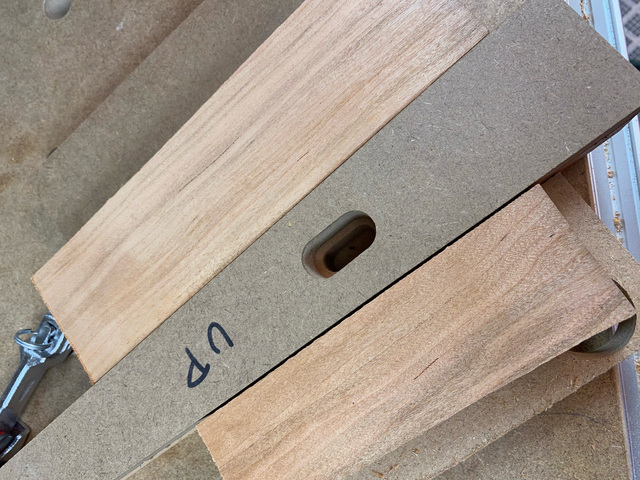
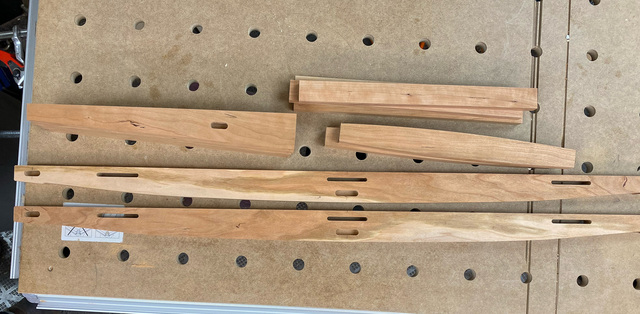
The rails get the matching mortises on their tapered ends. In order to make sure the rail was positioned so that tapered edge was parallel to the top of the mortising jig, I needed to add a spacer to avoid the thicker rail tip from interfering.
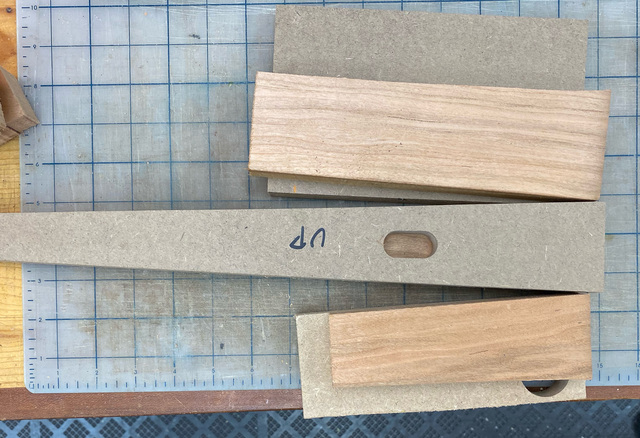
The outer rail stretchers get a smaller mortise.
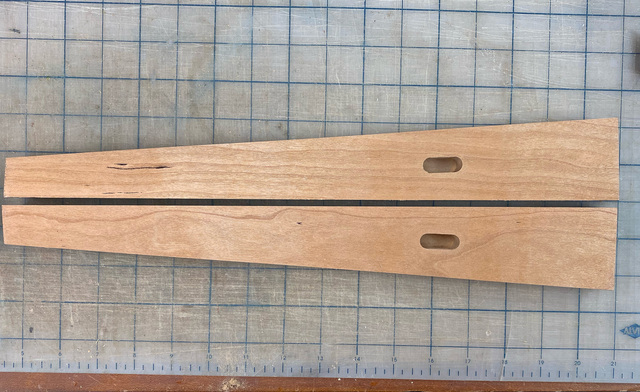
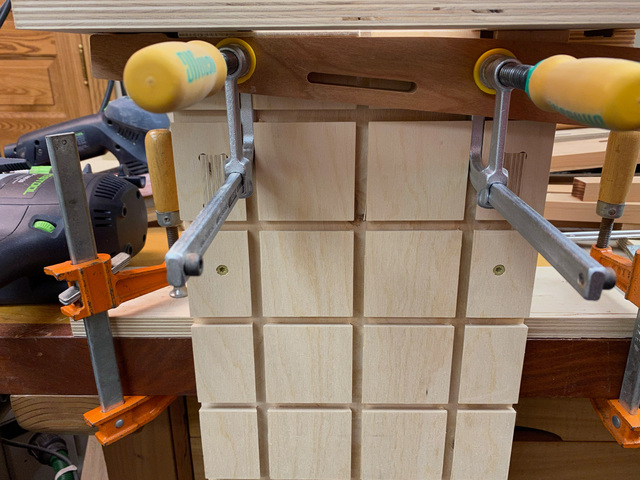
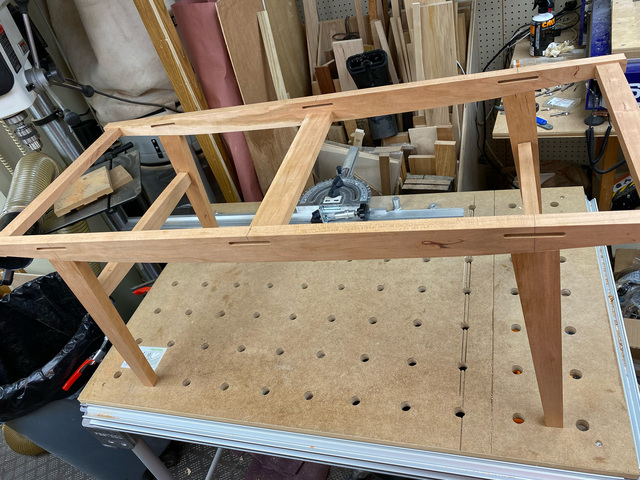
With all the pieces mortised, it was time for a quick dry fit.