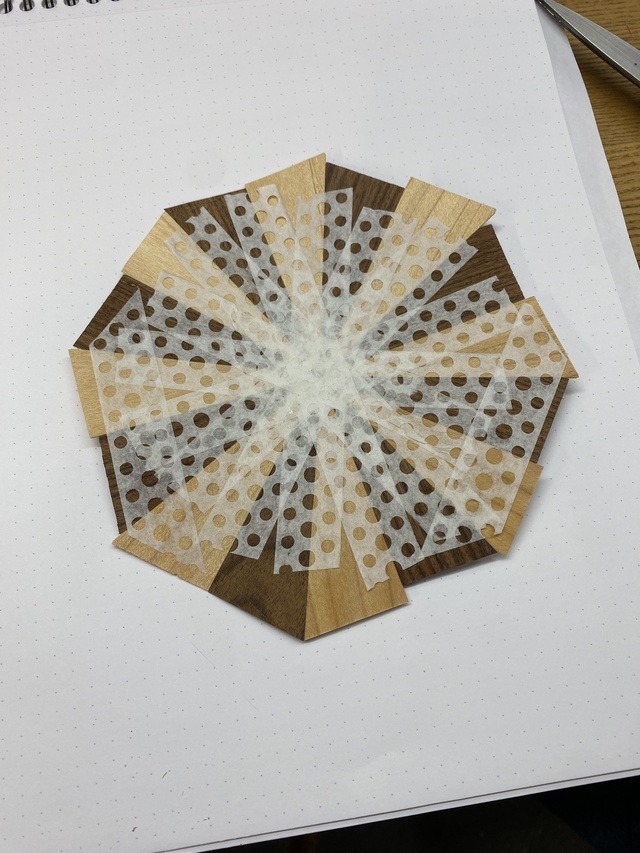
I forgot to mention it, but the previous day, one step I did is make sure I had enough veneer tape on the roses. Sometimes I go too short and they need a bit of reinforcement. Remember to give it time to dry.
Now flip your roses over so that the veneer tape is down, and remove any lingering blue tape.
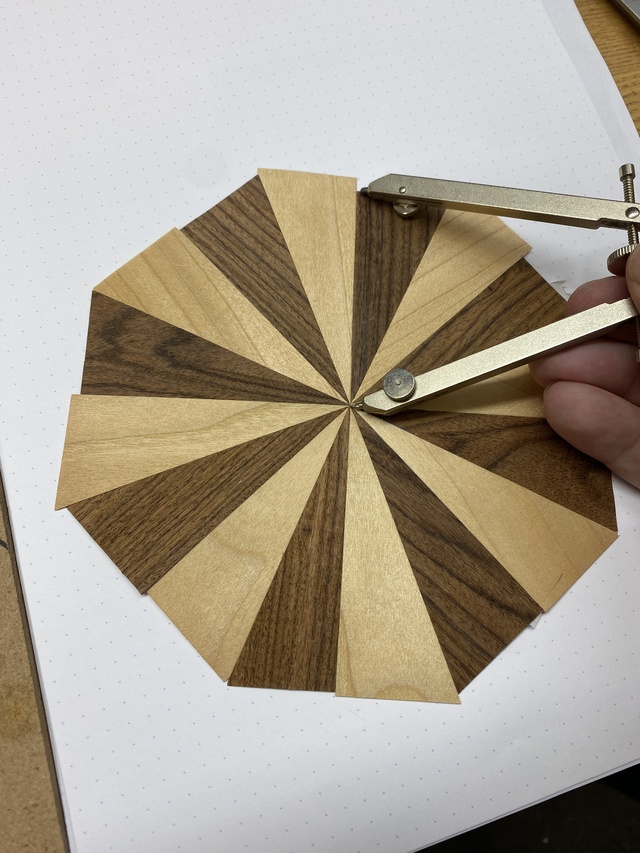
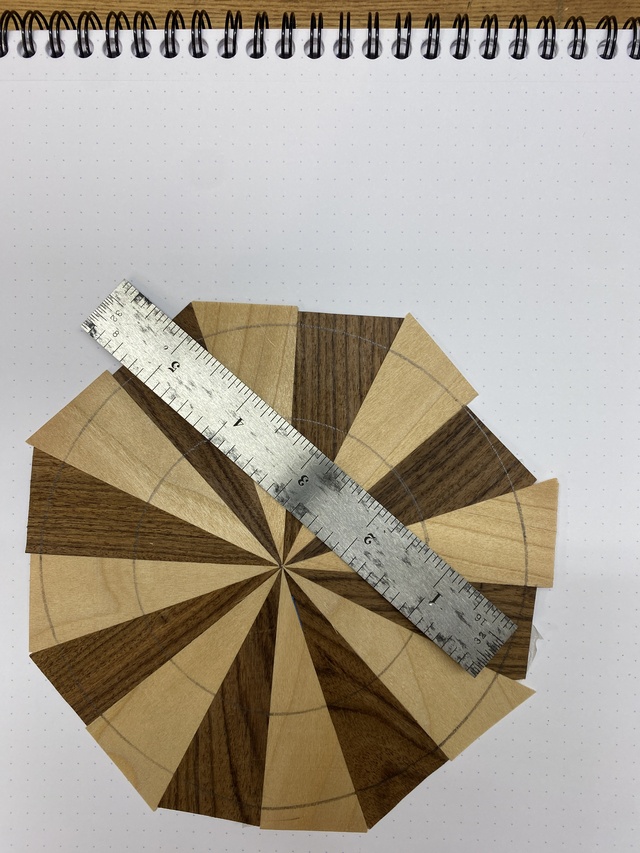
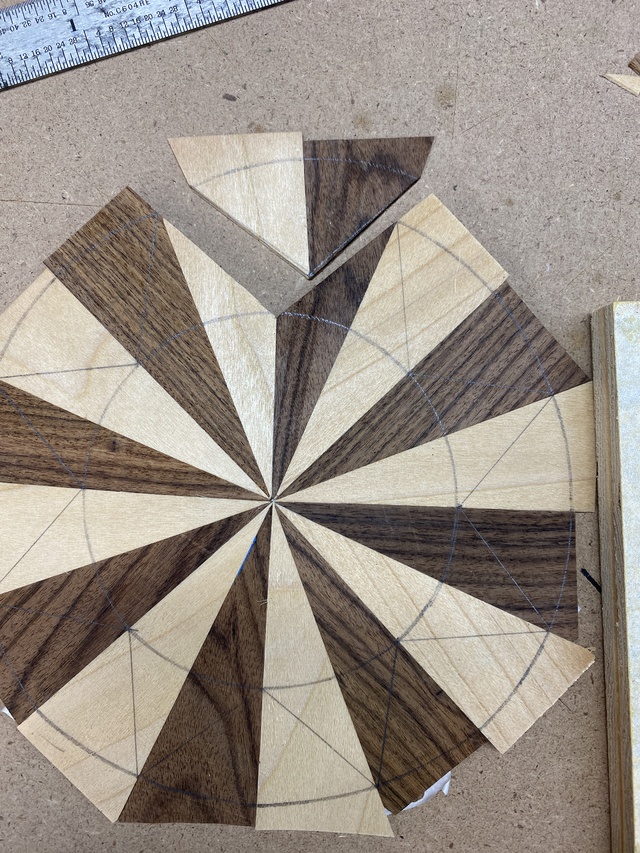
Get our your compass make sure your pencil led is not too sharp (or it catches on the edges) and get ready to scribe two circles. I think I went around 2 3/4 and 1 3/8. I tend to make my larger circle just shy of the shortest veneer piece from the middle, then ballpark half that for the inner circle.
That shortest piece gives me me outer circle. The inner is ballpark half that. The smaller your inner, the pointier the star.
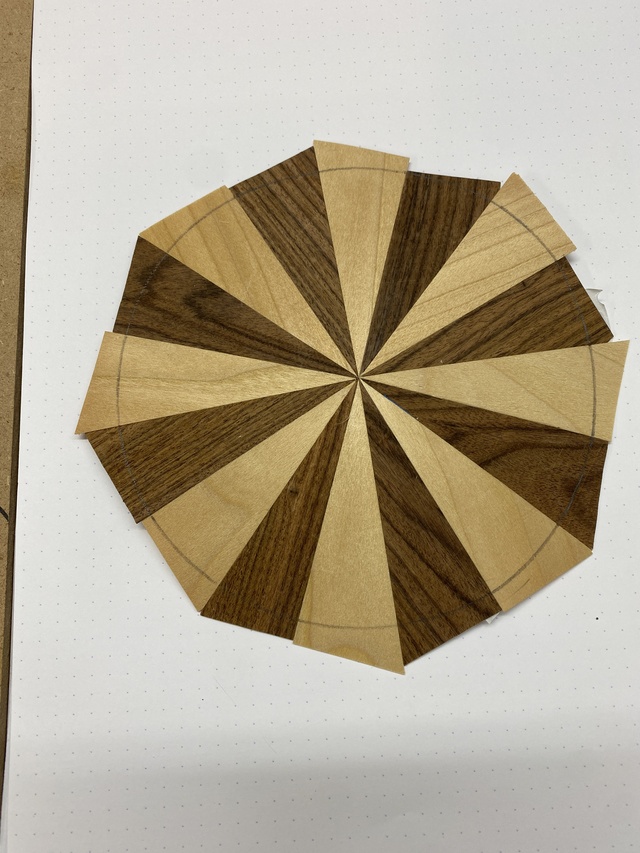
You can see my measurements here, roughly
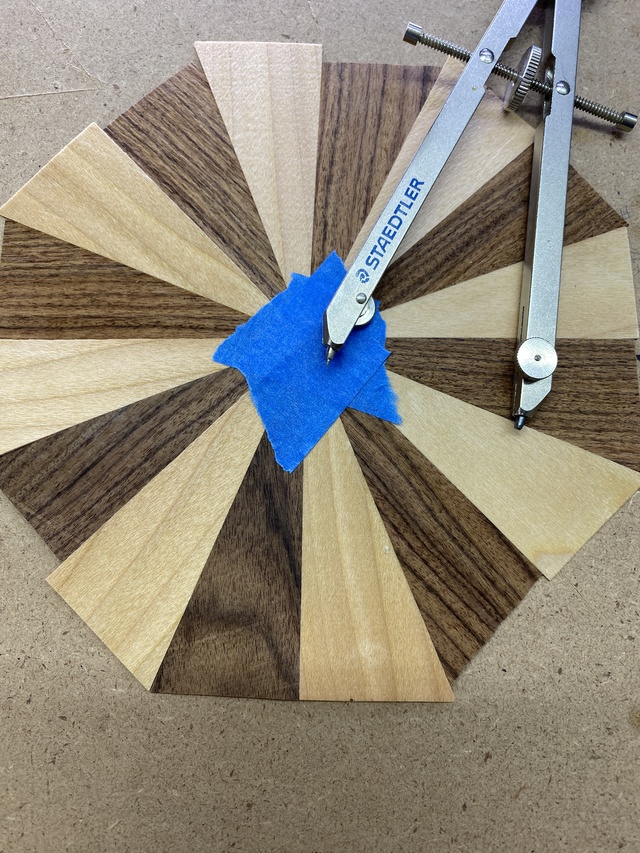
Since I haven't done this a while, if you zoom in you'll see the point of my compass mushed the tips of some veneer. OOPS. Still, moisture and a little massaging with an exacto tip will get them back into line.
What I _should_ have done, and did do on #2 is put a couple of piece of blue tape over the center and then use a ruler to recreate the center of the star.
Good thing we're making a couple!
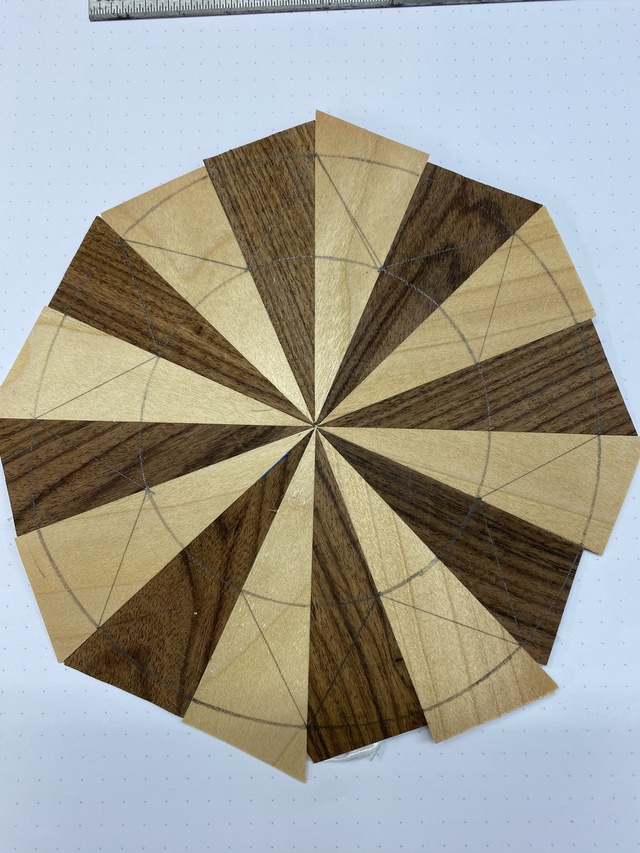
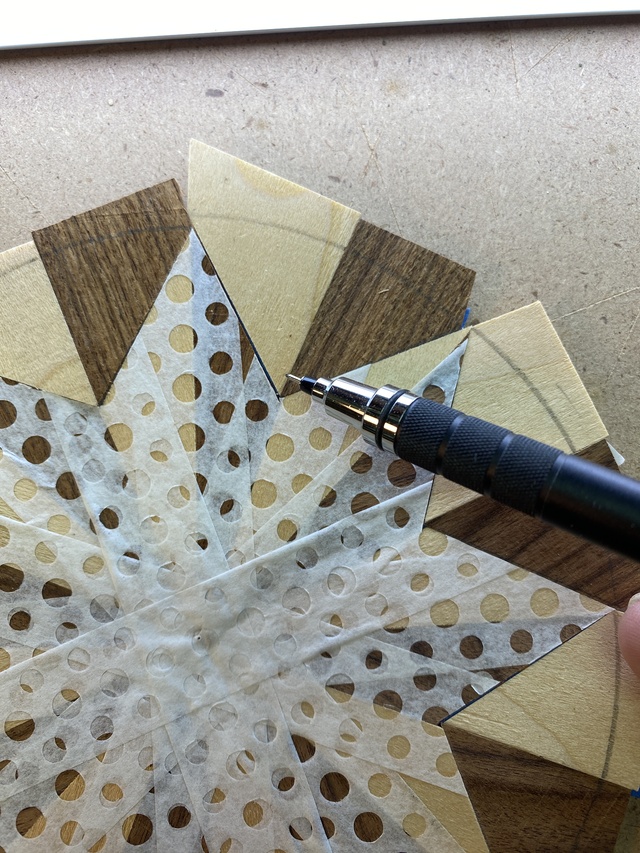
Now, once you have your inner and outer circles, we'll link them together.
You want to scribe the lines such that the points of the compass tips meet on the outer circle at the seam where the two straight grains meet. This cuts best.
Notice how I once again, forgot and did it wrong on my first rose?
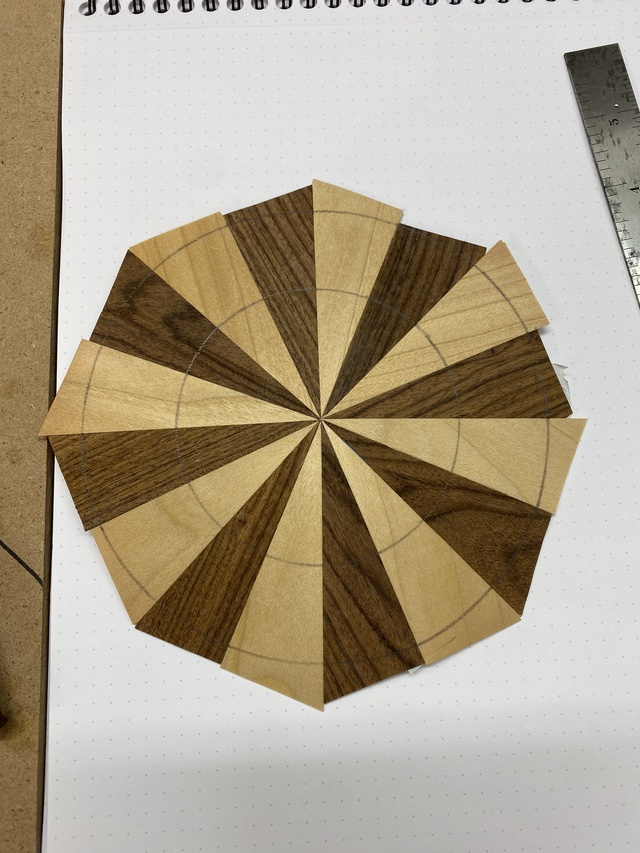
This is how it SHOULD have looked. (my second rose)
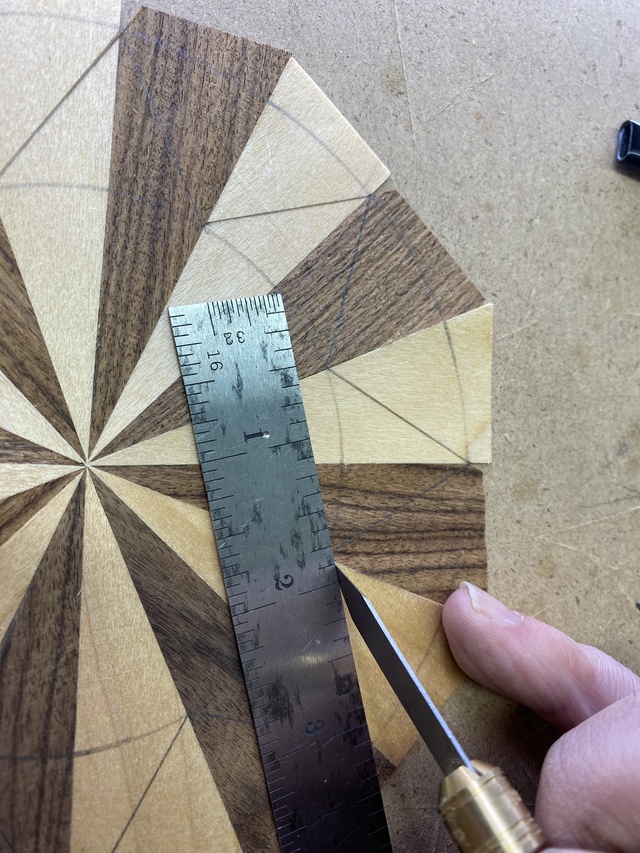
Next, we take our single bevel knife, (I actually found my Xacto #19 blades which are single bevel, so save time on honing) we line up our cutting guide/ruler on the line. Cut from the inner circle to the outer, so if you overrun the end of the cut, you're cutting into waste anyway.
One removed! Now, the flat side of your knife was on the rose, so you'll need to take the cut out veneer and joint it gently to restore it to flat. A few swipes should do it.
Then, we flip that little offcut over, and slide it back into position.
Then, we blue tape the heck it right back into position.
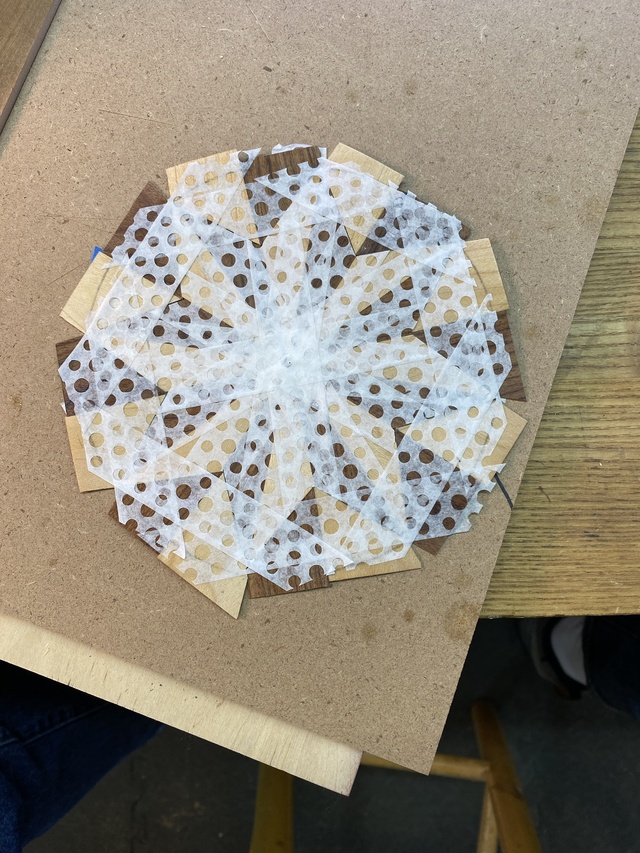
Repeat 7 more times. Flip and look at it.
If you rushed like me, then you probably have a few points you want to take back out, joint/fit and tape back in snugly. I know I did.
You can see a little bit of slop here.
Pulling this one tight, I actually found that the joint running up the star and into the piece didn't line up. Careful jointing improved it a lot.
(Honestly, it is easy to drive yourself crazy at this stage. Let me tell you, if it isn't off by a lot, or a real sloppy fit, nobody will notice!)
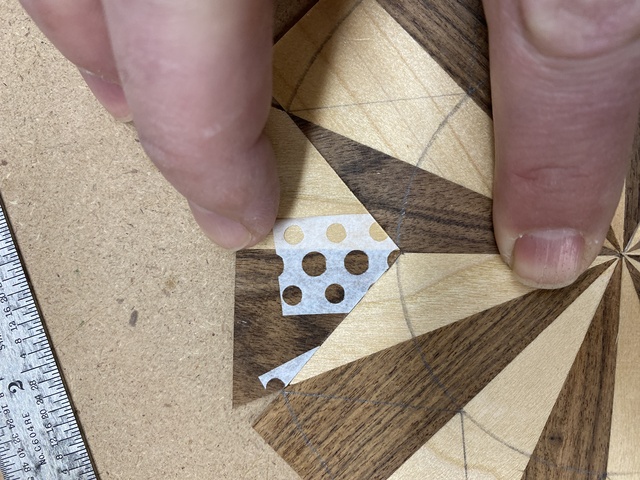
Once you are happy with the look, you want to put more veneer tape on the veneer tape side. I like to cut some angled pieces and tape around the edge, because the next step I want those minor points of the star to stay put.
Once again, we leave our veneer tape to dry thoroughly.