Now you've got some nice circles, lined up well but covered in blue tape. Flip them over so the tape side is down. This is your 'show' side that will be visible on your work one inlaid. This is the side the veneer tape goes on.
Veneer tape is applied and removed with water. You're applying something wet to very thing wood. Yes, it is going to move on you. No, you don't need to panic.
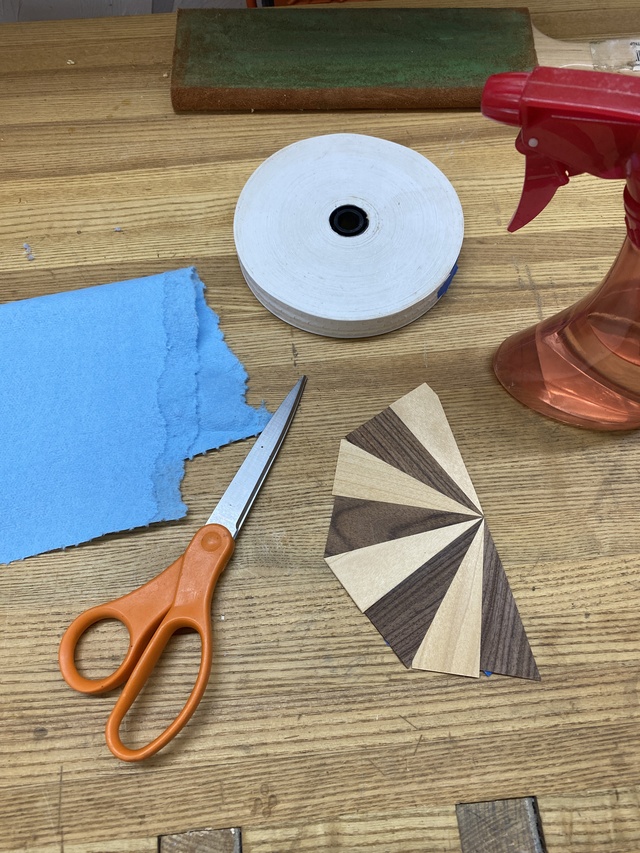
Get your supplies lined up. Water, some method of getting water onto the tape. I just wet a blue towel, but you can use a bowl or whatever you prefer. I like a misting device, which I just spray the towel with. Veneer Tape. Scissors. And your completed circles of veneer, of course.
(Please ignore the half circle here. I forgot to photograph the process on a full circle!)
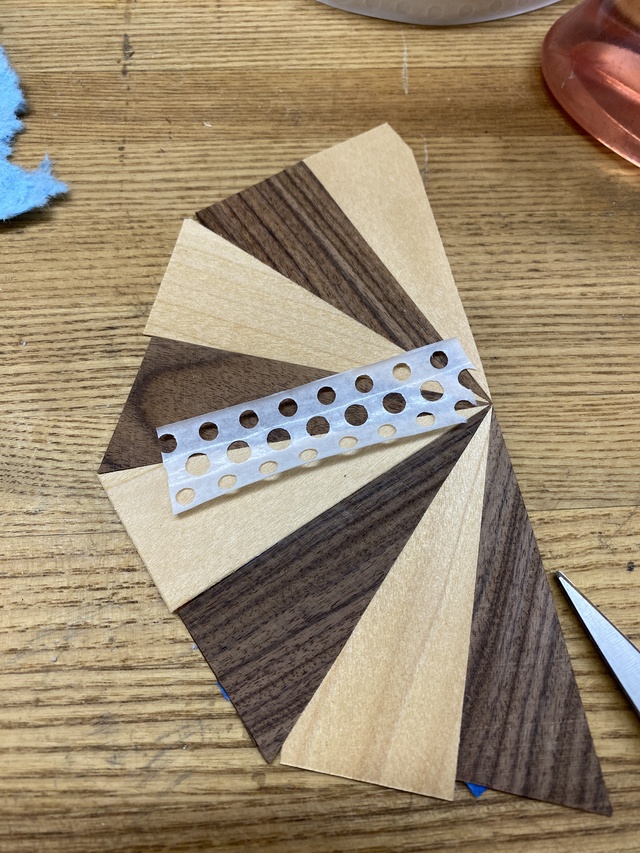
First you trim a piece of veneer tape to length. You want it approximately the length of one of the seams, but a bit short. You can stick out the outside edge a little, but I find it messy.
This one probably could have been a hair longer, but will do the job.
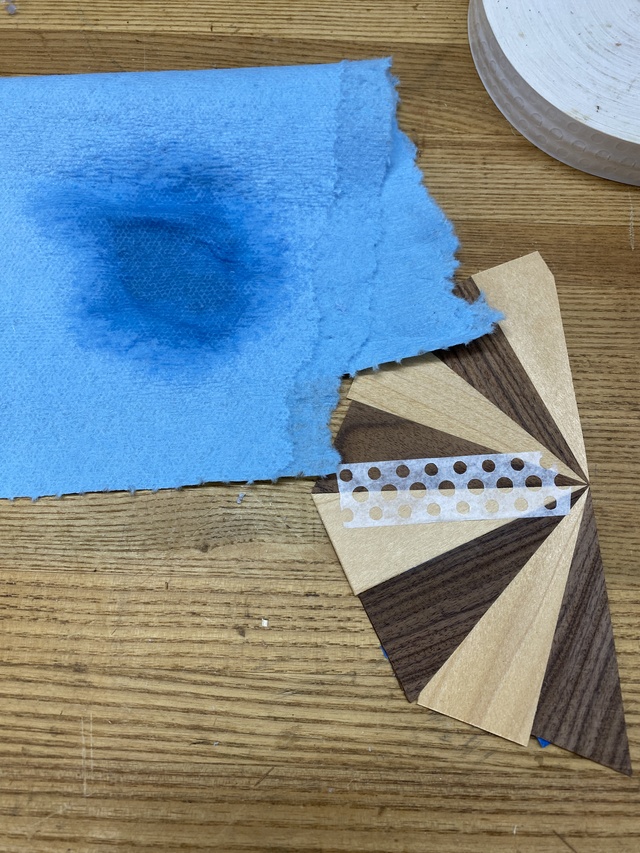
Now you wet the veneer tape. One side will feel a bit tacky once wet, that is the 'glue' side of the tape. If you do use a dish of some kind, its best to put a sponge or something in it so you don't make the veneer tape soggy. Veneer tape when overly damp becomes a soggy mess with no structural integrity. This makes it easy to move later, but will make it useless now. Hence, I use a towel that I've made damp.
Once appropriately wet, line it up and apply.
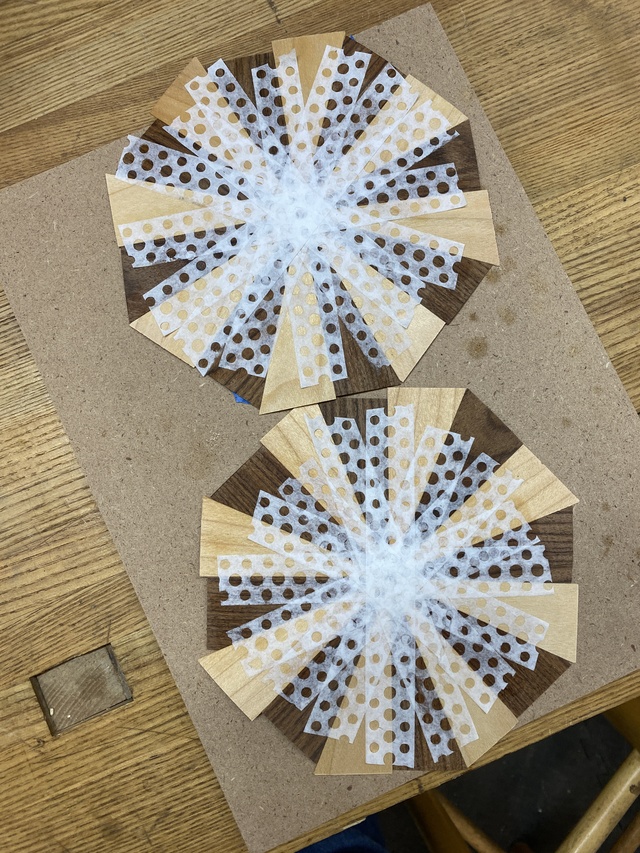
Repeat until each seam has tape on it. You will end up overlapping the earlier layers of veneer tape. This is OK.
Once you've close to completion, look at the tape and see if any of the pieces are rising up. I like to give the whole thing one small mist from the sprayer, then hand press down anything that is lifting up.
Eventually, you have fully veneer taped circles!
Leave them someplace to dry thoroughly. They ARE going to cup a little bit. You just wet one side of the wood. I've experimented in the past with wetting both sides, or trying to enforce flatness, etc. Nothing has worked that well for me. If you find a great method, let me know.
Once left overnight and dry, I tend to slip them between to heavy flat boards and leave them for a day. I find with veneer this thin, you can generally get them relatively close to being flat again. When we glue these in place, we'll be wetting the dry side, which has a natural tendency to undo the cupping, and once the glue sets, it won't move on you any more, which is why I say not to worry.
Looking forward to your advice/technique for removing that tape. I've tried scraping, wetting, and sanding and still can see little circles where some of the adhesive still remains on the veneer. I found that misting works well for me since I always tend to remove too much of the adhesive with wiping on a towel.
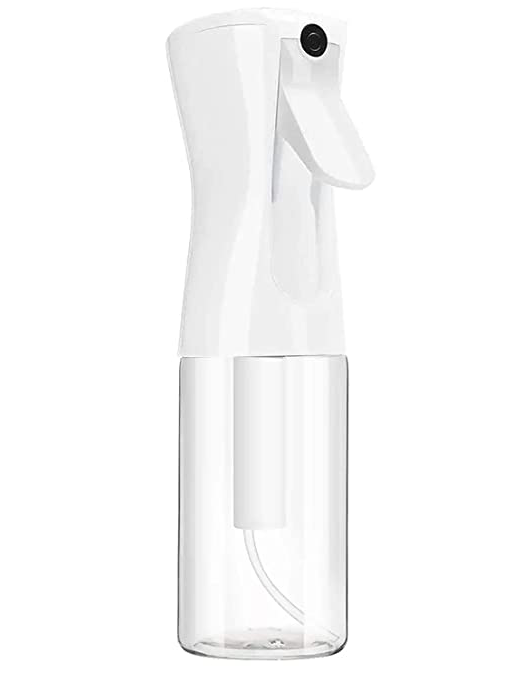
A great mister are these style units. I use distilled water as tap water here has lots of minerals that leave residue. They emit a fog versus droplets. Can be found HERE