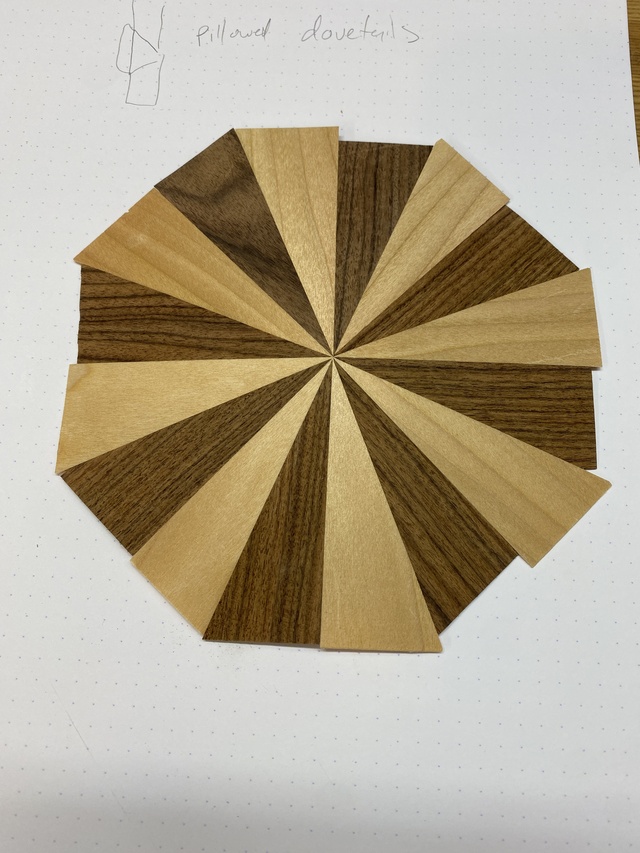
You have a big pile of multi-colored triangles, and a roll of blue tape. This part can go real fast, but mistakes here cost you later.
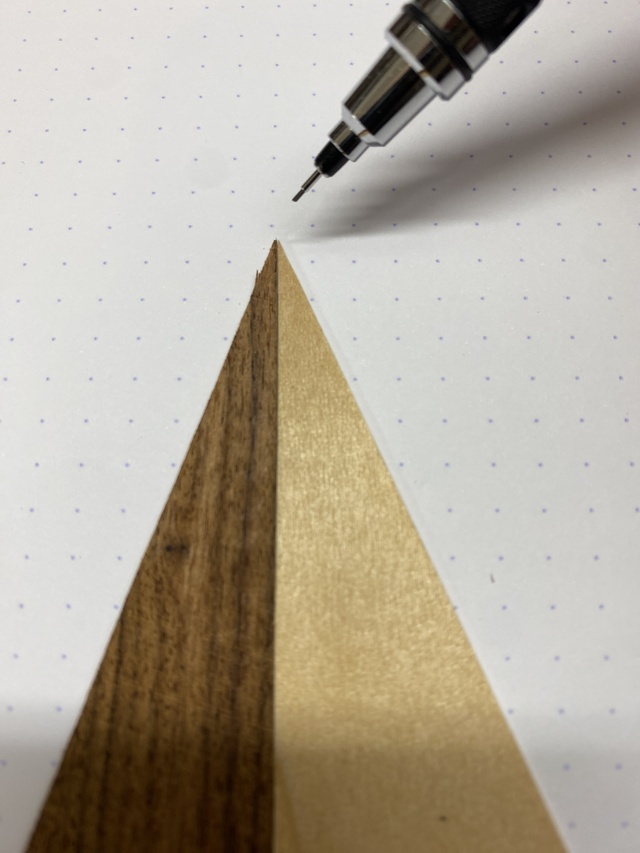
Take one of each type of veneer, and line up the straight-grain side of the veneer back to back, and line up the tips (ignore the far end of the veneer, only the tips matter.
Do your absolute best to get the tips lined up. I do this on a contrasting surface like a piece of paper, so I can clearly see the lineup.
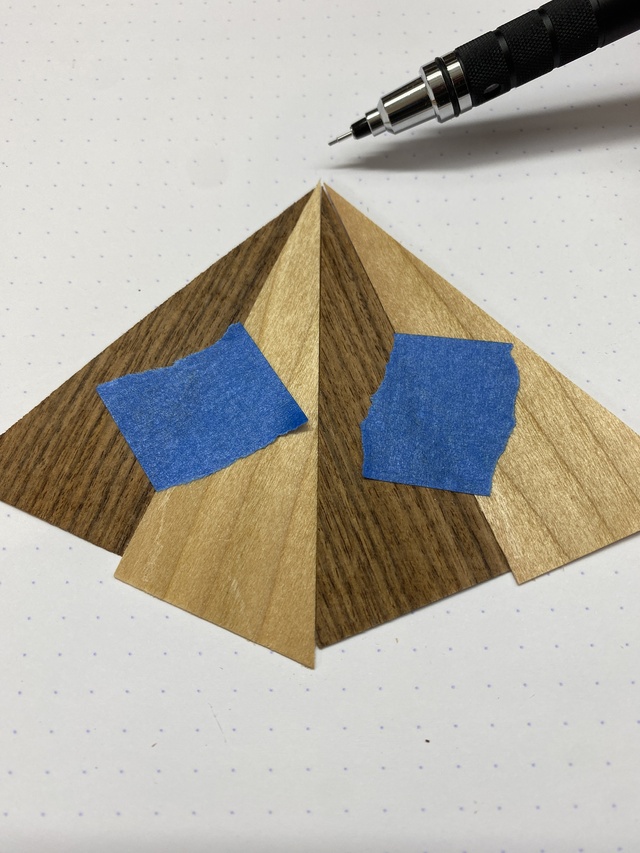
With the two pieces of veneer back to back snug, tape them together, without letting any tape overhang the sides. the tape can be a little messy, it won't matter. What matters is: Tips line up, and the straight edges of the veneer are snug to each other. You might find you can't get the straight sides lined up. That is fixable. Run the straight sides down the veneer jointer until they mesh smoothly.
When you finished your 1/8ths, you can move on to your quarters.
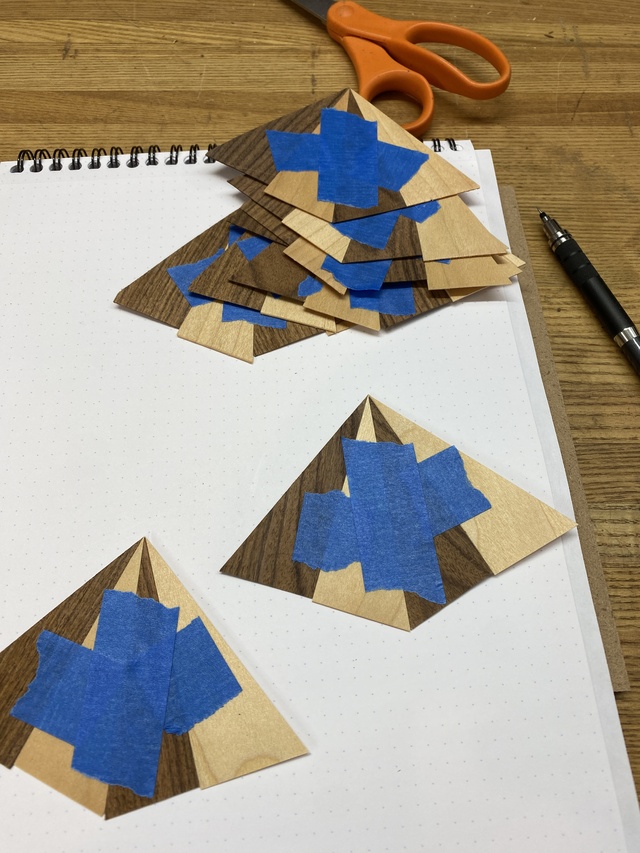
Just like with the first one, you are doing your best to joint and edge and have your tips line up. Continue until everything is quarters. Set aside any spares for later repairs.
Next up is halves. Same basic concept, with a little twist thrown in. Wood is flexible, and human error can creep in, so you probably have a bunch of quarters that are not exactly the same size, and not all exactly 90% at the tip. This is OK. But lets use that to our advantage.
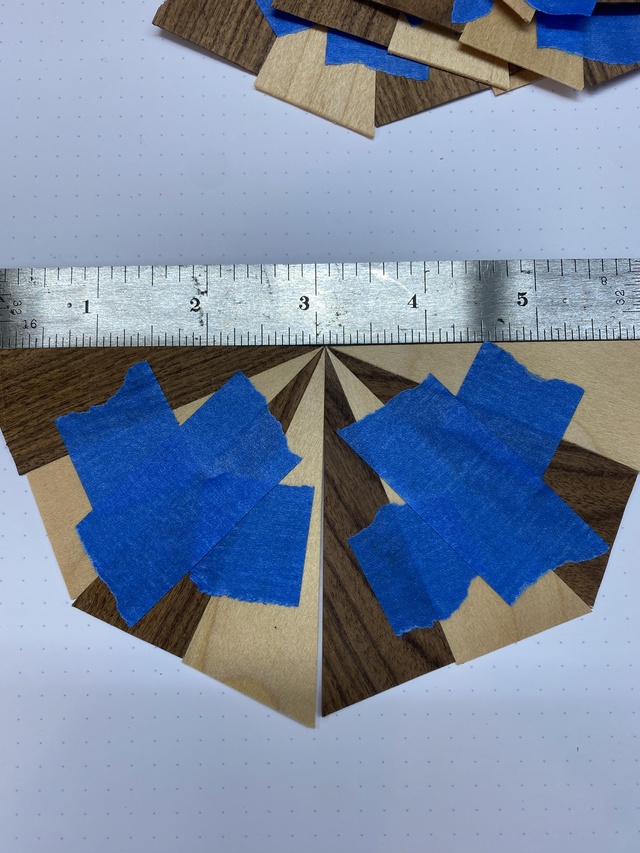
Pair up your sides and do a little jigsaw puzzling out to find your best matches for relatively close fit. Pair a wider with a narrower quarter, etc.
You can see this one has a bit of a gap, but its fairly close. You won't be able to make a perfectly straight line. that is OK. Just get the veneer meeting at the point, and the jointed edges flush to each other.
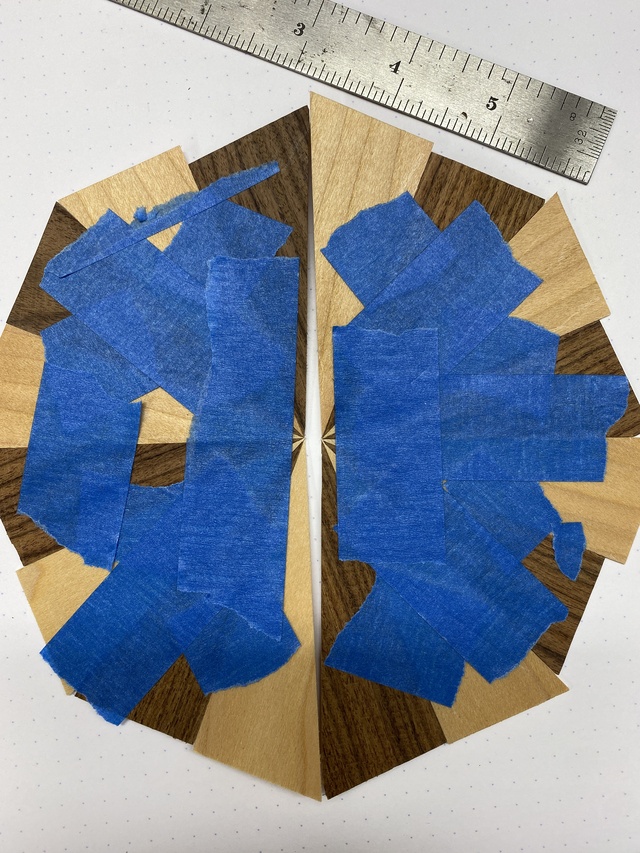
Once all taped up, get your half moon pieces collected, and analyze. I tend to have them all be a little bit over 180
The fix is the same. Joint them until they flush up. For a piece like this, where there's a significant gap, I may lay a steel rule on top of each side, being careful to avoid cutting the center, and gently slice off an equal amount from both edges, to make jointing on the sanding block faster.
Eventually you start getting a nice fit.
One you are gap free, blue tape again.
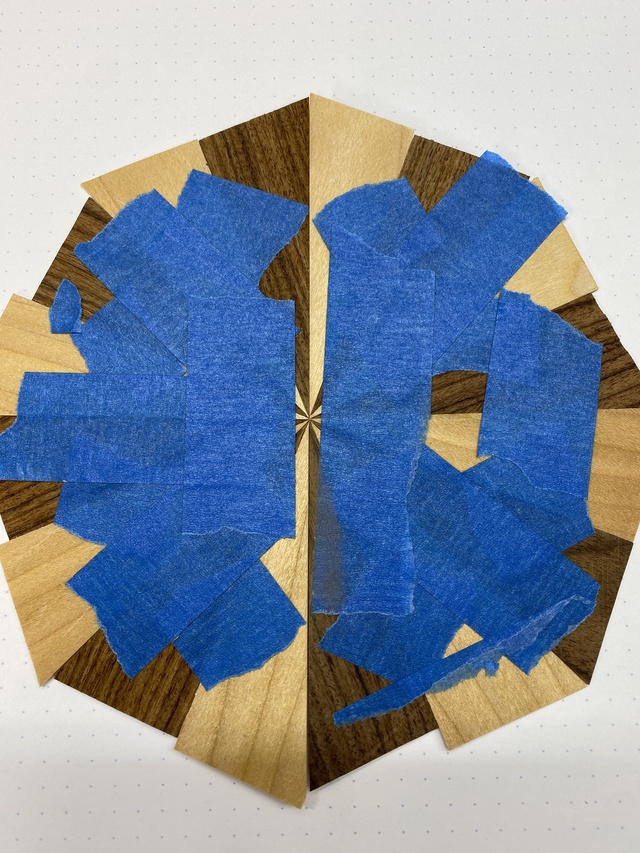
Flip it over and check for lineup.
This one is pretty good, but if you see too much skew, slice through the blue tape (don't bother removing its nuts) slide your halves around, and re-tape. Sometimes the half that you move around wasn't even the half you were just manipulating. That is OK. Once you are visually satisfied, you can move on to veneer taping!
Nice write up! Question: It seems like it is better if the halves are little over 180deg rather than under. Jointing a half that is less than 180deg would result in the points being cut. Or am I missing something?
Steve, you are absolutely right. You can end up with some that are shorter. When that happens, you don't sand. You want to mix and match with your over-180s to come up with a nice fit. This is one of the advantages of making several of these at once.
Another quick fix is to simply cut one extra triangle another degree to so wide.
But after making dozens of these, I almost always end up with sides that are greater than 180 and have to be sanded back.