I didn't invent this technique. I found a tutorial a few decades ago by someone named Michael Henderson. I am not 100% sure, but I think these are his instructions on Highland Woodworking.
Tools you buy: Single bevel marking knife (Czeck Edge)* Ruler/Straightedge (a short and a longer one help) A compass (the drawing tool)
*(You can use a razor or double bevel, but with some caveats to be described later)
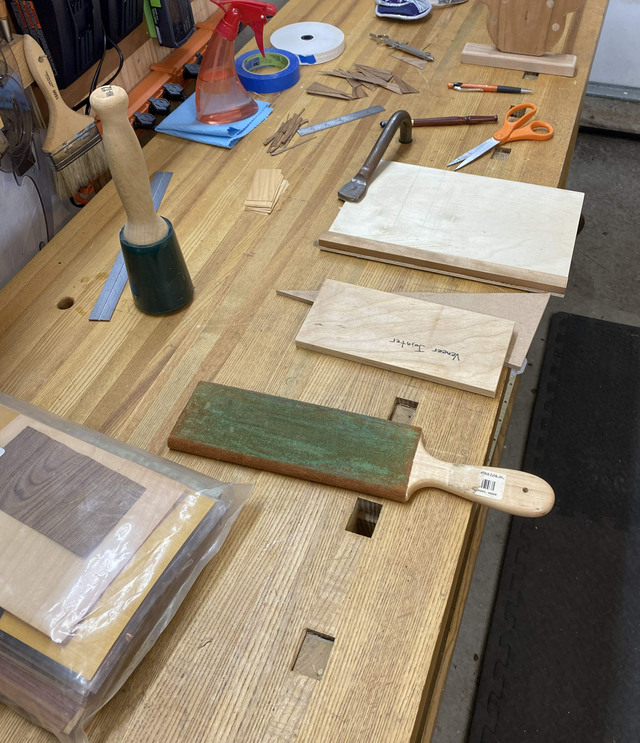
Tools you make: A veneer cutting board. This is a piece of flat ply, with a jointed piece of wood stuck to one side. This eventually ends up consumed and replaced after a lot of cutting, so don't spend any good timer or materials on it. The two important features are a surface you can cut into (ply, mdf etc) and a jointed plane piece of wood glued to it.
A veneer jointer. This is a flat piece of ply with some 180 grit adhered to it. Important qualities: its flat. So I recommend a scrap ply cutoff. I'm sure Lie-Nielsen will come out with a $195 version someday. Until then.... 3M adhesive and ply. DON'T just use your normal sanding block. You want a nice true surface with no give under it.
Your Triangle. While you can use almost anything, I'd avoid a plastic one. You don't want to deface it with a cutting blade, I find they flex more than I want (you'll be using downward pressure to hold the veneer under it in place.) I tend to make a disposable one in MDF for whatever angle we're using. In this case, I'm making a 16 pointed star, so I needed one at 22.5 degrees. You can make whoever many points you want (although in an even number). Just divide by 360.
Materials: Some veneer. I bought a couple of sacks of assorted veneer from woodcraft a few decades ago. I still haven't run through it all. Ideally you want 2 pieces with contrasting yet complimentary colors. Sauers and Company made mine.
Veneer Tape. I prefer the version with holes so I can see the work underneath when lining things up, but it doesn't matter that much.
Blue tape. If you are a woodworker and you don't have any blue tape yet, I'm not sure there's hope for you.
Water. A sponge in a dish, or a sprayer and some paper towels. This is for wetting to apply and remove the veneer tape.
Pretty inexpensive way to add some fantastic touch ups to a project!
Ahhh, finally found someone who makes these "old school" I have gobs of veneer, but only until recently I have been doing just panels with single species, mainly for the great grain and savings over solid wood.
I like the geometric "parquetry" since it encompasses a lot of A&C styles I like to use in my work.
As an experiment with a diode laser I got for my wife to use in her glass work (Really!, ..... well not 100%), I decided to try cutting veneers for some of these designs.
I'm totally inept with cutting veneers that have to join edge to edge. I can do book matching stuff fairly well, but that is straight lines. Small "bits" would kill me. Anyhoo, the laser cut exceptionally well and the precision was welcome. I did one of these compass emblems as an experiment and now I'm Jazzed to go all in. I'll have a box project listed in the next few weeks that incorporated the test panel (hate to see it just lay around the shop).
I admire your results, some fine skills you have in your catalog!