There were just a few things left to complete on the cart before I could get some finish on it.
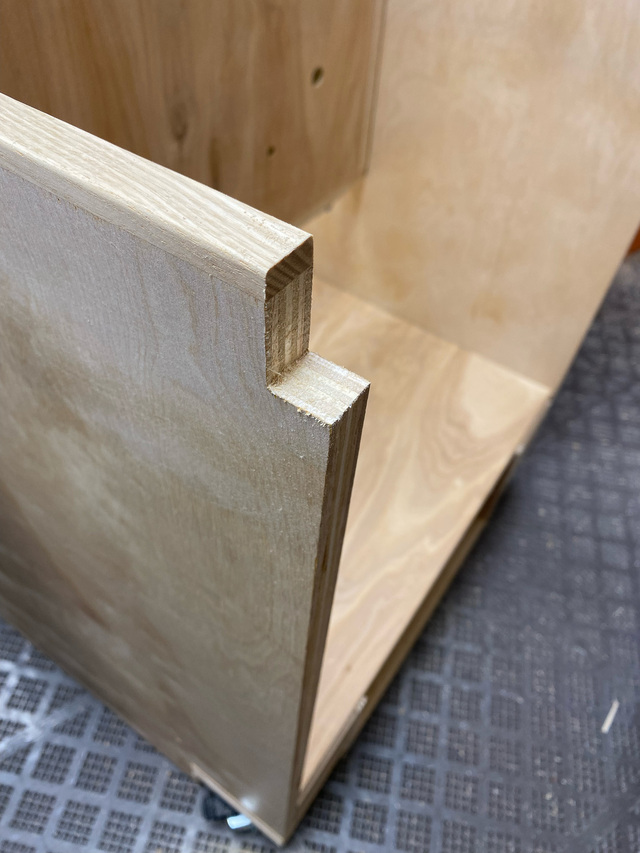
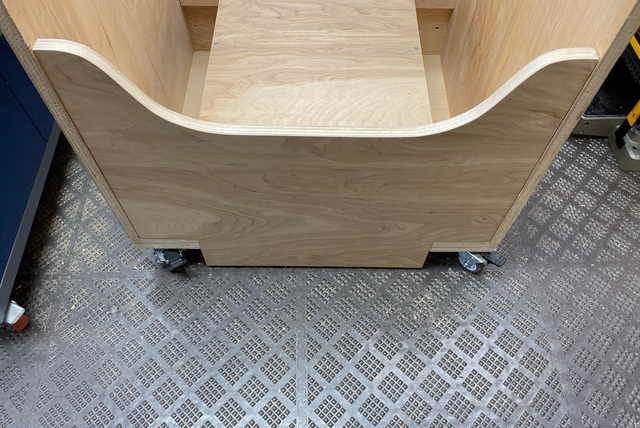
Each top corner on the sides received a notch to accept the stops on the platform. I cut them with a pull saw and then fine-tuned the shape with a rasp.
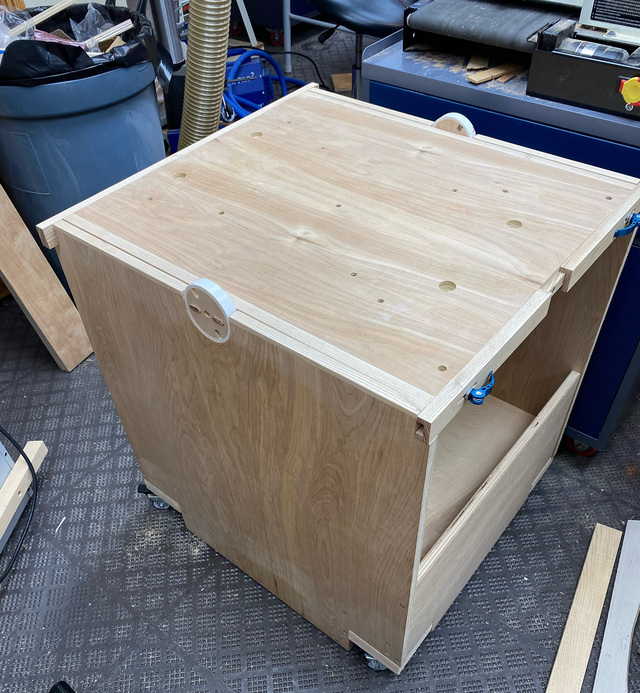
With the notches done, I could install the platform.
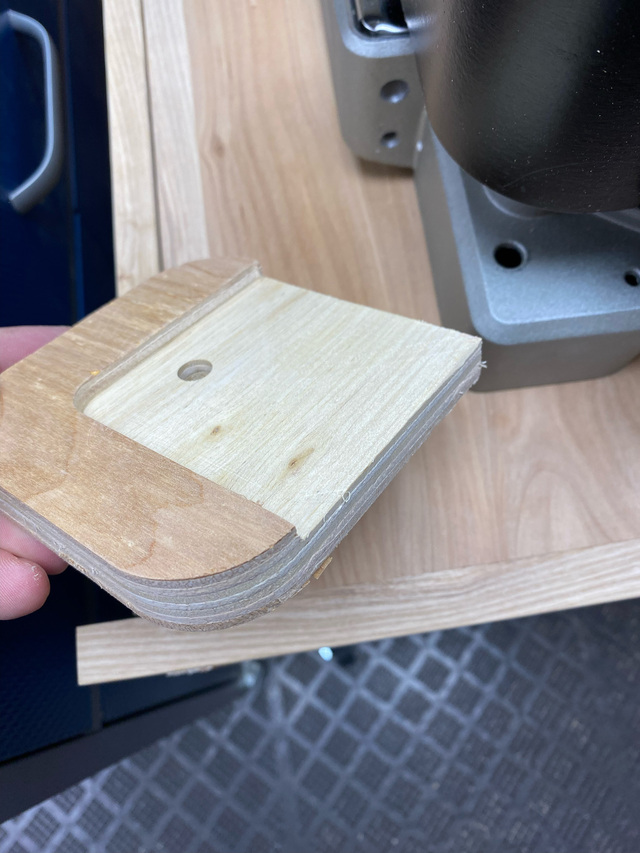
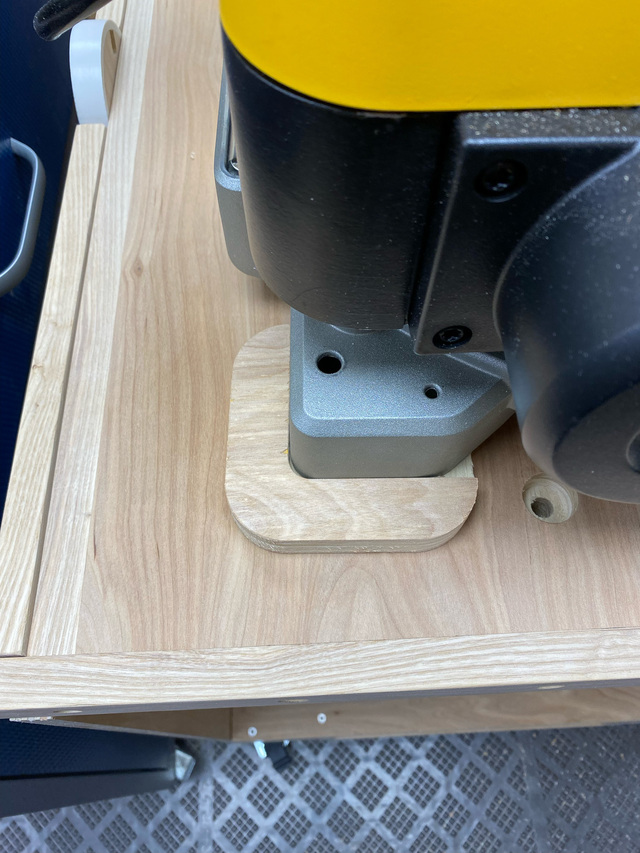
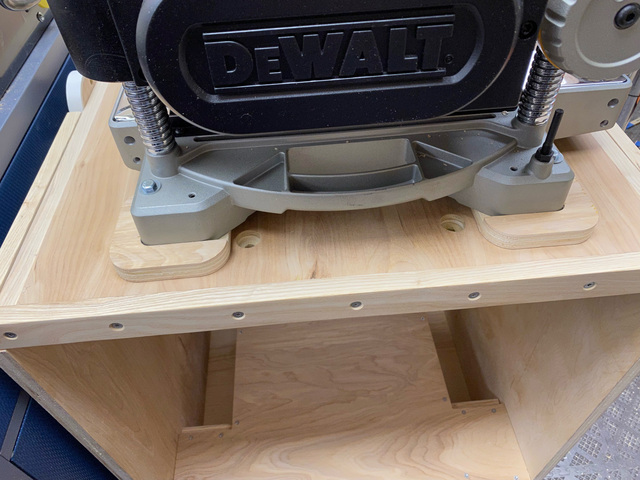
The bed of the planer is 1/2" lower than the bed of the drum sander. In order to maintain a consistent outfeed height for both tools, I made some spacers for the corners of the planer to shim it up 1/2".
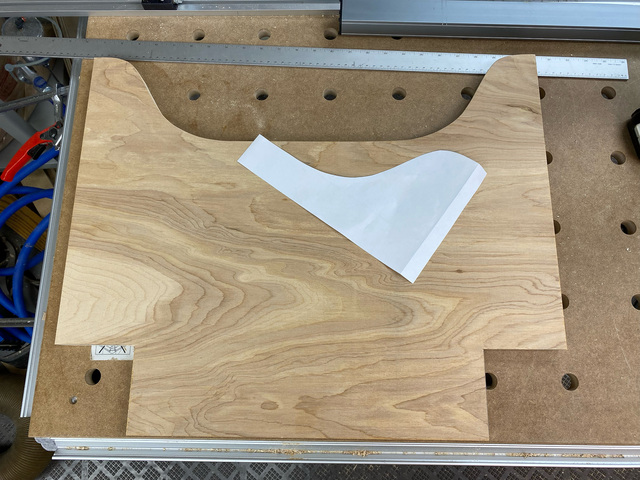
Finally, I cut out a new back piece with extended wings to maximize the stability that it provides.
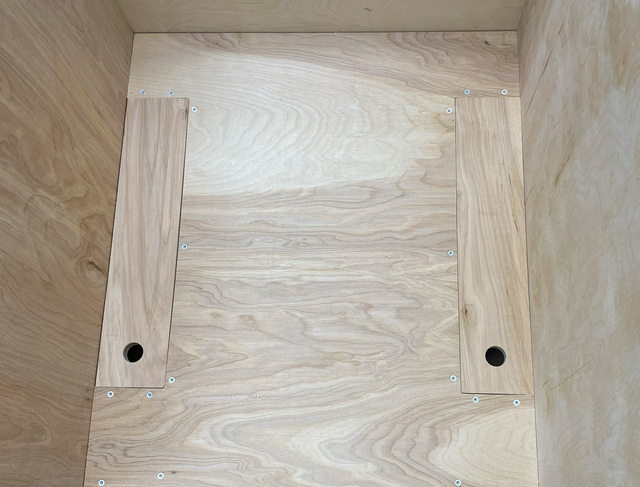
I cut a couple covers for the cubbies.
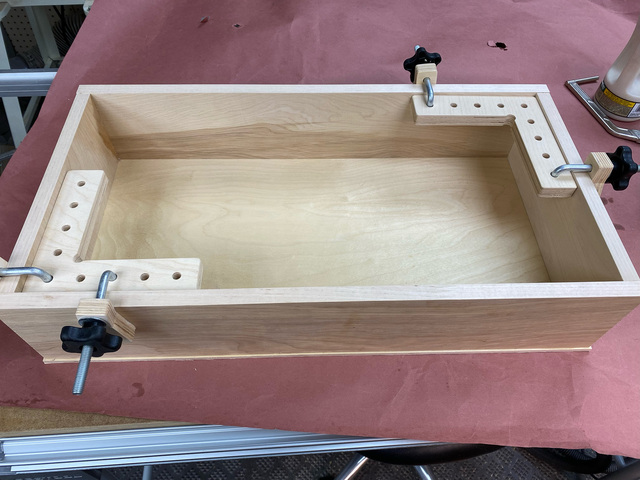
And finally, I assembled the drawer. The bottom was cut oversized and was flush-trimmed afterward.
In the next post I'll wrap it up with some finish and get the tools mounted.
Looking good, and a great idea using the plywood shims, easier than build a cabinet the exact height needed to match other surfaces in the shop. I tried to keep all of my tabletops at the same height to use others for a run out.