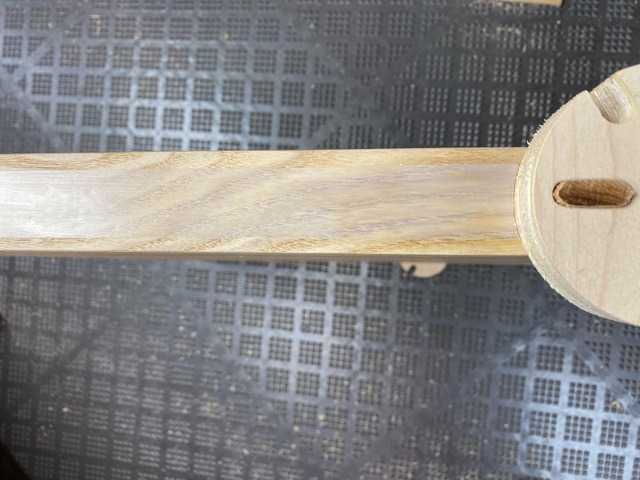
To wrap up this project, I decided to apply some ash on most of the exposed plywood edges.
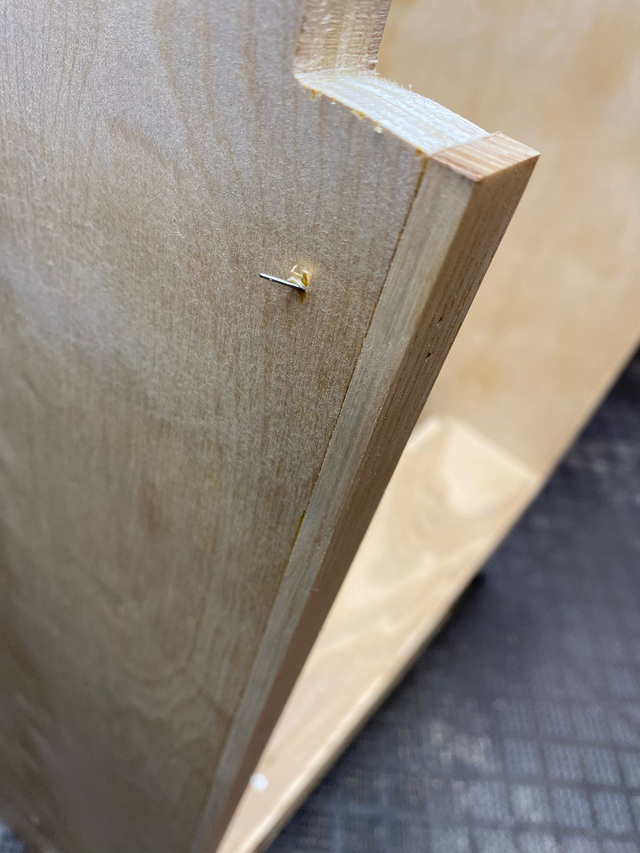
And of course, no good deed goes unpunished. This was quickly fixed by snipping-off the pin nail as close to the surface as possible, burying the stub using a nail punch, and applying some wood filler.
The temps were in the low 50's over the weekend, so I took the cart outside and sprayed on a few coats of matte poly.
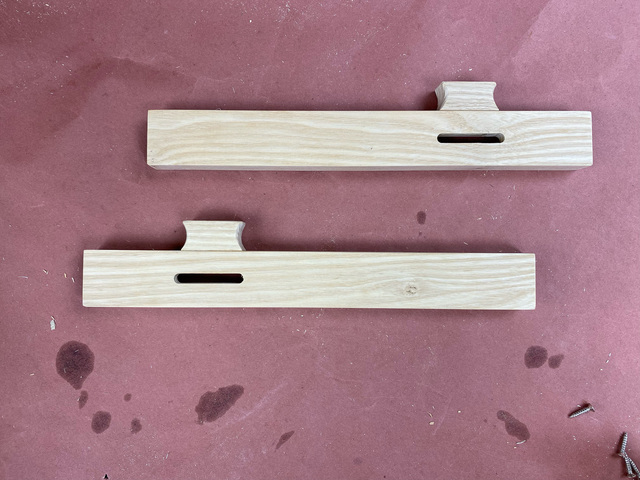
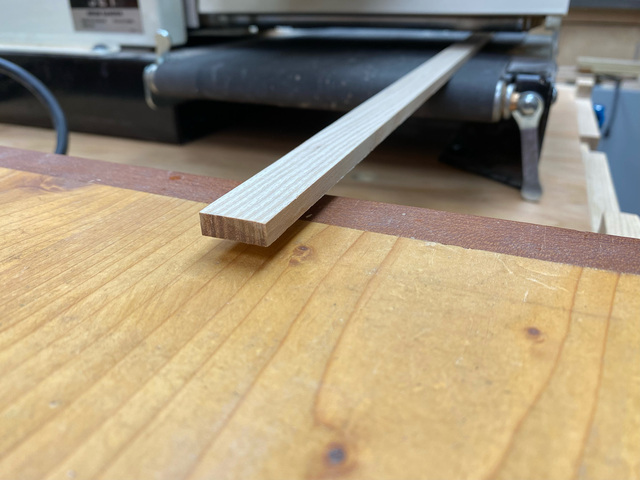
For the sliding stops, I glued-on a little finger-hold to aid in sliding them. I wasn't sure if a knob on the side or the face would be best. I'll give this a try and see how it works. I can always cut it off and try something else if I don't like it.
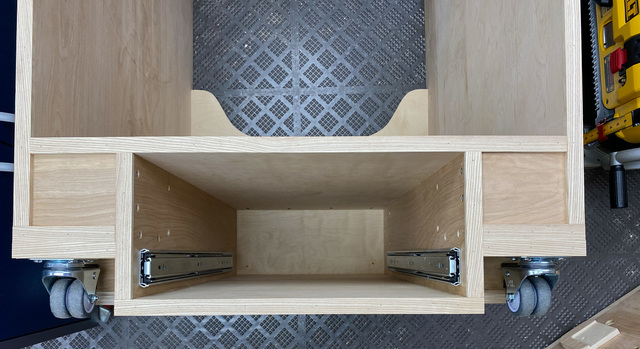
I applied some anti-friction tape on the sides of the platform to make sure that it rotates smoothly.
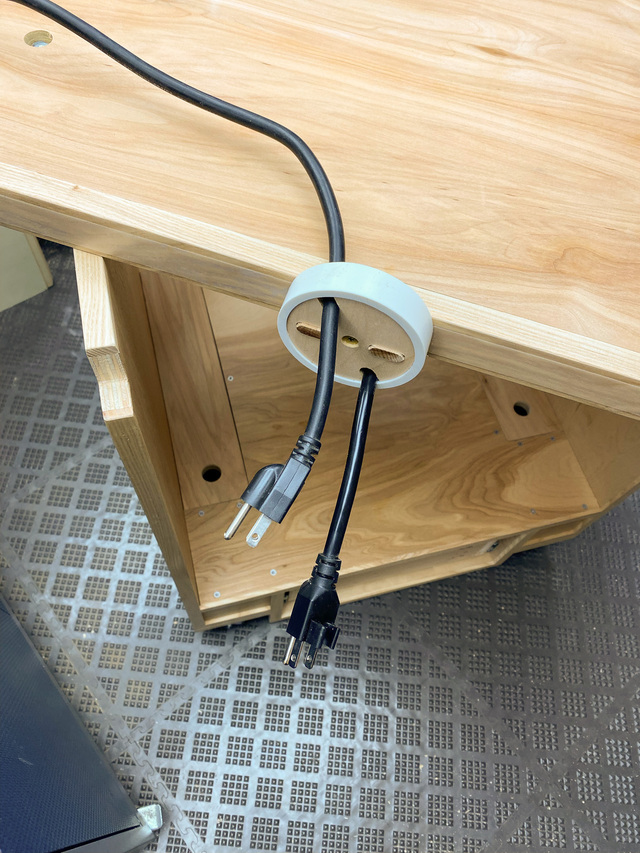
Time to mount the tools. With both tools close-by, I could route the cords through the hub before setting the platform in place.
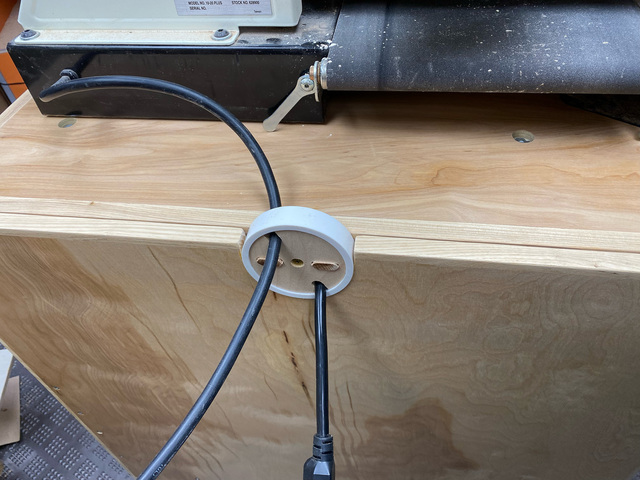
The drum sander gets mounted first.
With it secured, I could rotate it underneath and attach the planer. Checking the outfeed height of both tools over the edge of the workbench.
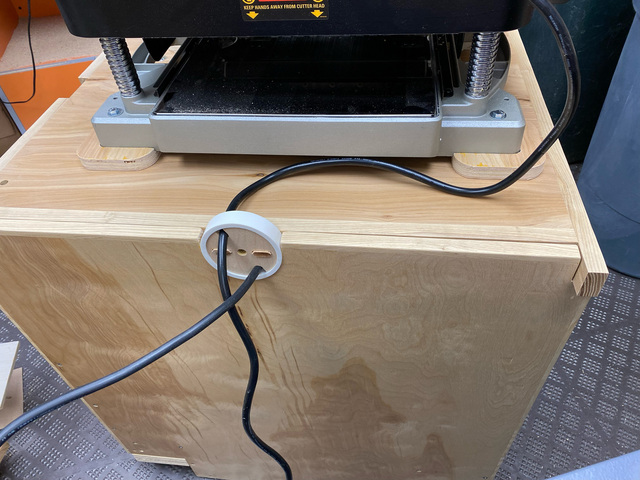
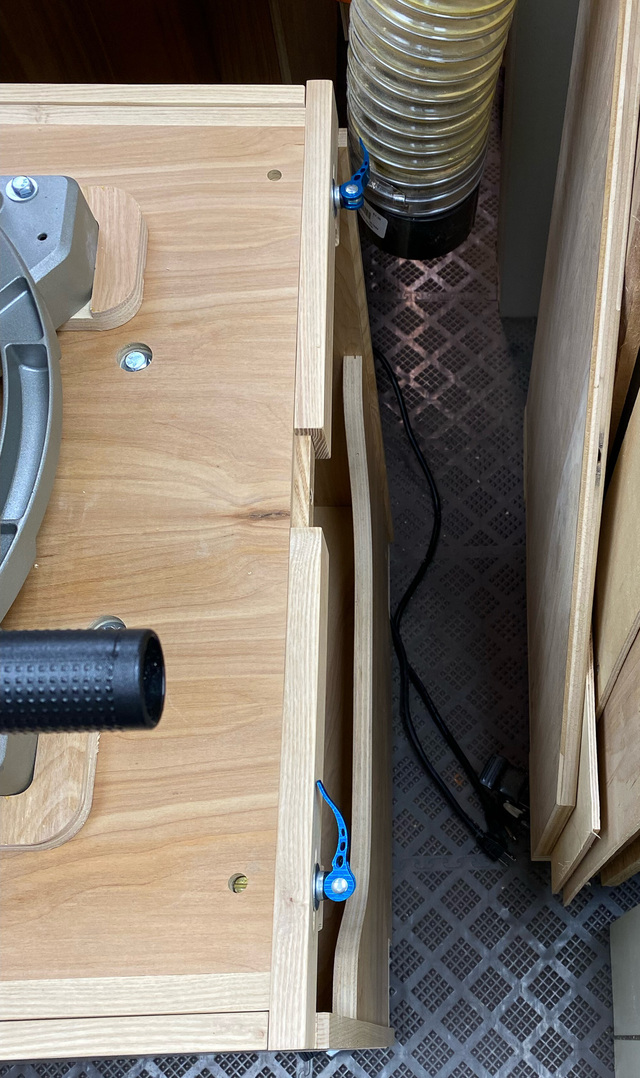
It doesn't take much clearance on this end to rotate the planer in/out.
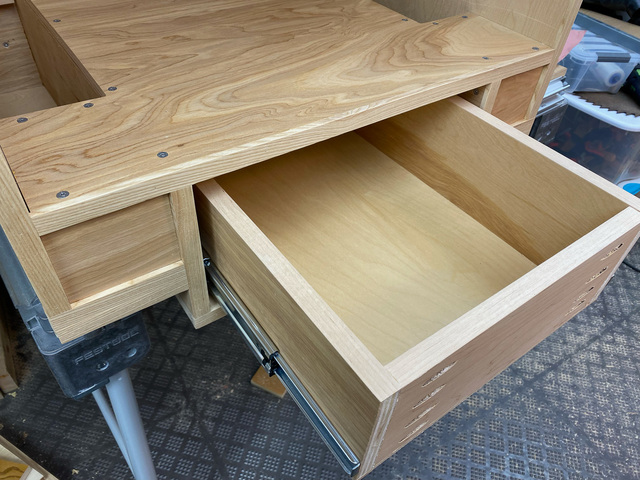
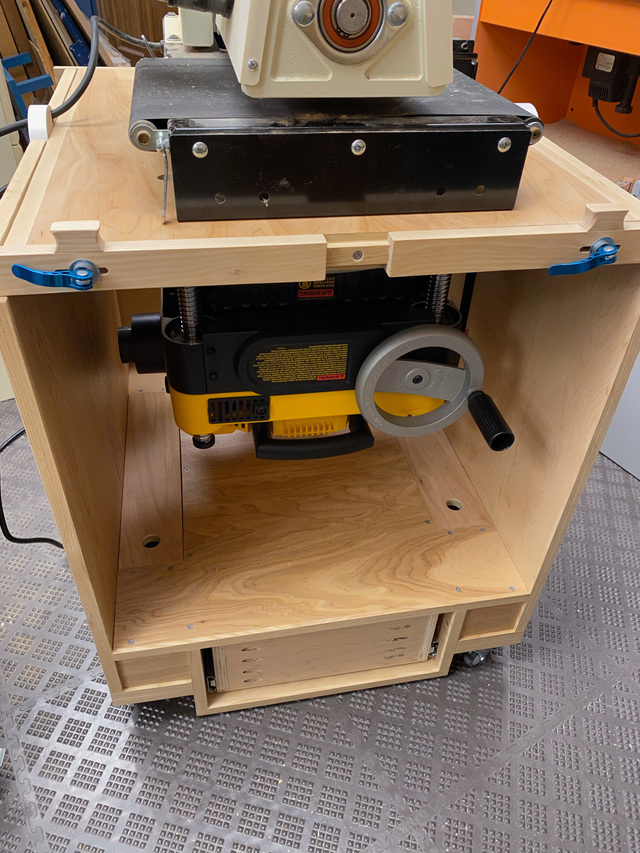
And that mostly completes the cart. I still need to add a drawer front and work out the details for the folding infeed/outfeed stands. But other than that, I've got a working flip cart.
That turned out well. Given the cart’s height, you should be able to make some nice, long (in/out)feed tables. I bought the short tables that attach to that planar, and I always have to supplement with roller stands, which is a hassle.
Nice! Such a great configuration for a number of tools that size, just need to be sure you don't need them both at the same time (but your setup would make that an easier swap)!
Thanks, guys. I'm anxious to see how it works in practice. The only issue with using the workbench for outfeed is that my bench is normally pretty crowded with tools, etc. I'm hoping that situation will improve as I make more tool holders for the french cleat installation. And I need to be more rigorous about putting my tools away instead of just laying them back on the bench when I'm done with them. ☺️ Baby steps.