Share your craft projects
Make new craft buddies
Ask craft questions
Blog your craft journey

SplinterGroup
8606 posts
and
67 followers
in over 3 years
in over 3 years
More from SplinterGroup
Cat-Bits Build #3: Final Solution
Well, I'm bored already and decided it is time to end this!
Again, apologies for the fubar'd format, never could get the blog posting format to work right (maybe next time!)
Links to Parts 1 & 2:
Again, apologies for the fubar'd format, never could get the blog posting format to work right (maybe next time!)
Links to Parts 1 & 2:
I left off last time with four framed panels, now time to go 3D.
With stub tenons on small frames, there are limits to joining them at their corners.
I want "clean" looking joints at the top where they can be seen so aside from placing some caps, a miter joint is the easy solution.
Problem is keeping the integrity of the frame sides intact with the panel protruding into the cut if I just lop off the sides with a full 45 deg. pass.
The 1/4" thick panel fits into a 1/8" deep groove on the 1/2" square frame styles.

With a full miter, the integrity becomes compromised.

Those little (non-cat) bits are going to fall off. Even if I only cut the groove 1/16", they'd still be weak.
The solution is to move the miter out a bit with the bonus that it leaves a nice channel to attach a spline or even a leg.

So the cutting is begun.
.jpeg)
Another groove is crosscut along the centerline of the lower rails to fit a bottom,
This is then dry assembled (top down) to check the fit and square before committing the glue.
The cat pairing shown is rather bland, next time I'll go for more contrast.
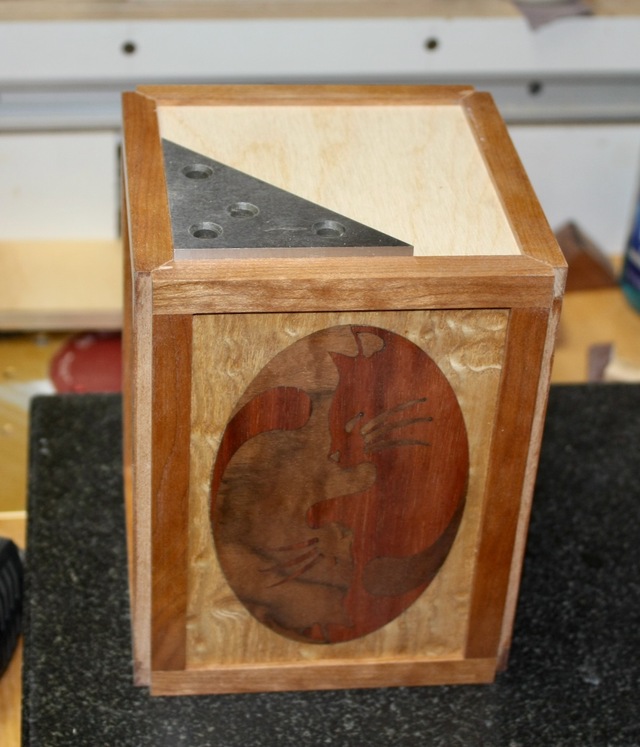
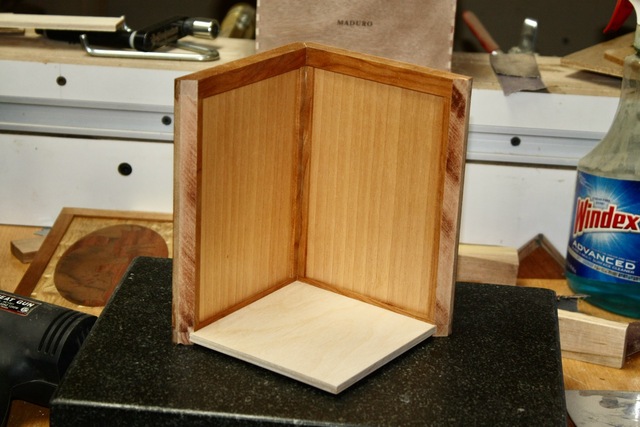
One corner glued, squared, and let sit for an hour to set up.
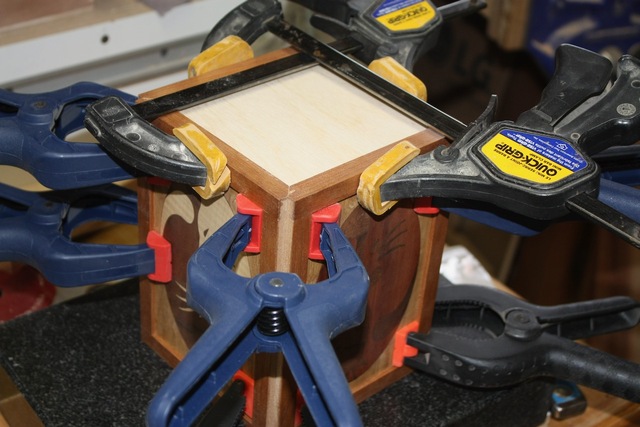
Remaining sides glued and clamped, With the recessed panels, these spring clamps work great to hold the corners together.
Box now set, what to do with those corners?
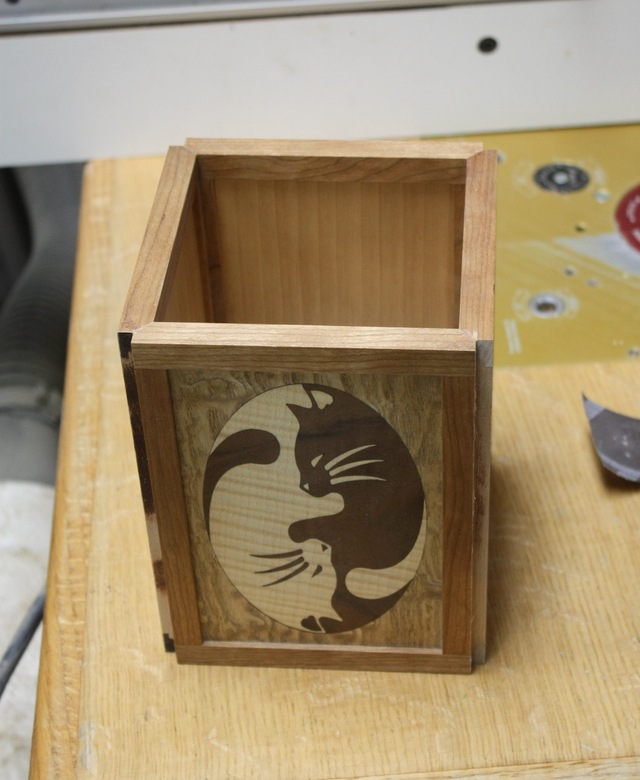
I decided I'm just going to add legs and make another doo-dad flower pot thingy.
Here are some "W" grooves cut into 3/4" walnut. I use my box joint blade set at 45 degrees. It takes a few test cuts to get the depth and spacing correct to fit. After grooving, I profilie a slight curve with a router template and give everything a 3/16" radius router treatment.
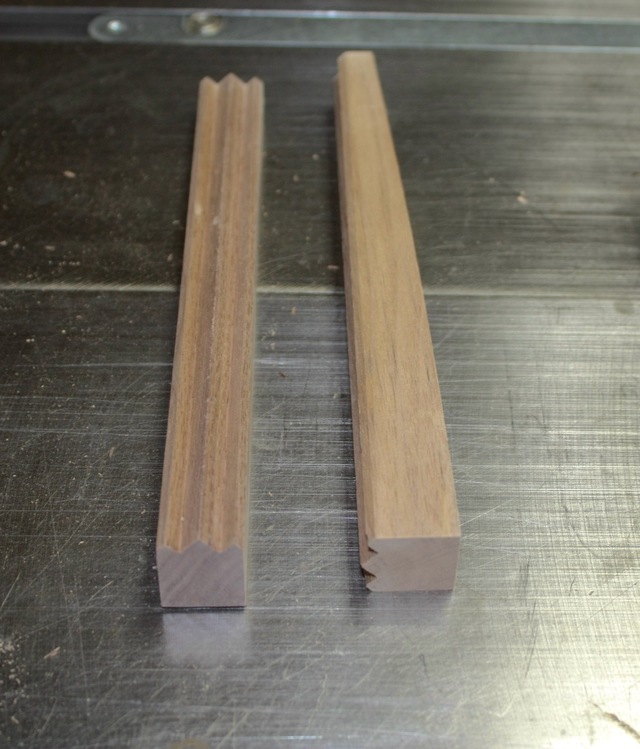
Nice thing about this is that the legs are long-grain glue ups that also reinforce the miters.
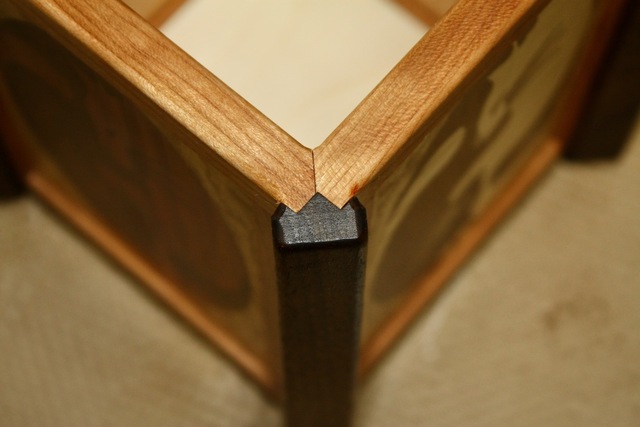
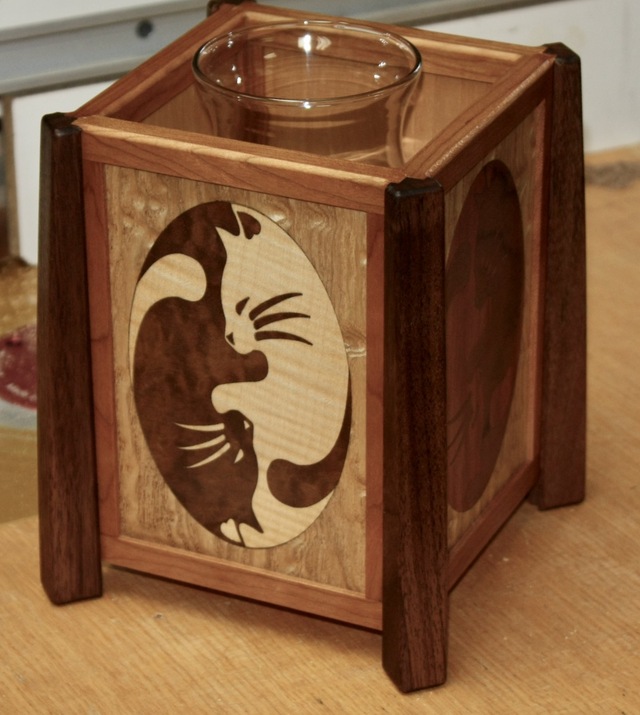
All assembled except for the finish. I'll probably MinWhack it with some satin poly.
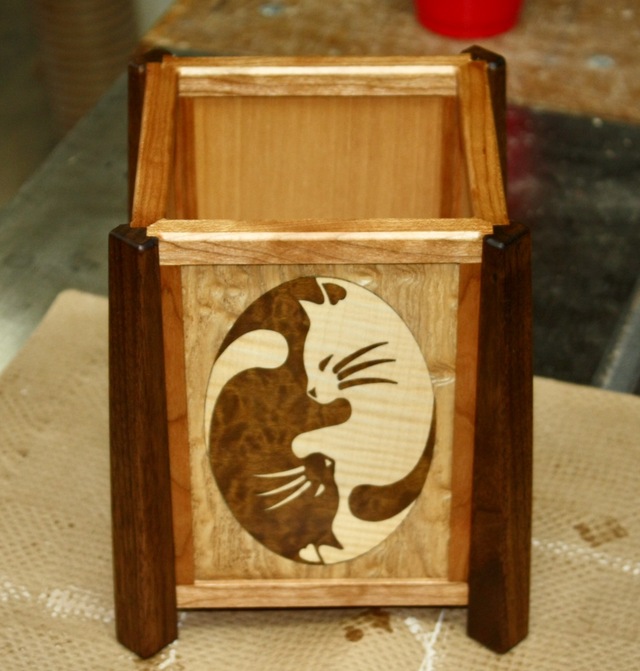
Add a glass vase and call it macaroni

The curly English Sycamore/Pommele Eucalyptus pair look good, the darker pair looks meh. Lesson learned!
Thanks for reading along!
7" x 5", walnut legs, cherry frame, Tamo ash background for the cat-things.
8 Comments
Very nice Splinter, the legs add to the project nicely. A great combination of wood that is playing well together.
Main Street to the Mountains
The leg treatment is great, and it adds an attractive unexpected detail to the top rim. Cool project.
Wow! I didn't know you are making a box, cool. I also like how you did the legs!
No name noobie here
Okay - its unanimous - everyone likes your legs😀
And a good way to put those panels to use. Nice project!
And a good way to put those panels to use. Nice project!
Nice legs, indeed, Splint. Rowr!
May you have the day you deserve!
Meow!
Thanks fellows!
I was thinking of a center pull out ("X" shape to fit the corners) that had shelves in each quad for a multi-level pencil holder. Then I woke up.....🙂
Thanks fellows!
I was thinking of a center pull out ("X" shape to fit the corners) that had shelves in each quad for a multi-level pencil holder. Then I woke up.....🙂
Catnip for everybody, nicely done.
Ron
Certainly taken it to another level Splinter!
If your first cut is too short... Take the second cut from the longer end... LBD


