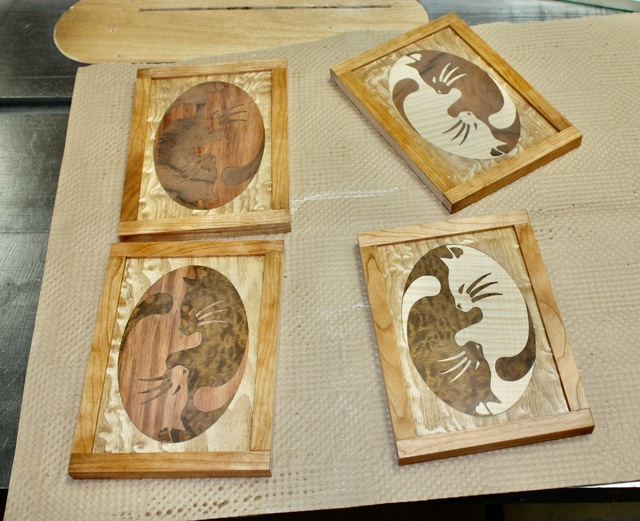
Anyhoo, the panels from part #1 are filled and ready for framing.
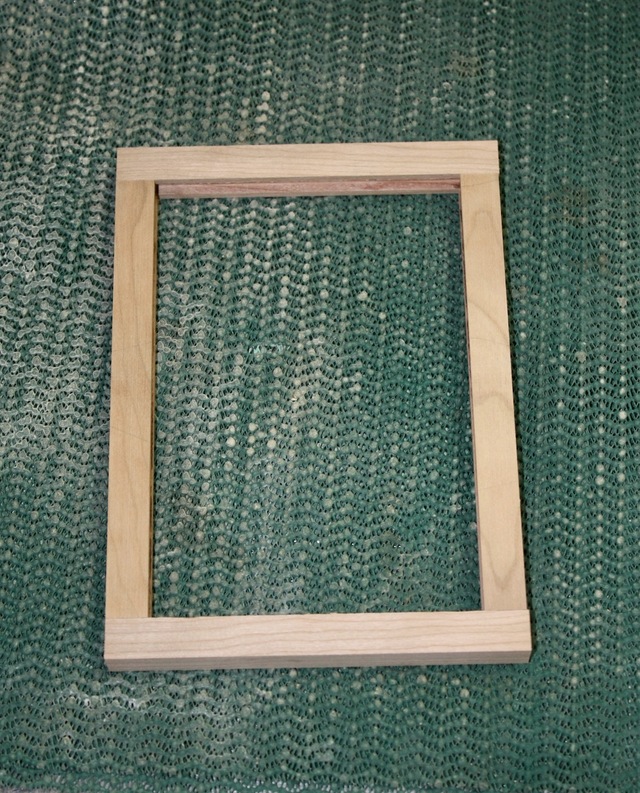
Frame will be cherry, I selected a cutoff that had some nice red color, hoping that the frame parts will take that color on eventually and of course all match one another.
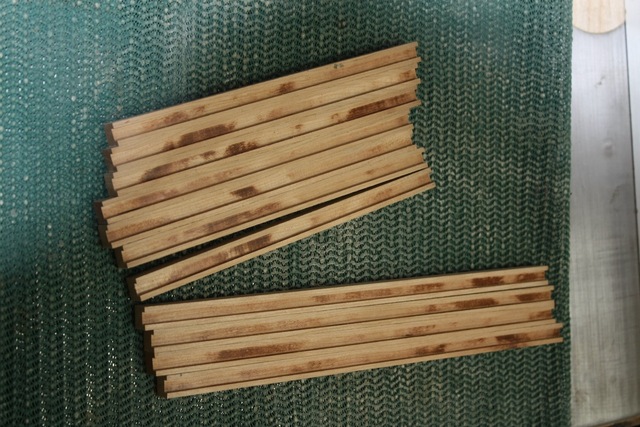
Stock cut to square and precisely sized to 1/2" x 1/2" on the drum sander.
Short sticks are for the sides, long sticks each provide top and bottoms.
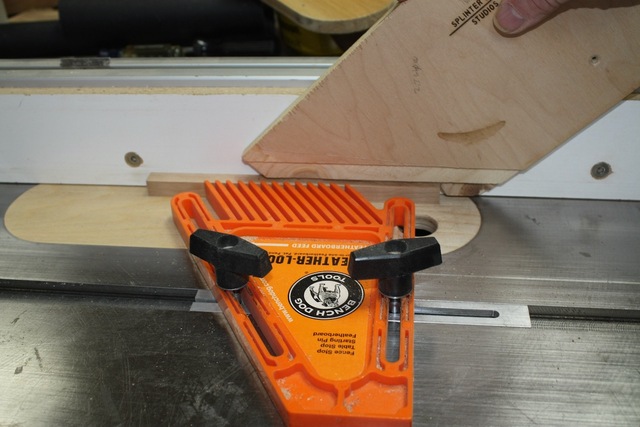
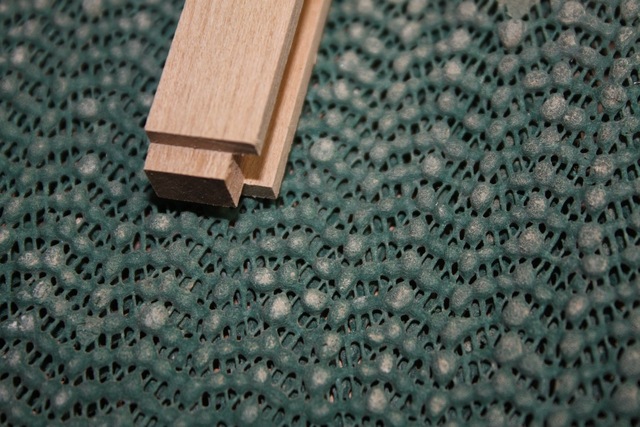
First thing is to do is cut the panel grooves, box joint blade set is ideal for this. Need 1/4"+ wide and 1/8" deep so I cut the initial 1/4" wide groove with the 1/4" blade set dead center on a test piece, bump the fence to get the groove perfect for the panels, then make a pass, flip, make another pass. Feather board keeps things consistent.
Cherry does like to burn a little!
One thing I really like about this box joint blade set (Freud) is I can use it to do regular cross and skimming rip cuts with very clean edges. Saves a blade change.
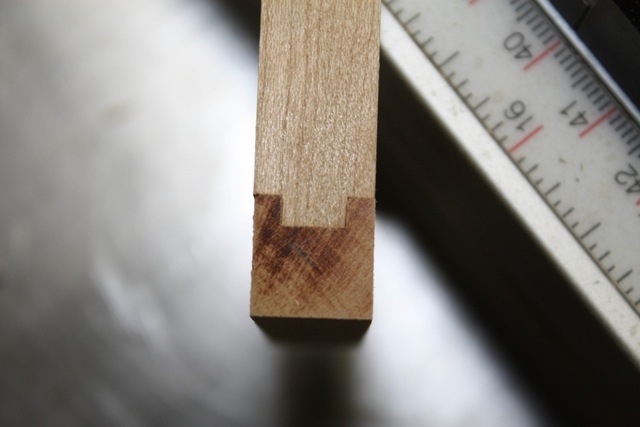
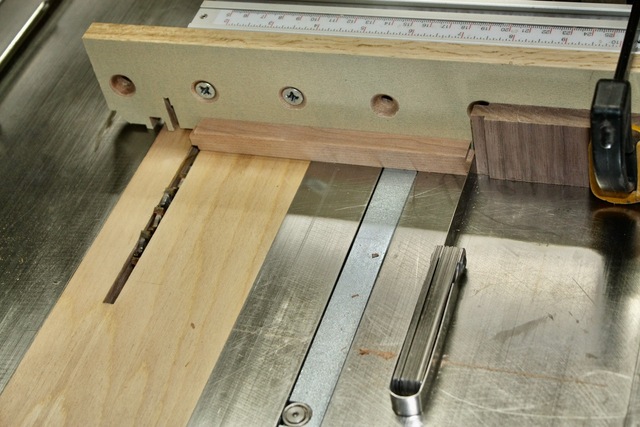
Cut to length and a stub tenon cut on the styles. The rails run the full width so the frame joint will be hidden.
To dial in a great depth fit of the stubs I cut one shallow, measure the difference, then use a feeler gauge against my miter fence stop to make the fit perfect. Clean & crisp cuts with the box joint blade:
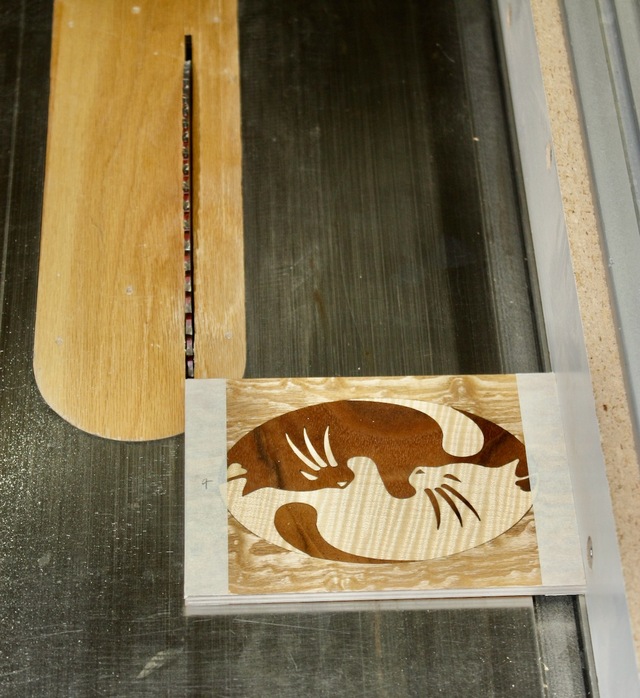
A spot check to determine the dimensions the panels need to be trimmed to
80 tooth blade back in, tape (both sides) keeps the veneer from chipping and since the panels have an initial finish the tape also keeps the panel from dragging on the saw top and scratching.
Long sides next.
Glued up and cherry has a coat of danish oil. Pre-sealing the panels keep them from soaking up any oil.
Letting them cure out until next weekend when I hope to get more assembly done.