I'm in a small town and small towns have distinct groups of people who like similar things. One of the primary objects of affection are birds and catering to these groups can help spur sales of otherwise typical wood projects. Birds are tough to incorporate, too many small bits to efficiently add to a project without looking really lame. It takes real skills to make birds look like they should and trying to achieve that goal would eat up too much of my time.
This is an attempt to break into the underworld of "cat people", those who can't pass up on something with cats as a theme.
Enter the misappropriation of LBD's work and the design of Steve Good LBD explains his process and has better prepared the design for laser work. He also offered access to this work so I downloaded a PDF for another one of my experiments.
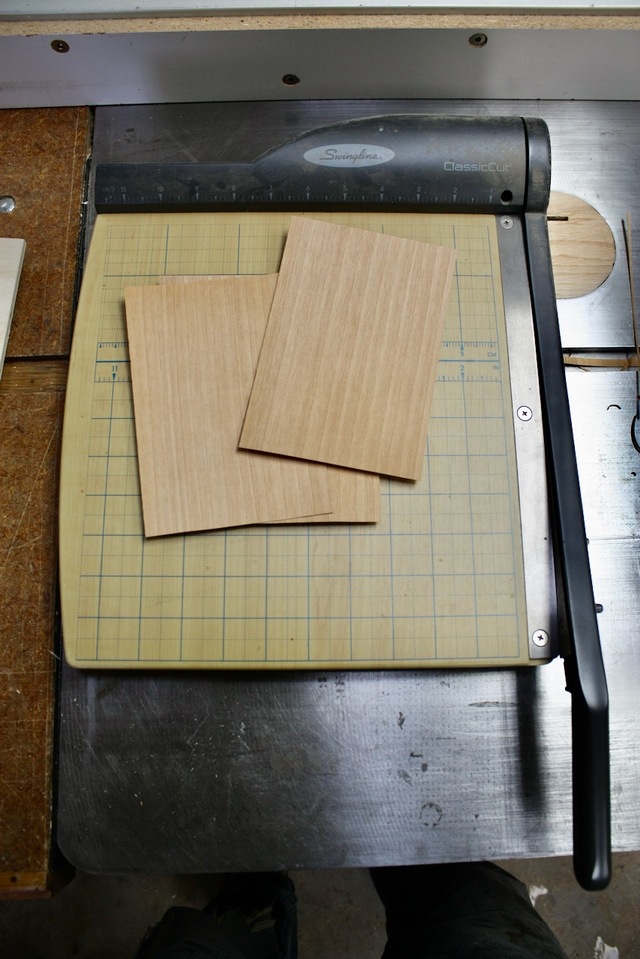
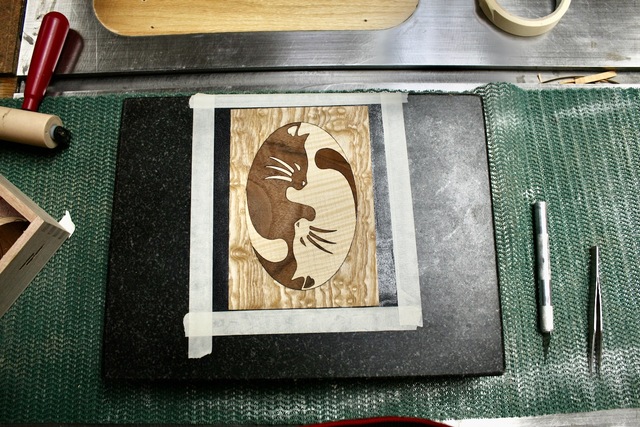
This needed to be distorted to fit on a 6"x4" panel as part of a project I had in mind to build. I needed four panels and planned on using up some of my smaller pieces of veneers to play with various color combos.
The shapes are not symmetric and there were some anomalies when laying this out in LightBurn for the laser, but I just fiddled a bit to get it to cut, not really caring about compensating for the laser kerf and other small details. There is always going to be a second go at this type of stuff so I can do all that some other day.
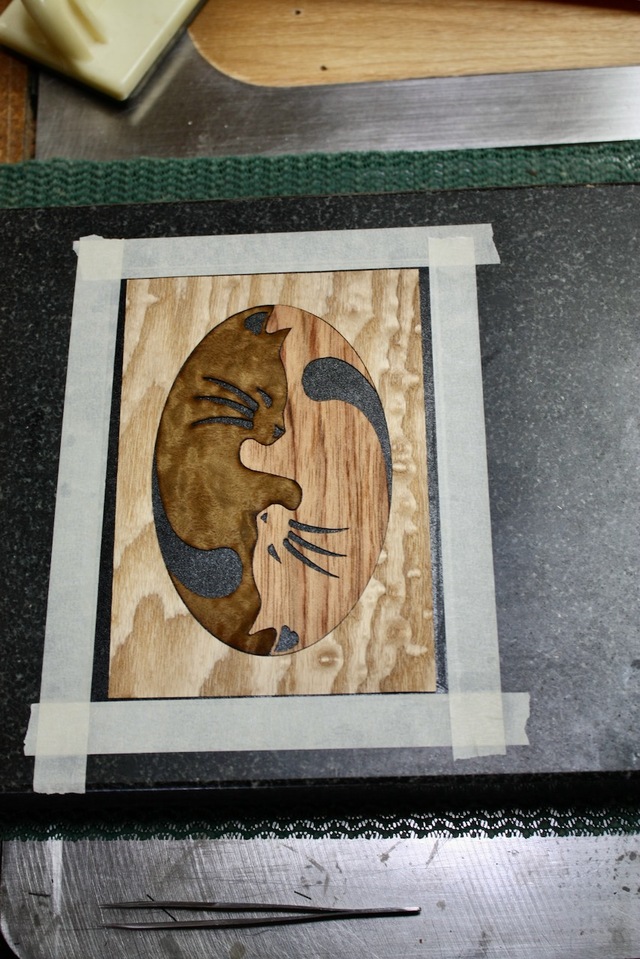
Anyhoo, Cut a bunch of cat bits out and had them (mostly) sorted as to where they needed to go.
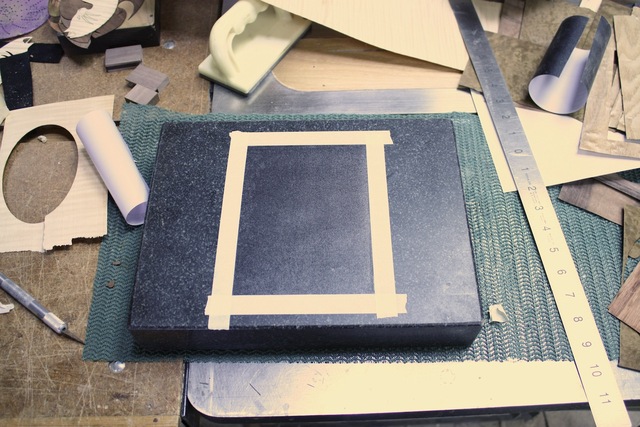
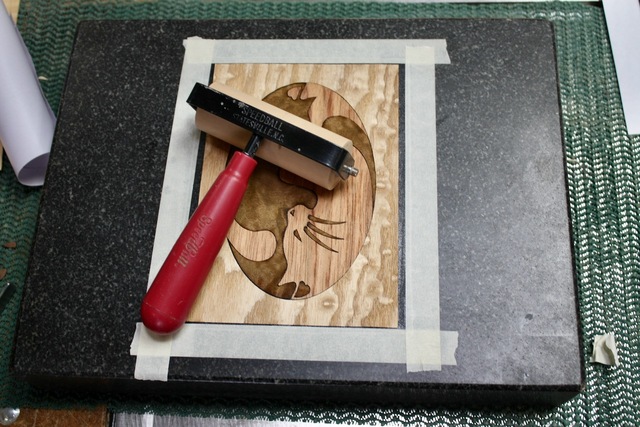
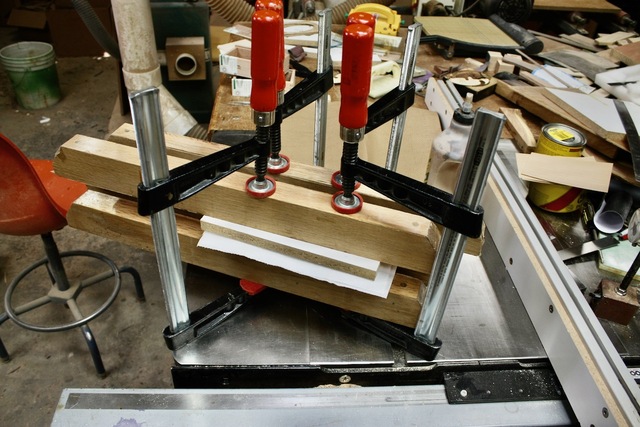
Step 1: Lay out a piece of standard black shelf paper onto my work platform (granite surface plate), sticky side up.
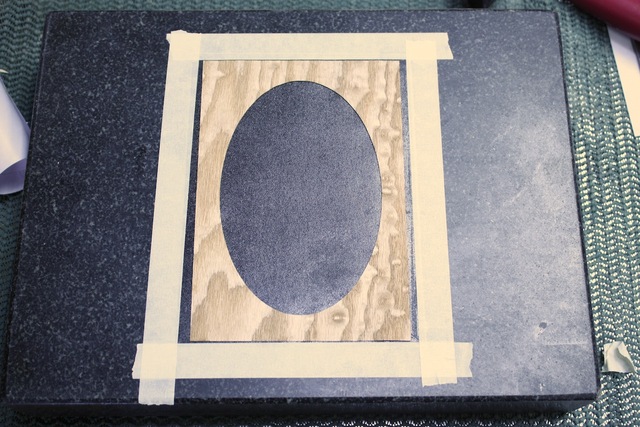
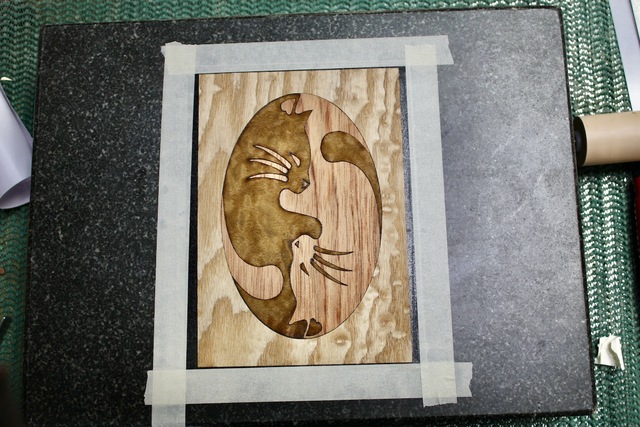
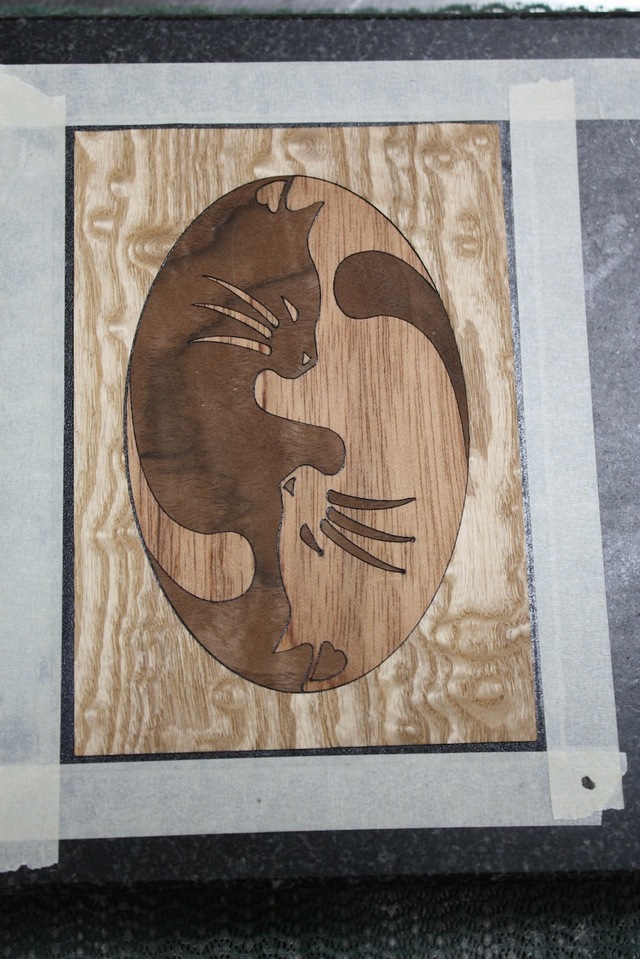
Step 2: Begin the assembly of the cat(s), frame first (Tamo Ash)
Step 3: Insert the cat-bits, using a Speedball 4" ink pad roller to stick all the parts to the shelf paper. Tweezers are a must! The bits are two veneers, one is pommele eucalyptus, not sure what the other is.
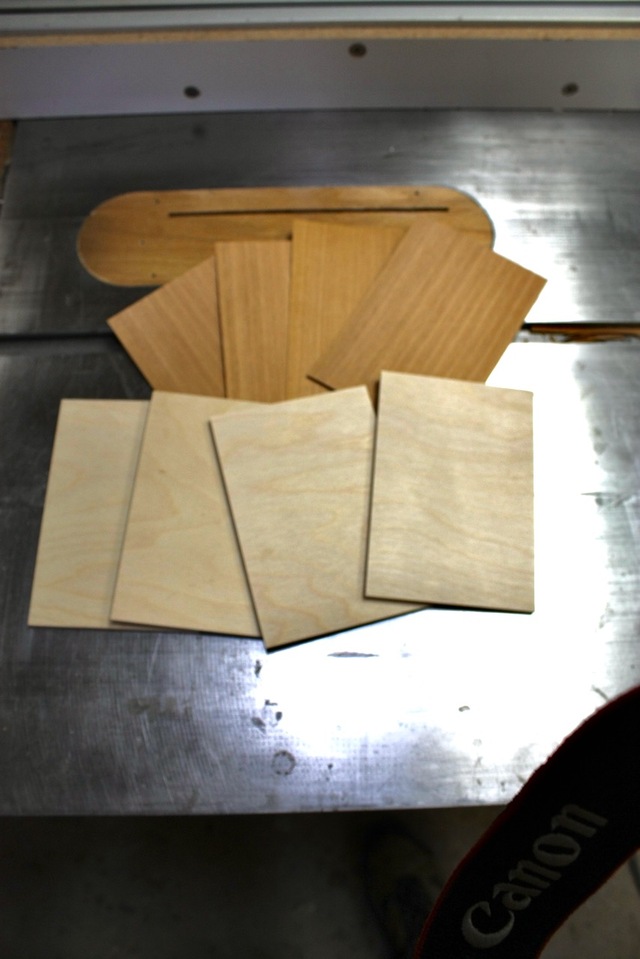
Step 4: Cut some Anigre for backer and some 1/4" BB plywood as the panel interior.
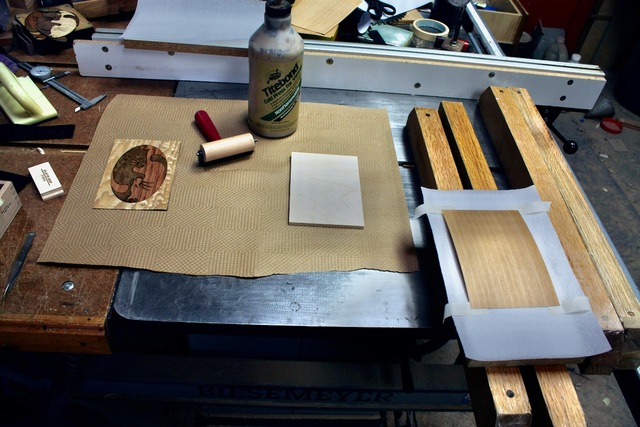
Step 5: Roller now becomes a glue spreader for the veneering. I liberated the shelf paper from the surface plate and with it keeping all the cat-bits in place, prepared to apply some "Cold Press" glue to the BB plywood on the first side. The backer veneer is resting on the lower caul (3/4" melamine) with a paper towel in between. Tape is ready to wrap around the panel to keep things from sliding around. Glue on plywood, plywood laid onto the backer, glue applied to the exposed side of the plywood, cat panel set on top (shelf paper side up).
Step 6: This panel is small enough to just use some clamps and cauls to press it out. I let it sit in the clamps for about two hours, the shelf paper will be peeled off in a day to allow the glue to fully dry.
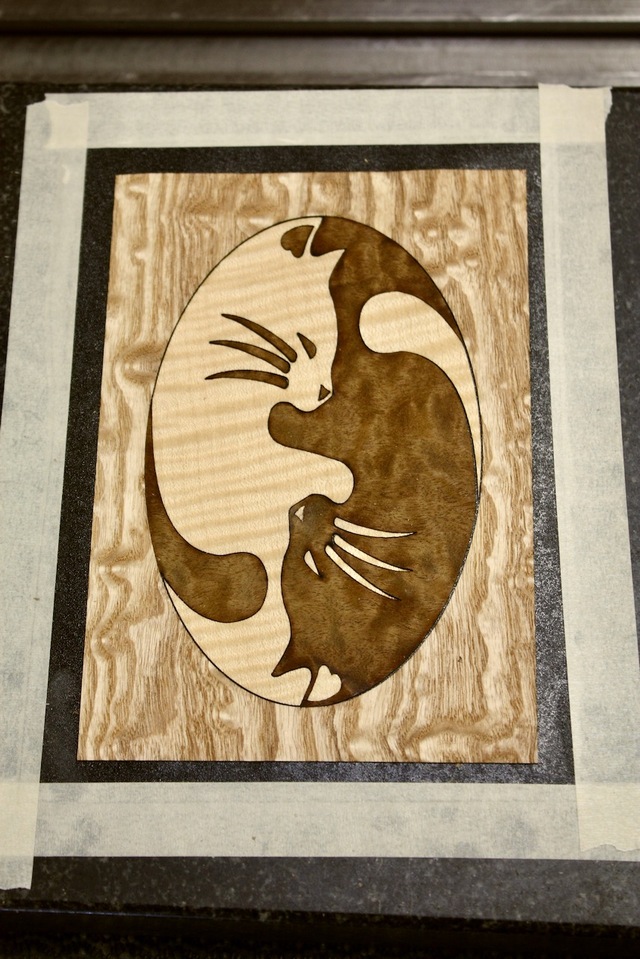
The three remaining panels were made of different veneers for different cats. What cat person limits themselves to just one?
Marble Walnut/Curly English Sycamore
Marble Walnut/mystery wood
Curly English Sycamore/Pommele Eucalyptus
Next part should get into the framing and build up.
They look great! I know I not going to talk you out of the laser in favour of a chevalet but for marquetry you really should look at animal glues (hot hide, liquid hide, fish glue, etc) They have real advantages.
The early bird gets the worm but its the second mouse that gets the cheese.
Paul, excellent points on the alternative adhesives, probably worth the checkout when I progress past the simple small panels. I'm a bit stuck in the mud, heck, I still curse myself when trying to beat the working time clock on PVA while trying to assemble a 4-sided box joint whatever. Keep thinking LHG would have made this so much easier, then I forget 🤔
With the laser, or more specifically the software, there are a gazillion "knobs" to tweak to get gapless fits and to make a cut from an image file. I need to discipline more and make those tweaks before I just go for it and create a part. The hardest thing in my mind is deciding on what to make.
Working out fine Splinter. Was the oval shape accidental or on purpose.
What ever it was it looks great, and more in sink with the shape of cats.
I showed them to my cat and she wanted to know what are those cats up to and ran into my empty beer box. Now she’s the keeper of her Coors Light House.


.png)