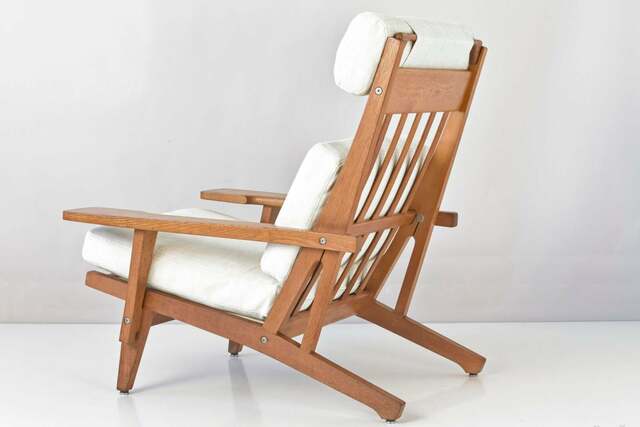
In the summer of 2022, I started a project to replace the skirting around the perimeter of my deck using 5/4 pressure-treated decking. After the project was completed, I was left with a bunch of scraps of various lengths. I thought I'd see if I could build some deck chairs with the leftovers. After looking at various types of chair designs, I settled on modeling one after Hans Wegner's GE-375 lounge chair (example below).
The design has large, flat armrests that I think gives it the look of a modern Adirondack chair. It's also a knock-down design, which I thought would make it ideal for winter storage. In addition, multiple chairs (should I have the focus to build multiple) can be grouped together to form a sofa, with arms attached only to the end chairs.
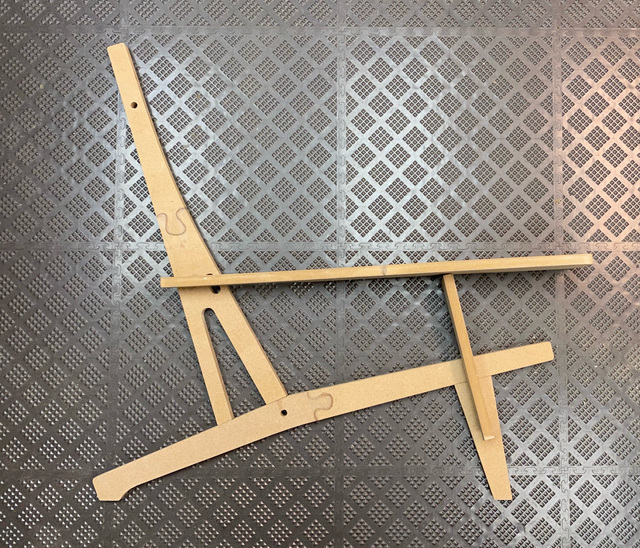
Entitling this blog series "Wegner-Inspired" is a bit generous, when what I really did was try to replicate the design as closely as possible. Still, Wegner provided the inspiration, so I went with it. With the aid of a lot of online images of the chair, I worked out some vectors for most of the parts and started making the required router templates on the CNC.
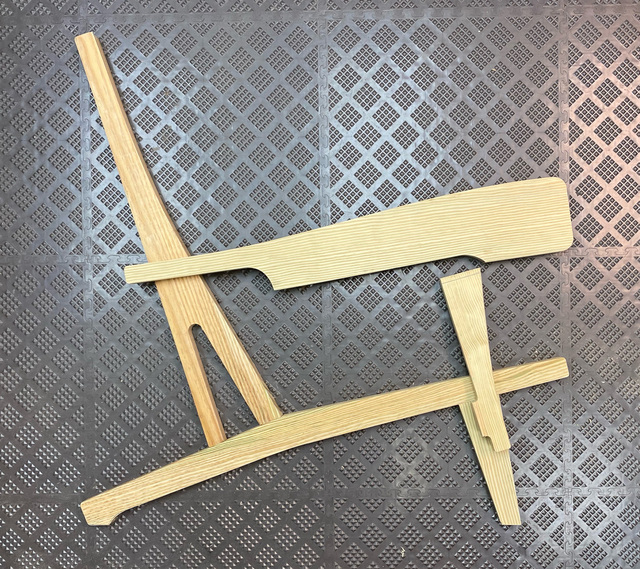
The bed of my CNC is relatively small, so for the longer templates, I puzzle-pieced them together.
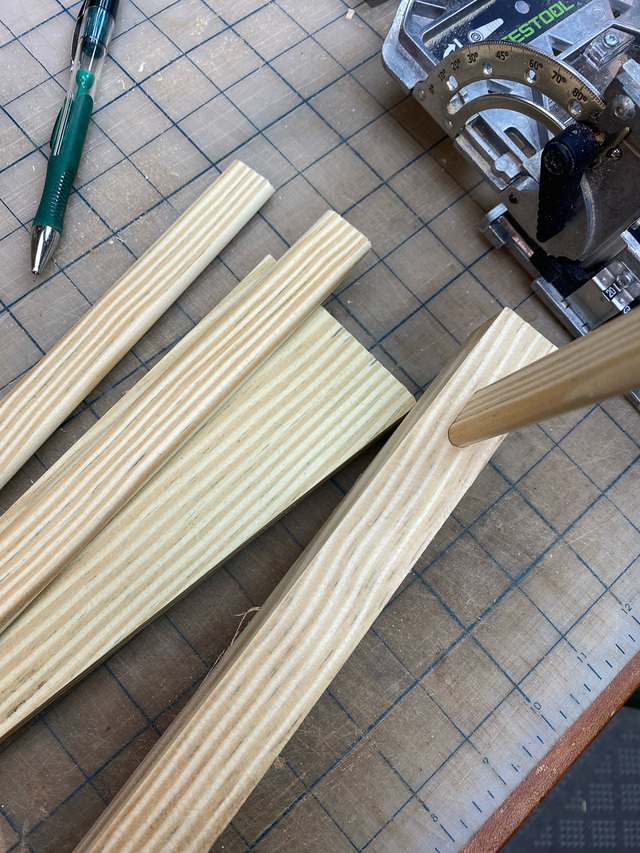
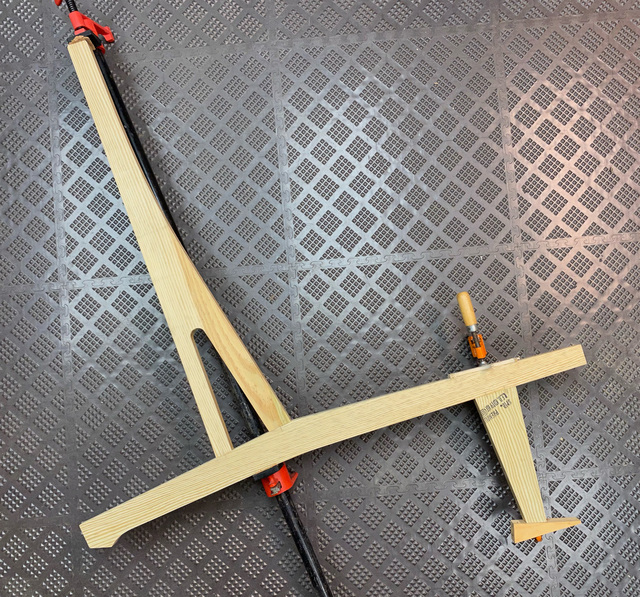
Here's one set of pieces cut using the templates. A double-bearing compression bit is just the thing to get a smooth finish. I left the arm support piece slightly long so I'd have some wiggle room working out the angle where it attaches to the bottom of the arm.
I used treated-lumber to create some 8mm domino stock for the side assemblies.
The first side glue-up:
My original intent was to use the MDF templates to trim the pieces to final shape at the router table, then switch to a handheld router with a pattern bit to create the bolt head counterbores and some of the mortises. However, while testing I found that it was too easy to damage the template when the handheld router tipped just a little. So I switched gears and started creating a set of jigs for cutting mortises with a guide bushing instead.
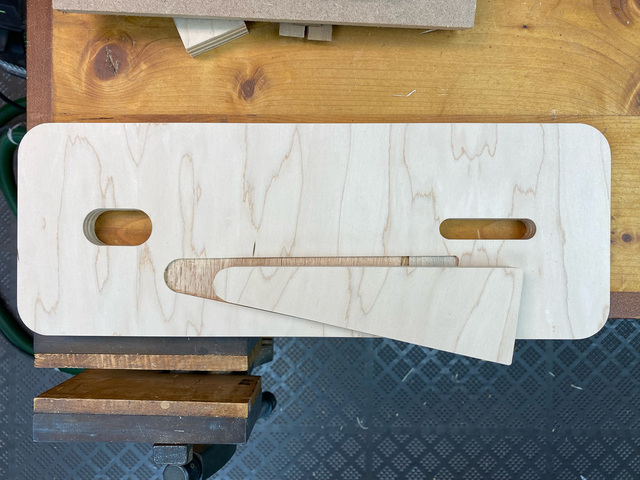
This jig is for the inside of the right side assembly to cut mortises for the seat stretcher and the middle-back stretcher. The triangular piece gets glued into the jig recess, and that indexes the matching triangular hole in the side assembly, which locates the router slot in the proper location.
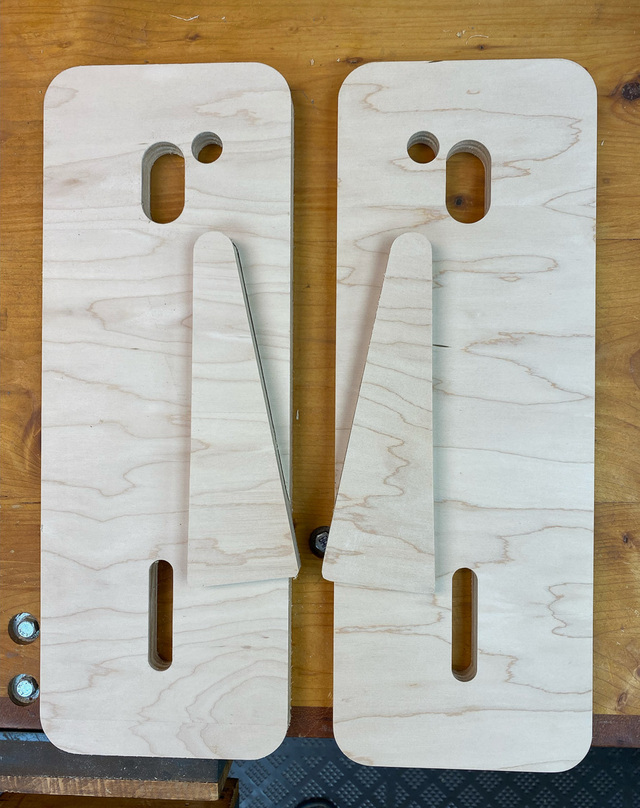
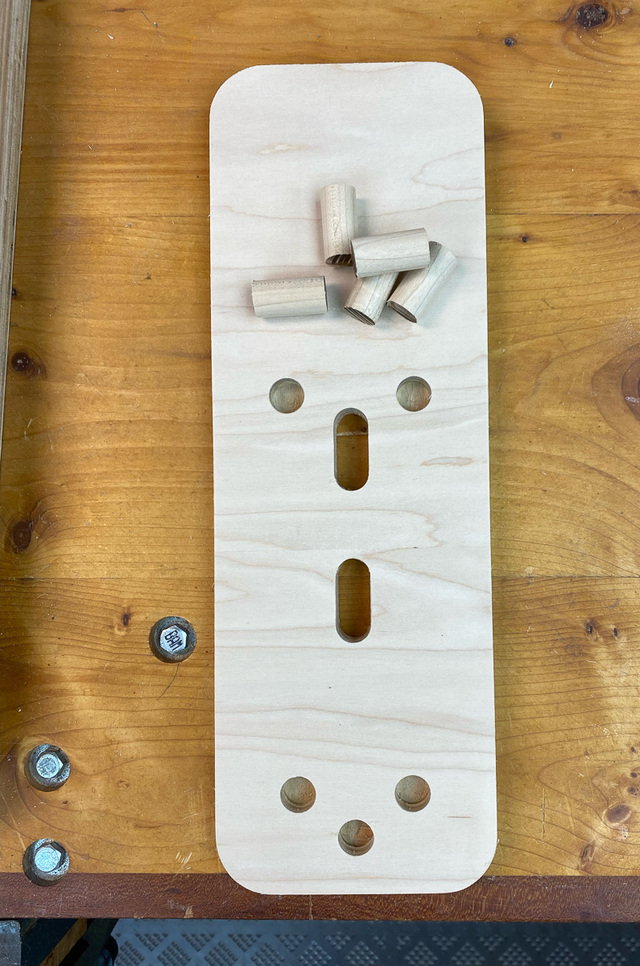
Completed left and right jigs with an additional third hole, which is to create the hole where the rear of the arm attaches to the upright.
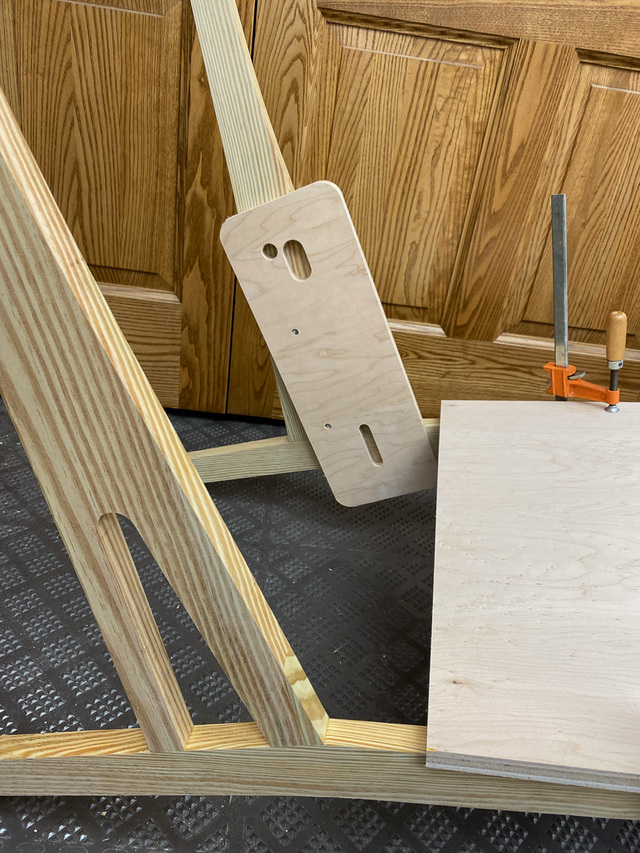
Here I'm just verifying the fit of the template and mortise locations on both side assemblies.
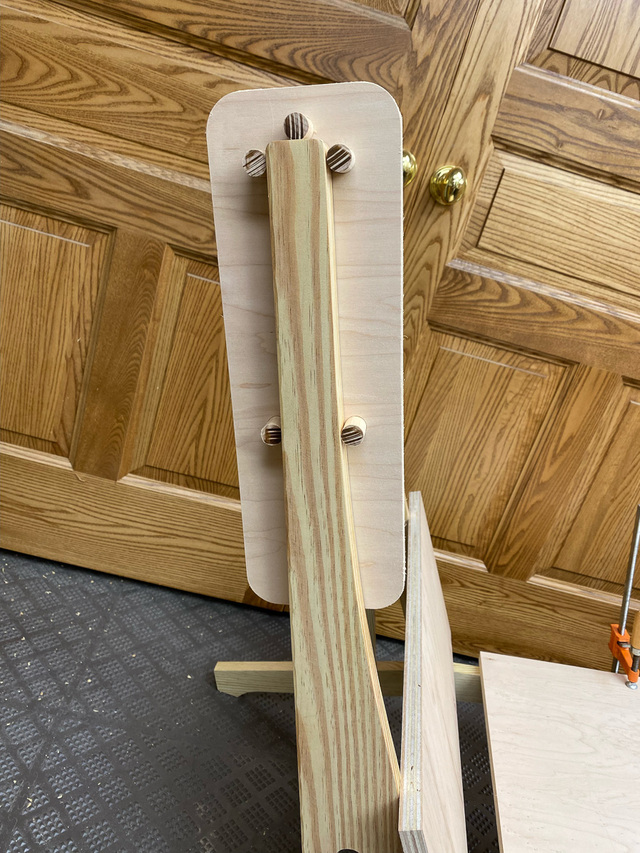
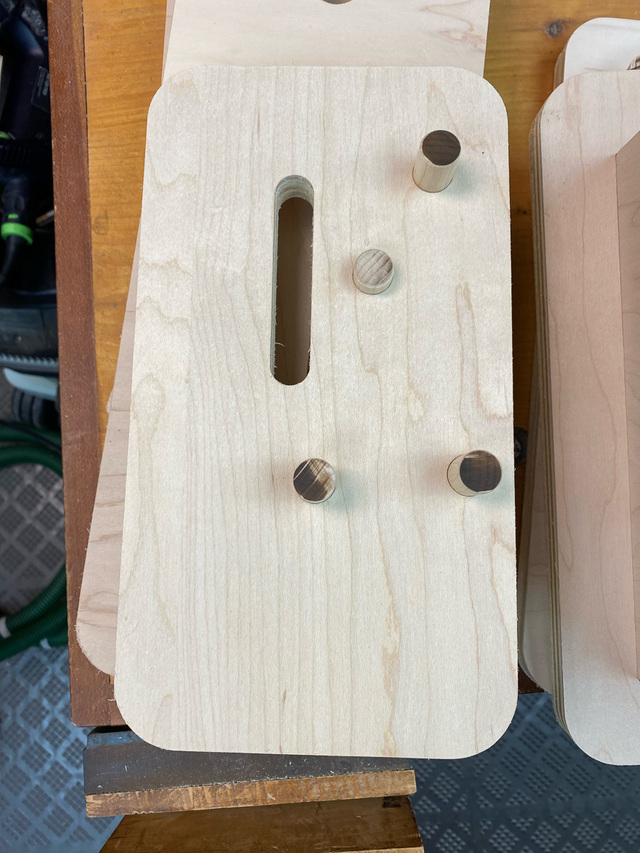
This router jig is for the mortises in the uprights where the top-back stretcher attaches to the sides. The same template can be used on both left and right sides. I use dowels to locate the template in the correct position at the top of the uprights.
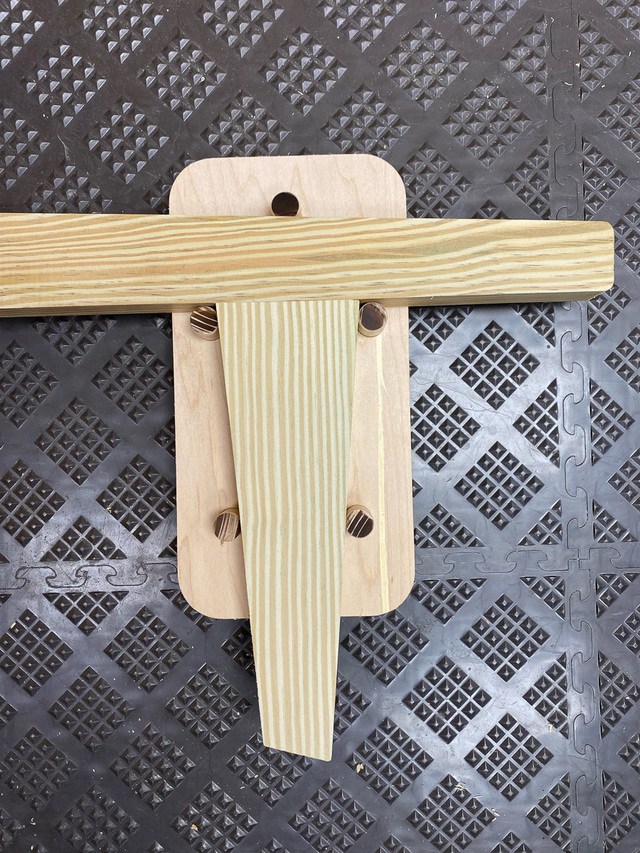
This jig is for the front leg mortise for the front stretcher:
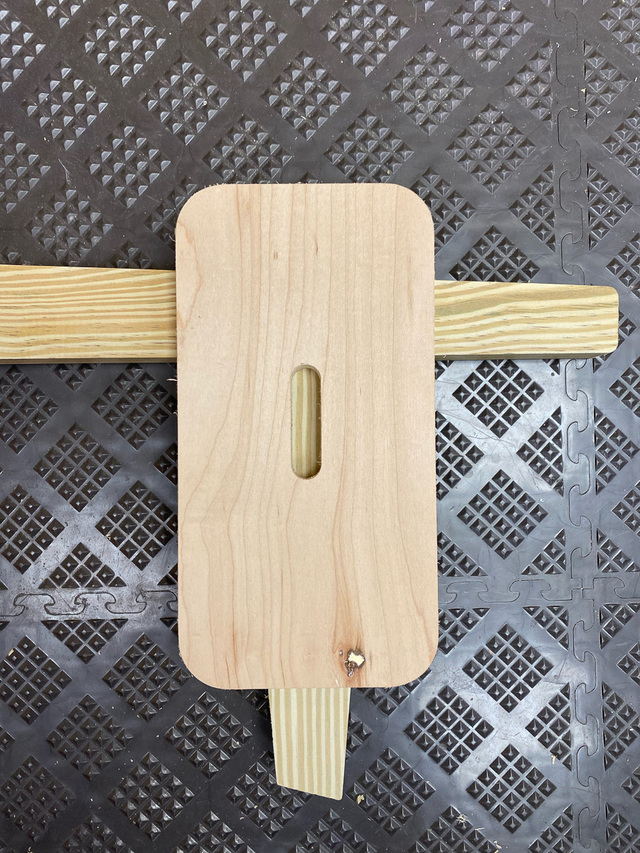
The final side assembly router jig is for cutting the 1/8" relief slot at the top of the triangle in the upright. The dowel locator holes go entirely through the template, so I can shift them from one face to the other for routing both side assemblies.
That's a good start on the templates. Time to put them to use.
Hell RL, the timber you use for your templates are better than those in my exotic bin.
have to admit I like to use a similar method cutting templates (out of MDF) on my laser and "dovetailing' them together to get length greater than my laser bed (600mm).
If your first cut is too short... Take the second cut from the longer end... LBD
I love the precision of all your parts, templates and of course the entire build processes.
The dowel-aligned templates are a cool idea, especially making them function for both sides. I've always either just clamped the template in place to route (very oversized template body) or placed the template and them glued on the alignment blocks and waited for those to dry.
If you decide to mass-produce, you're all ready to go!
The dowels worked well. They allowed for a very snug registration of the jig on the work.
I'm getting ready to make the 2nd chair, and was refreshing my memory of the process by looking at my LJ posts. I thought it was a good time to migrate them here.