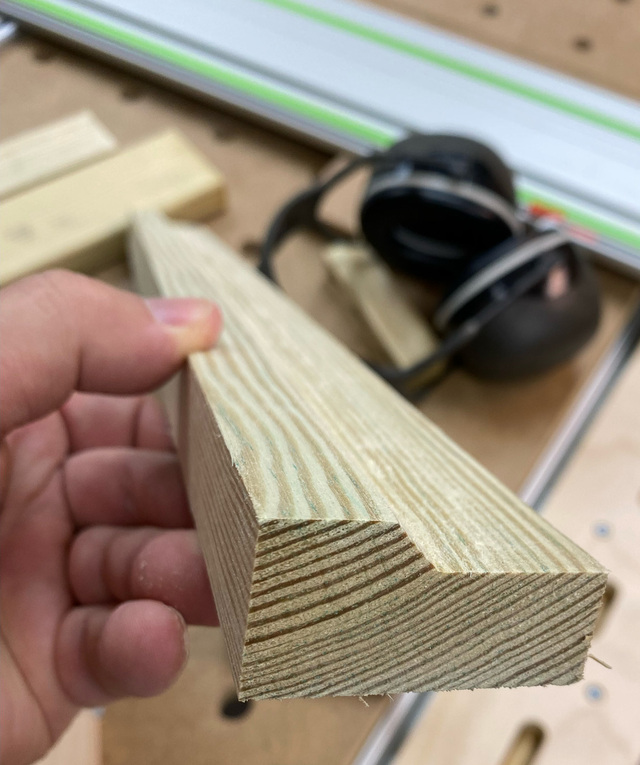
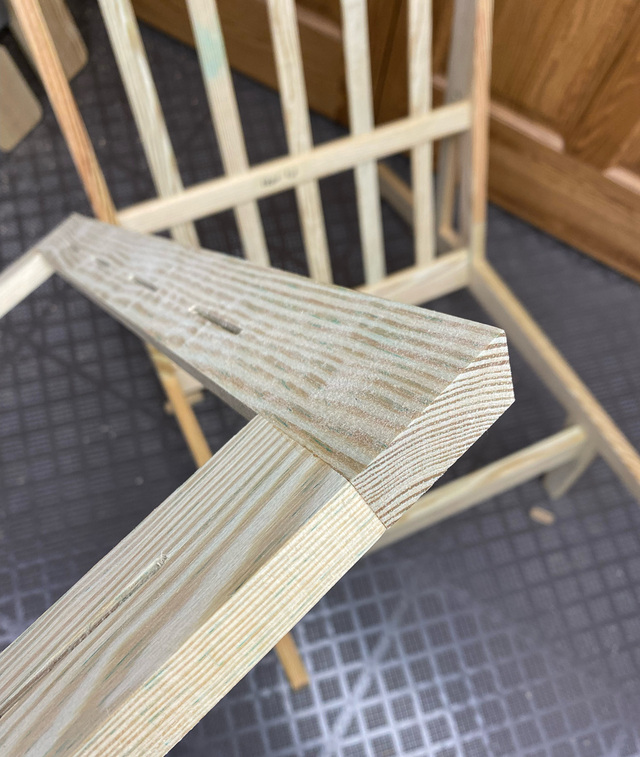
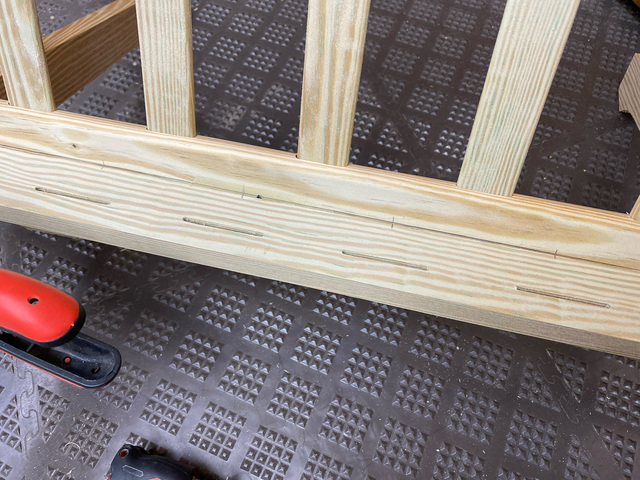
The visible front edge of the seat frame is a full 1" thick, but tapers to 3/4" thick on the back side. The sides and back of the frame are all 3/4" thick. The thicker front edge provides additional stiffness and also conceals the strap clips that will be inserted into the lowered edge behind it.
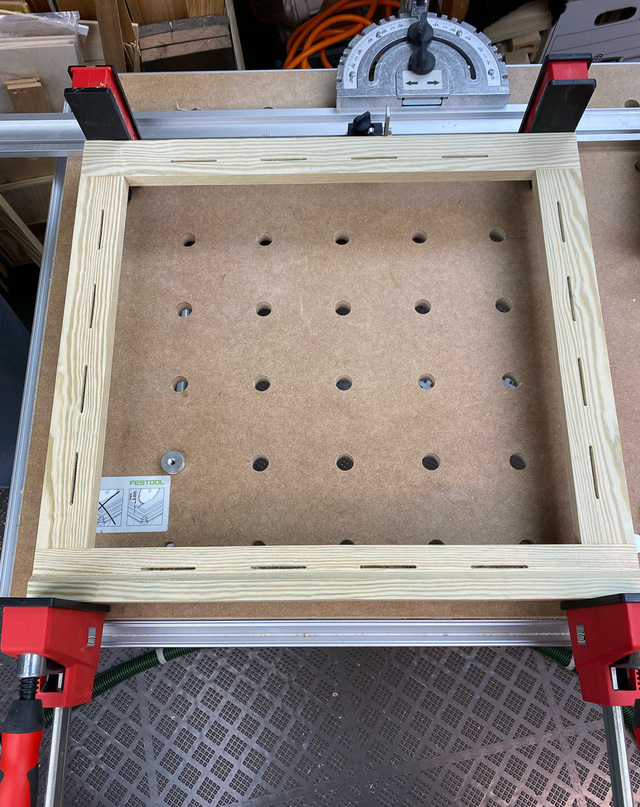
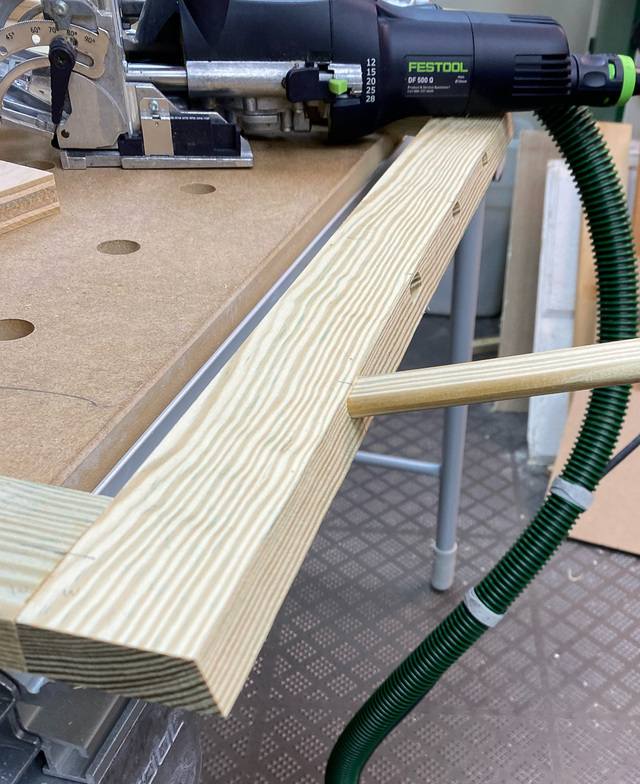
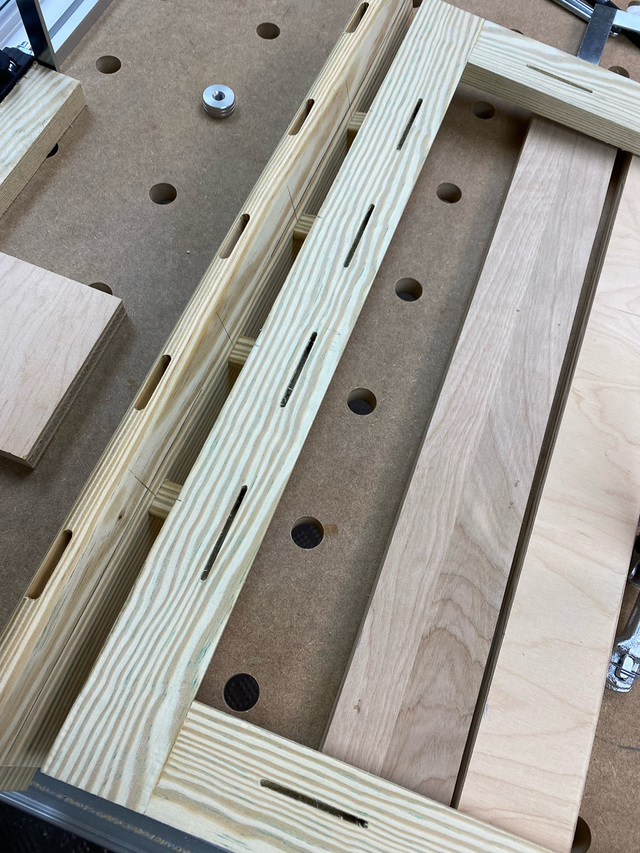
I used the bottom surface as the reference face for Dominos since that hump on the front piece would get in the way if I tried to reference the top. Each joint received a 8mm x 50mm Domino.
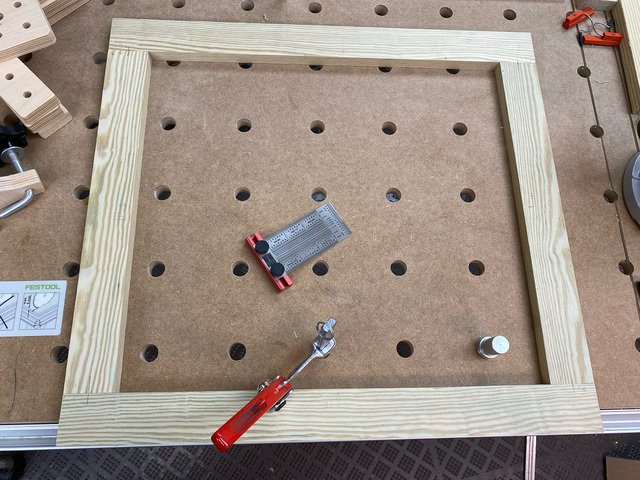
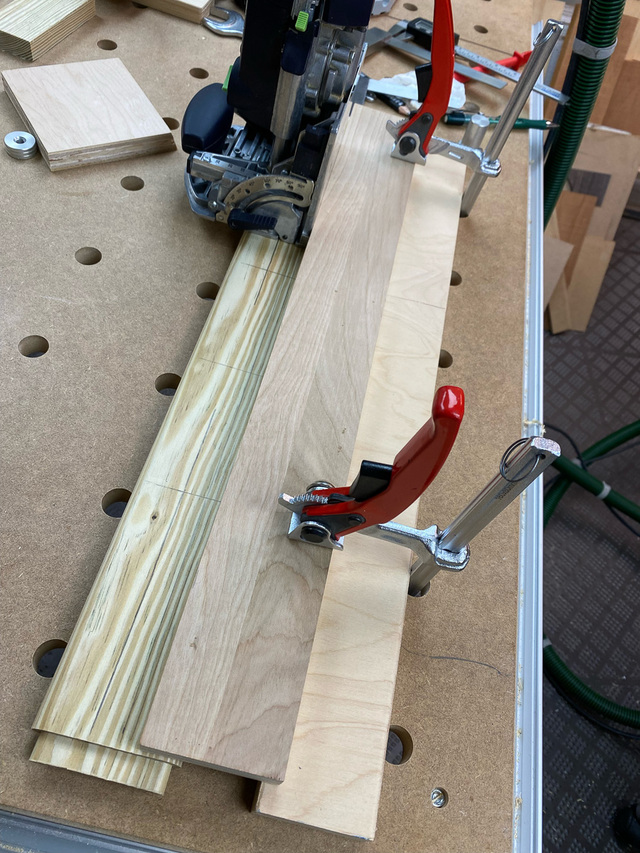
I'm used Pirelli straps with clips for the prototype chair. I'm not sure they'll be the best choice for outdoor chairs, but they're simple to install and provide comfortable support for a cushion. I cut the clip slots on the CNC prior to assembling the frame.
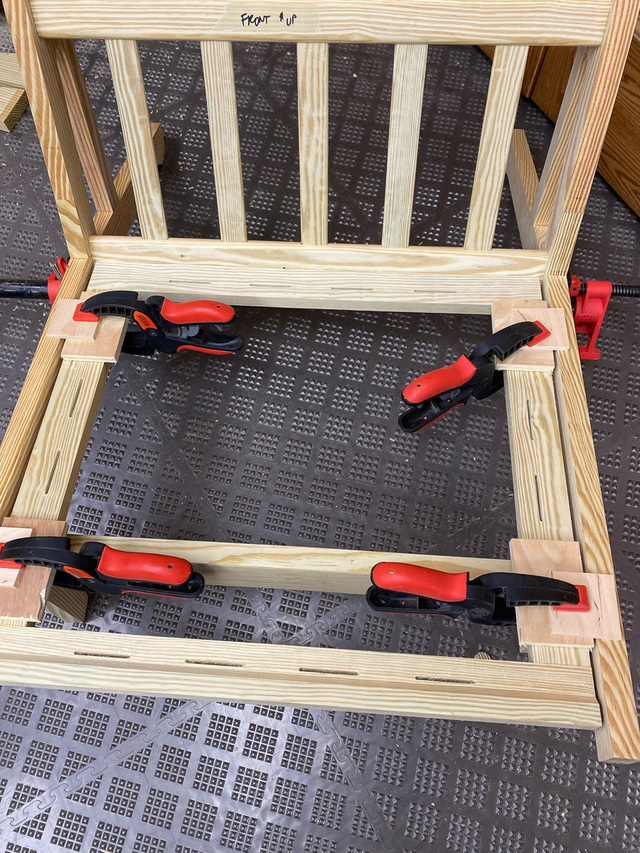
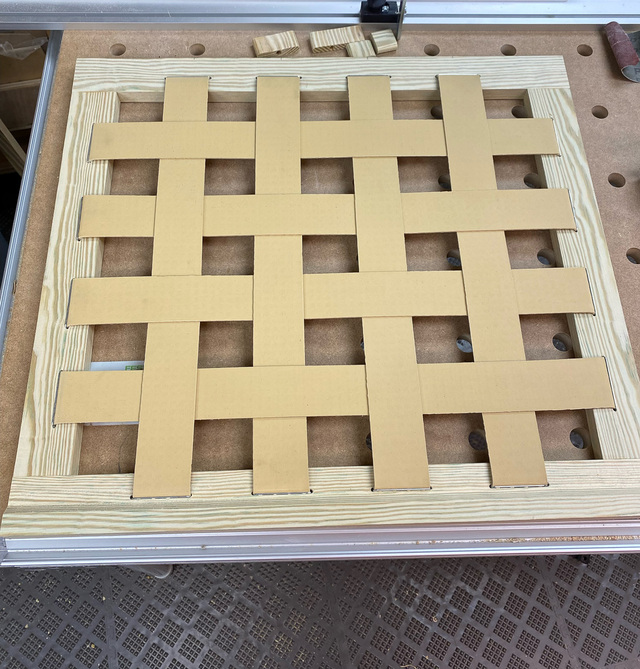
Here the frame is set in place to check the fit. The front stretcher will eventually support the front part of the frame with a spacer (~ 3/4" high).
While the original chair clearly uses knock-down assembly, I couldn't find any photos of the chair in pieces or locate any assembly instructions. So, I don't really know how the seat frame was fastened to the lower rear stretcher. I suspect it was done with dowels. I'll use Dominos.
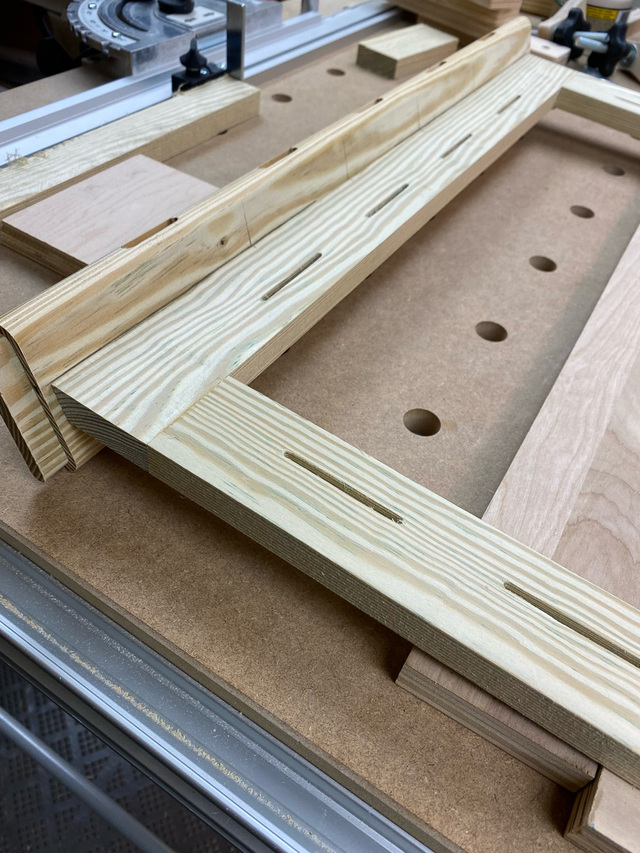
I started by trimming the rear edge of the seat frame to match the angle of the stretcher.
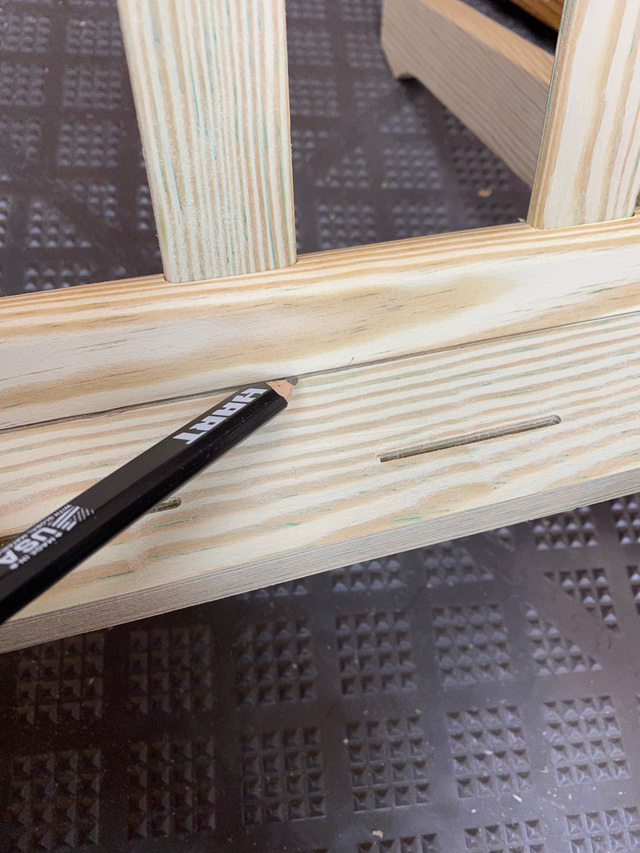
I used some spacers to position the frame below the top edge of the side assemblies. Once centered side-to-side, I marked the rear stretcher where seat frame meets it, above and below.
I then worked out where I wanted to place the Dominos and marked the locations on the seat frame and stretcher. I'll transfer the marks to a story stick to use for future chairs so that the seat frames will be interchangeable.
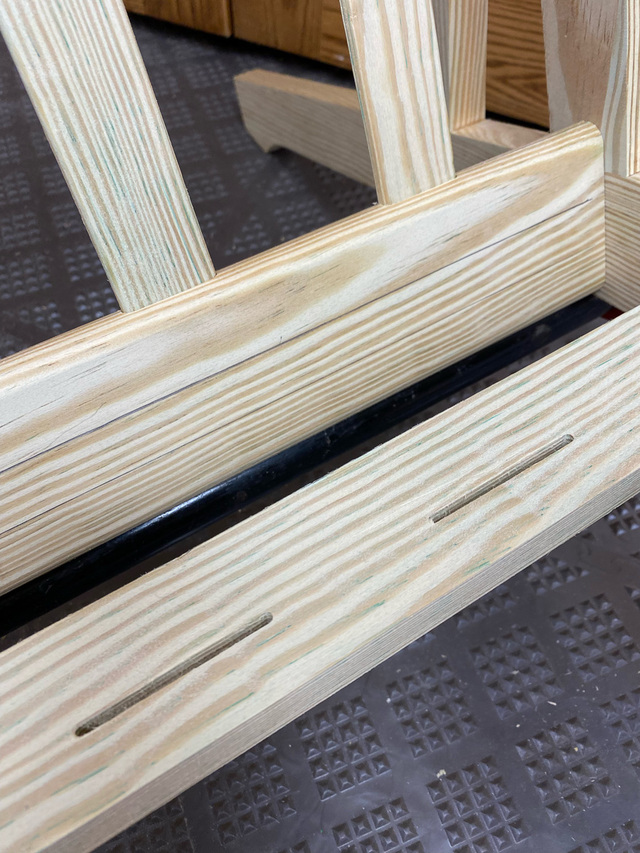
I carefully transferred the position marks on the seat frame around to the underside, and with the Domino fence all the way down and its angle set to match the bevel, I cut the 4 mortises.
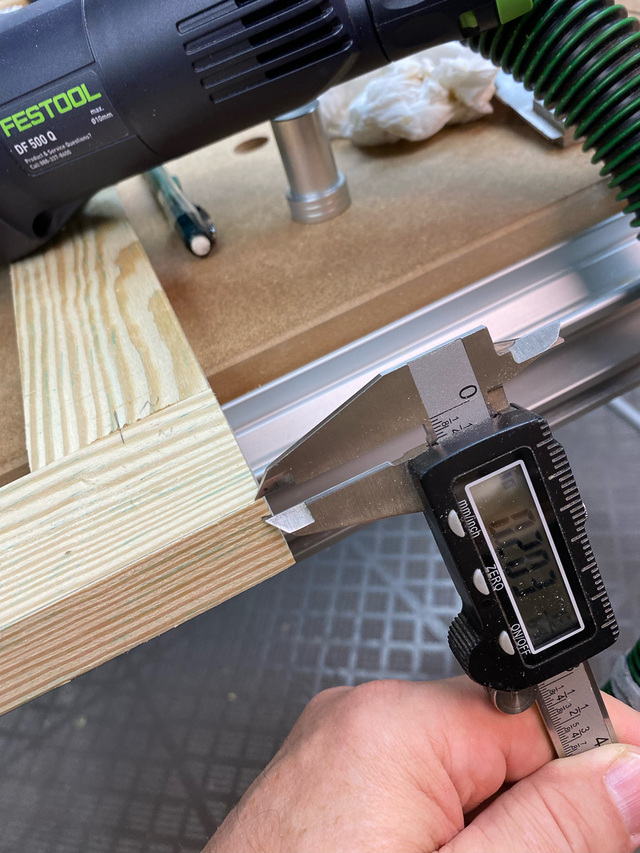
There may be a simpler way to locate the corresponding mortises in the stretcher, but here's how I did it. It's pretty straightforward, so I'm guessing this is a pretty common way.
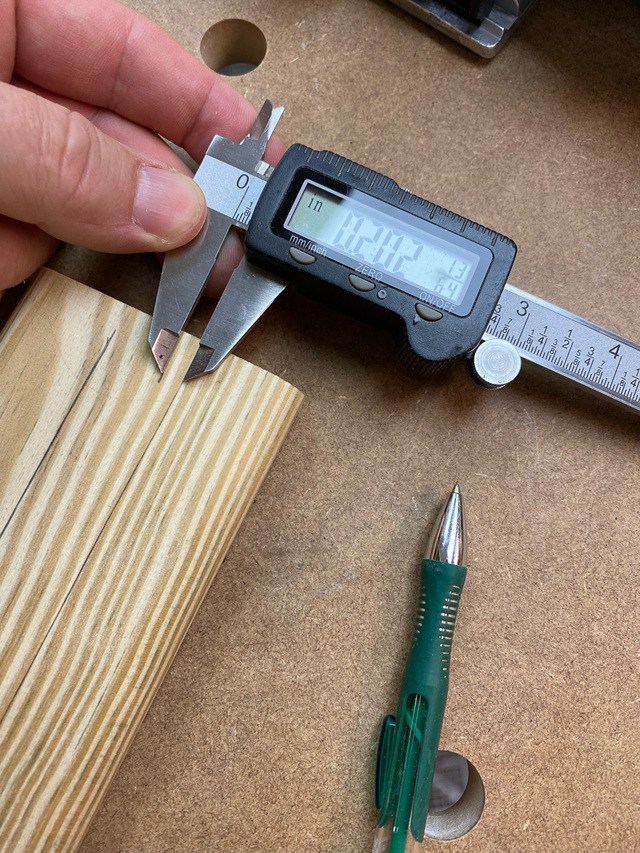
With the Domino resting on the seat frame, I marked the slot centerline on the beveled edge of the seat frame, and them measured its distance from the lower edge.
I then transferred the mark to the stretcher an equal distance away from the lower line I made earlier. I marked both ends of the stretcher and connected them with a straight line.
With the Domino upended on the work and positioned on the centerline, I clamped a straightedge for a stop for the base of the Domino. From there, it was quick work to cut the mating mortises.
Checking the fit.
I installed the straps temporarily to get ready for a true sit test.
The next step will be to drill the holes for the bolts and dowel nuts that will hold everything together.