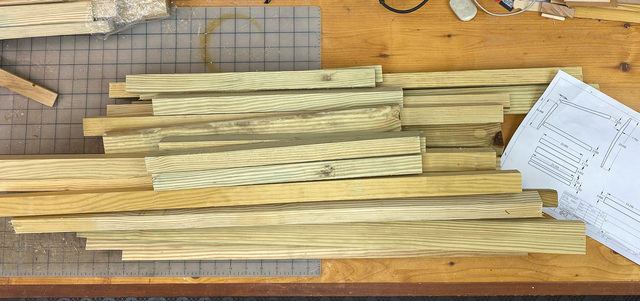
Most of the pressure-treated scraps from my deck skirting project were pretty narrow - around 1-1/8" wide. Most of the blanks needed for the chair required a two or three piece glue-up. I cut some scraps to rough length, jointed the edges that would be glued, and then glued-up the blanks. (no pics of the glue-up)
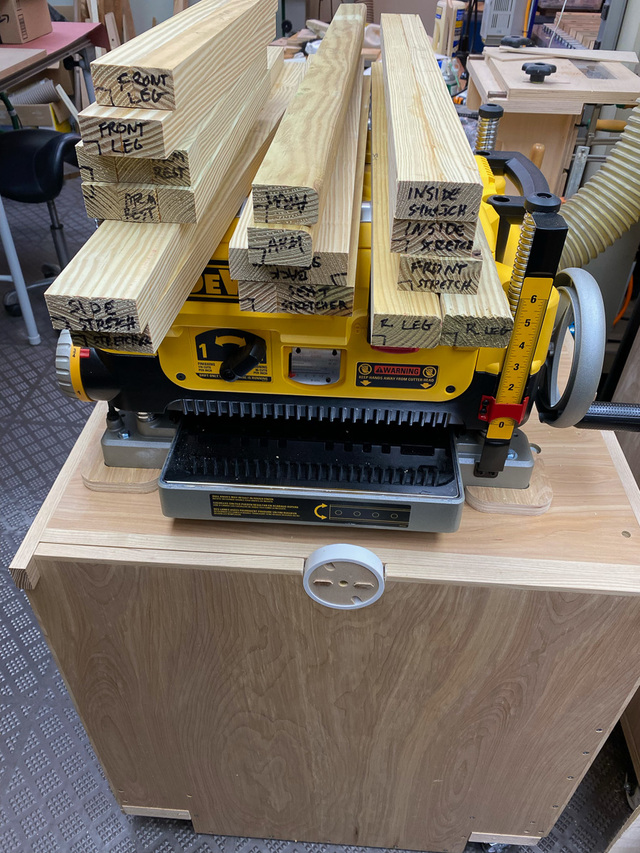
Here the blanks have been jointed on one face and edge and are ready to be planed to final thickness. Since the blanks were of various lengths, I marked the intended purpose of each on the end so I wouldn't get them mixed up.
With the blanks planed to final thickness, it was back outside to cut all the stretchers to final width. The pieces that would receive a taper along one edge would get cut to final size later, after I've made the tapering sleds.
I'm tackling the miters of the side assembly components first. There are a number of fractional angles, and rather than rely on a traditional miter gauge (or my ability to set it correctly), I decided to build a fixed-fence crosscut sled along with a set of MDF templates cut to the required angles.
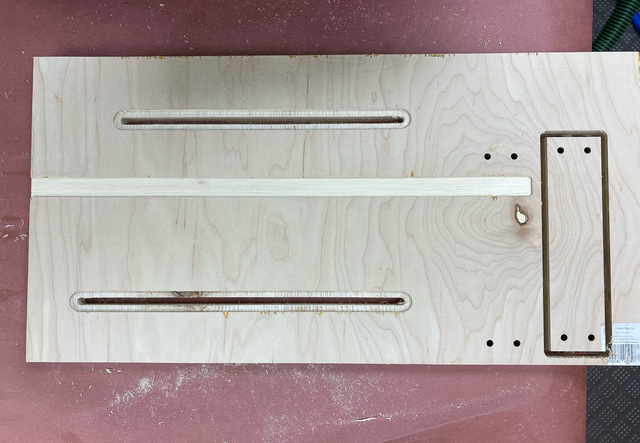
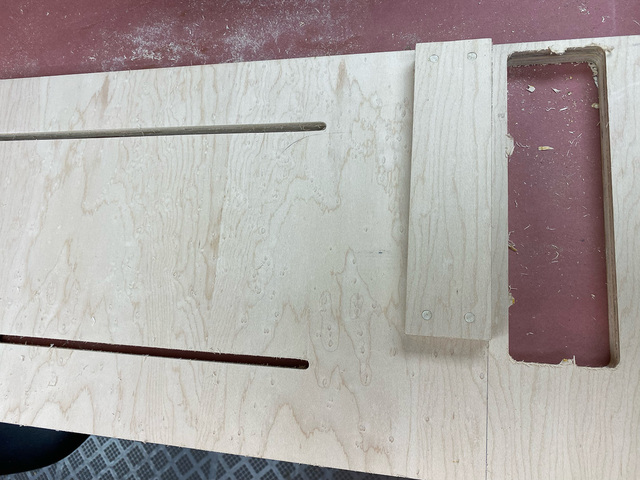
I made the sled from a scrap of maple plywood. The top maple veneer tends to chip - a downcut bit would have been a better choice here. I used the CNC to cut a shallow (1/16" deep) channel to accept a hardwood runner, a block for the fence, indexing holes for locating the fence perpendicular to the runner, and recesses and slots for T-bolts.
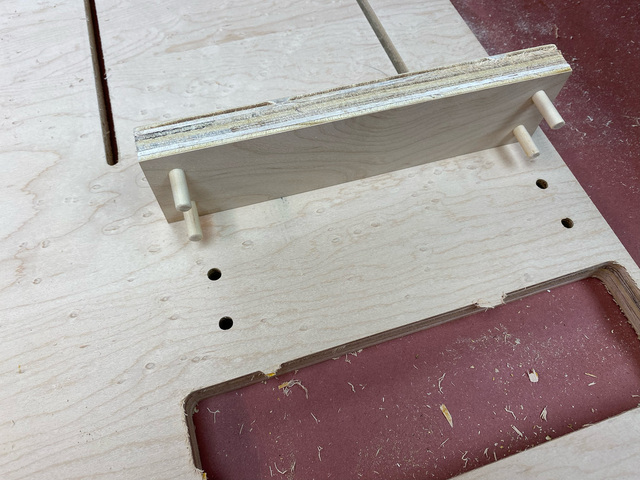
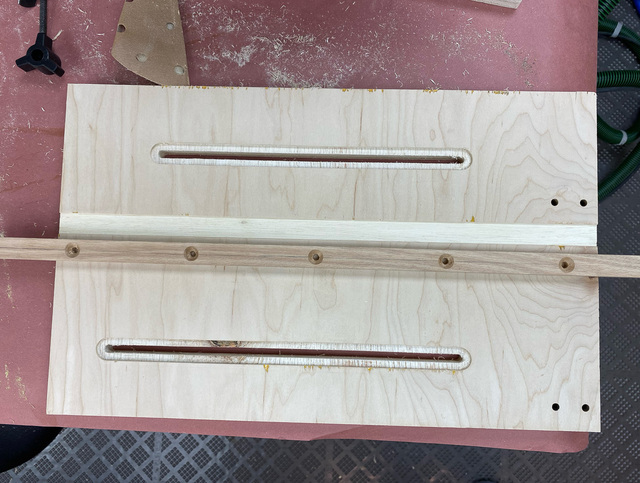
I used lengths of 1/4" dowels for the pins to locate the fence on the top side of the sled.
I marked the sled base at the outer edge of the fence and cut off the excess.
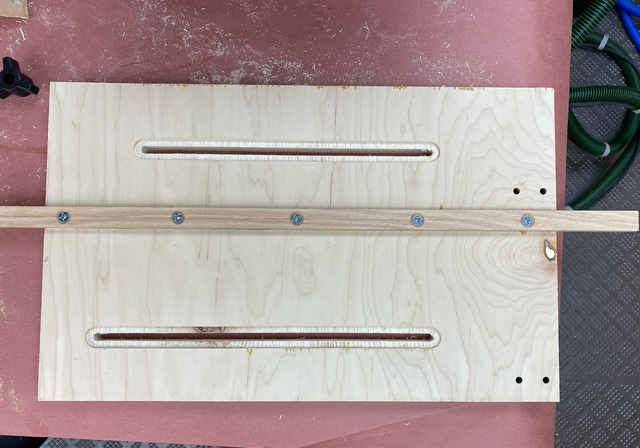
On the underside, I fitted a hardwood runner into the recess and fastened it in place with some #12 screws.
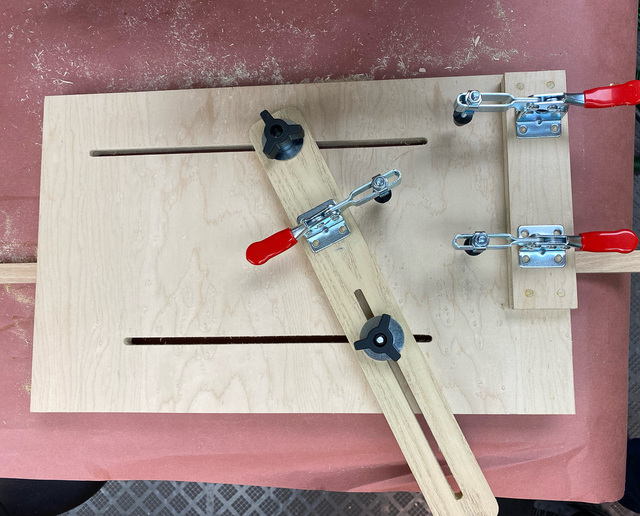
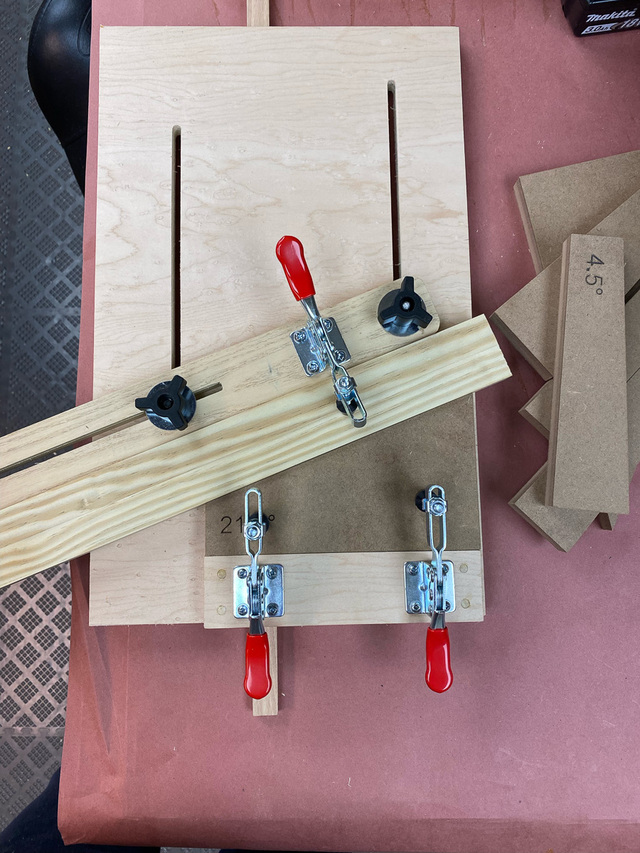
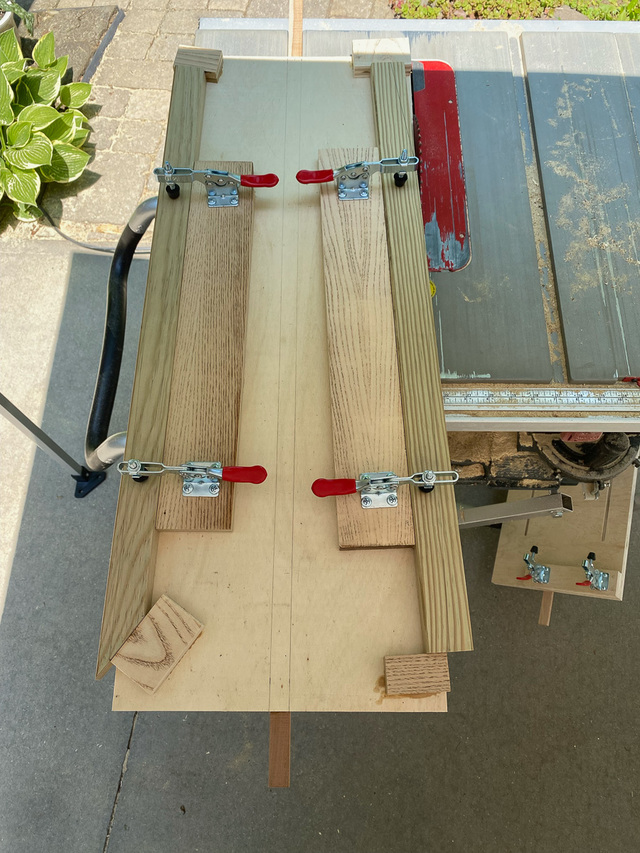
With the fence glued in place, I added toggle clamps to the fence that will hold the angle templates in place, and added a sliding fence with a toggle clamp to hold the work.
The length of the sled was dictated by the highest angle template that I'd need. This is for the miter at the tip of the arm.
This one is for the miter at the top of the front leg where it meets the arm.
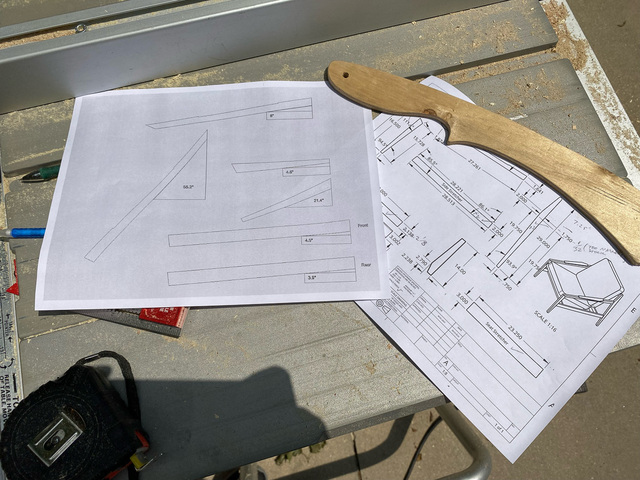
I made a cheat-sheet to make sure I used the correct template for each miter.
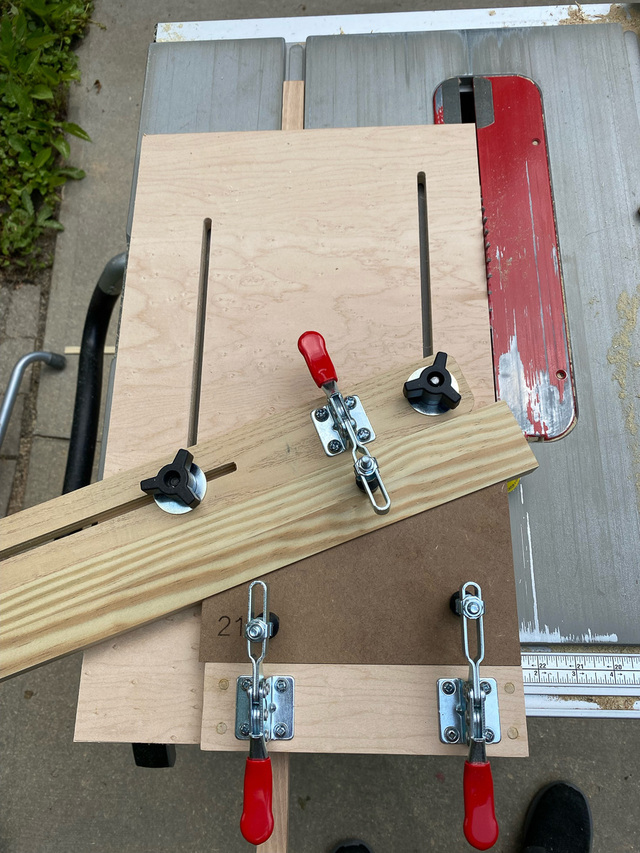
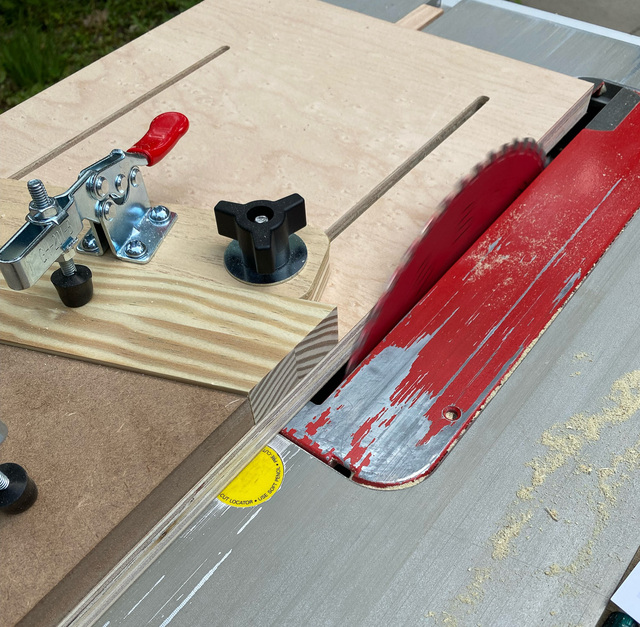
I had intentionally left some extra width to the base so that it could be trimmed-off at the tablesaw. (not shown). Once that was done, I started with the miter at the top of the front leg.
The remaining miters were cut in a similar way. With all miters completed, I made a couple more sleds to cut the tapers. I started with a base that was long enough for the pieces and wide enough that I could use both sides. There were 4 different tapers, which I could fit on to 2 sleds. One shorter sled for cutting the tapers for front leg and the upper section of the rear leg, and one longer sled for the tapers on the arm and the lower section of the rear leg.
I don't have any construction photos for these sleds. It started with gluing a runner roughly down the center of the base, and once the glue had dried, running the sled through the tablesaw on one side to trim the excess, then flipping it around and trimming the other side. That gave me sharp sawcut edges to line-up with the taper marks on the parts. I glued/screwed stops to the sled to index the reference edge and ends of each part, and then added toggle clamps to hold the parts in place while cutting.
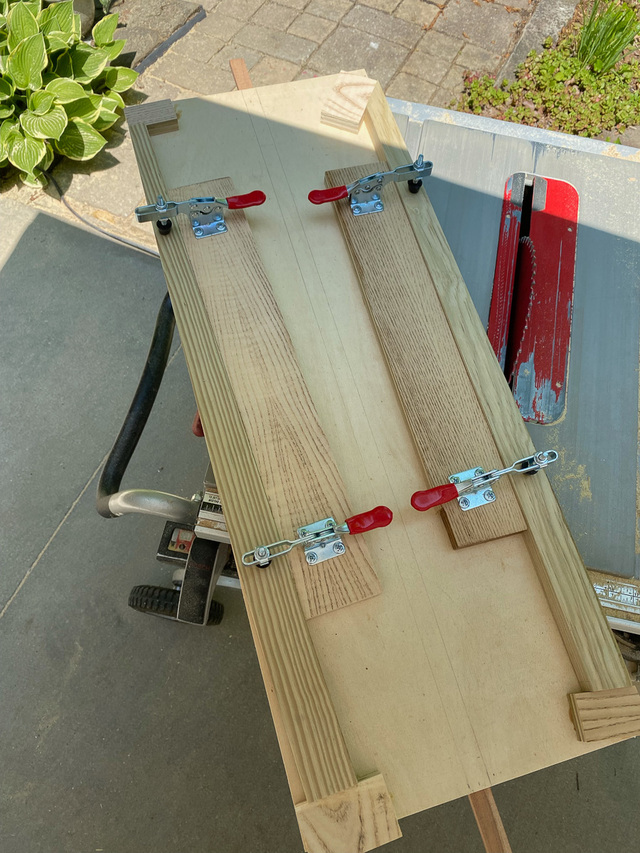
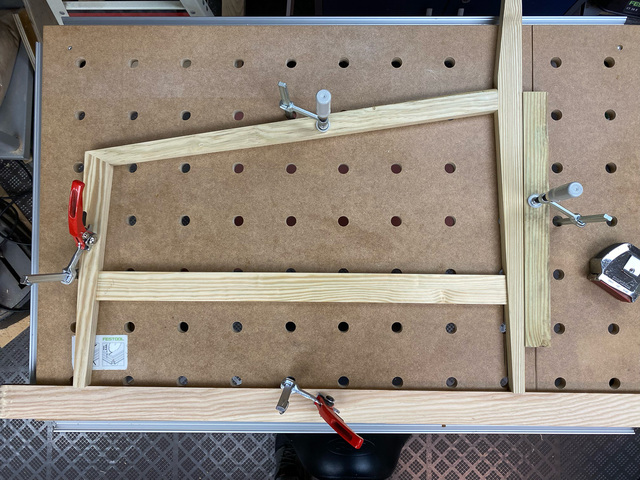
Here's the sled for the parts with the longer tapers prior to cutting. After cutting:
Did you use your CNC to cut the MDF templates (and a laser to label them)?
Hi Ron, thanks. I did use my CNC to cut out the MDF angle templates. I use a V-bit to engrave the angle value and used a narrow Sharpie to make it stand out better.