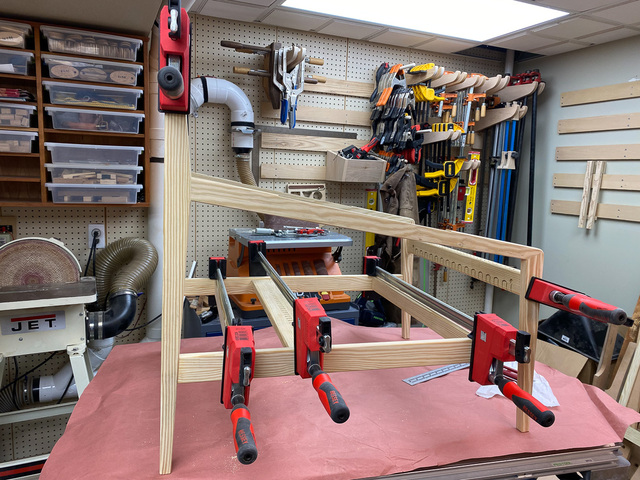
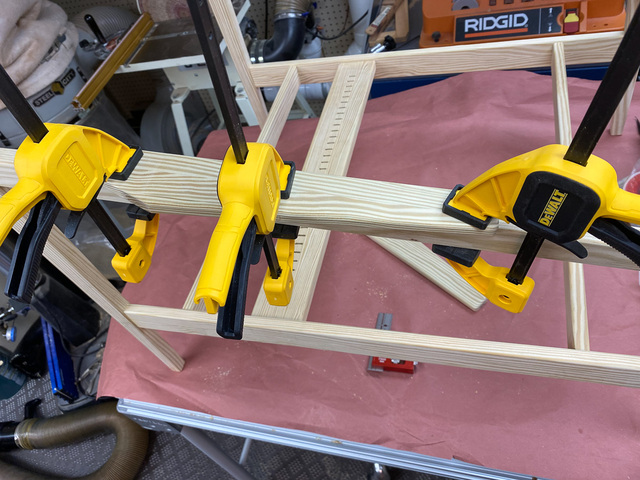
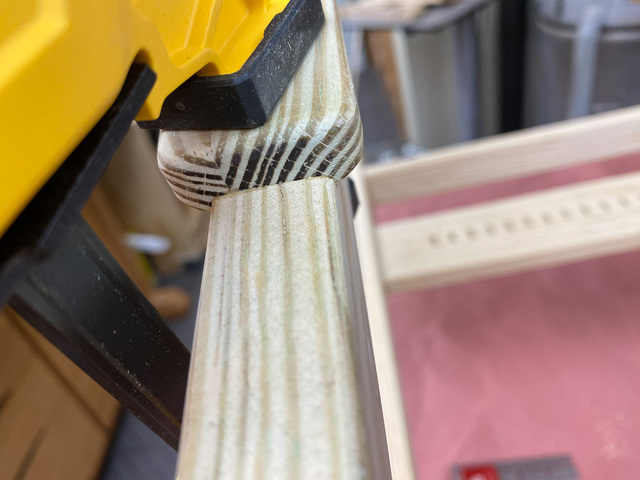
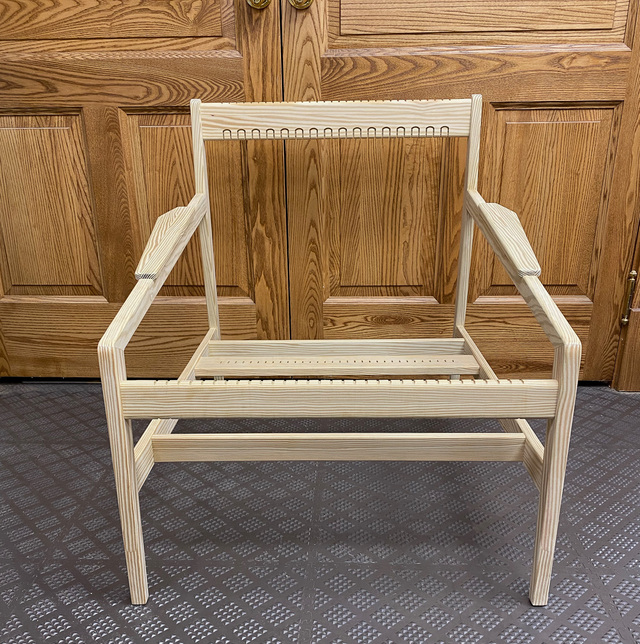
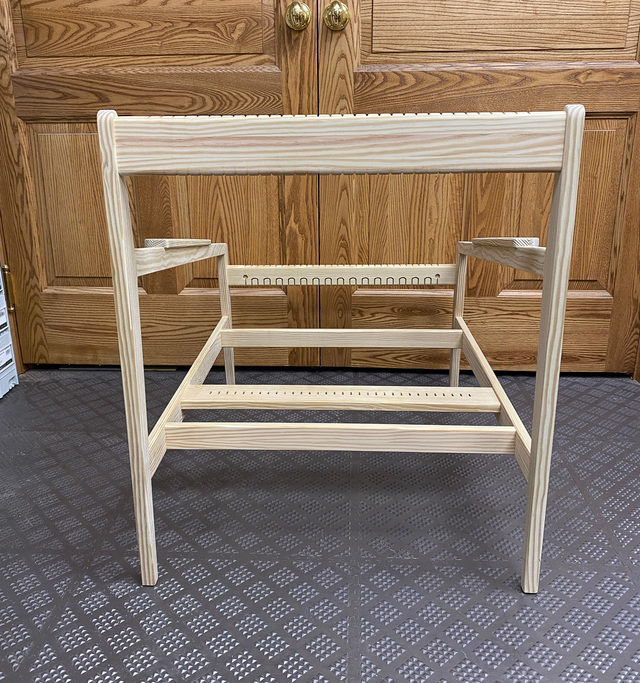
With all the last minute shaping and sanding complete, everything was ready for the final glue-up. There's not really a whole lot to show here. I glued-in the floating tenons into the stretchers first and made sure they were fully seated, and with one side assembly on the bench, glued all the stretchers into the one side first. Then I set that partial glue-up aside, and with the 2nd side assembly on the bench, added glue to all of its mortises, and finally I rotated the 1st assembly and fitted all the stretcher tenons into the 2nd side. I added a clamp at each stretcher location, checked for square, and let it all dry on the flat top of the MFT.
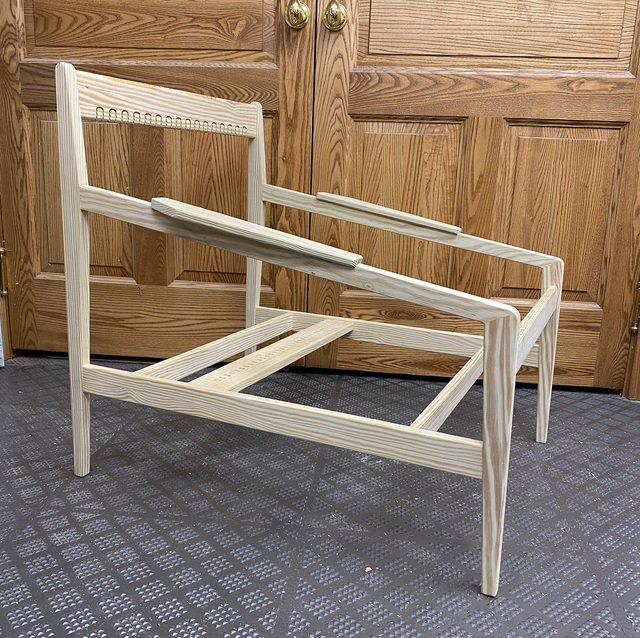
Once the glue had dried, I glued-on the armrests. No tenons here, just glue. I offset the inside edge a uniform 1/4" from the edge of the arm and clamped them in place.
With the exception of some finish, the chair is complete. I've been waffling over what kind of finish to apply. I have some GF 450 stain that I bought for the deck chairs I've been building, but I'm not crazy about how it looks on SYP. Maybe multiple coats will help give it a uniform look? I'm happy to take recommendations for an outdoor finish.
Until I work out what finish to apply, I'm going to get the chair laced-up and log some sitting hours outside. I'll share some final photos in the next/last post for the series.
Hi Eric. Yeah, I like the ease of application and touch-up of an oil. I'm just not crazy about seeing the strong grain pattern of SYP, which has me considering more opaque finishes.
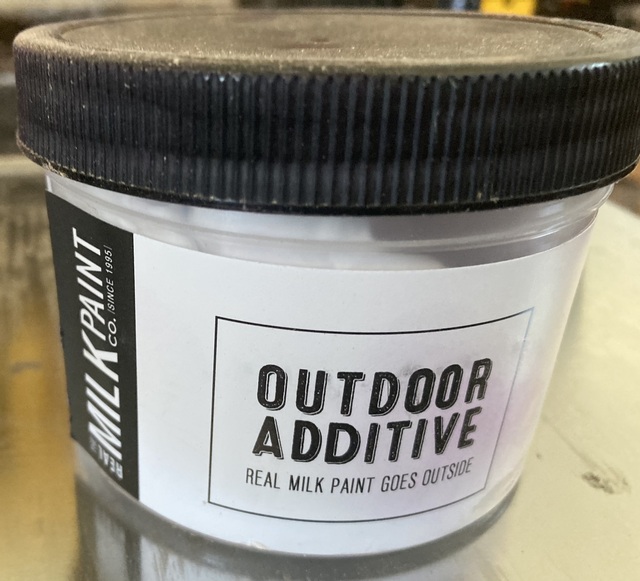
Milk paint and oil? I think that would look pretty good in about half the milk paint colors I’ve tried, and tung oil or linseed oil goes on over the milk paint pretty easily.
Dave Polaschek commented about 11 hours ago Milk paint and oil? I think that would look pretty good in about half the milk paint colors I’ve tried, and tung oil or linseed oil goes on over the milk paint pretty easily.
Hi Dave. I've never used milk paint. Is that a good finish for outdoor furniture? Thanks for the suggestion.
A sign that’s been in the New Mexico sun for three summers is unfaded. The poly I put over top of the milk paint and tung oil (because I was an idiot) is all cracked and peeled and I’ll need to strip it off and replace it with another coat of tung oil.
You’re welcome! I’ve used the RealMilkPaint brand, and am happy with it and also their tung oil and half&half. They also have been pretty good about answering questions, but if you have questions, I can try to answer them, too.
I mix the paint a little more watery than they recommend, then let it sit in the fridge overnight before using it. Depending on the finish I’m after, one to three coats generally does the trick, and that can all happen in one day if I mixed up enough paint, then a couple coats of half and half (tung oil and citrus solvent) on top, one per day.
My little case of drawers and most recent storage box are both milk paint finishes, as was my pentagonal socket caddy. The aqua color on the No Poop on the Loop sign is my oldest outdoor milk paint finish, and other than the poly coming off, the sign still looks pretty good. I’ll be blogging the refreshing of the sign later this summer, depending on how various in-progress projects go. My Home sign is older, but lives indoors. That’s milk paint and linseed oil, I think.