My last pair of blanks are for the armrests. I started by planing them down to 5/8" thick, which is the final thickness for rear of the armrest. I had listed 1/2" max thickness in an earlier post, but when I re-checked the model, I found that I had set it to 5/8".
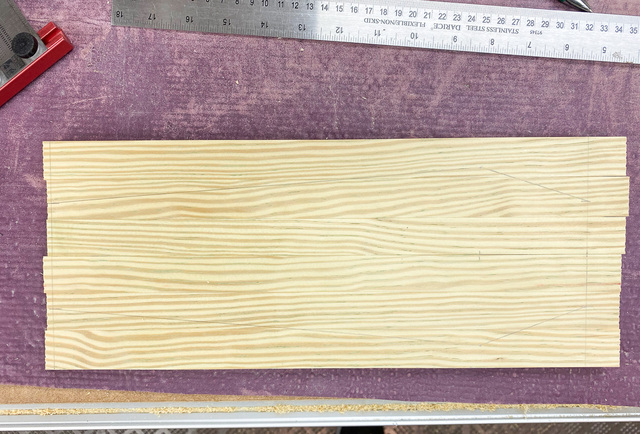
Using the dimensions from the drawing, I sketched out the outline on each blank (although I really only needed it on one).
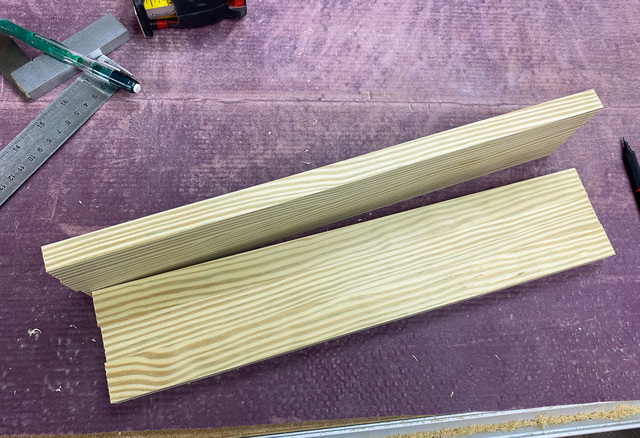
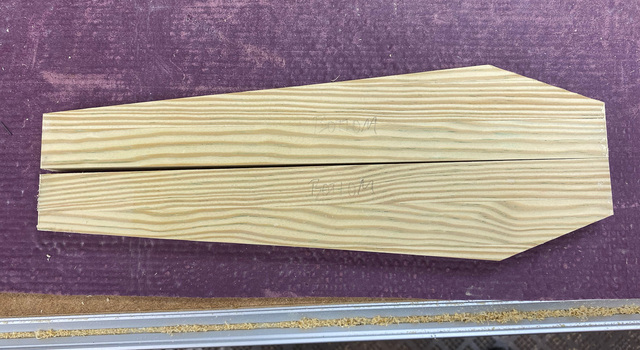
I attached the two blanks together with double-sided tape, keeping them flush along a reference edge. This will allow me to shape them as a unit and result in mirror-image armrests.
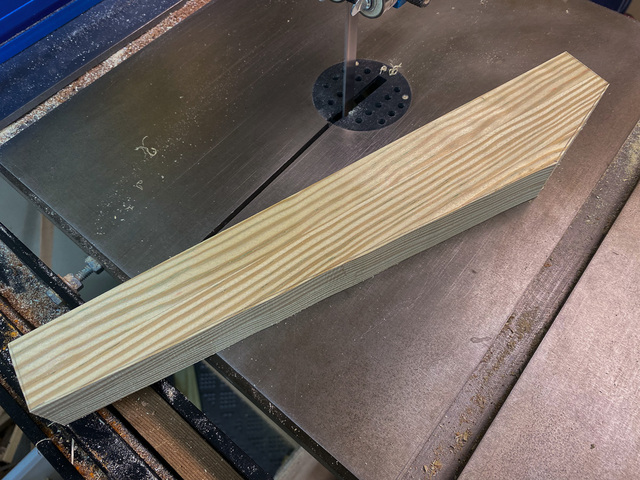
I trimmed close to the marked lines on the band saw.
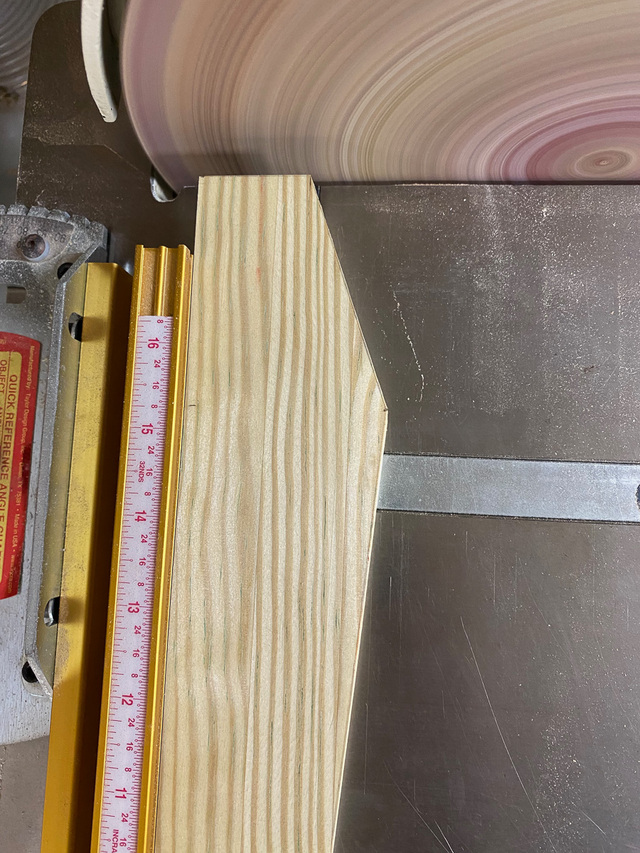
Then jointed the tapered edges.
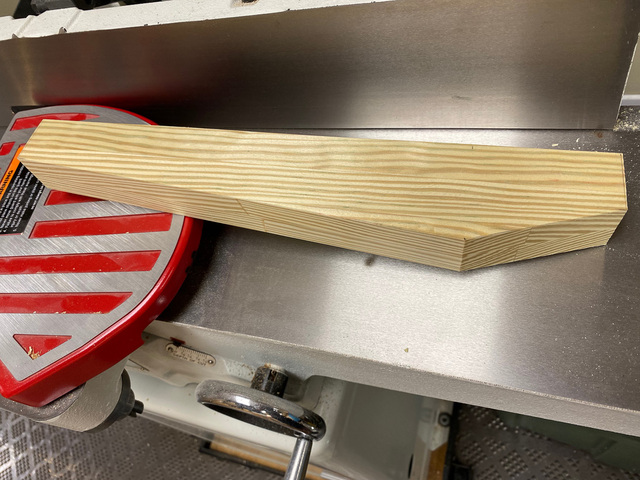
I used the disc sander to sneak up on the final length so that it would just drop into the recess on the arm. (I really need to change that sanding disc.)
With the two pieces separated, I marked the sides that would be the bottom of each. There wasn't a big difference between top and bottom, but I picked what I thought was the best sides for the top.
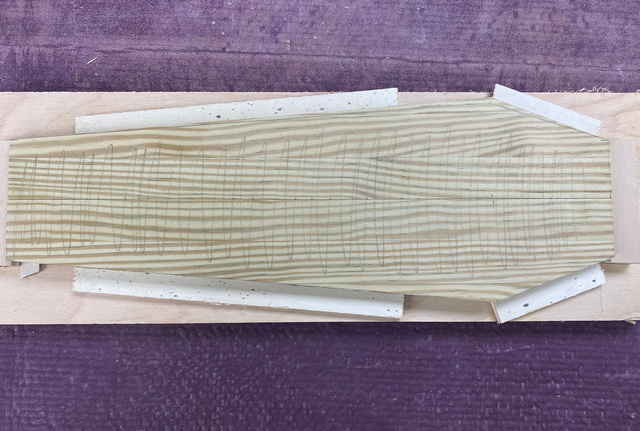
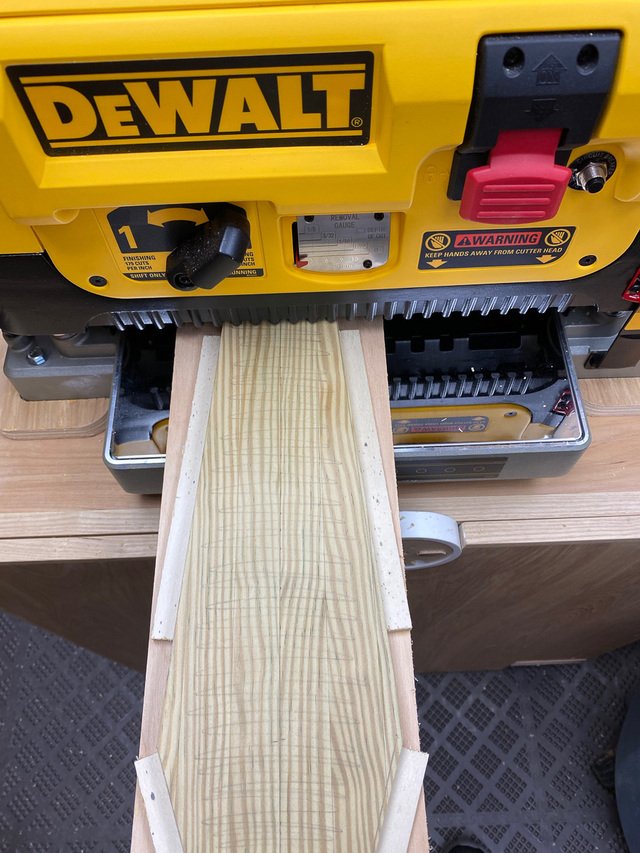
I made a quick thickness tapering jig for the planer. It holds the two pieces tightly and raises their front ends by 1/8".
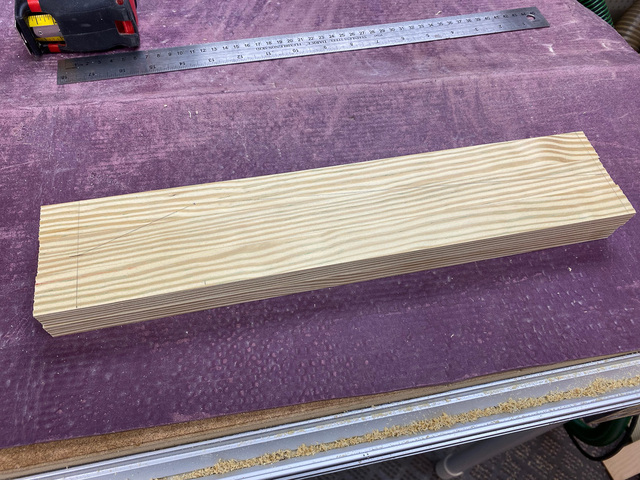
Back to the planer to plane away all the pencil marks.
Once planed down, I eased the corners on the sander and put a 3/16" radius round-over on the edges, except the short edges underneath that seat down into the arm recess.