I did a open segment back in the spring for a swap and had some difficulties getting all of those little pieces glued together. So, this has been on a build list for a bit.
I started by locating some material, I still had some cabinet grade plywood drops sitting up in the loft. Found a base board about 16" square, (I only have a 16" swing on the lathe, so this will work fine. It took a while sitting there and doing a few sketches to see how this this is going to work. A few things to look at: 1) A verticle post in the corner that a block could slide up and down. 2) The block which has a bar sticking out of it which ends at the center of the jig, to press the glued piece to for locating it. 3) A stop block to set the limit of the ring or pieces being glued. 4) A protractor to see the angle and help with locating the pieces. (found one on Amazon for $17, waiting for delivery). 5) A way to hold the jig on position while the piece is being set. 6) in question, maybe a way to apply downward pressure while the glue sets.
This project has no plans, so a bit of an engineering process. I have seen a few photos which helped out with the idea.
Another question was to figure out how many layers of plywood to use. I started with 3, and that did not work for #5 above, scratch that idea. Then I bumped it up to 4 layers, this will work, also additional support for the post used in the center.
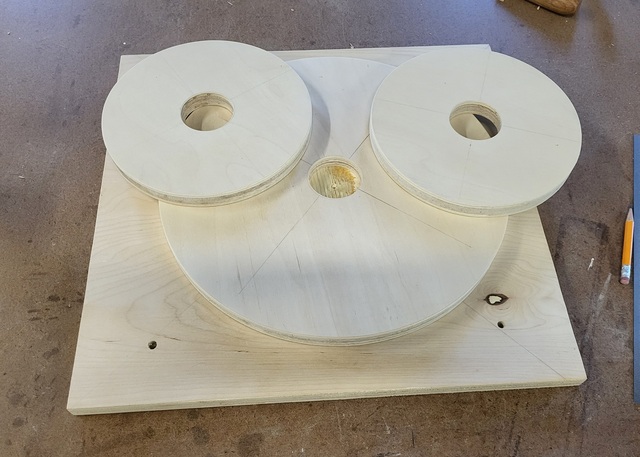
The 2 center layers are 8" diameter, and the top layer is 13" diameter, should be a good size to work with, and is about the limit I want to turn.I drilled a 2" hole in the center of the bottom 3 layers all the way through, also a 2" hole stopped in the top layer. Then over to the band saw to cut my circles, followed up with the 12" disk sander to sand to the line. This is what I ended up with.
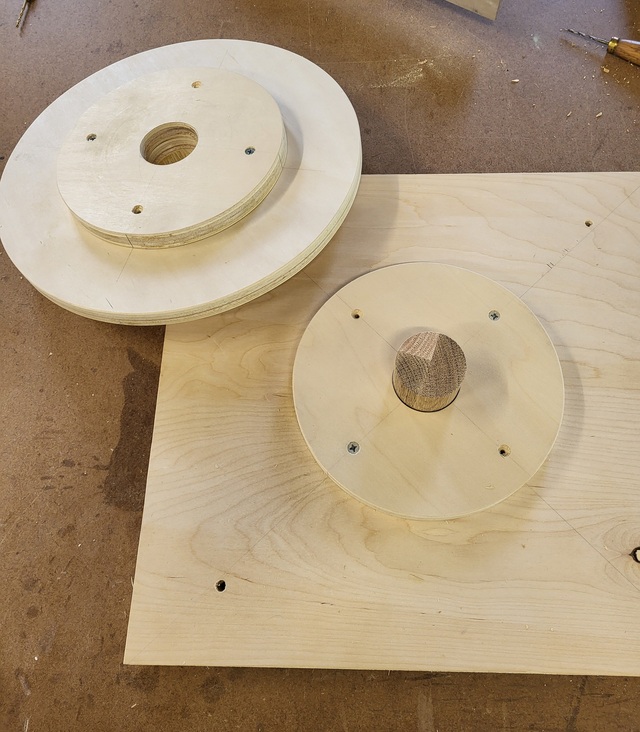
I had a round blank over in the scrap bin, so I broke that out and turned it down to fit the holes in the plywood layers, a tad bit under 2". Sanded to 150 and called it good. Then it was cut to a 2-5/8" length, this allows a tad bit of room under the top layer. I ended up screwing a 5" square block of 1/2 plywood on the bottom of the jig, to run a screw up into the post.
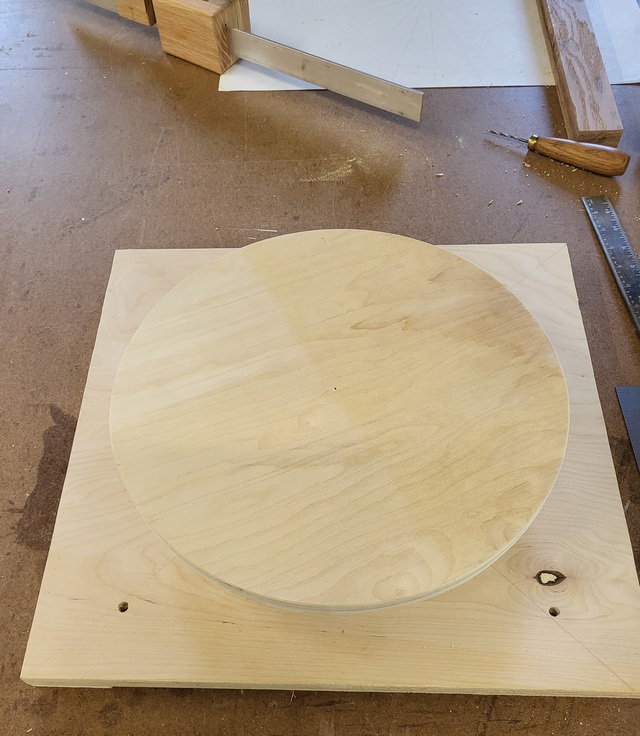
I screwed the first two layers together, and the top two layers together. Flipped the top over in just set it on top of the post sticking out of the bottom. Hey, I made a turn table, Yeah!!!
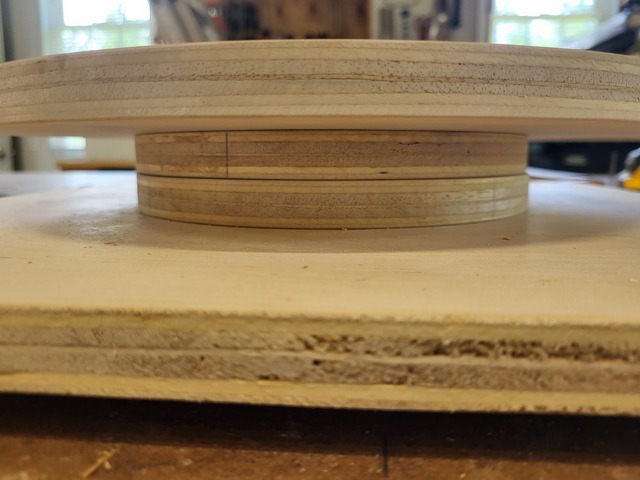
And the layers.
Top and bottom spin nicely, and I think this will work for the application intended. I will put some wax on the two surfaces and maybe even a sheet of wax paper.
Thanks for reading and following along, and comments are always welcome and appreciated.
This may help a few turners that do open segments.
Thanks guys. This is an engineering project as I go along. Been wanting to do more open segment turning, and need a easier way to position the segments. Parts of this maybe a bit of overkill, but trying to incorporate everything into one unit.
Petey, thanks. I am cheap, and so far, this has pretty much been built with scrap drops in the shop. I did have to purchase a little bit of hardware though.
Besides it keeps the mind going, doing that engineering thing.