


Share your craft projects
Make new craft buddies
Ask craft questions
Blog your craft journey

SplinterGroup
9126 posts
and
68 followers
in over 3 years
in over 3 years
More from SplinterGroup
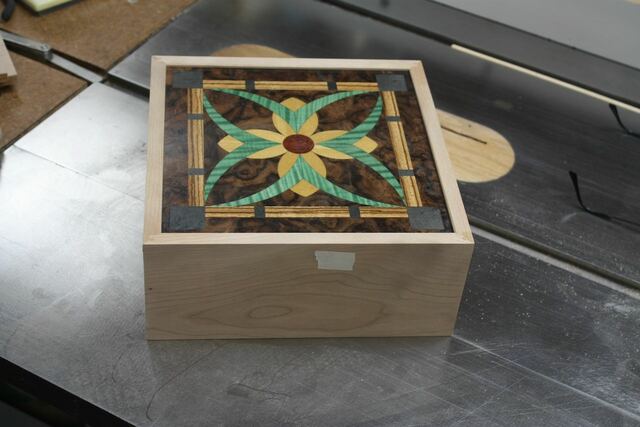
Building the Art Deco Box #2: Begin With a Simple Box Core
This is
part 2
in a
4 part
series:
Building the Art Deco Box
-
Background on the veneered Panel
-
Begin With a Simple Box Core
-
Separate the Lid and Give It Some Legs
- Background on the veneered Panel
- Begin With a Simple Box Core
- Separate the Lid and Give It Some Legs
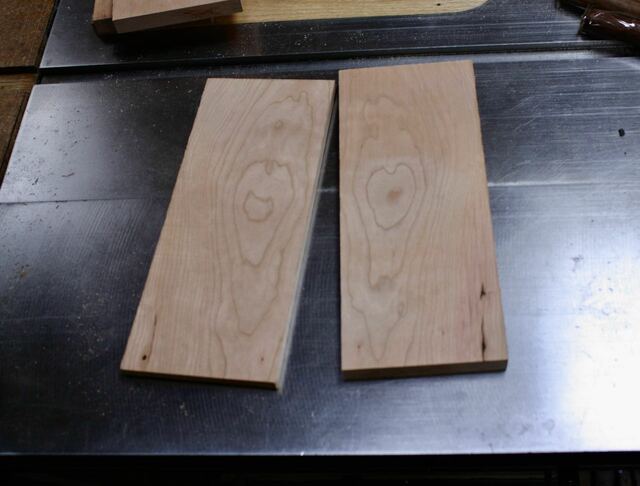
Had a section of rough 4/4 cherry that had been kicking around for a while so I could see the color it would take on once the wood ages.
Cut oversized, wood for four sides (resaw to 9/16" thick).
Run through the drum sander to 180 grit and 1/2" thick. Need the flattest and most consistent sizing for proper joinery. I also ran a few similar pieces of scrap pine through for setups which require the same thickness.
These are about 10" long and 4-1/2" wide.
Lock miters are a simple to cut joint that is strong (no splines needed) and really makes gluing up a square box easy since the corners won't slide around in the clamps.
To set up the bit on my router table, I really like to use this method. Simple and accurate with minimal tweaking to get the last few corrections made.
I roughly set the router bit height and fence using a previously cut joint done on 1/2" stock. Without this setup piece from a previous project, I'd just eyeball everything.
Bit is a miter lock bit from MLCS
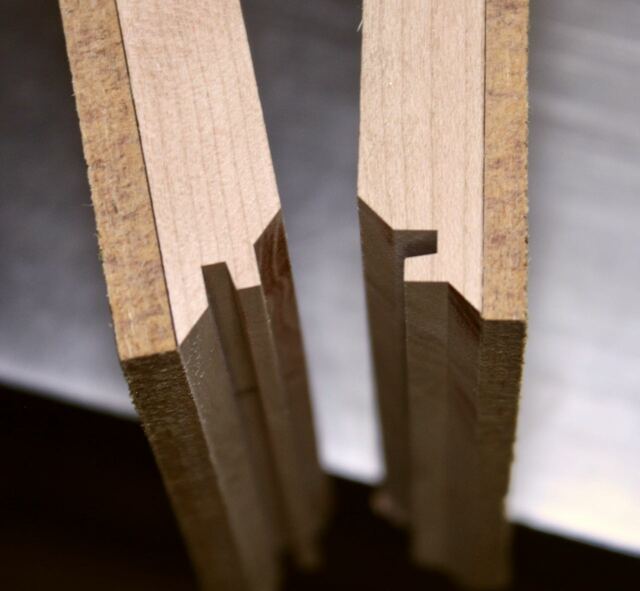
First thing is to run two pieces of the setup scrap through the cutter, both pieces run along the table top.
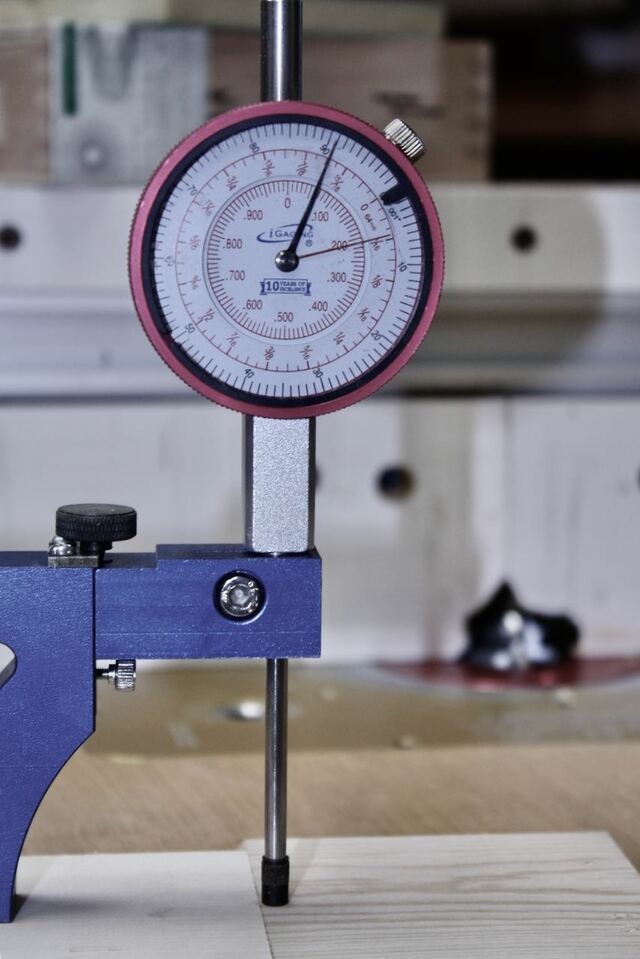
To check the but height setting, one piece is flipped over and meshed with the other piece.
The offset at the joint determines if the bit needs to be raised or lowered. (instructions linked above explain all the details)
You can feel any offset with your finger, but I like to use my assortment of impulse bought measuring tools to get a reading 🤠
Here is an offset of about 0.006" so my initial setup was very close, I will still bump the bit height a little to get exact.
Next is to set the fence position. The two pieces of setup pine are placed against the fence and a straight edge is lain across the gap
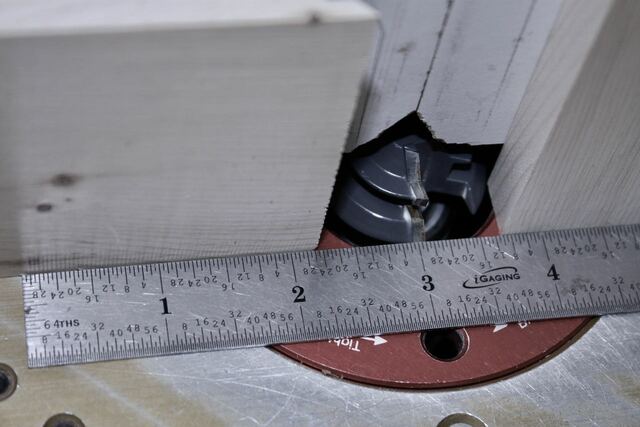
The goal is for the bit to just drag a bit as the straight edge is slid while touching both pieces of pine. This means that the corner of the bit where it meets the table surface is exactly 1/2" away from the fence.
I'll remove the miters from the pine scraps on the table saw to get fresh ends, then redo the router cuts, on the table and fence, to check the fit. Should be 100% at this point.
If not, I'd slightly tweak the fence position. Since the bit height setup is the most precise and easiest to get exact, The fence position is more prone to slight errors and probably is where the adjustment needs to be made.
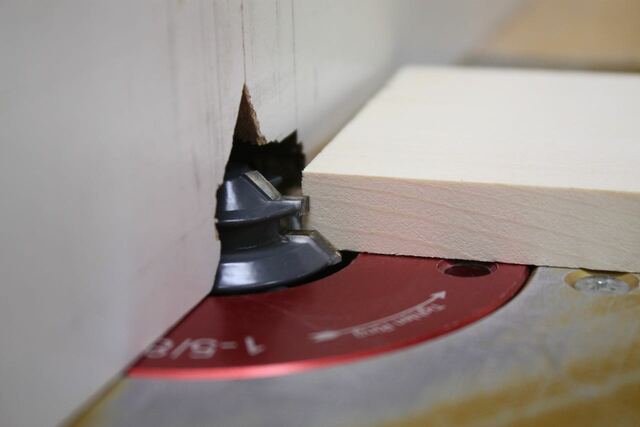
One big issue with the lock miter bit cuts is that the outfeed of the box side will be riding on a fragile, pointy edge which can cause the part to wobble during the cut.
A great way to make the cuts "fear free" and easy is to attach a guide to the box sides that will ride on the fence/table during the cuts.
I double-side tape some masonite to the box sides and then trim the length of the sides to their final dimension and square up the width to just a bit over the final target.
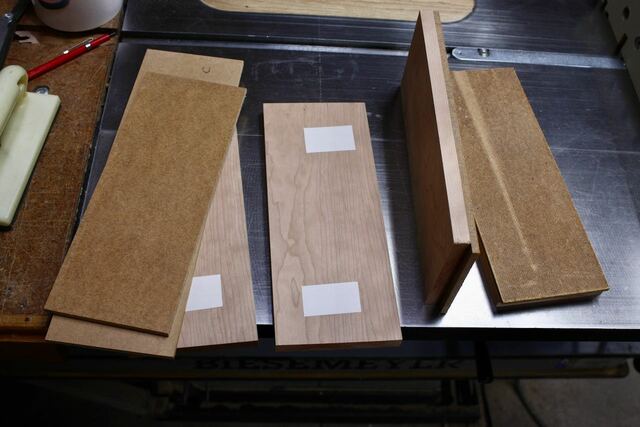
Results are sides with masonite "covers" that are exactly the same length (flush with the ends)
Back to the router table to make the cuts:
I'll use a scrap of squared plywood to push the piece through and contain chip out (not shown)
It also keeps the part square to the fence.
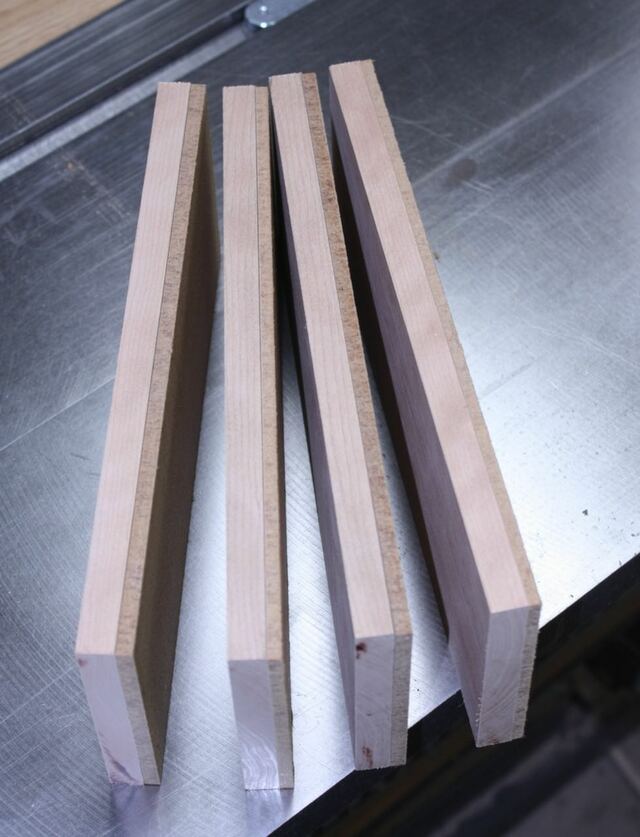
If the pieces are left slightly over-width, the rip cuts to final width can also remove any router bit chip-out.

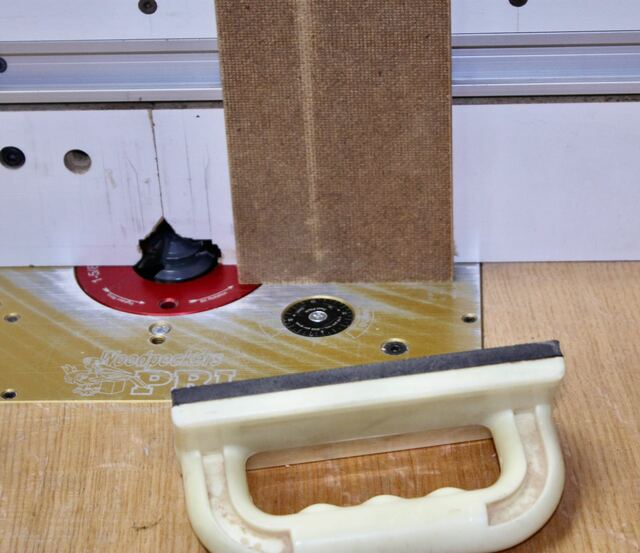
Be sure to have the masonite facing up/out. You can do a table cut on one end of each box side and do the fence cut on the other end, but I find it is better to do two sides with table cuts on each end and two sides with fence cuts.
This gives you the option to rotate any piece to get a better grain match without needing to rearrange the other sides.
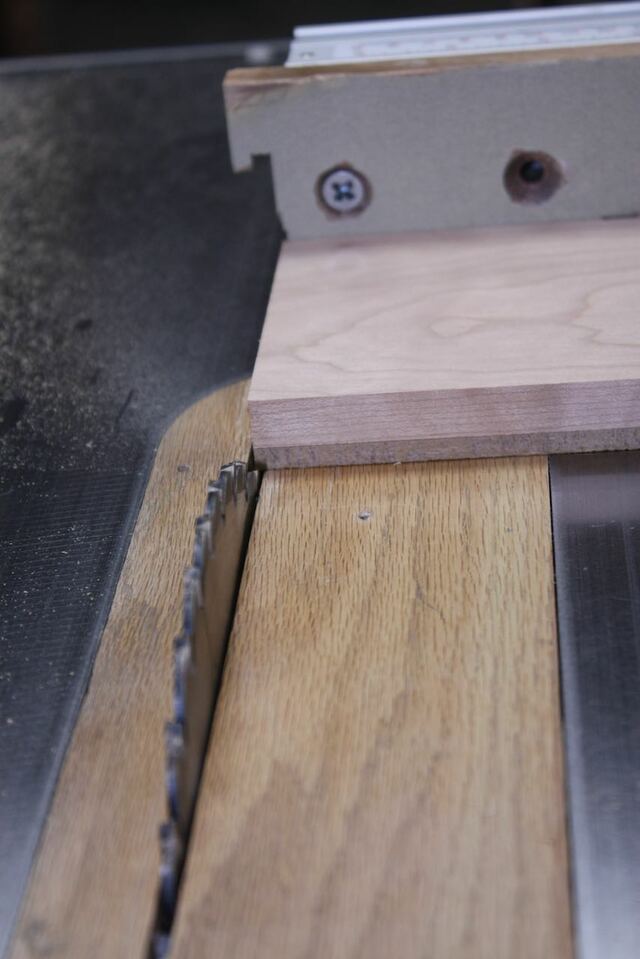
After the router operations, you can see it the setup is spot on by seeing that the board is fully cut, but the masonite is untouched.
Now is an ok time to pop the masonite off the box sides, hopefully you didn't over do the amount of double sided tape used ☝️
You can also leave them attached to protect the wood during the glue-up clamping.
My box needed a rabbet for the bottom plywood panel and a groove cut to contain the veneered lid panel.
I just used my box joint table saw blade set to cut these since it works so well, but any flat top grind (FTG) rip blade will work too.
My intention is to create an enclosed box with top and bottom glued in, then cut the top off the box. This ensures that the top and bottom match exactly, even if the box is not perfectly square.
I dry-assemble the box sides and get the measurements for a perfect bottom fit (no gaps) and a tight top fit. These are cut and test fitted to check the sizing.
The bottom panel needed a layer of red fuzzy cloth added since doing it after assembly is difficult. This means that the panel will entrap the fabric in the rabbet, but with glue on the edges of the panel, it will still have wood-wood contact for strength.
Lots of surfaces to get glue applied and clamped, so I glued up one corner with a square to keep it aligned. Same for the opposite corner.
Next was to apply glue into the panel grooves and glue/assemble the remaining corners.
Clamp up and let it dry.
The sealed box is complete!
.jpeg)
Next up, removing the lid and adding the dress up bits (pimping it out)
6 Comments

Good write up about the lock miter bit. I need to get me one of these.
Main Street to the Mountains
I hated them at first until I found the easy way to set them up (too cheap to buy that special tool). The guide board also was a big ah-ha moment.

You almost make it sound easier than cutting dovetails, Splint. ;-)
May you have the day you deserve!
Hah! Yes, in my case it is 😬
I've hand cut dove tails before and had hot-bad results, but watching you cut 1000's made me realize that it's a practiced skill, like cutting marquetry pieces.
I'm too lazy and have the git-'er done attitude, I want it now!
For DT's, I use my Leigh jig. Setup still kills me on that as I've not done enough DT's to remember the process and I always have to go back to the manual. Takes all day. I suppose if I was forced to do something by hand, DT's would be it. With the jig setup time, I could be done and drinking beer by the time I found the jig manual.
This is great Splint!!! THanks! Keep going...please!
Mike
Can I stop when I reach the edge?