


Share your craft projects
Make new craft buddies
Ask craft questions
Blog your craft journey

SplinterGroup
9128 posts
and
68 followers
in over 3 years
in over 3 years
More from SplinterGroup
Building the Art Deco Box #3: Separate the Lid and Give It Some Legs
This is
part 3
in a
4 part
series:
Building the Art Deco Box
-
Begin With a Simple Box Core
-
Separate the Lid and Give It Some Legs
-
Trim & Trays
- Begin With a Simple Box Core
- Separate the Lid and Give It Some Legs
- Trim & Trays
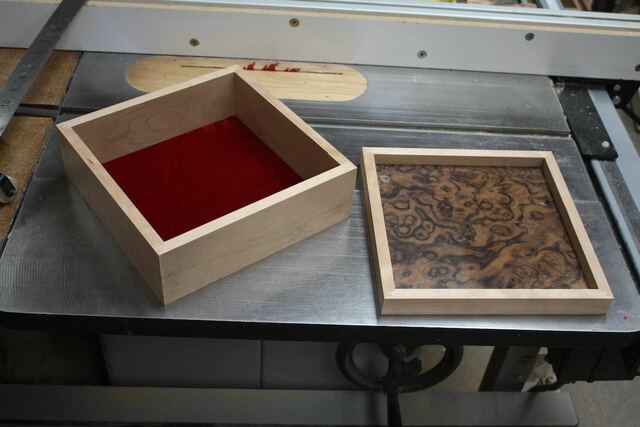
With the box glue-up dry, time to create the lid by sawing open the box.
I installed a thin kerf rip blade and set the cut depth to about 1/16" shy of cutting all the way through the 1/2" sides.
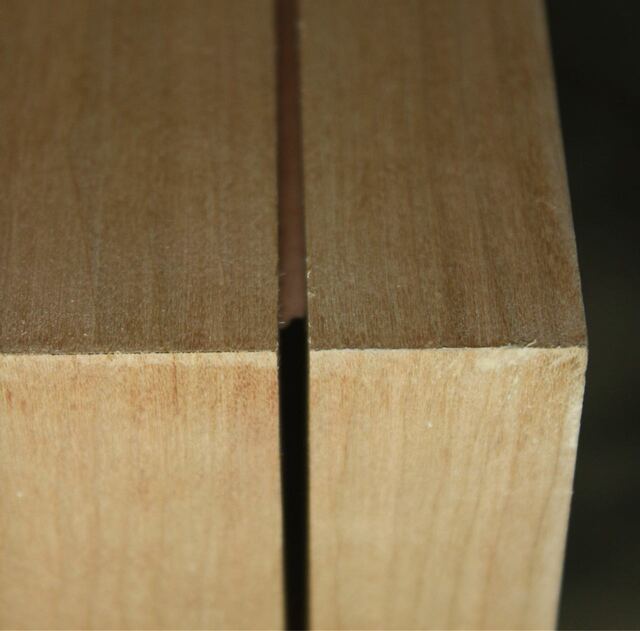
Position set and the box is run carefully along the fence. I want all cuts to meet at the corners!

The cuts, by not being the full 1/2" deep keep the lid from separating.
I then raise the blade past 1/2" and repeat the cut on two opposite sides. This leaves the lid still securely attached
I've found that it is easy to "break" the wood still holding the top on by hand. A box cutter will work, but with the blade pushing the thin section of wood inwards, there are chances of the wood splintering chunks off the box wall.
What I do is slip my 2' thin ruler through the box where the lid was fully cut. I can then use the ruler to sever the remaining wood from the inside of the box, avoiding any splintering.
I push/pull the ruler at a 45 to shear the connection and then it's all done!
Some sanding removes the remaining lip and assures a flush fit.
For legs, I just wanted something simple. At this point I start getting bored and waste an opportunity to try something "neat"
These legs could have been better profiled, maybe arching or something, but I went with linearity here.
Just cut "V" notches in both sides of some stock to wrap around the box corners.
I use my box joint blade set here, angled to 45 degrees. I just raise the blade until the little "nib" in the valley of the cut disappears.
Here is how that nib looks before the final pass.
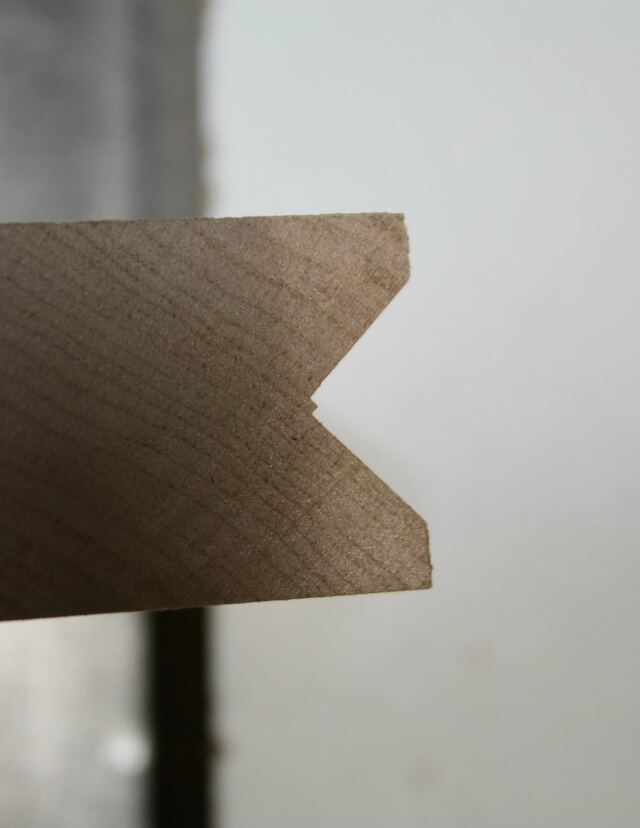
This does require some forethought to get the fence set so everything comes out, but I'll keep that a closely guarded secret for now 🤔
The blocks are then cut at an angle (bandsaw) to form four legs and the belt sander removes the saw marks.
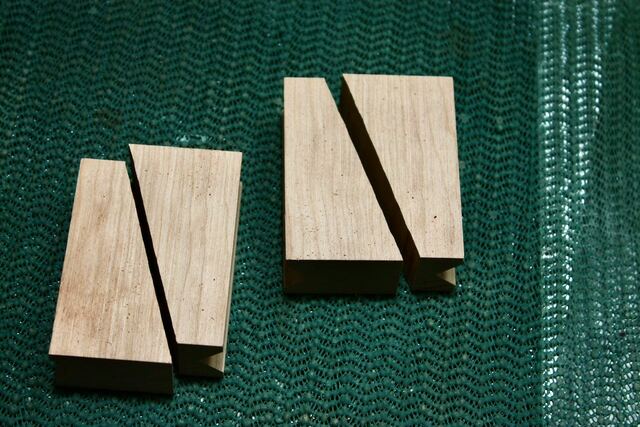
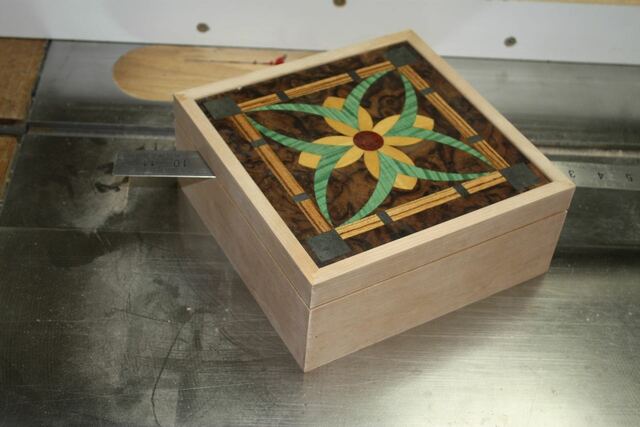
Some more facets added, chamfers, and done.
.jpeg)
I'd only have taken maybe an extra hour to come up with something sexier.
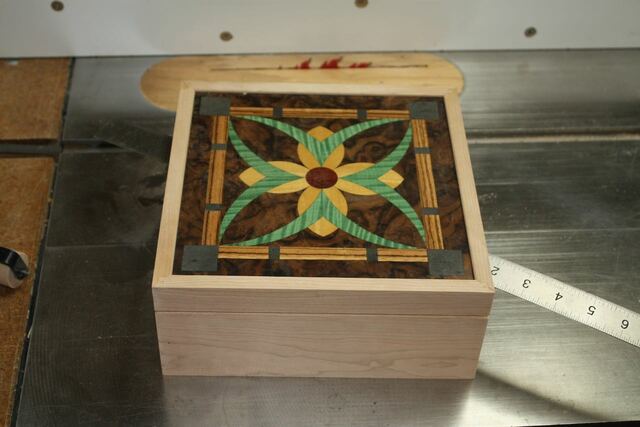
Anyhoo, glued in place and ready to serve.
.jpeg)
Next (and last) up. the top trim and interior trays.
4 Comments

The legs look fine. Next time you’ll try something else.
Ryan/// ~sigh~ I blew up another bowl. Moke told me "I made the inside bigger than the outside".

Nice process on cutting the box open. I keep the bland just below the thickness to seperate, I try to cut a dust lip on mine. The idea of a thin ruler is wonderful. And the legs are fine on this project.
Main Street to the Mountains

Looking Good!
-- Soli Deo gloria! ( To God alone be the Glory)

Great blog, thanks for the info.
.................. John D....................