


Share your craft projects
Make new craft buddies
Ask craft questions
Blog your craft journey

SplinterGroup
9073 posts
and
68 followers
in over 3 years
in over 3 years
More from SplinterGroup
Building the Art Deco Box #4: Trim & Trays
This is
part 4
in a
4 part
series:
Building the Art Deco Box
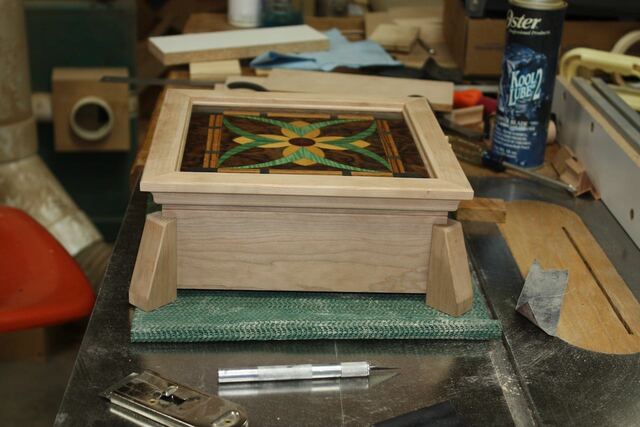
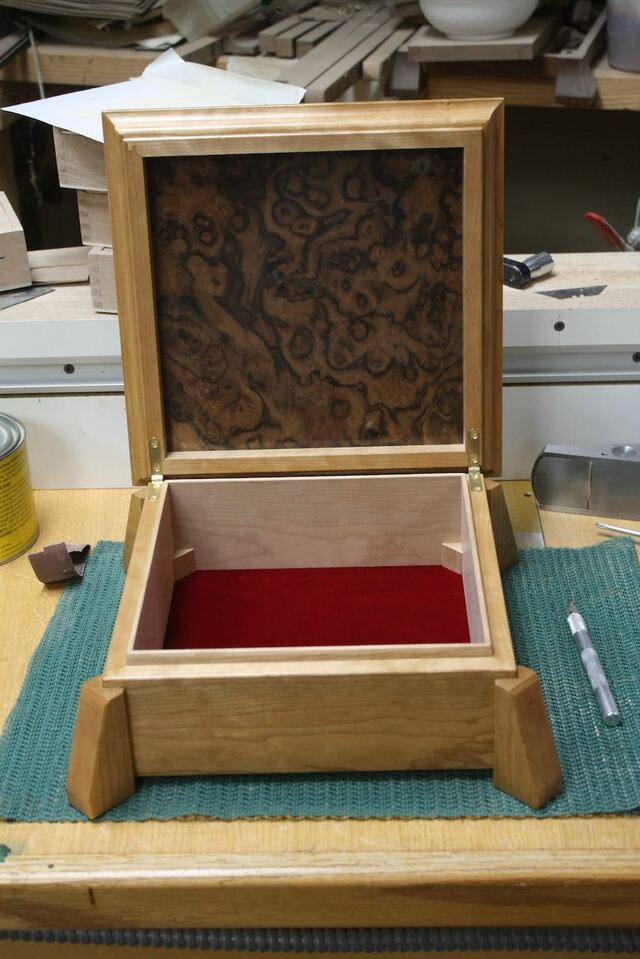
Almost done, I swear!
With only legs, the box looks bottom heavy.
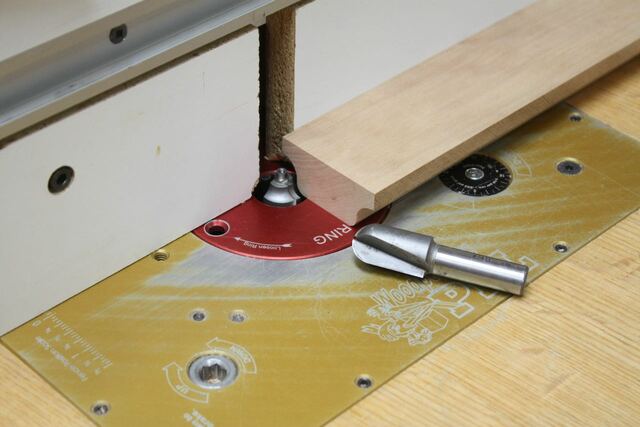
A few passes on the router table will make some trim to fix this.
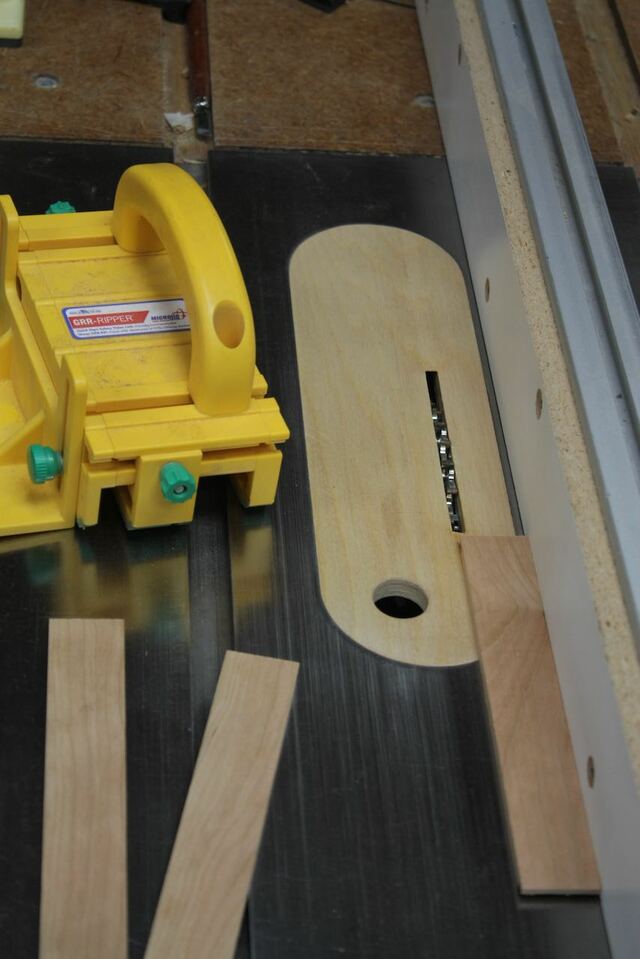
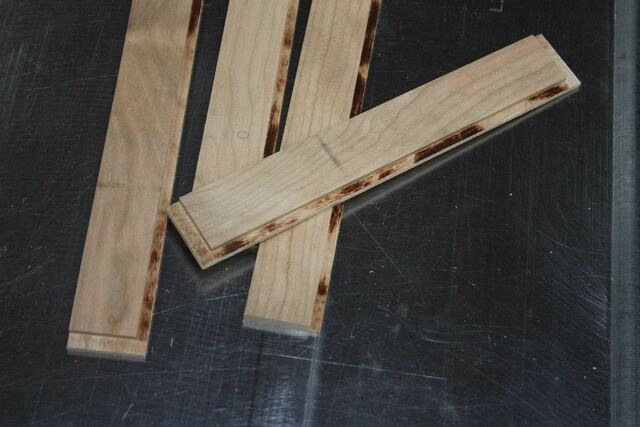
Length of cherry, first shape the sides with a 3/4" box core bit and make a curved return with a 1/4" radius round over.
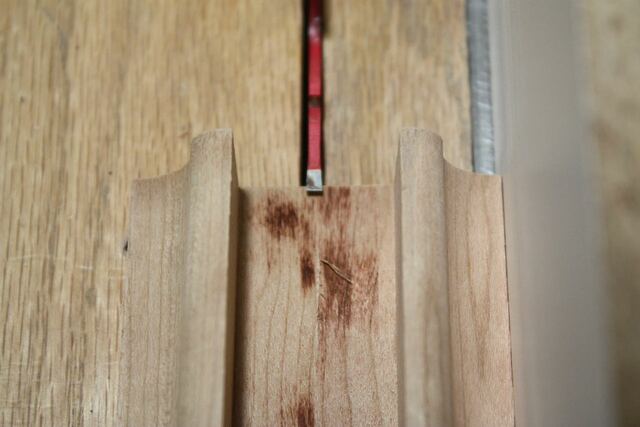
To overlap the lid (with a reveal), I just needed to add a rabbet. I did this on the table saw, again using my trusty box joint blade set for the square cornered cuts.
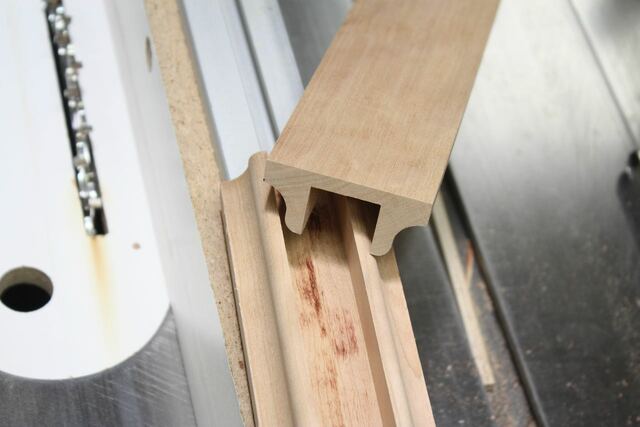
Trim pieces separated from the mothership with a rip cut.
.jpeg)
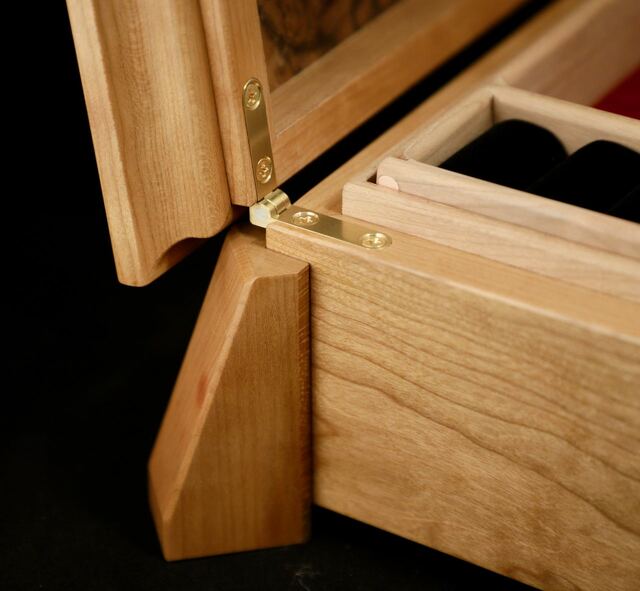
Some careful 45 cuts and length marking and this trim is fitted around the lid.
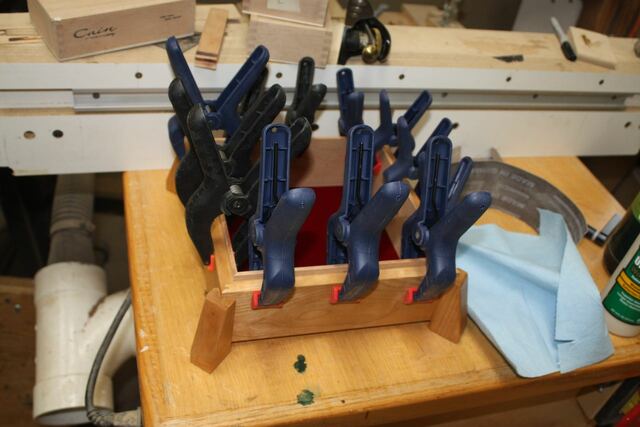
For the box inside, I wanted to have the lid close on a lip. This can be done by pre-cutting a rabbet on the box interior and the lip then is formed when the box lid is separated, but too much thinking involved at this point.
These are just thin (1/8") pieces, mitered to length and cut to width to stand about 3/8" over the box bottom.
.jpeg)
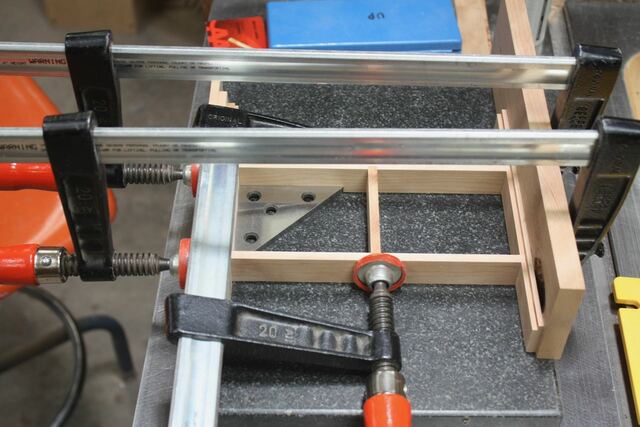
Glued to the interior (some clamps used)
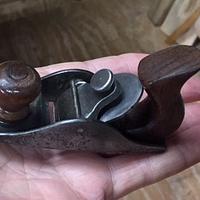
The tops need a bevel on the front to make it past the arc of the top while being shut. The sides can also benefit from a slight bevel.
Tape protects the wood below while a small plane is used to the deed.
.jpeg)
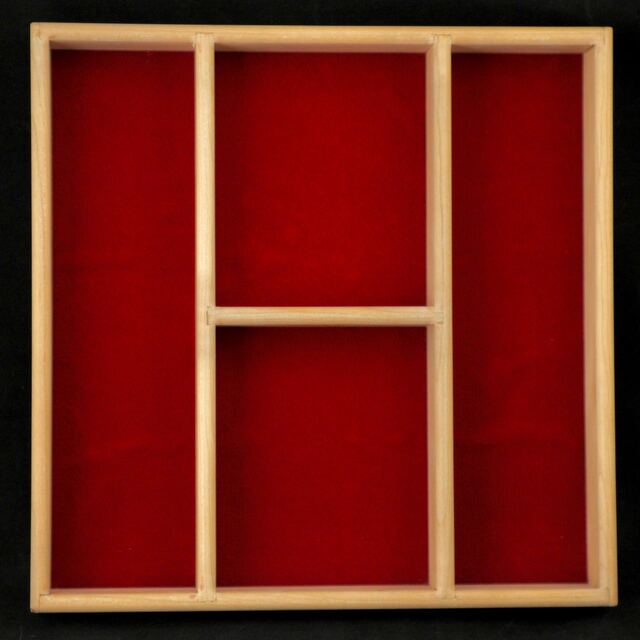
Interior contains two trays.
These are made from 1/4" cherry.
Basic dado and lap joinery, pieces are cut.
Some burning. only you and me will know 🤫
Epoxy used here in a staged assembly and my granite plate to keep things flush and flat.
1/8" fabric covered plywood used for the tray bottoms, cherry veneer to hide the plywood. I used flat head copper rivets in strategic locations for strength, the wood screws hold the lift knob in place
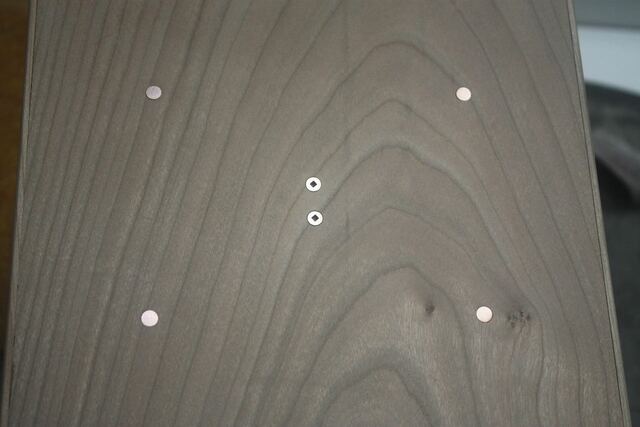
1/8" roundover to tame the top edges. The 1/4" diameter guide bearing lets the radius get into the corners.
Top tray gets ring rolls on each side, center lift is a scrap of twisted wire inlay I used on another project.
.jpeg)

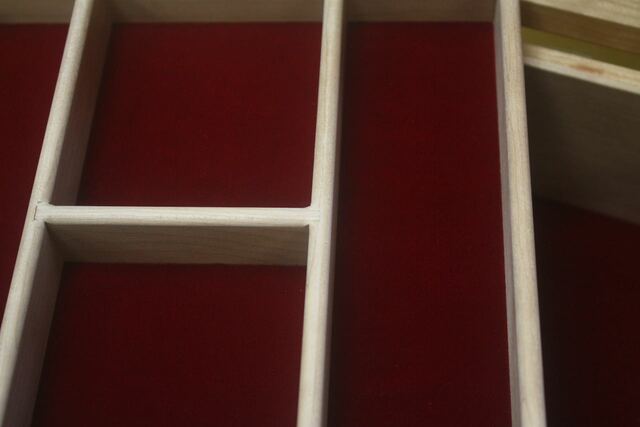
Other tray is just sectioned space.
Corner blocks keep the trays from making it to the bottom of the box, leaving a third storage level.
Well, that's the skinny. If you made it this far, I'm soooo sorry! 🤠
A simple box is never simple when I get to thinking.
Questions/comments most welcomed!
10 Comments

Beautiful work. Nicely done.
Ryan/// ~sigh~ I blew up another bowl. Moke told me "I made the inside bigger than the outside".

Well done Splinter. What did you use for the ring cusion, purchased or shop made?
Main Street to the Mountains
Thanks Eric!
I used to make my own since the only ones I could find were Rockler ($$$)
Then I found jewelry supply which has good stuff for cheap. I cut them on the TS with some care.
I used to make my own since the only ones I could find were Rockler ($$$)
Then I found jewelry supply which has good stuff for cheap. I cut them on the TS with some care.
Thanks for the update Splinter.
Main Street to the Mountains
Wonderful looking box, very nice joinery.
David

damn inspirational splint. someday when i grow up i wanna be just like you. well after you grow first of course 😁
working with my hands is a joy,it gives me a sense of fulfillment,somthing so many seek and so few find.-SAM MALOOF.
Thanks P!
I'll never grow up, to many responsibilities!
I see "Hillary" is coming your way, watch out for flying cankles and batten down Sadona!
I'll never grow up, to many responsibilities!
I see "Hillary" is coming your way, watch out for flying cankles and batten down Sadona!

Nice writeup. Thanks Eric.

Nice box, with plenty of cool details. I enjoyed the write up.
Thanks Dan!