Here are some progress photos on some miscellaneous bits.
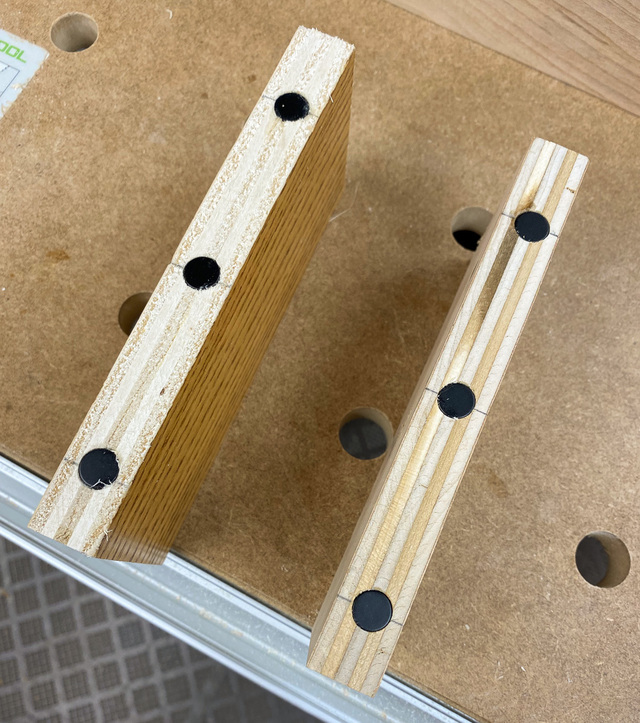
I did do a test with edge-to-edge magnets. They did pretty well self-aligning, and they probably have enough strength to resist separation by sliding.
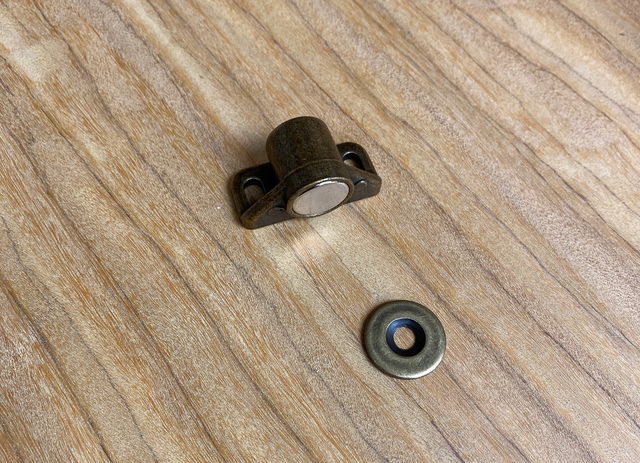
Ultimately, I decided that I didn't want to do the awkward drilling into the underside of the upper rear stretcher. Instead, I'll use 4 of these surface mount magnets on the side panels with washers on the removable panel.
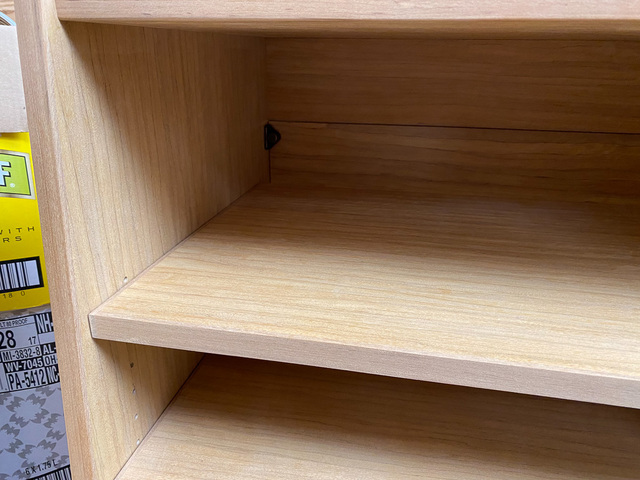
Here's one just taped in place to see how visible it will be inside the cabinet. When I mount these (after all the finishing is done), I'll locate the upper pair in line with the top shelf, so they will be less visible. The lower pair will be even less visible.
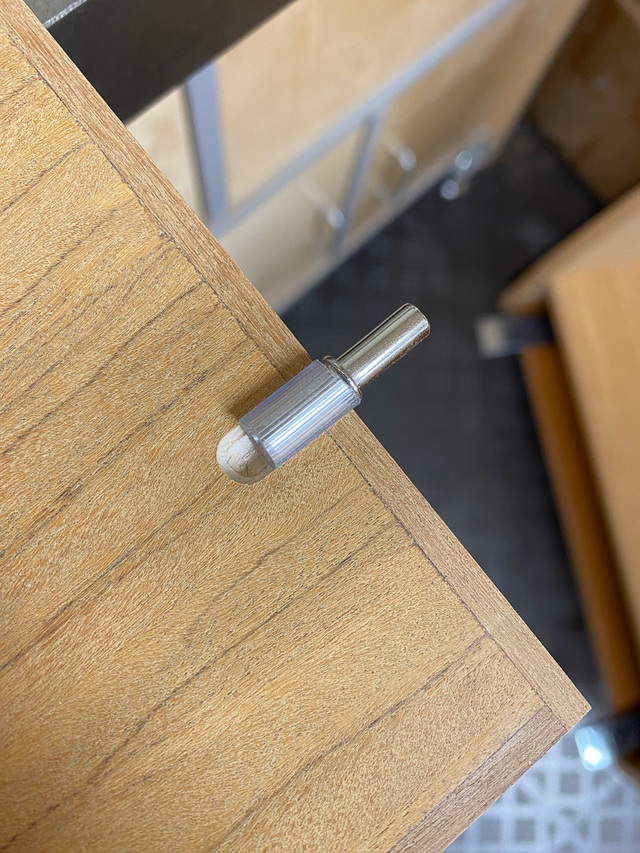
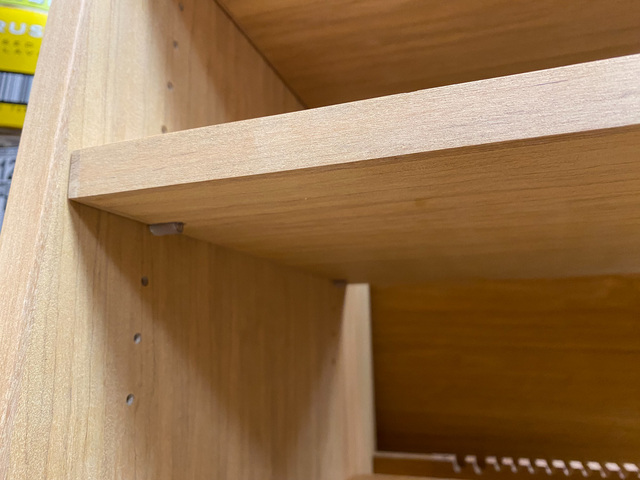
The adjustable shelves get some detents on their side edges to index the shelf pins. I used a 1/4" diameter core box bit on the router table to make short channels equidistant from the front an rear edges. I needed a slightly wider groove than 1/4", so after the initial pass, I shifted the fence a little and ran them all again. One groove was cut running right to left, the other a climb cut left to right. The bit was so small, it was easy to control. With the tubing cover on the pin, there was no shelf movement at all once the shelf dropped into place.
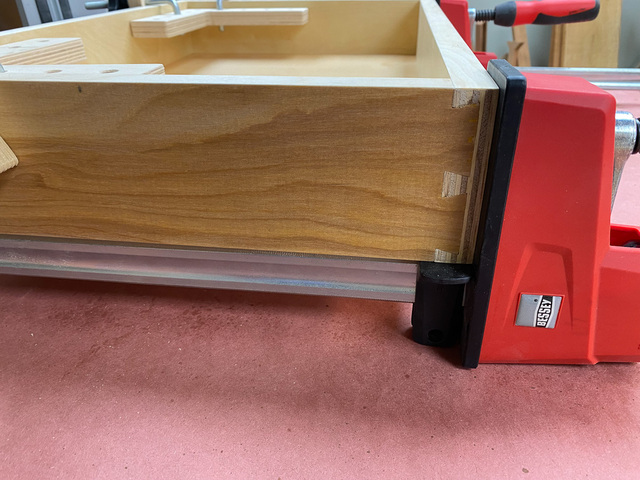
For the drawer box, I did some of the pre-finishing before the glue-up (mostly just the interior), and then completed the finishing after it was assembled. I used wax-free shellac followed by a couple coats of poly.
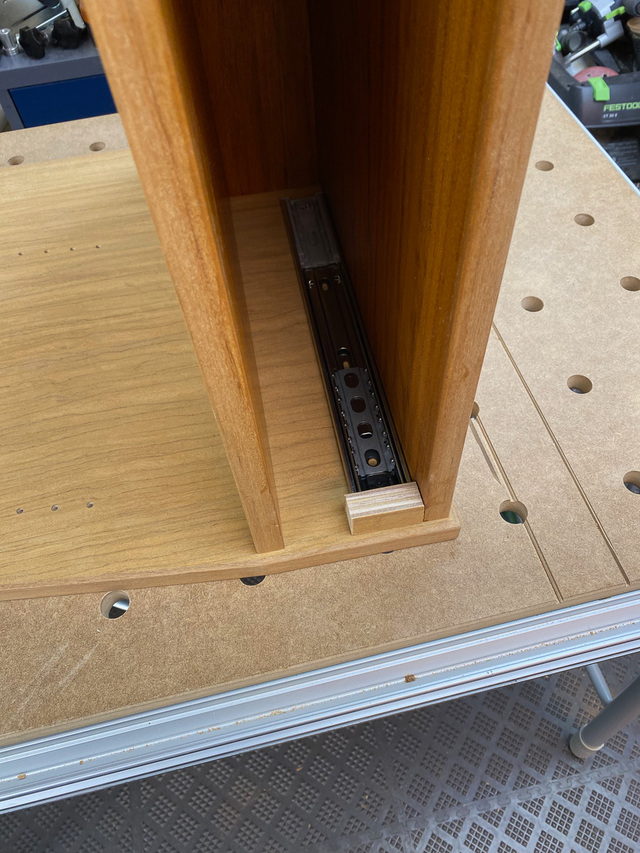
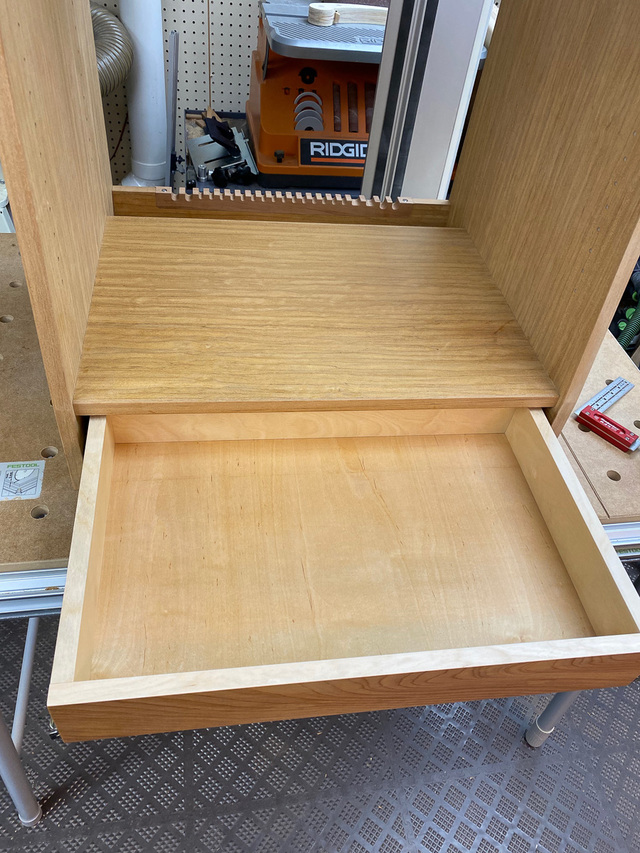
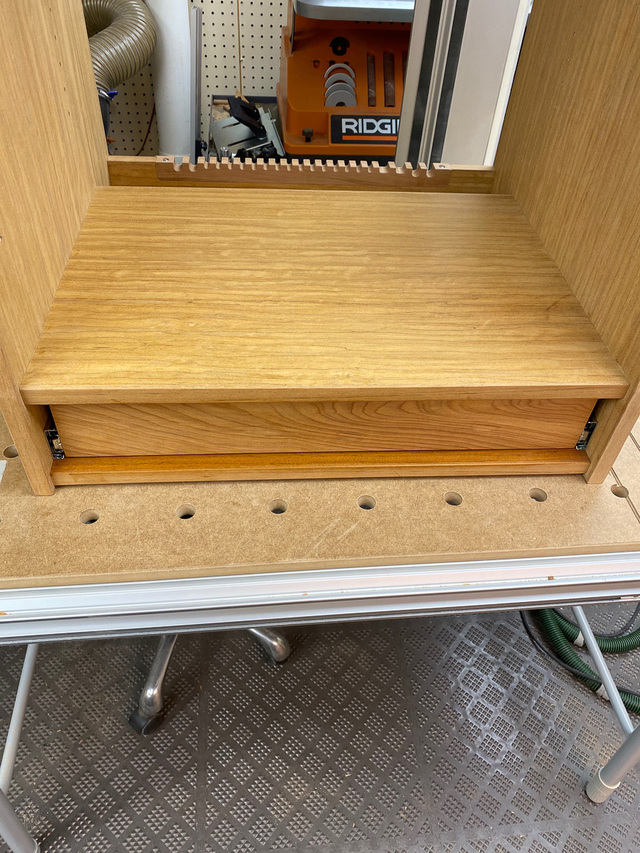
I marked and pre-drilled the holes for the drawer slides, and then did a quick test fit. It's a bit awkward to get in there to mark and drill, and I thought it best to do that before finishing the cabinet.
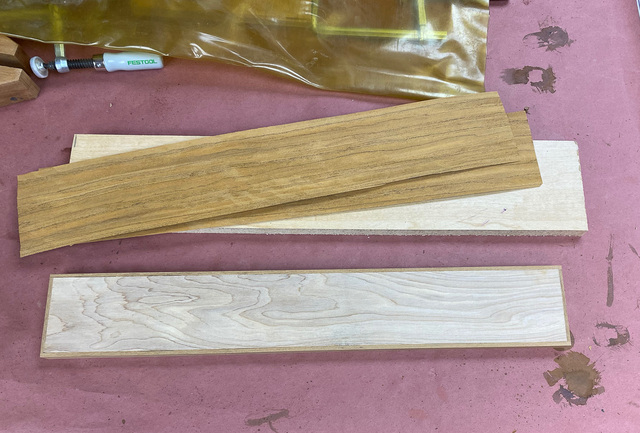
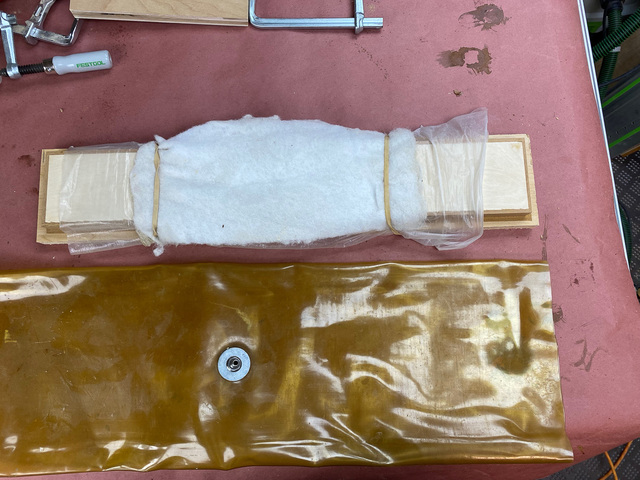
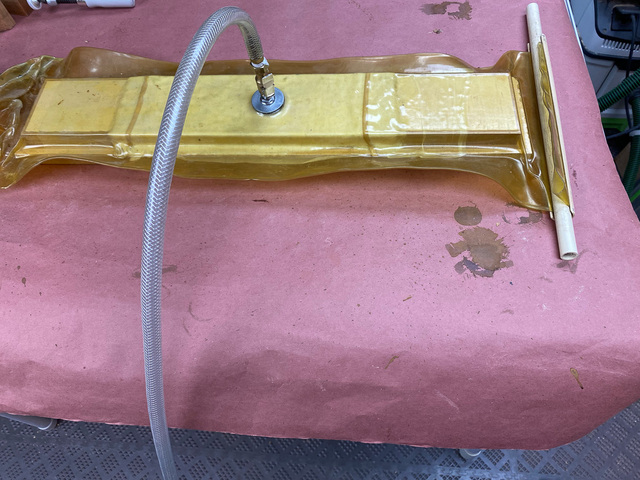
For the drawer front, I applied hardwood edging first, fitted it to the opening, then glued-on the veneers. The veneer is 1/2" oversized to extend 1/4" all around the drawer front.
This is another salvaged waterbed tube that I've been using for vacuum bagging for over 10 years. The poly sheeting is just to keep the breather batting away from the glue. The platten is a section of wood-grained melamine. The platten is needed to keep the overhanging veneer from being crushed.
I still need to decide on what type of drawer pull to use. I've got the bulk of the sanding done on the cabinet, shelves, and rear panel, so the next update will be after I've applied finish.
Interesting results from the edge-mounted magnets test. I think you made the right call with the surface-mount magnets. They’re not as cool, but they seem like a simpler solution, and nobody will ever see them.
Things continue to look very good. I like the tube covers on the shelf pins. I’ve never seen them.
Thanks, Ron. Yeah, regardless of the route I took, I think the panel fastening is a detail I will have agonized over for a moment and never thought of again.
I got the idea for covered shelf pins while browsing Amazon. I bought regular pins and cut some sleeves from tubing that I had lying around.