I used this opportunity to get some experience with the Leigh D4R dovetail jig. I bought it used in a package deal with the Leigh mortise and tenon jig that I used earlier on the legs and stretchers. The manual for the dovetail jig requires some studying before getting started. Fortunately, the manual is pretty well written. For half-blind dovetails, though, there is quite a bit of trial and error on scraps to get the settings dialed-in. With no prior experience, I opted not to use valuable hardwood. Instead I used the same 3/4" birch plywood that I used for the cabinet. That way, I wouldn't cry if I messed it up.
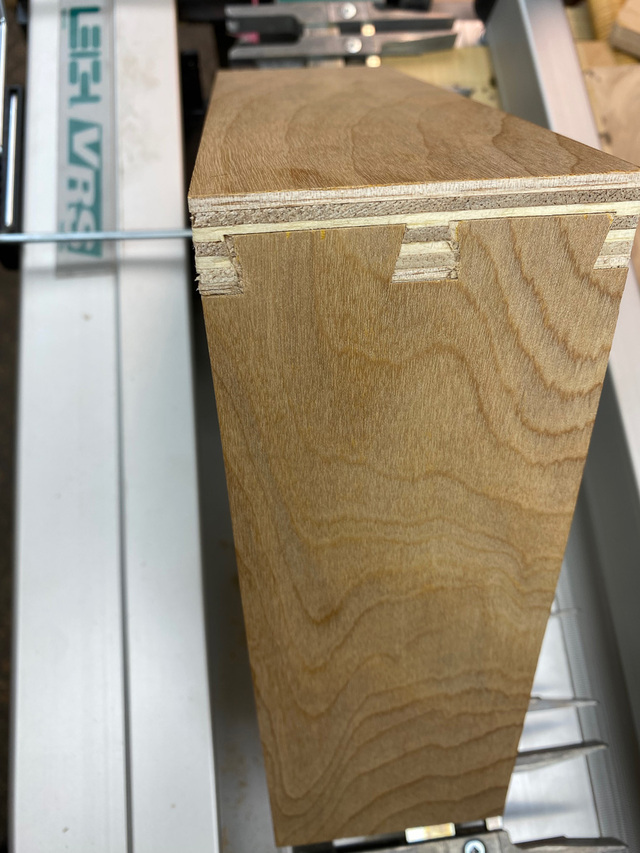
Not that I'd expect a super clean cut on Home Depot birch plywood, but I got some decent tear-out on the tails, even with a brand new dovetail bit and the requisite backer board. I found that this last batch of plywood has had a lot of voids and lean glue layers between laminations. I'm sure the results would have been better with some BBP. But, what I have is workable for now. Here's my final fit with some scraps after 5-6 iterations of adjustments.
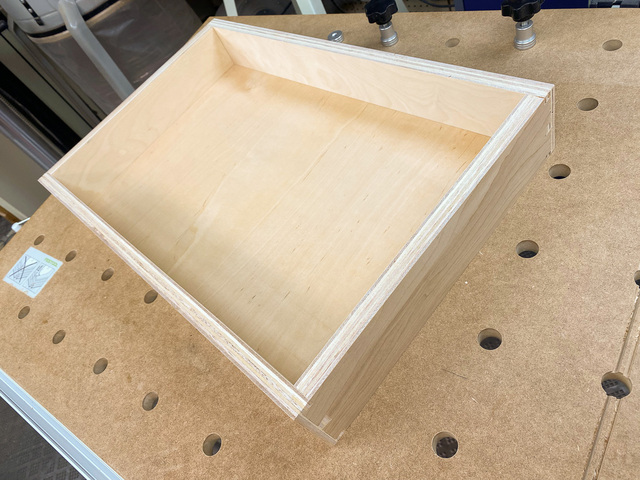
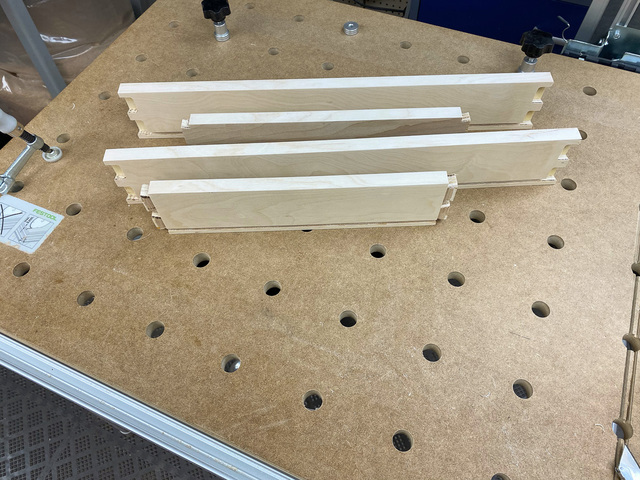
With all the settings dialed-in, knocking out the the pins and tails probably took around 15 minutes. With those done, I setup the router table with a 1/8" spiral bit to cut a dado for the 1/4" (nominal) drawer bottom. I nudged the fence a little each pass until the dado provided a snug fit for the 1/4" ply.
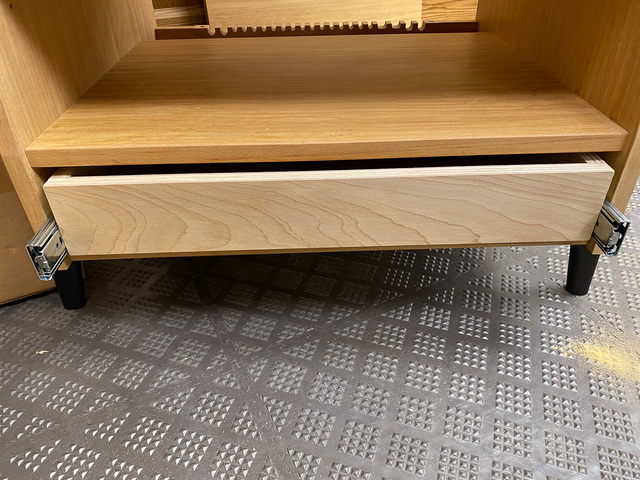
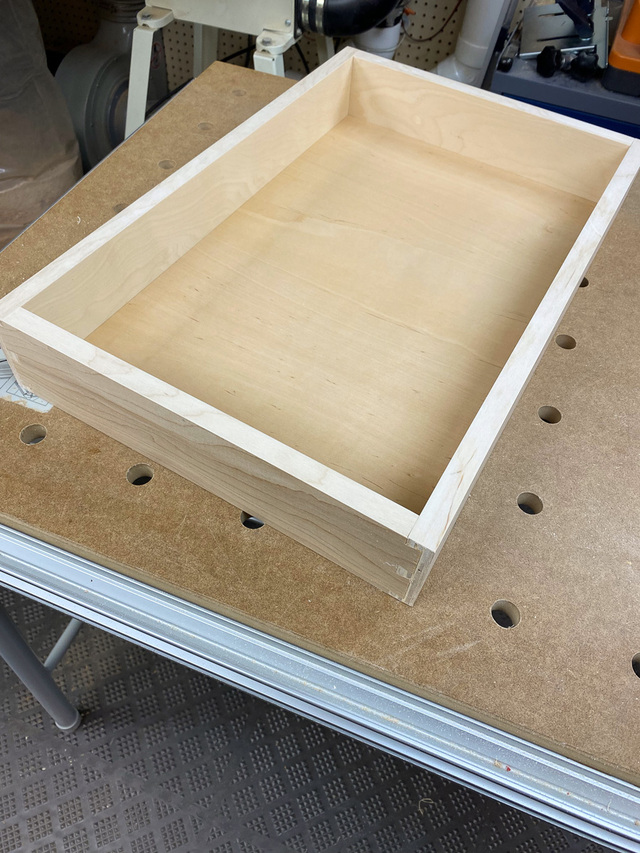
Test fitting the drawer in the opening with the drawer slides. It's a good fit - no binding and no slop.
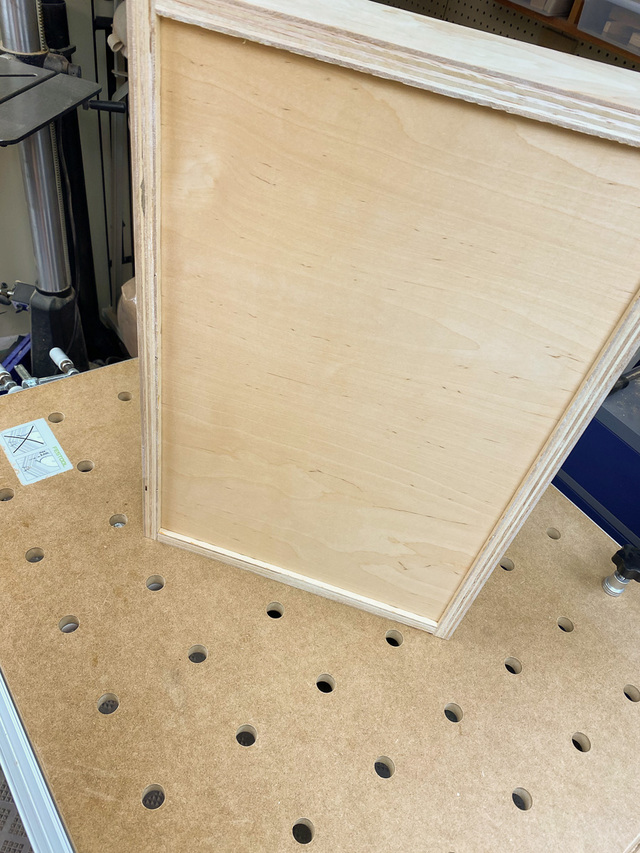
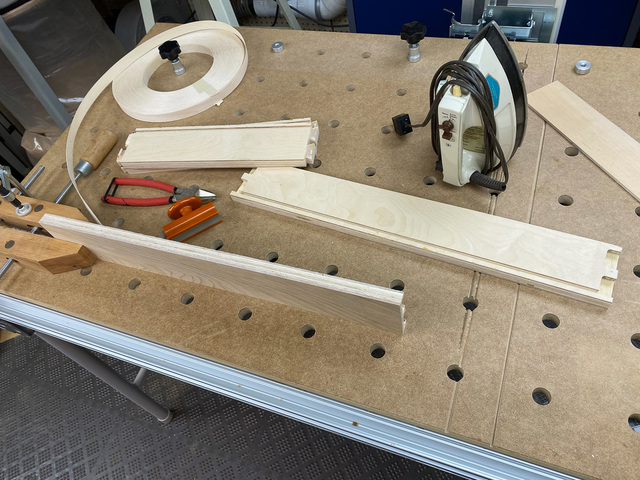
The edges needed some dressing-up, so I prepared to put some lipstick on the pig.
I applied the iron-on edging to both top an bottom edges. It really does elevate the look.
A final dry fit. I haven't decided on whether to apply finish before or after glue-up. Finish will be shellac then poly. I'd prefer to spray, but I have to spray outside, and the temps are low at the moment. Right now, I'm leaning towards brushing the finishes before glue-up. We'll see.
Routing through the thickness of any plywood can be a real nightmare!
I also have the DR4 and basically have to start over and relearn everything since I only use it maybe once a year.
Tape over the cut areas can help a bit. Also surprised you didn't use a TS to cut the grooves, for me, cutting long grooves with a tiny router bit is all white knuckle all the time 😱
Final box looks A-1 however 👍 Is this going to be faced veneered, solid wood, or ???
Splinter - Thanks. The DR4 will shine when I need to do a batch of drawer boxes. And I'm sure I'll get better at setup now that I'm a little familiar with how it works. I decided to cut the dado for the drawer bottom on the router table so I could do a stopped dado and avoid cutting off the tip of the half-pin on either end. I would be left with some chisel work if I tried to do that on the TS. Slow and steady with the 1/8" spiral bit worked for me. The drawer box will get a false front for an inset fit. It will be veneered with more Izombe. I'm deferring building it until I've worked-out what kind of drawer pull to use - something integrated or something attached to the face.
Pottz, thank you. I'm going to enjoy playing around with the DR4. It also has a finger joint attachment - that might be a better choice for sub-par plywood boxes than dovetails.