Seems like no matter when I start a project it never gets done before it has to... Progress has been slow the past couple weeks. One weekend we had family come into town unexpectedly and stay with us and this past weekend I had to go out of town for work. So one Saturday is about all I've had and now I'm sweating. I took tomorrow off to give myself 3 days to wrap this thing up. I have to have it complete by Sunday so I can start the finishing because it has to be delivered next Thursday. Grrrrr.
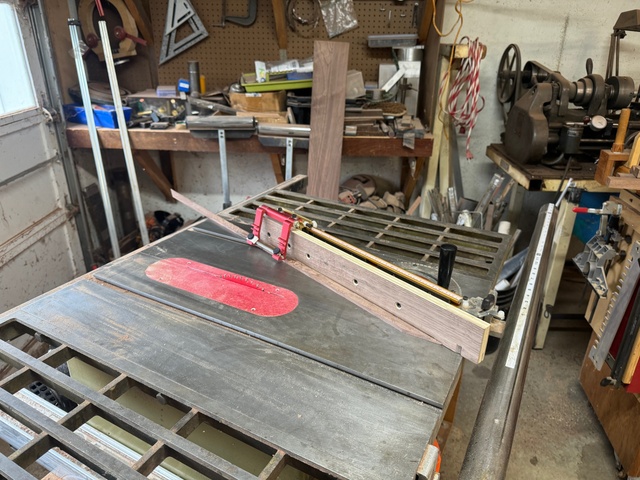
I haven't been good about taking pics or making notes the past couple weeks so bear with me. When I left off the last entry I was cutting the trim pieces for the flag. I ended up ruining a couple of them because I didn't back up my miter cuts on the table saw and lost the sharp tips. So I made a sacrificial fence and attached it to miter gauge and all went peachy.
It even turned out that I will be able to leave the divider piece loose between the flag and medals section so that if there is any problem getting the flag tucked in neatly, there will be access to the back side of it.
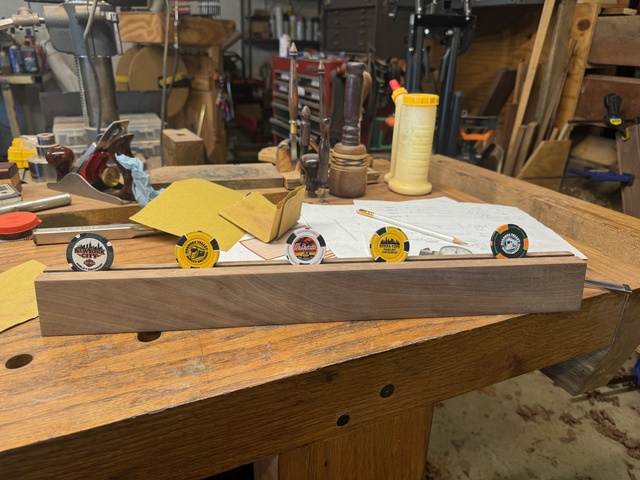
Next up was to finish up the coin shelves. I didn't take any pictures so you'll just have to wait and see the rest. But I cut the pieces that run along the full length of the bottom. It consists of three pieces laminated with rabbets to hold the coins and have a 10 degree bevel on the ends that sets them at an angle in the bottom section so the coins don't set straight up.
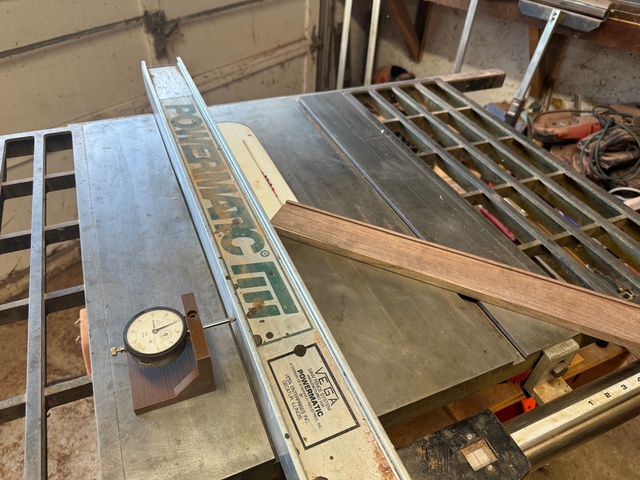
For the shelves I had already done that are to the right of the flag/medals section and are housed in the dados, the grooves to hold the coins had to be cut at the 10 degree angle since all the shelves sit level. I had initially planned to cut those with a box joint blade so there were clean bottoms and square corners. But then I realized some needed to be narrower than the blade can cut. But on reflection, they aren't visible and the coins don't give a crap if the grooves are flat or have square corners. So I just used a rip blade, laid it over to 10 degrees, and set the depth and fence appropriately for each piece. Then I made multiple passes on each groove using a dial indicator to move the fence to get the precise width I wanted.
Thankfully there were no oopsies during the cuts or the design and all went as planned.
With that behind me, I moved on to the medals section. My BIL thinks he wants a Walnut backer for the medals but wasn't completely convinced. So I decided to make the backer a removable insert that has a piece of 1/4" Walnut on one side and a piece of cardboard with black felt on the other so he can switch it if he decides he doesn't like the wood backer.
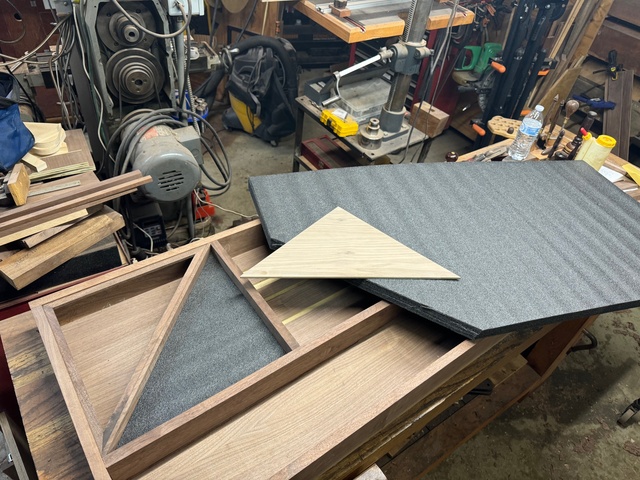
I bought a piece of 1/4" Walnut ply. Unfortunately, my miter gauge wouldn't engage the slot on my table saw with a mitered piece this large and the throat on my bandsaw isn't deep enough. I was going to use my track saw but was afraid the blade I have for it would make a mess of the thin veneer. So I did what I should never do and freehand cut to a line on my table saw.
I'm not thrilled with how the cut came out. I had to hand sand it to flatten the cut edge and it ended up a little looser than I wanted but probably not so much that I can't live with it. I do have enough of the plywood to make another one though so if time permits I'll probably give it another go. Then I used my plywood piece to cut a piece of Kaizan foam the same size and fit it into the section. I made it a nice tight fit but not so tight that (a) the divider piece can't be removed and (b) the insert can't be removed to flip it around.
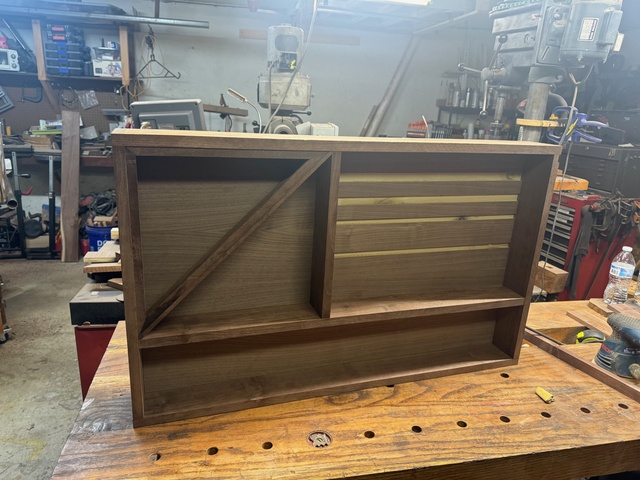
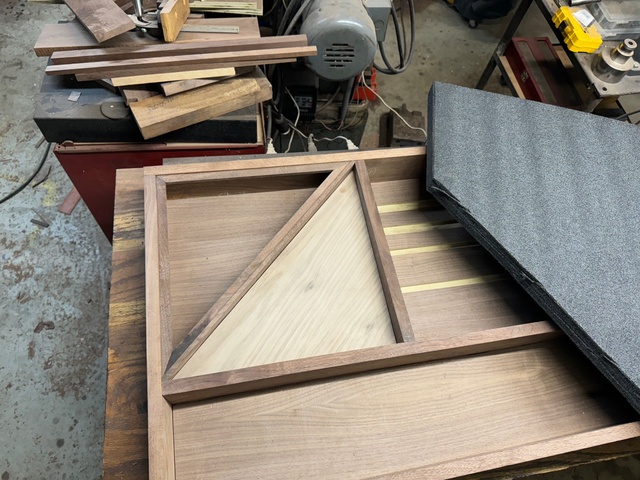
With the foam and plywood in place, it looks pretty good and will put the medals about 1/2" inset from the face of the box.
I was a little perturbed with how light colored the Walnut veneer on the plywood is. But I'll give it some oil before I finish everything and I think it will be alright. I still need to make the felt covered cardboard for the back side but that should go pretty easily.
So that's as far as I got. Not where I want to be with a week before this has to be delivered... I haven't even started on the door yet. I have the pieces milled and ripped to width but I want to get the case glued up before I cut them to final length and go to work on the rail/stile joints with the router. I've sanded all of my coin shelves so next I will sand the case pieces and the backer and pre-finish the insides of the case pieces and the backer. Then I'll glue that up so I have something precise to work to for the door. I also need to route the mortises for the hinges and latches in the case sides. I would prefer to do that before glue up but in the interest of time, I may have to wait until after.
If I can finish all that up and get the door pieces done by Sunday I can complete the case glue up and prefinish the door members and get the plexiglass cut and fit. Then hopefully Sunday night I can glue up the door and start applying Arm R Seal on Monday. That gives me three days to get three coats on which should be sufficient. Hopefully it will be sufficiently cured by Thursday morning so I can wrap it up in something to make the trip to the retirement ceremony.
Next post will likely be after delivery so wish me luck!
For the cut with the miter gauge - if I have a big item, I flip the miter gauge in the slot. Requires different mindset on holding the piece, but has worked for me. I picked that idea up from a YouTube as I recall.
HokieKen - I've also seen table "extenders" that give more surface space on the front of a cut, including a miter slot (Izzy Swan had one I saw on one of his videos).
I like the Izzy Swan starter pad, for sleds it is the ticket. They work best on a square rail, but even with my Vega fence round rail they can be worked out. Pipe cut in half, so the arc fits over, and weld, or bolt the flat stuff on top. I think for the low end weight bearing some JB weld would work too. They can give as much as 20 to 24" of pre-table starting space, so width isn't a big obstacle.
Of course jigbuilding mid project adds to that deadline getting longer. Sometimes work is a real PIA. :-)
I had planned on being glued up by now but I keep finding Issues to fix first. I about have everything fit now and I have the door members cut and joined to size. Just a couple more tweeks and I think I’ll apply a second coat of prefinish to the interior faces this evening then move to the glue up tomorrow evening and start the final finishing schedule. I’m pushing it but it’s looking promising to come in just under the wire!
I'm super late to this one but it looks great brother. Just knowing that someone will keep this likely FOREVER makes all of the details worth while. This will be exceptional when done man. You should be proud.
Lincoln - "Give me six hours to chop down a tree and I will spend the first four sharpening the axe." Dave in AZ