


Share your craft projects
Make new craft buddies
Ask craft questions
Blog your craft journey

David L. Whitehurst
60 posts
and
8 followers
in about 12 years
in about 12 years
Toolbox #3: Sliding Trays
This is
part 3
in a
5 part
series:
Toolbox
I learned a valuable lesson tonight. I learned how to quickly make a sliding tray with finger joints and a floating poplar bottom to the wrong dimensions. (LOL). It was 14" long instead of 14-3/4" long. Anyhow, I hand-cut a 5/4 board long enough for sides and end pieces. And, I ripped it on the table saw and had two 3-1/2" pieces. When I split the boards on the bandsaw I had 4 sides and 4 ends. I decided I would do one tray first.
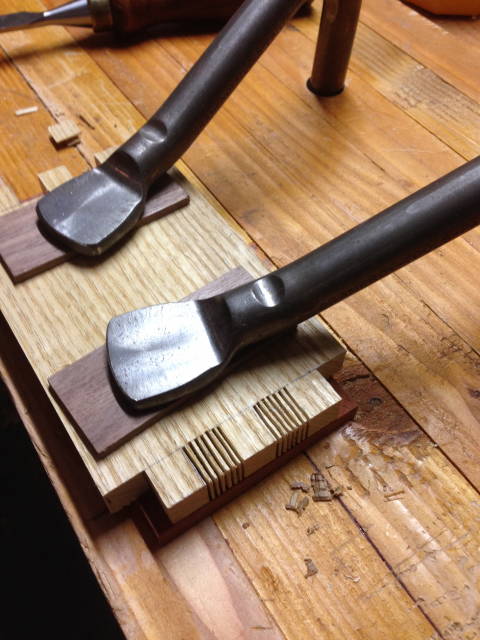
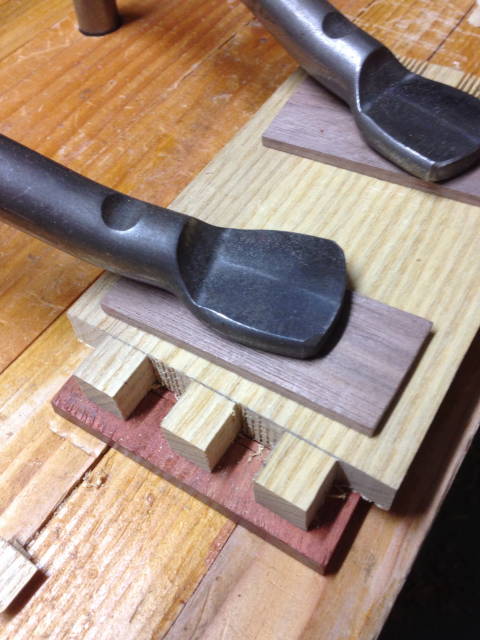
I cut the finger joints on the bandsaw and kerfed the waste. When I was done, I clamped my pieces on the bench and my joints were exactly 1/2". So with a really sharp 1/2" chisel I easily finished the joints.
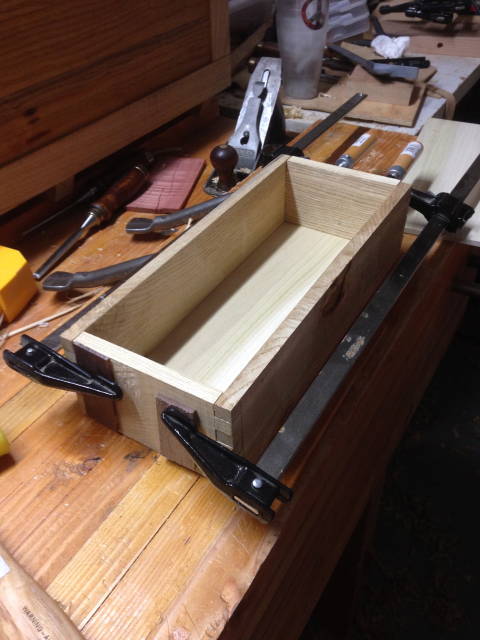
I cut two bottoms from some left over 1/4" poplar. And then cut rabbets in the pieces for the tray bottom to float in. A few chisel adjustments and the fit-up was fine. Before I glued the finger joints I set the tray in the toolbox. It was way too short.
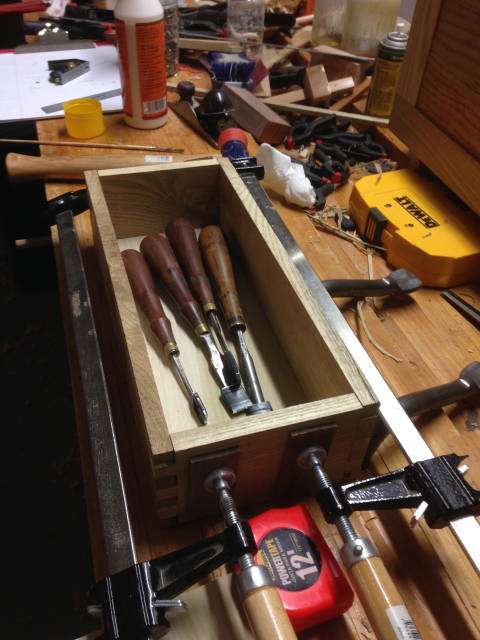
Lesson learned: check your mill-work before you start your joinery. Nice tray. I may even just set this one tray in the bottom so it could be removed and used on the bench for temporary chisel storage.
David L. Whitehurst
3 Comments

I guess that will be a good use for it.
I was taught to always dry fit the parts before final glue up.
of course I never followed that advise…
Abbas, Castro Valley, CA
Oh I dry fitted things and put the little tray in the toolbox and it was too short. Well when I realized that it was too short, I went ahead and glued everything.
David L. Whitehurst
You probably figure you can use it differently, like you mentioned in the post.
Abbas, Castro Valley, CA