


Share your craft projects
Make new craft buddies
Ask craft questions
Blog your craft journey
kiefer
470 posts
and
61 followers
in over 12 years
in over 12 years
My Work Bench JOURNEY #3:
Well here is another installment on my humble work bench.
I will start with a few pictures and at the end of the blog you will see a link to a video I made which should give you a good idea what my bench environment looks like .!
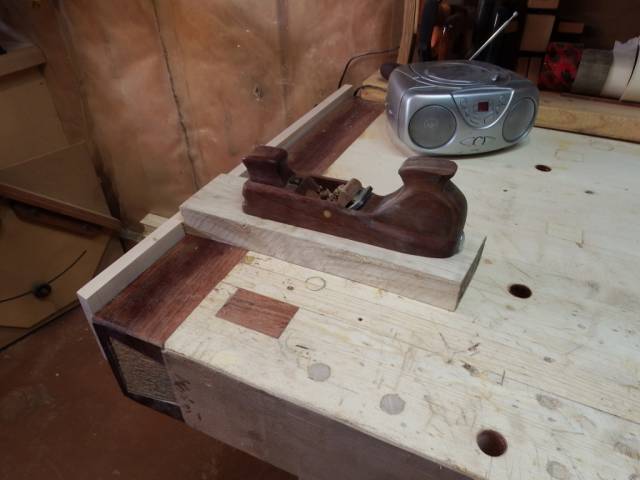
I will start on the left end of the bench with the planning stop, simple just loosen the knobs and slide up and tighten knobs always there when needed.
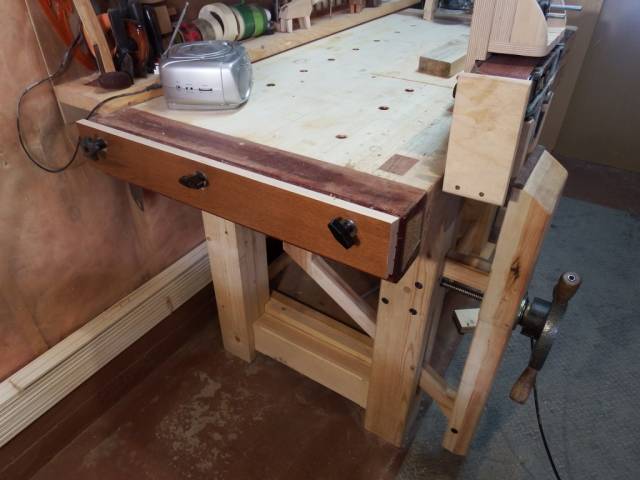
Next is my new leg vise ( on which I will do another video )with the belt sander clamped in the vise and the thickness sanding attachment installed on the sander .

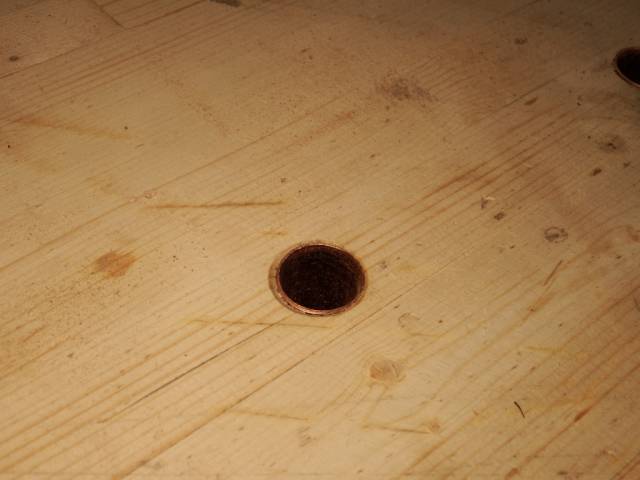
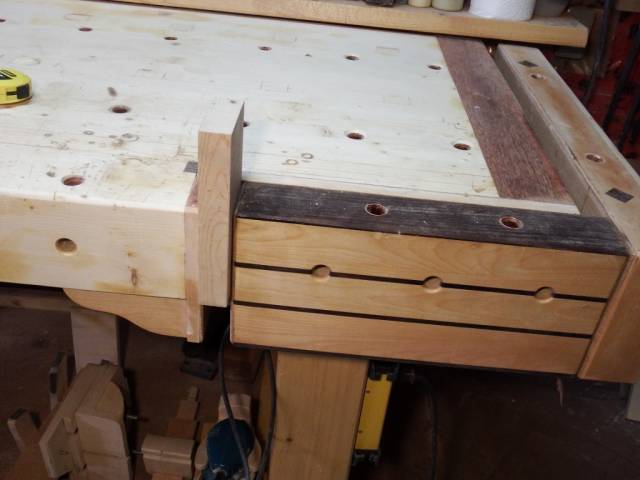
Next are the dog holes lined with 3/4" copper tubing and the shop made hold fasts .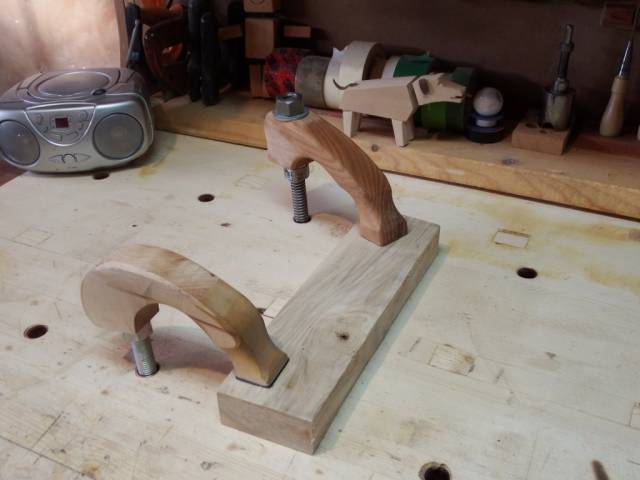
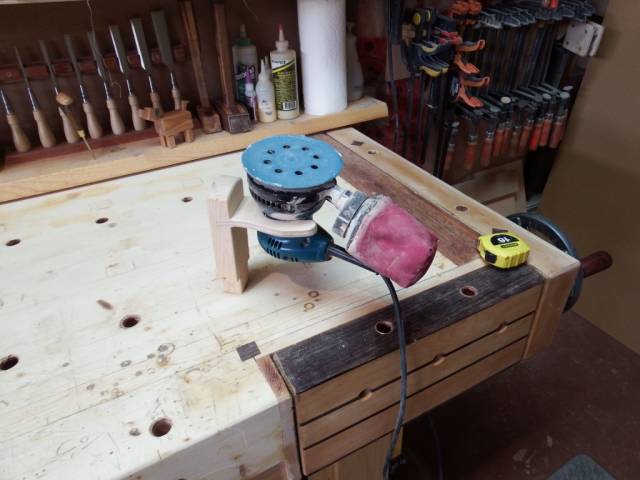
Next is my orbital sander stand 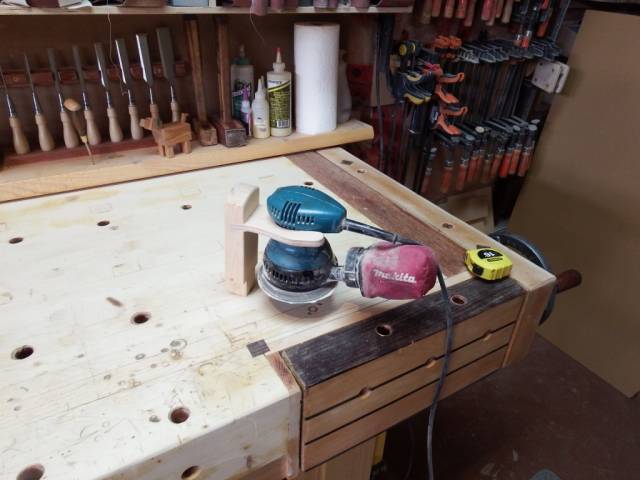
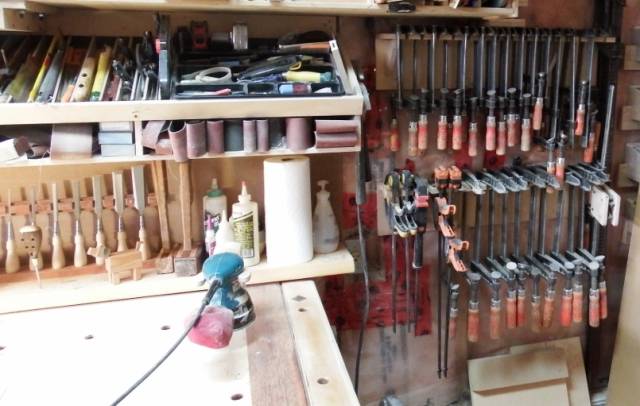
Now over to the right end of the bench and the twin screw vise along with the tail vise both operated with the two screws of the end vise .
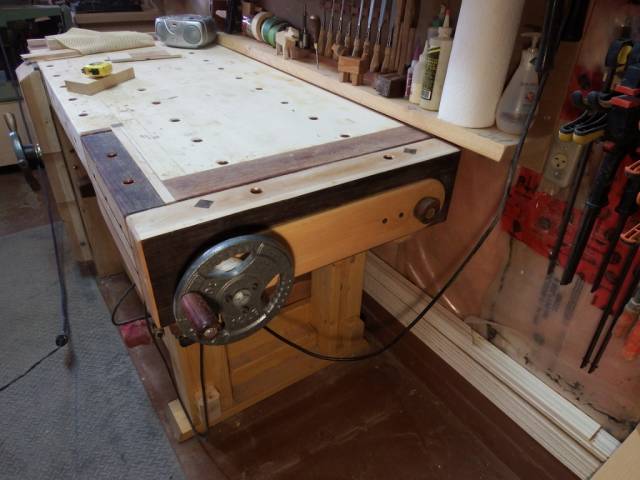
Total length of the bench is just right for the space I have and adequate for my needs 
Now I move on to the overhead tool rack for my hand tools etc. everything is very handy and the ledge behind the bench with my glue and tape supply’s and over to the clamp rack just to the right of the bench .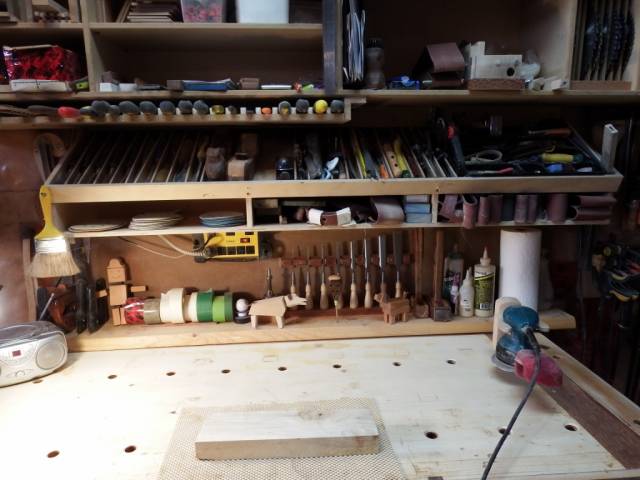
This should give you a good idea about the bench but you should now go and watch the 10 min. video to get a even better idea .
Here is the link
https://www.youtube.com/watch?v=bNr65p49Qso&feature=youtu.be
Thanks for taking a look and let me know if there are questions or some ideas
Klaus
6 Comments

very impressive setup.
Wheaties

Klaus,
You certainly have thought of everything! You have shown us that small spaces, well designed, can render very good work areas. . . and excellent finished projects!
Thanks for sharing.
L/W
“Those who would give up essential Liberty, to purchase a little temporary Safety, deserve neither Liberty nor Safety.” Benjamin Franklin

Wow!
I love the attachment Klaus.
You thought of everything.
Definitely going to borrow some of your ides when I build mine.
Abbas, Castro Valley, CA

A man’s shop is a reflection of his thought process ……. And you have a very creative shop!
Thanks for all the innovations and ideas.
The early bird gets the worm but its the second mouse that gets the cheese.

The attachments are genius. You know what I like about your bench the most? The stains and the wear, because it means it is getting used;)
You have a legacy workbench that you’re building a legacy on;)
Todd A. Clippinger Share the Love - Share the Knowledge

Well that bench and associated tool setup put my rikitty outdoor bench to shame
Maybe I should look at rebuilding it and providing better weatherproofing
Regards Rob